In this tutorial, easydrawforkids.com will guide you learn how to draw a bottle, from sketching to coloring.
Now, let’s get started!
How To Draw A Bottle – A Step By Step Guide
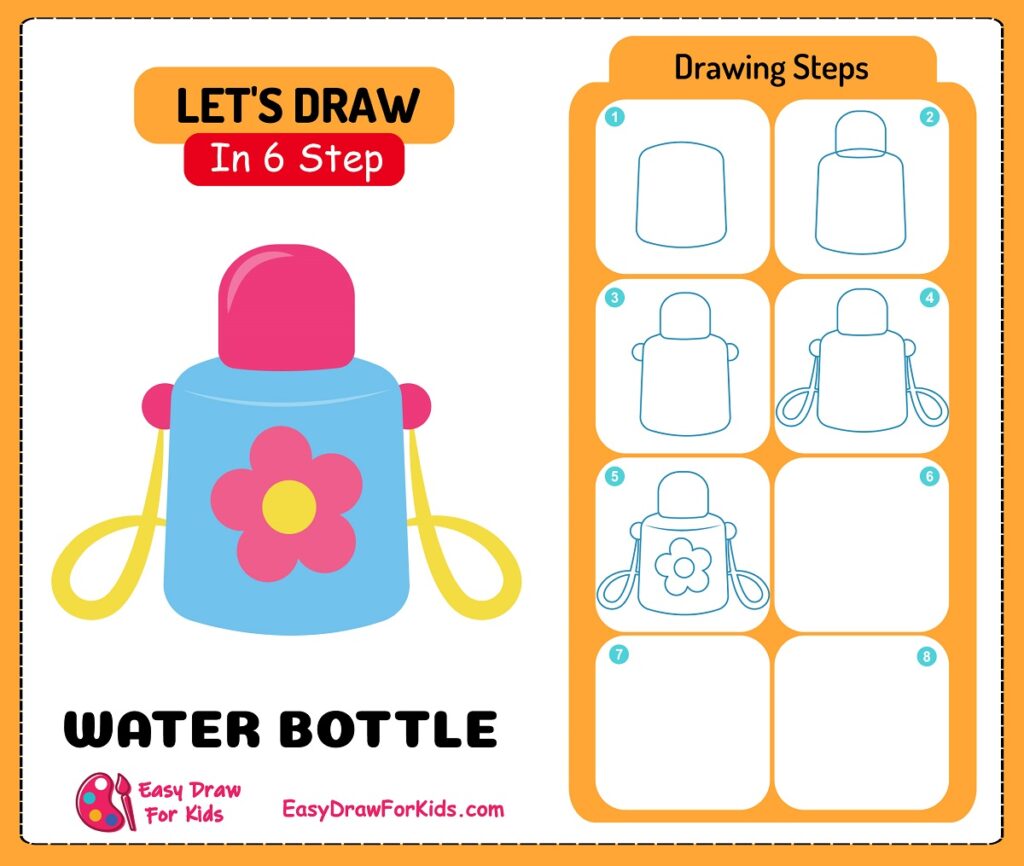
1. Water Bottle Drawing
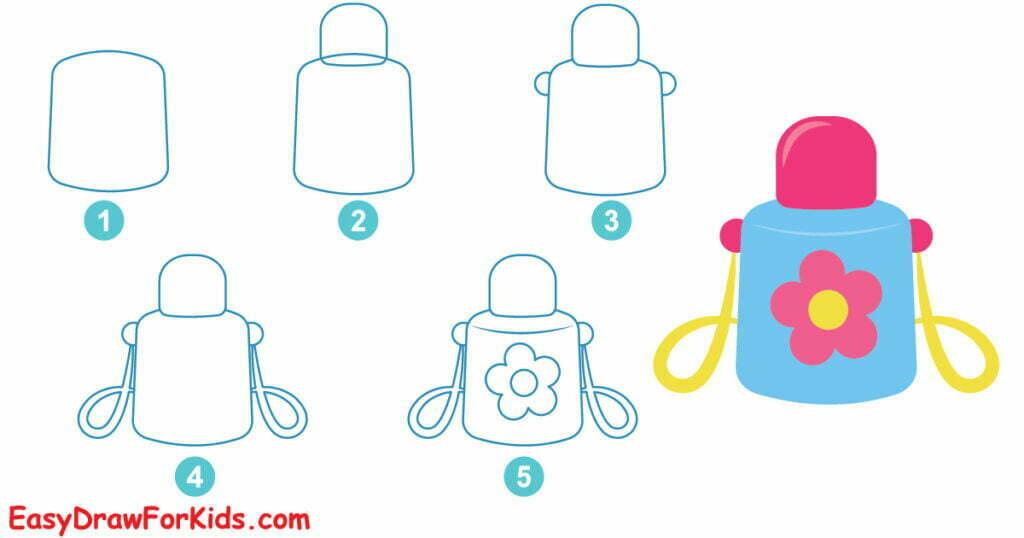
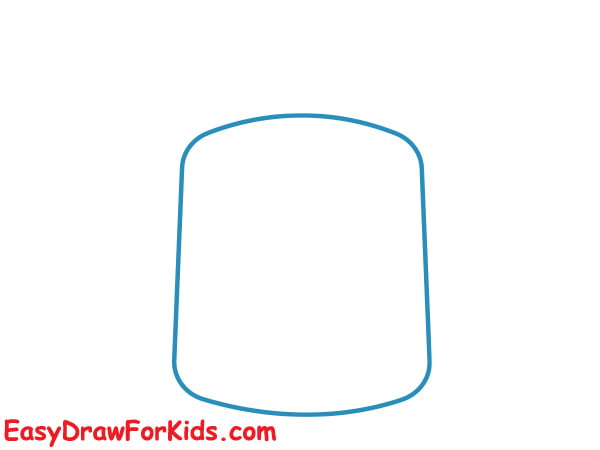
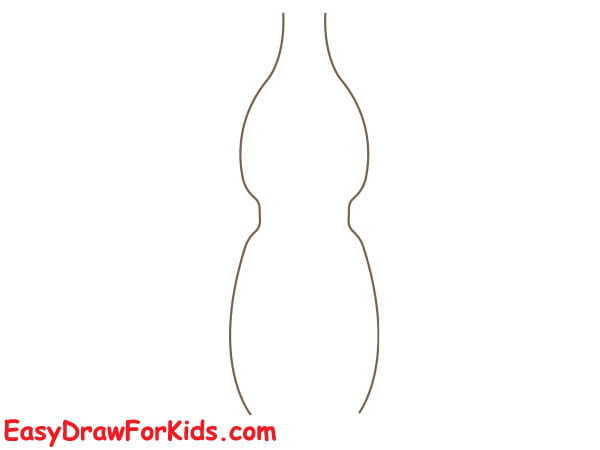
Step 1: Draw a vertical rectangle shape, make it slightly wider on the bottom and narrower at the top.
Softly sketch curved lines connecting the top and bottom corners to form an oval bottle shape.
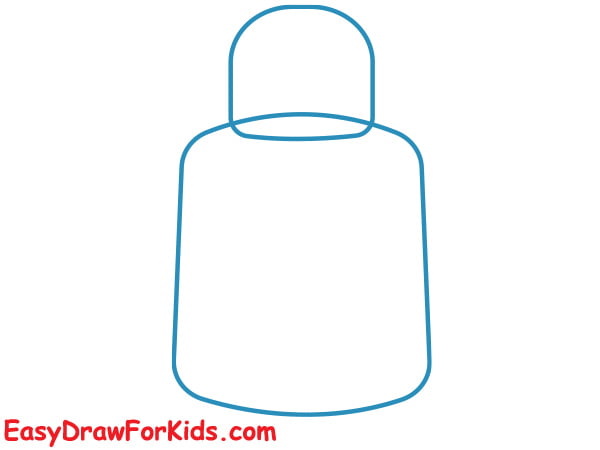
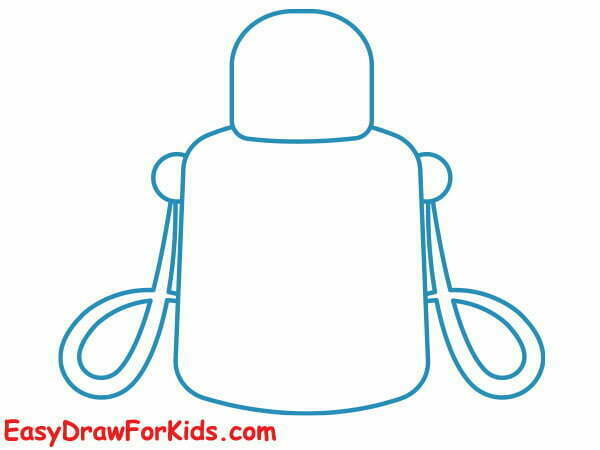
Step 2: Draw a narrow rectangle coming off the top of the water bottle body to forms the neck.
Add an upside down arc shape on top for the bottle cap.
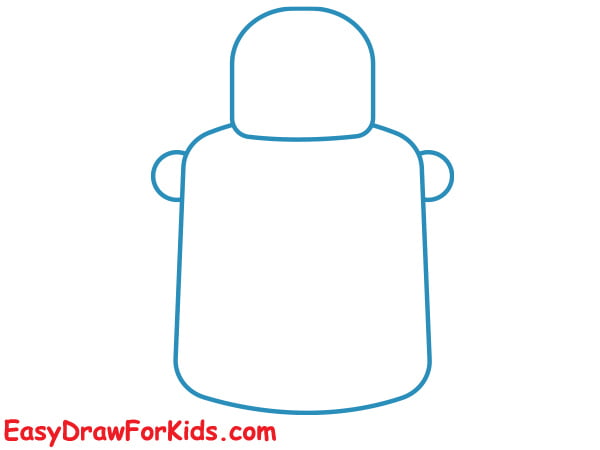
Step 3: Draw small C-shapes on each side of the bottle to add simple handles
Step 4: To add the strap, draw a curved lines extending from the side of the handles.
Then, draw another curved line parallel to the first one to create the strap.
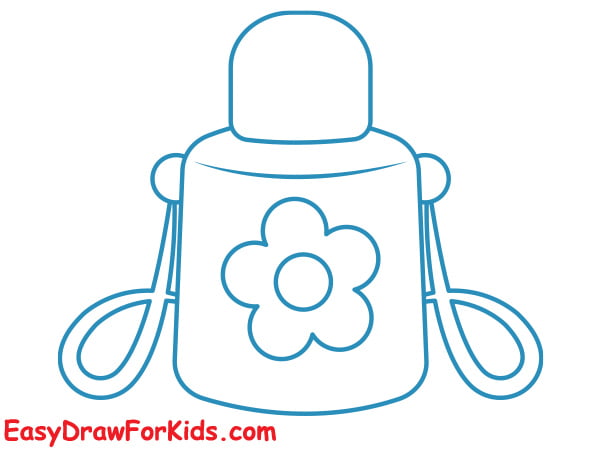
Step 5: Now it’s time to add decorate your water bottle!
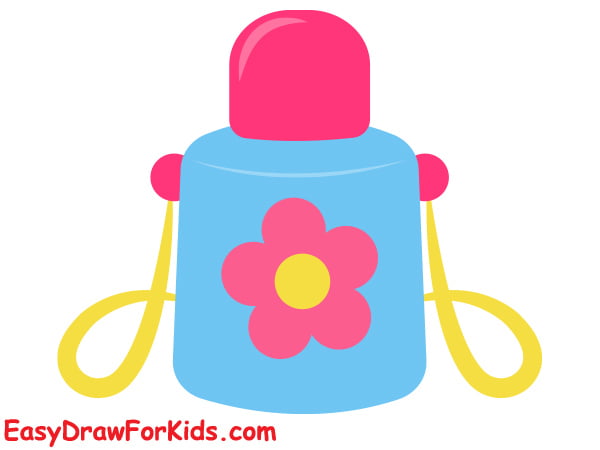
Step 6: Now that you successfully this guide how to draw a bottle, it’s time to color it.
2. Coke Bottle Drawing
Step 1: Start by drawing the outline of the Coke bottle’s body.
Step 2: Draw a curved line at the bottom of the bottle, connecting the two parallel lines and completing the bottle’s shape.
Step 3: Draw a curved shape that resembles an upside-down “U” on the top of the bottle to form the bottle’s cap.
Step 4: Now, drawing a slightly curved line across the middle of the bottle to represent the label.
Step 5: Add highlights to make the bottle appear more three-dimensional and shiny.
Step 6: On the label, draw a facial detail and the word “Coca-Cola”
Step 7: Coca-Cola bottles are brown, but you can choose any color you prefer.
3. Halloween Potion Bottle Drawing
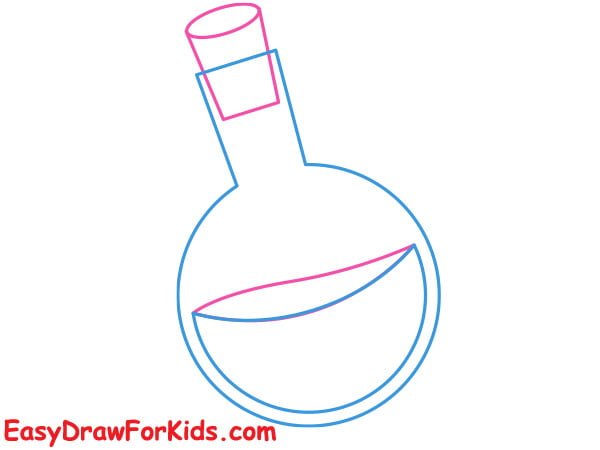
Step 1: Begin by drawing the base of the bottle, a simple circle.
Draw the bottle’s body from the base, gradually tapering the shape towards the neck.
Step 2: Inside the bottle, draw a sickle symbolizing the medicine.
Step 3: Sketch the stopper sit atop the bottle’s neck.
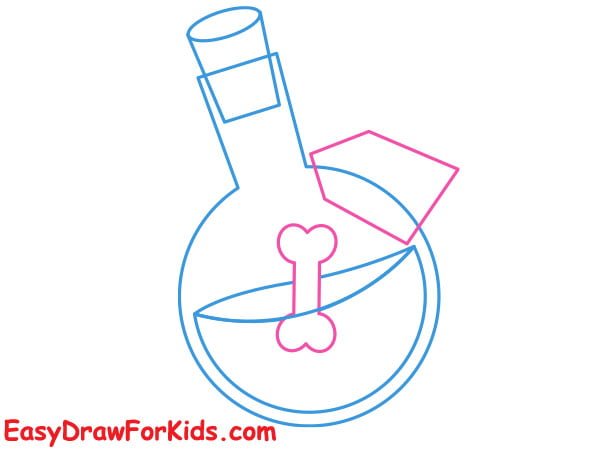
Step 4: Now, you draw the bone and the card
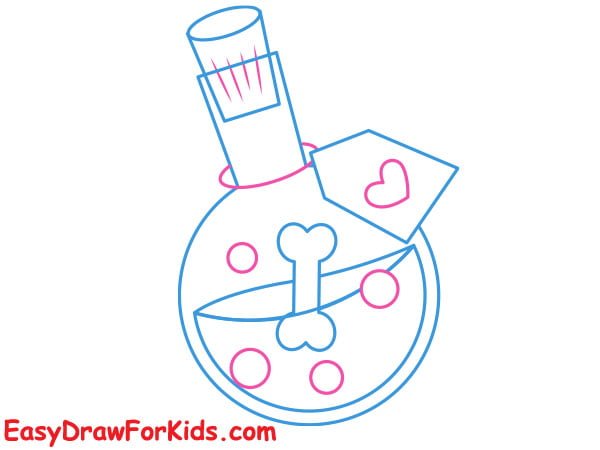
Step 5: Add decorations like potion labels and bubbles
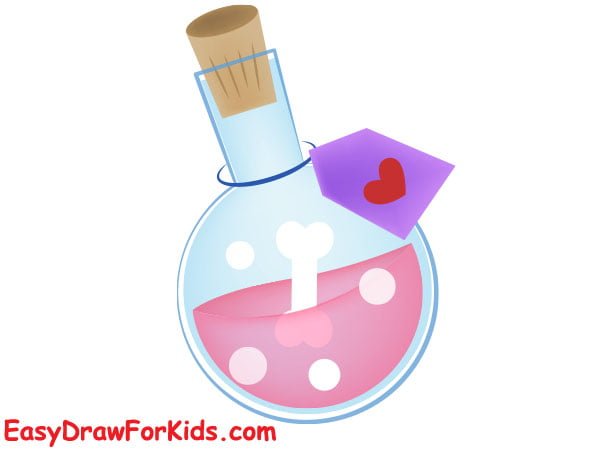
Step 6: Color Your Halloween Potion Bottle
4. Lemonade Bottle Drawing
Step 1: Sketching the bottle’s contours
Step 2: Complete the bottle’s shape.
Step 3: Now, you sketch the bottle’s cap.
Step 4: Lightly sketch the label’s outline, ensuring it aligns with the bottle’s curvature and position.
Step 5: Adding shadows and highlights
Step 6: Carefully draw the text, logos on the label.
Step 7: Lemonade bottles are typically transparent, so you can color the lemonade a light yellow
5. Orange Juice Bottle Drawing
Step 1: Establish the basic shape of the orange juice bottle
Step 2: Adding details to the bottle shape
Step 3: Drawing the cap of the bottle
Step 4: Now, drawing the orange juice inside the bottle.
Step 5: Drawing the label
Step 6: Adding shading and highlights
Step 7: Now, you add logo to the label
Step 8: Coloring
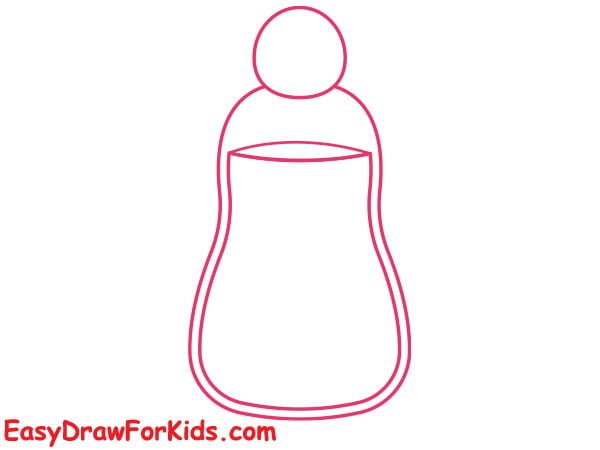
6. Shampoo Bottle Drawing
Step 1: Sketching the basic shape of the shampoo bottle
Step 2: Now, draw a circle on the top of shampoo bottle to form the cap

Step 3: Draw a curved line near the top of the bottle, indicating the liquid level.
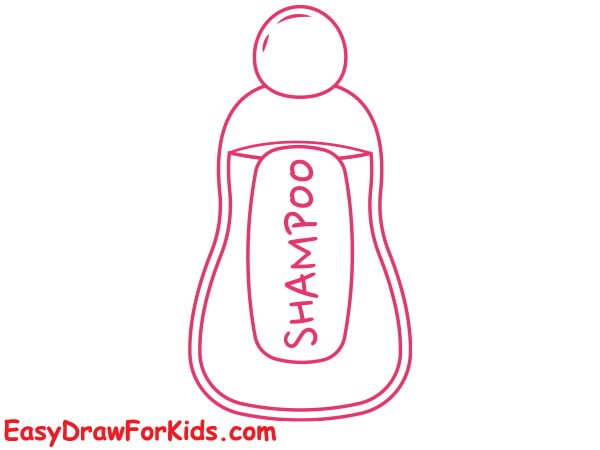
Step 4: Drawing the label on the bottle
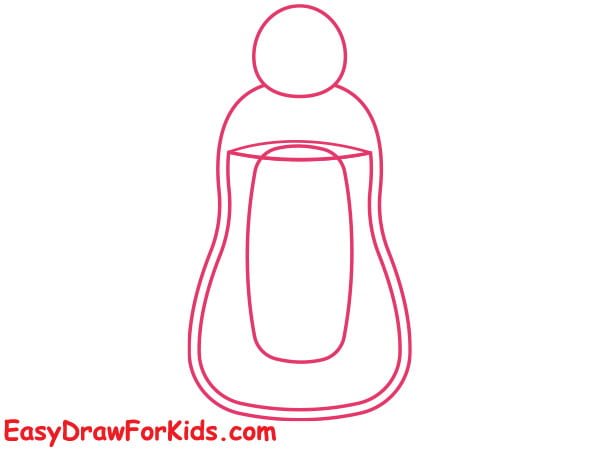
Step 5: Refining the details of the bottle and label
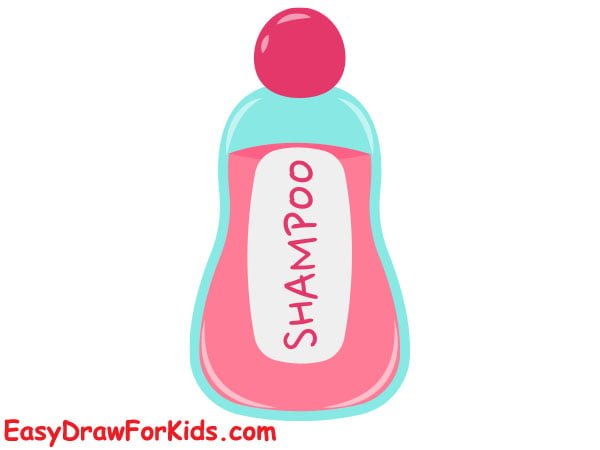
Step 6: Coloring
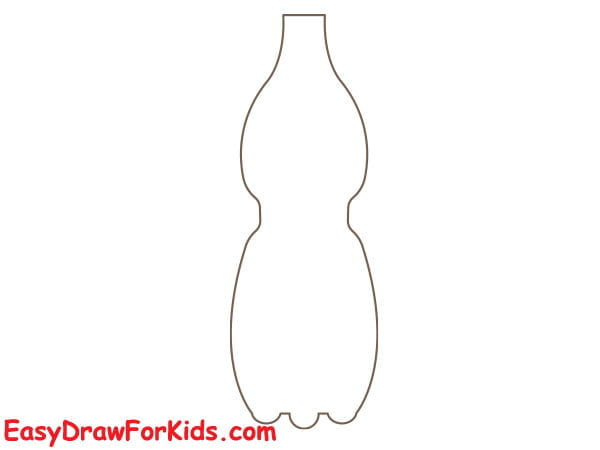
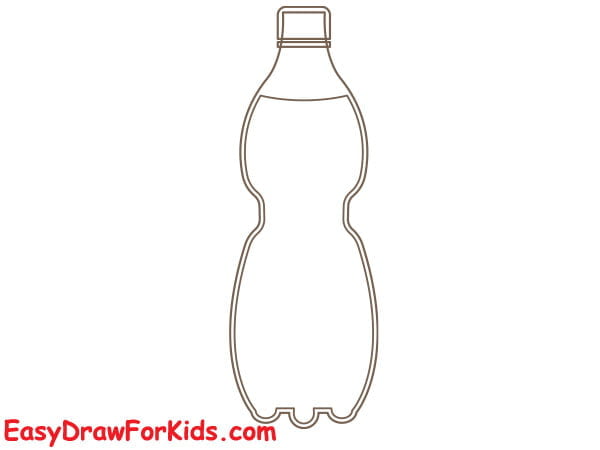
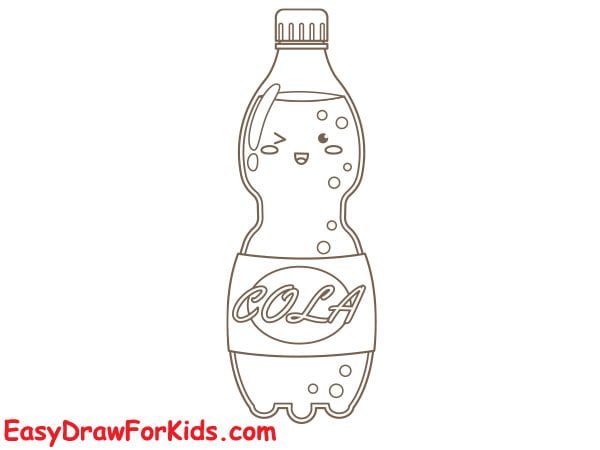
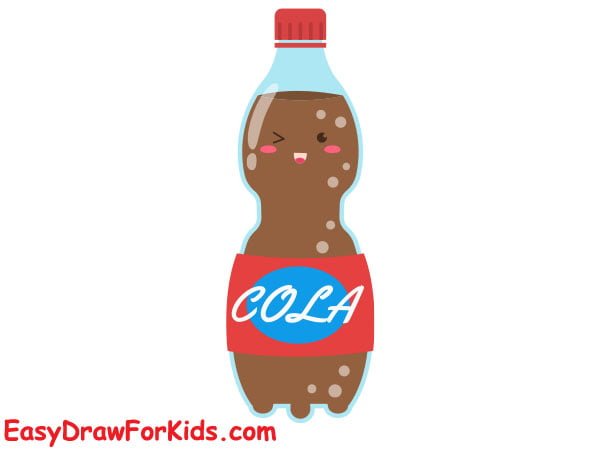
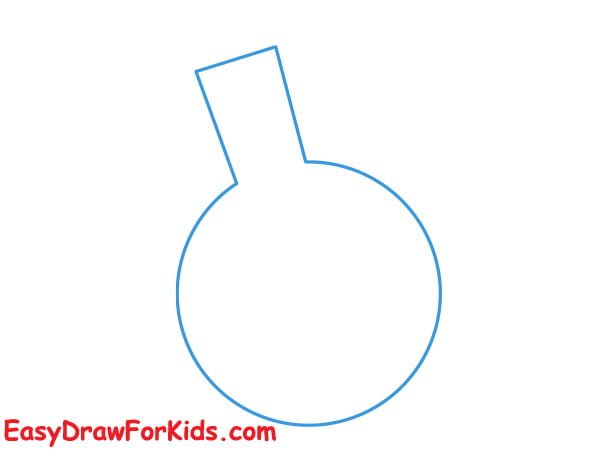
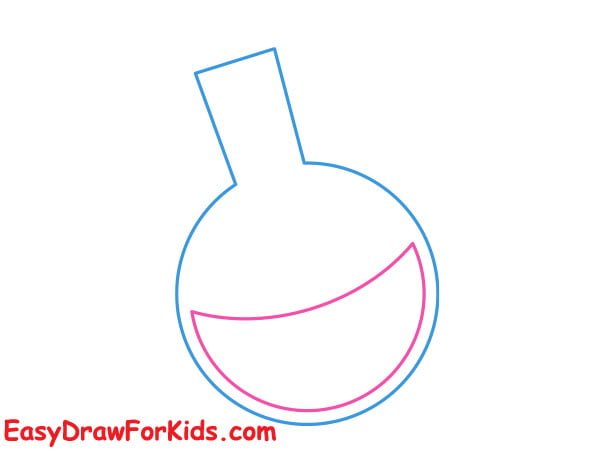
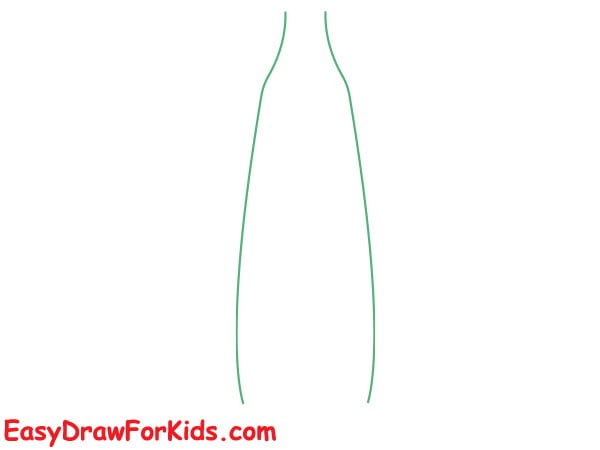
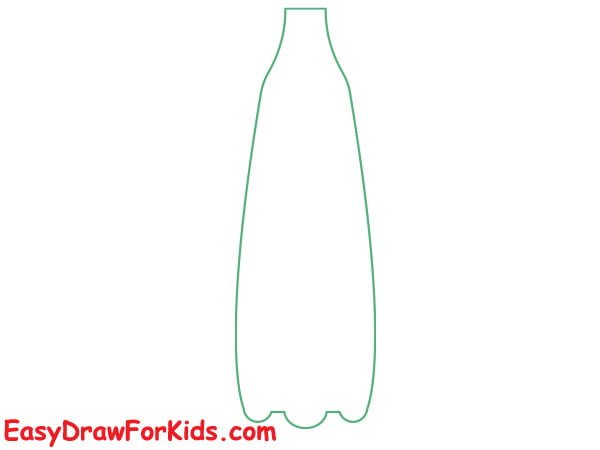
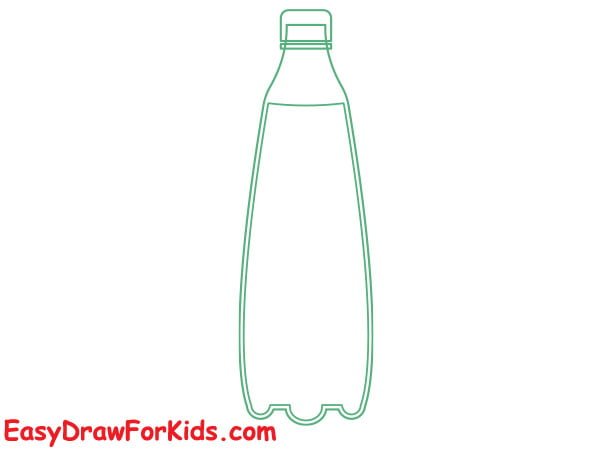
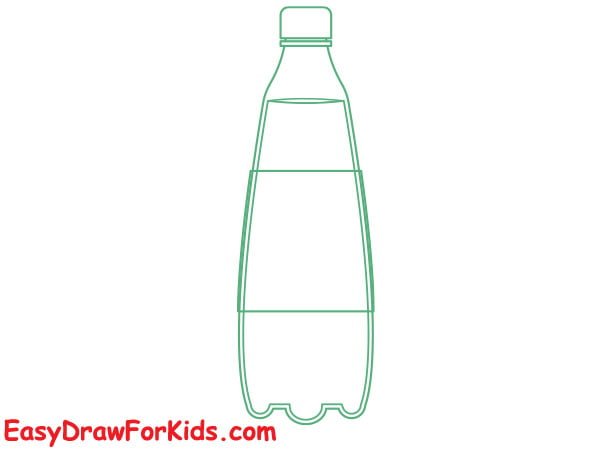
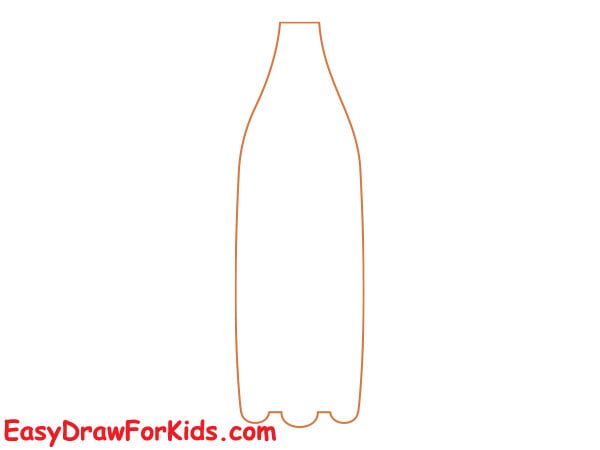
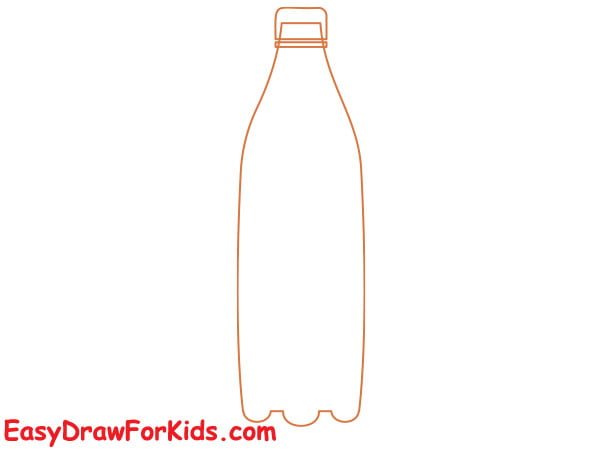
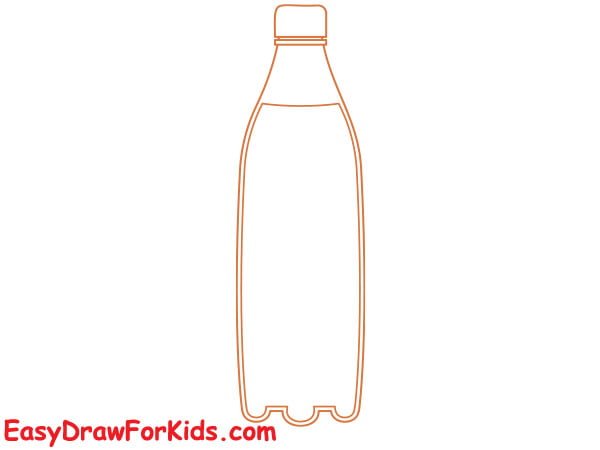
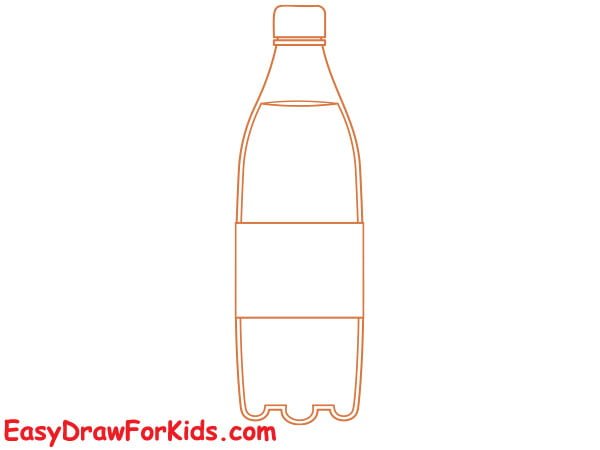
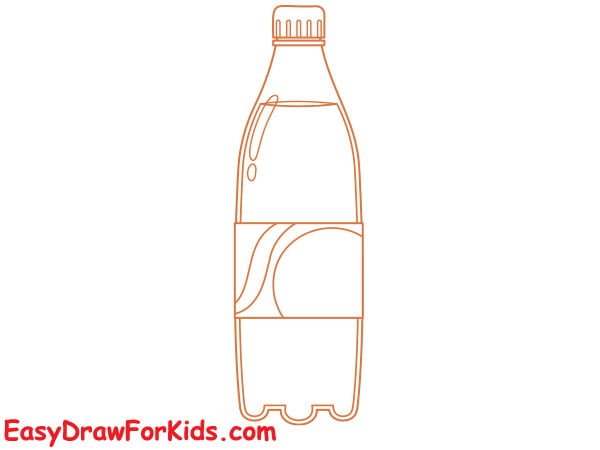
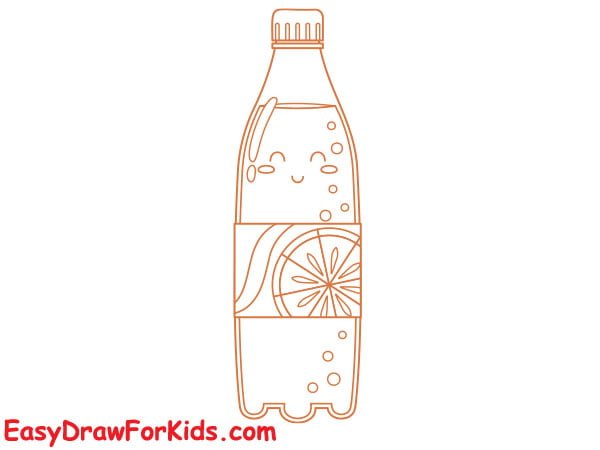
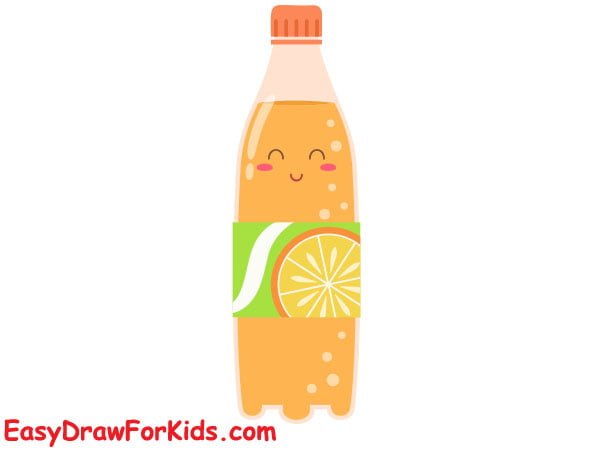
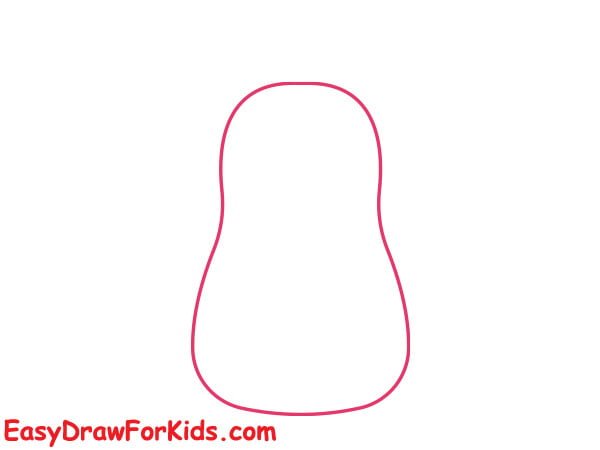
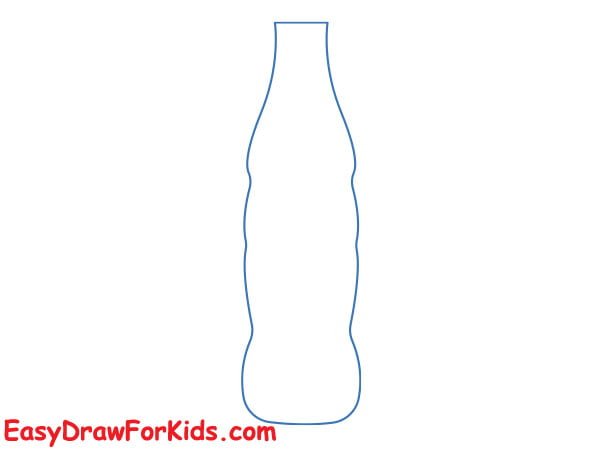
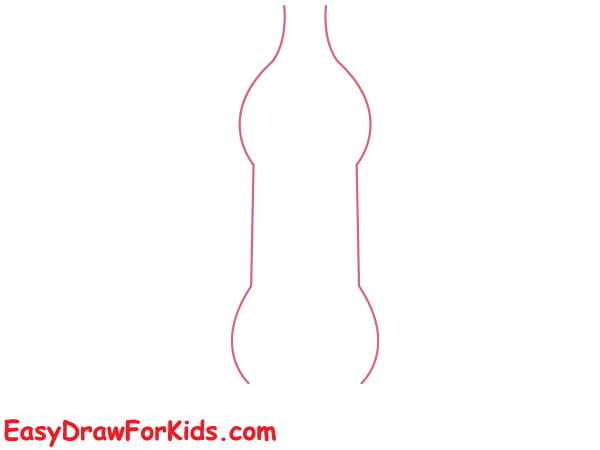
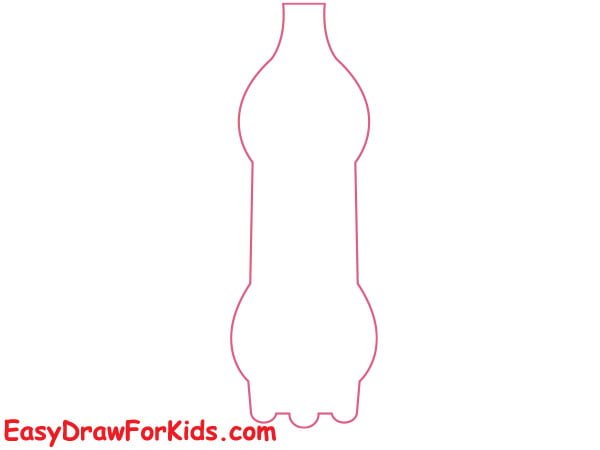
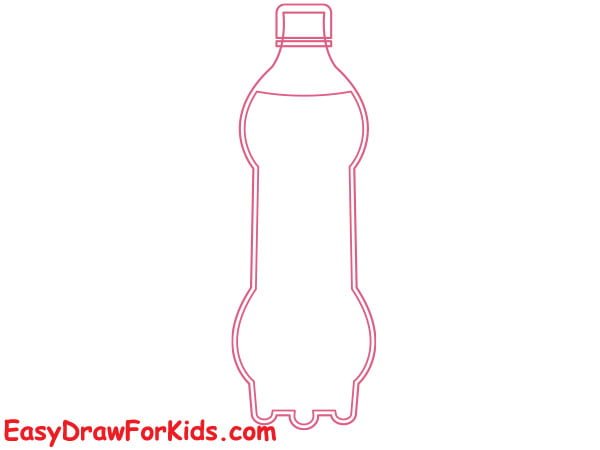
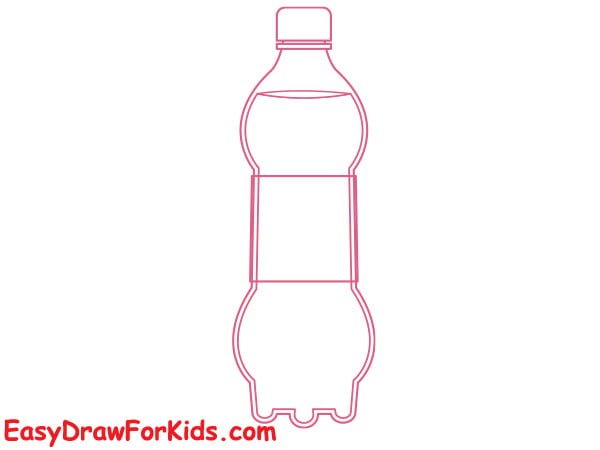
7. Soda Bottle Drawing
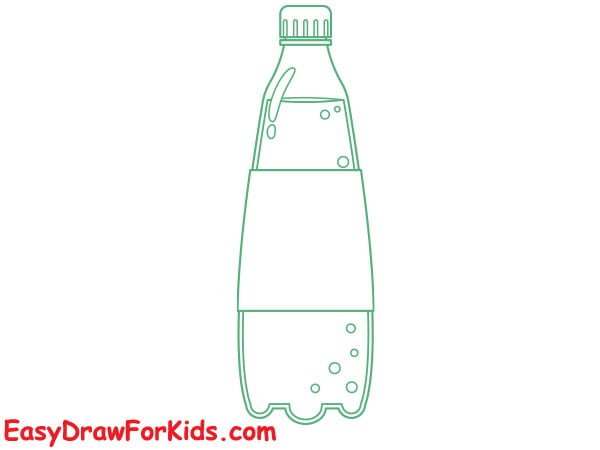
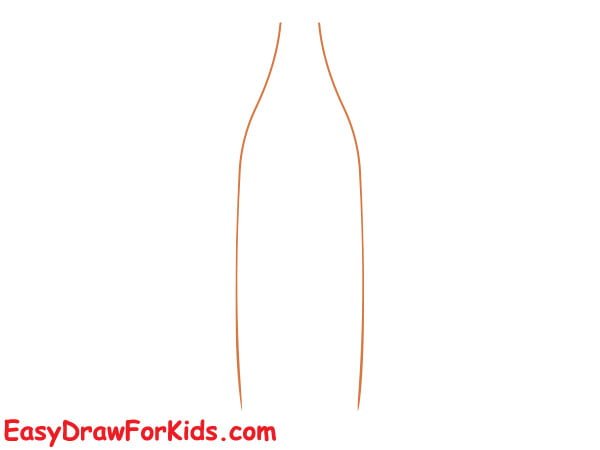
Step 1: Draw the basic shape of the soda bottle
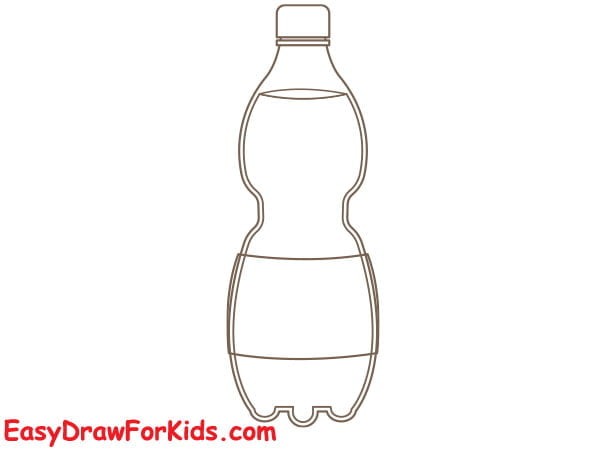
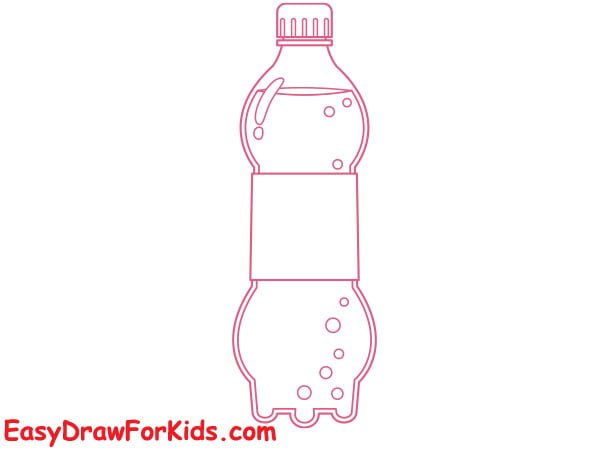
Step 2: Drawing the liquid inside the bottle
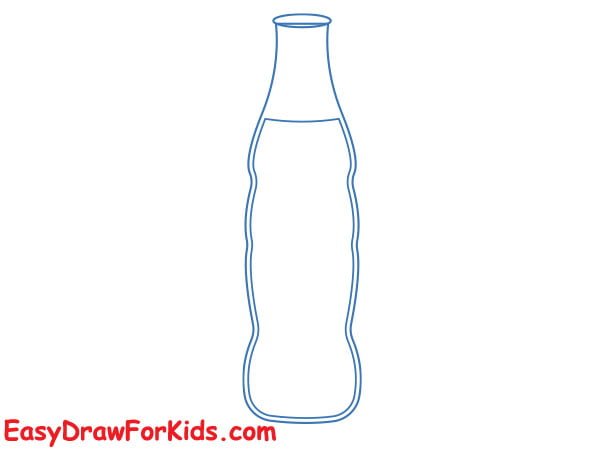
Step 3: On the cap, draw a small circular shape to represent the bottle’s lid.
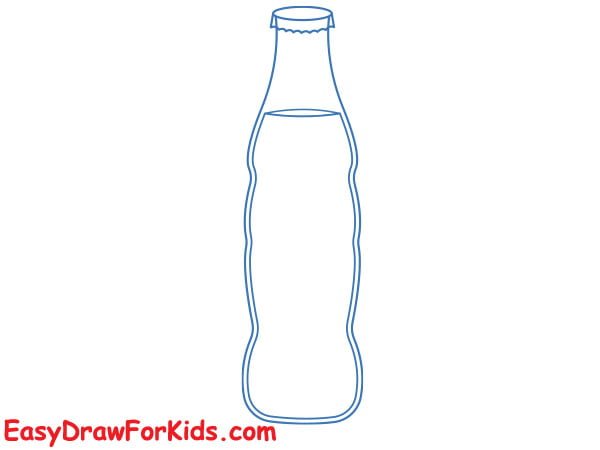
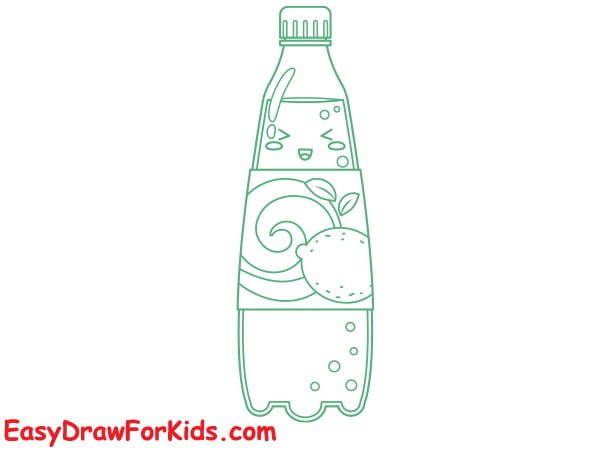
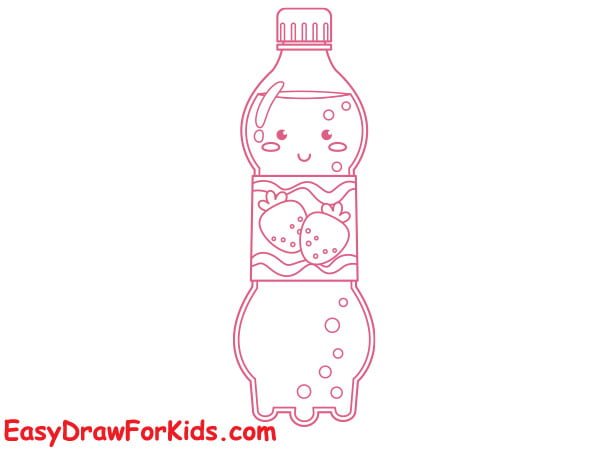
Step 4: Draw a label on the front of the soda bottle.
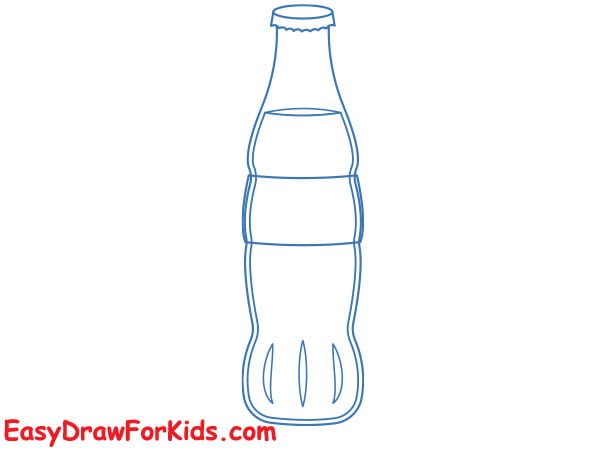
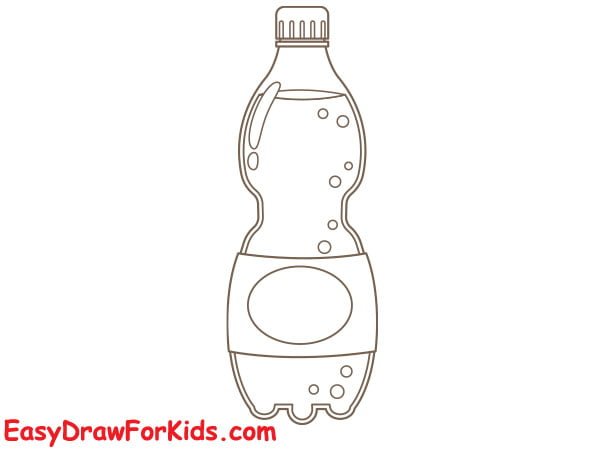
Step 5: Add bubbles or fizz by drawing small circles inside the liquid.
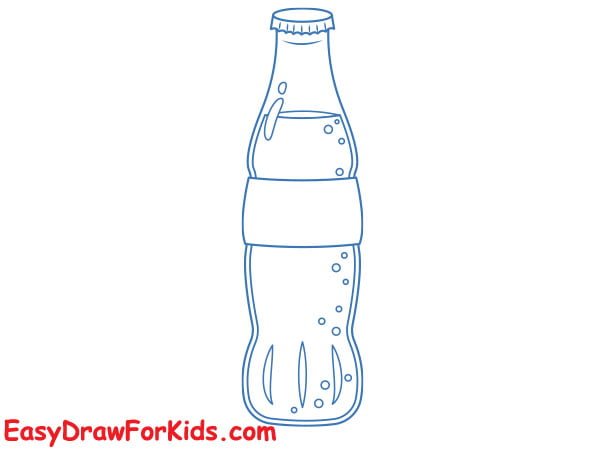
Step 6: Add additional details to the label, such as lines, patterns, or graphics, to make it more visually appealing.

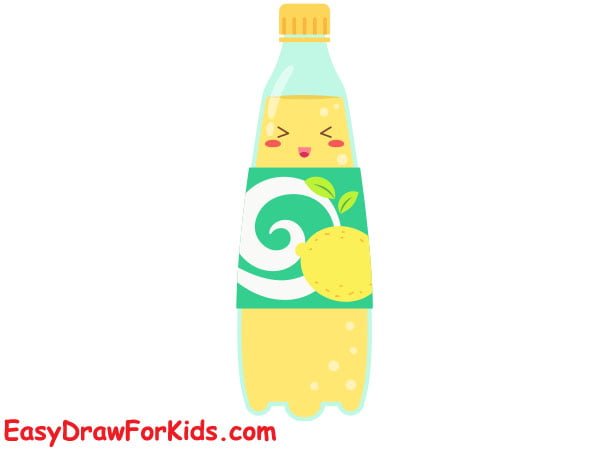
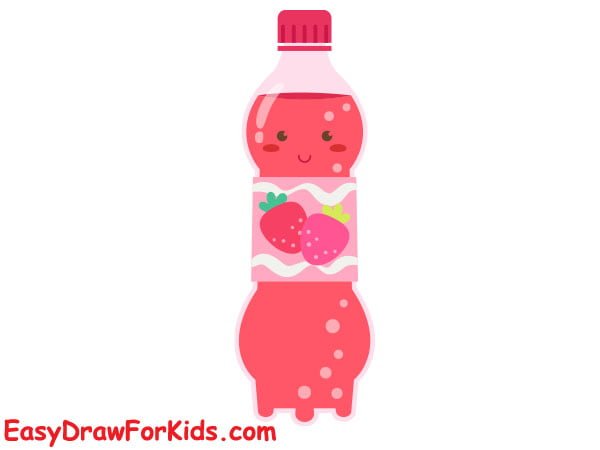
Step 7: Add color to your drawing.

8. Strawberry Juice Bottle Drawing
Step 1: Sketching the outline of the strawberry juice bottle
Step 2: Adding details to the bottle
Step 3: Now, draw the cap and liquid
Step 4: Draw the label in front of the bottle
Step 5: Adding shadows and highlights
Step 6: Drawing the strawberry on the label
Step 7: Coloring the strawberry juice bottle
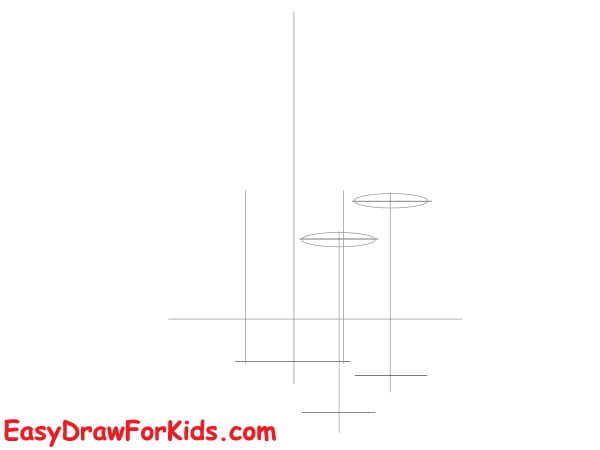
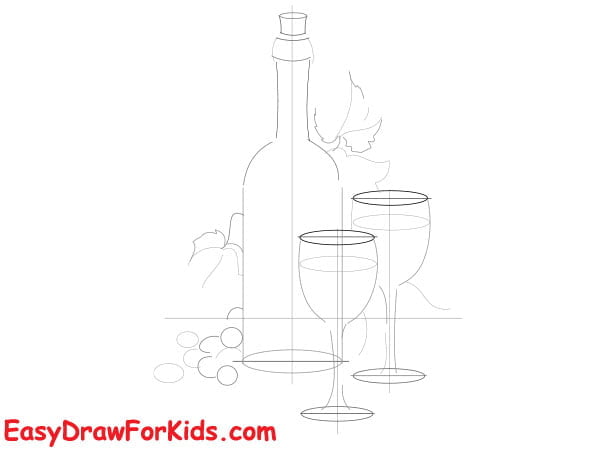
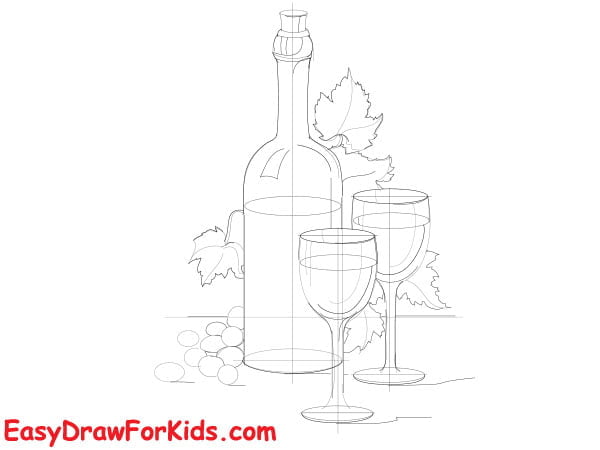
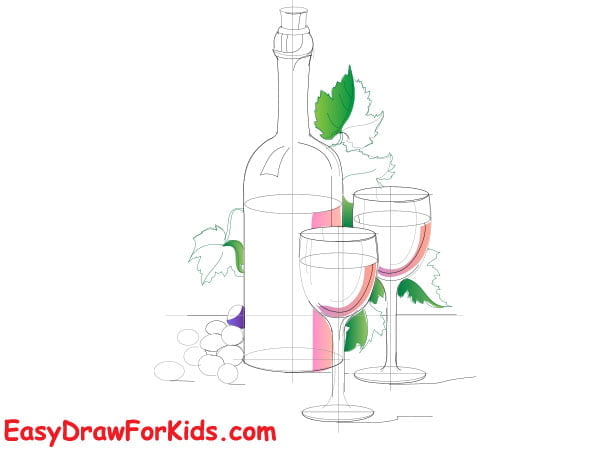
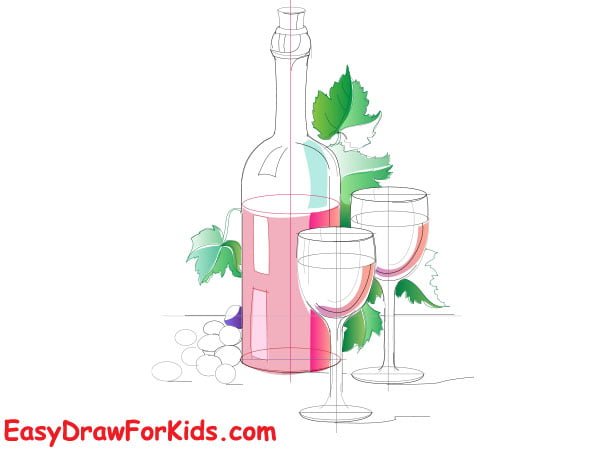
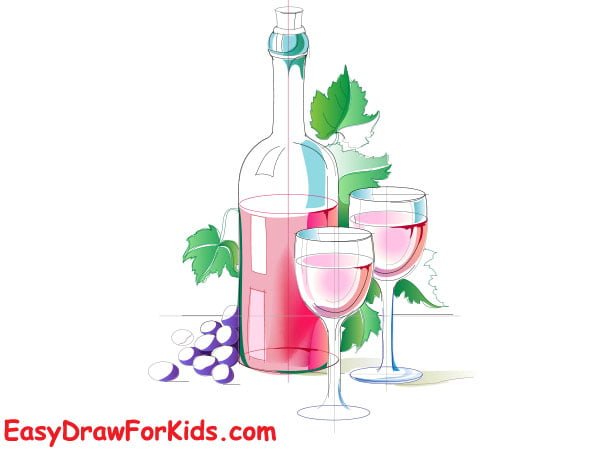
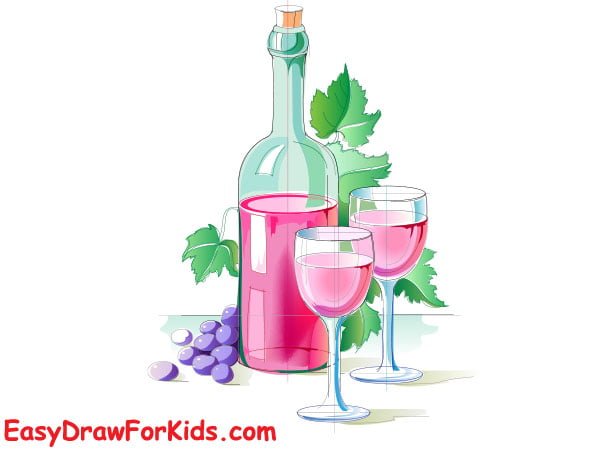
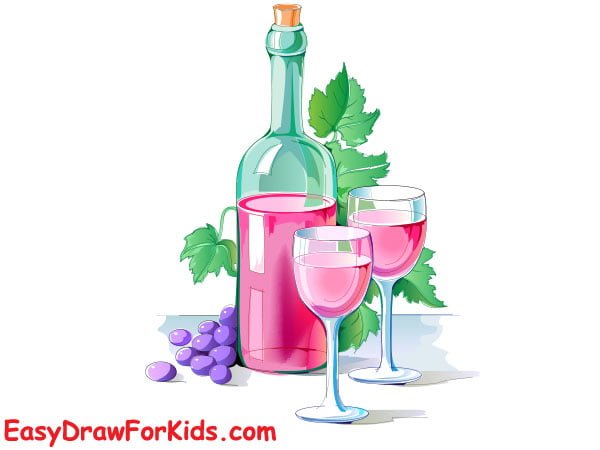
9. Wine Bottle Drawing
Step 1: Sketching the basic shape of the wine bottle
Step 2: Adding details such as the label and neck of the bottle
Step 3: Shading and highlighting to create a realistic look
Step 4: Start painting the base coat
Step 5: Start with a lighter color at the bottom of the bottle and gradually blend in a darker color towards the top.
Step 6: Add additional coats for depth and coverage
Step 7: Add layer different colors to create a marbled effect.
Step 8: Erase any unnecessary guidelines and refine the outline of the wine bottle.
Learning how to draw a bottles is an enjoyable way to develop artistic abilities in children.
Start with simple shapes and build up details and colors to make unique bottle art.