Dragons are legendary creatures that show up in myths and folklore from cultures all around the world.
Often portrayed as dangerous monsters, they also represent wisdom, strength, and good fortune in Eastern traditions.
These magical beasts capture our imaginations with their mix of reptilian and avian features – sharp teeth and claws, reptilian bodies and tails, and majestic, bat-like wings.
In this beginner’s guide, you’ll learn how to draw a dragon step-by-step, from sketching the basic shape to adding scales and textures.
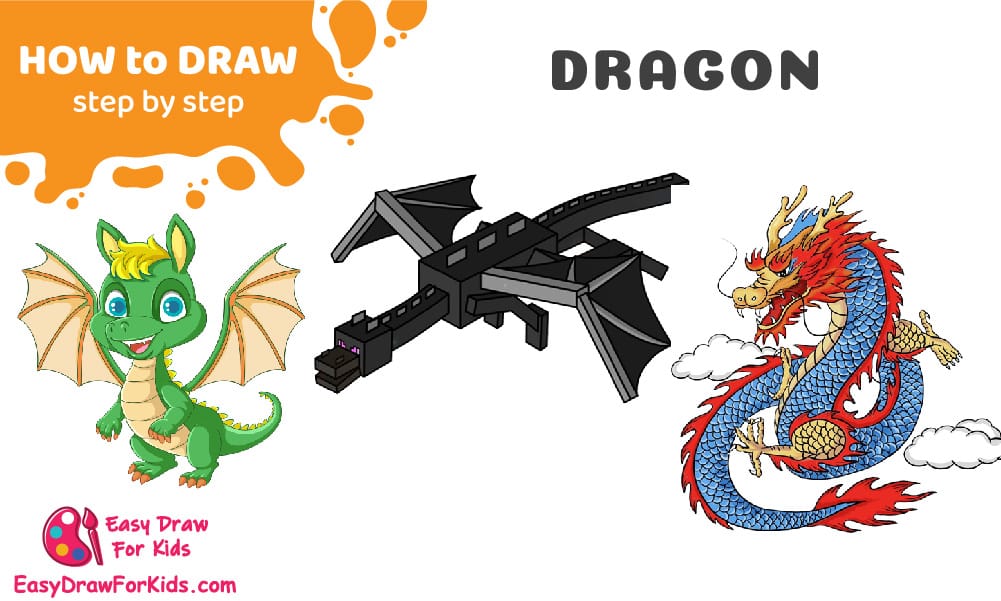
How to Draw a Dragon – A Step By Step Guide
1. How to draw Dragon
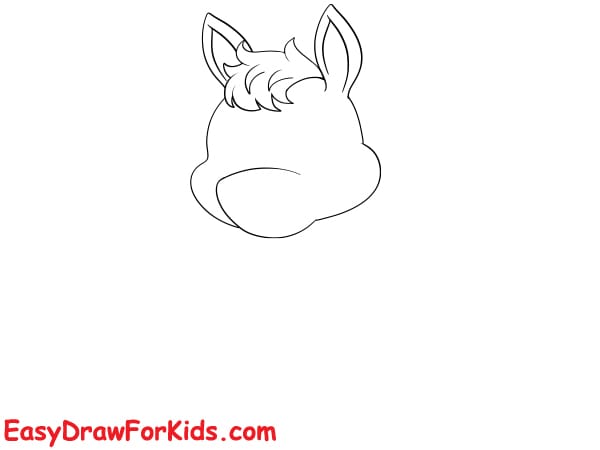
Step 1: The dragon’s head is often the focal point of the drawing, showcasing its fierce expression and unique characteristics.
Draw a large oval, slightly wider at the bottom. Add curved lines for snarling lips showing lots of pointy teeth.

Step 2: Draw dragon ears perk them up high on the head pointed forwards to enhance an alert posture.
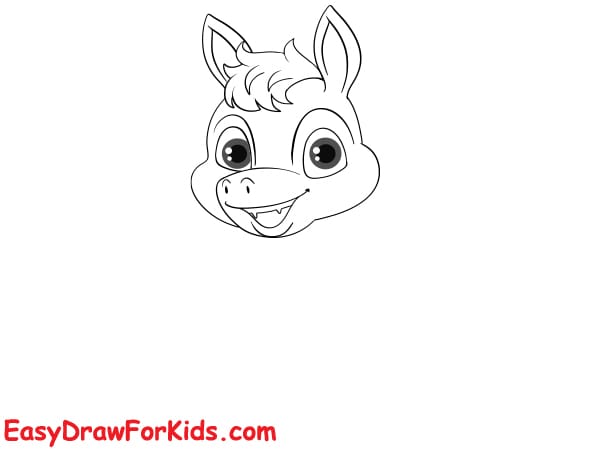
Step 3: Draw the Eyes and Mouth: Focus on detailing the eyes, giving them a menacing or expressive look, and define the mouth with sharp teeth or a snout.
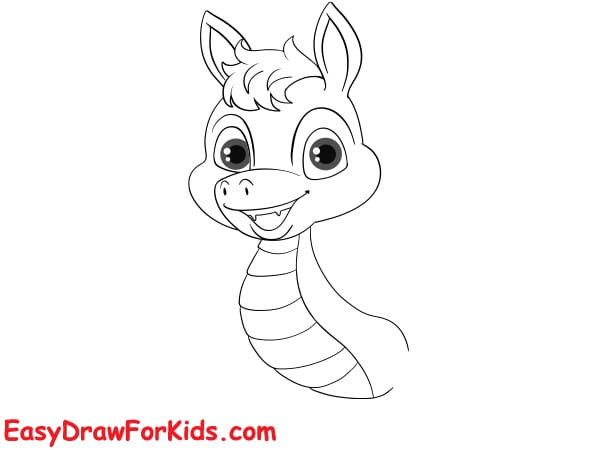
Step 4: Drawing the body: Bulk up the chest to balance the wide hips and haunches.
Draw curved lines along the belly to indicate abdominal muscles and scales.
Add a thicker neck and reinforce the forward-leaning pose with lines conveying tension through the back and shoulders.
Step 5: Outlining the shape and length of the dragon’s tail
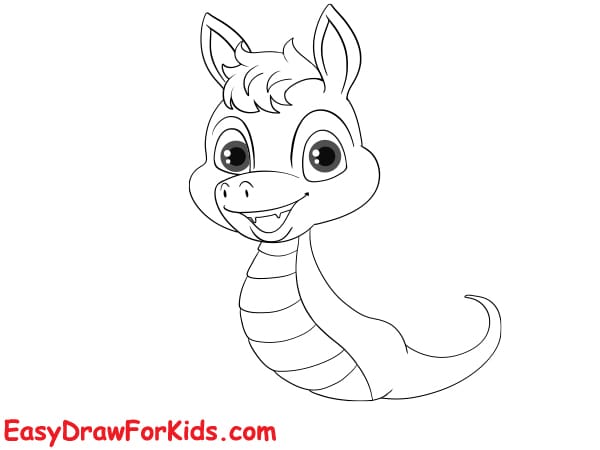
Step 6: Draw the two front legs, detail the dragon’s feet with sharp claws
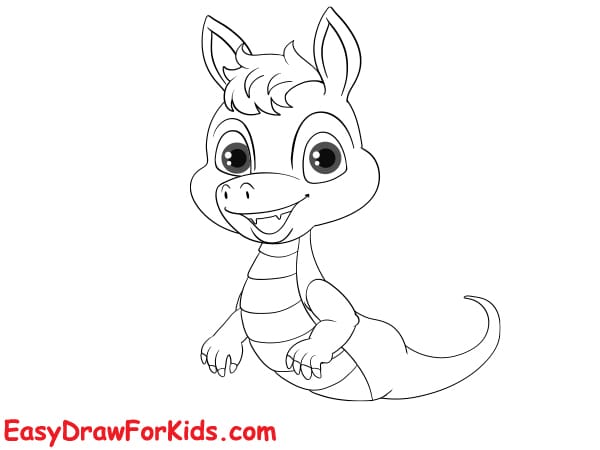
Step 7: Continue drawing the two hind legs.
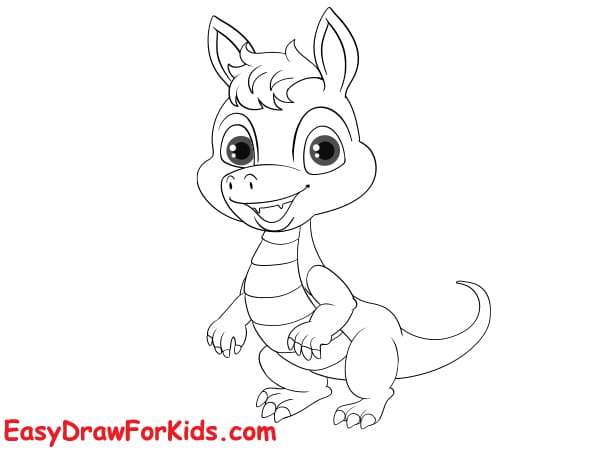
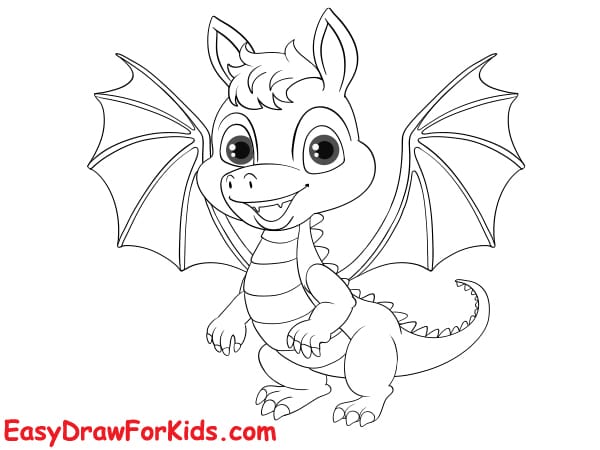
Step 8: Draw elongated back-facing diamonds, slightly wider in the middle, then tapering to angled tips for the wings
Add curved bones protruding from the front wing elbow to the upper and lower tips like extended fingers.
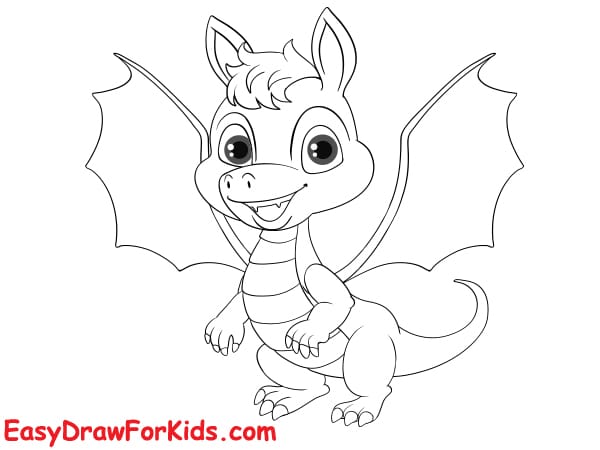
Step 9: Adding Scales and Texture
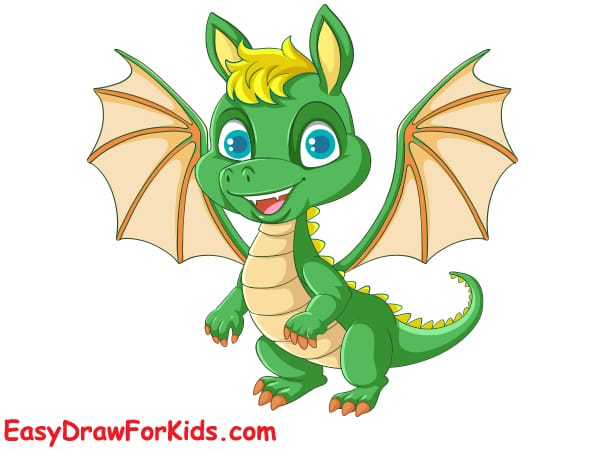
Step 10: Coloring your dragon drawing to complete this guide how to draw a dragon
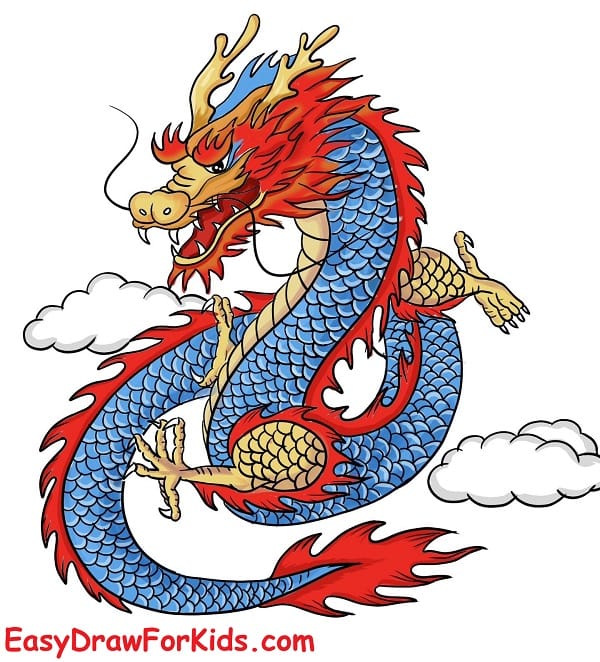
2. How to draw Chinese Dragon
Chinese dragons are revered for their auspicious qualities and are often associated with imperial power, prosperity, and good fortune.
Unlike the Western depiction of dragons as fire-breathing creatures, Chinese dragons are seen as benevolent beings that bring blessings and protection.
In this step-by-step guide, we will walk through the process of drawing a Chinese dragon, breaking it down into easy-to-follow steps.
Step 1: Chinese dragons are known for their iconic horns.
Draw two curved lines extending from the top of the oval shape, tapering to a point at the ends. These will become the dragon’s horns.
Draw ridges or grooves along the length of each horn to give them a more dynamic appearance.

Step 2: Next, draw a slightly curved line extending from the bottom of the horn to create the dragon’s jaw.
Draw a curved line within the open space you left for the mouth, creating the dragon’s upper lip.
Add some teeth by drawing a series of small triangular shapes along the upper and lower jaws.
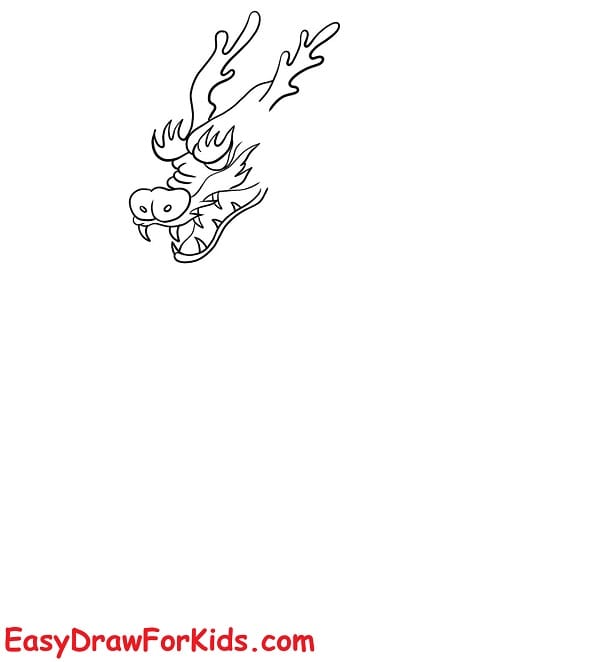
Step 3: Draw whiskers, fur and expressive eyes. Position the eyes below the horns
Use light, feathery strokes to draw several whiskers on each side of the dragon’s mouth.
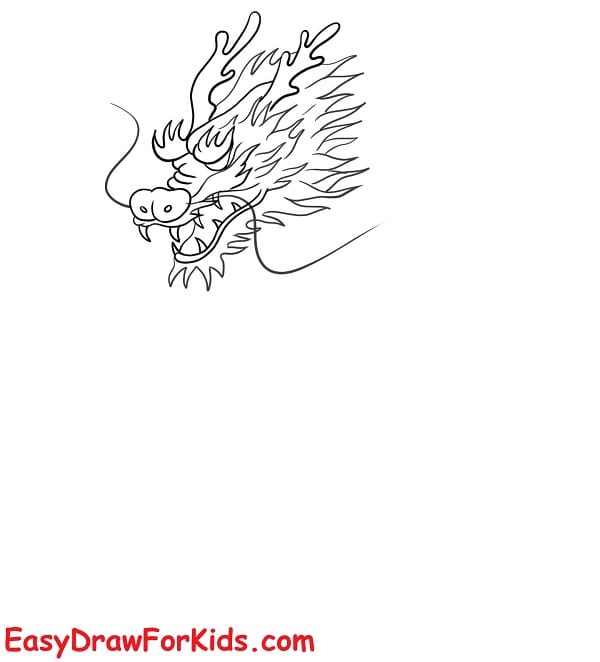
Step 4: Draw a curved line extending from the back of the dragon’s head. This will become the spine, serving as the foundation for the rest of the body.
Directly behind the head, draw a series of curved lines on either side of the spine to create the neck. Make sure to taper the neck as it extends from the head, giving it a smooth, flowing appearance.
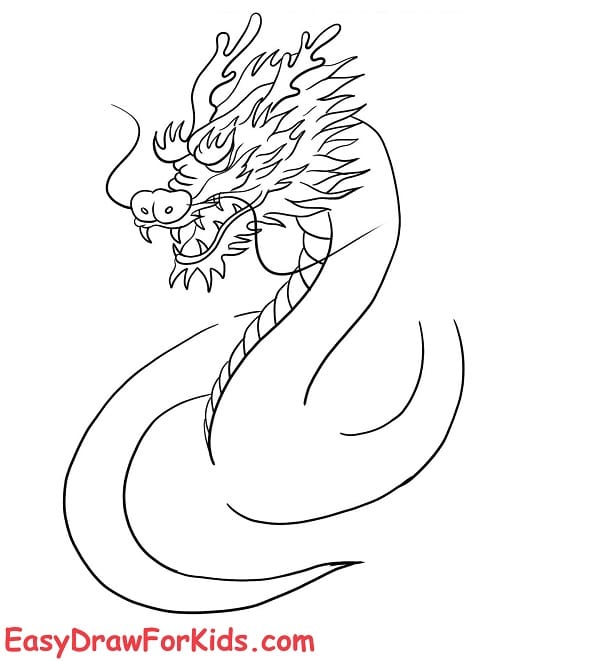
Step 5: Continue the curved lines along the spine, gradually increasing their distance from the spine to create the torso.
As you move further down the body, you can add slight undulations to the lines to give the impression of muscle and movement.
As you reach the end of the torso, begin to taper the curved lines back towards the spine, eventually forming a long, tapering tail.
To give the tail a dynamic, serpentine appearance, add undulations and curves along its length.
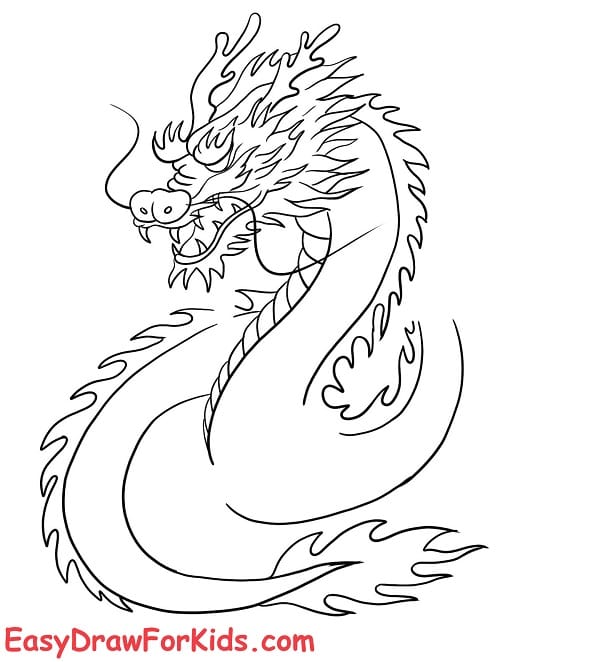
Step 6: For each leg, draw a series of curved lines extending from the body. These lines should taper down to a point, forming the basic shape of the leg.
At the end of each leg, draw a larger, more rounded shape to represent the foot.
Chinese dragon feet are often depicted with sharp claws, so add a few curved lines extending from the foot to create these talons.
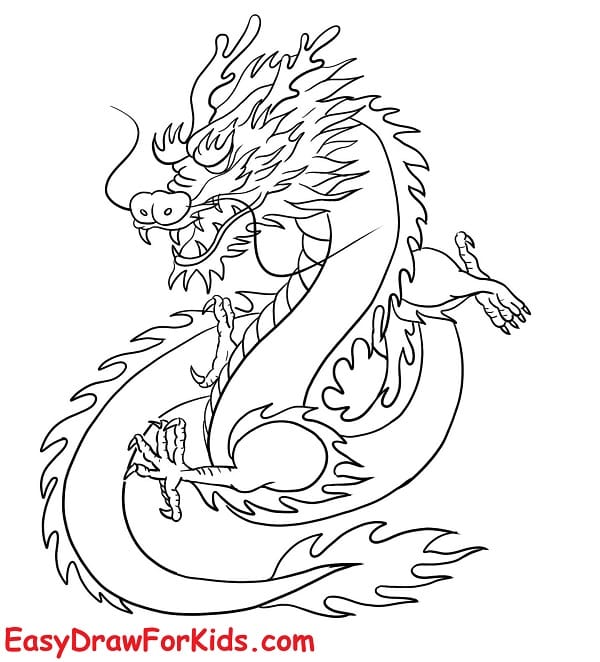
Step 7: Sketching a series of overlapping, curved lines along the dragon’s body.
These lines should follow the contours of the body, creating a repeating pattern of scales.
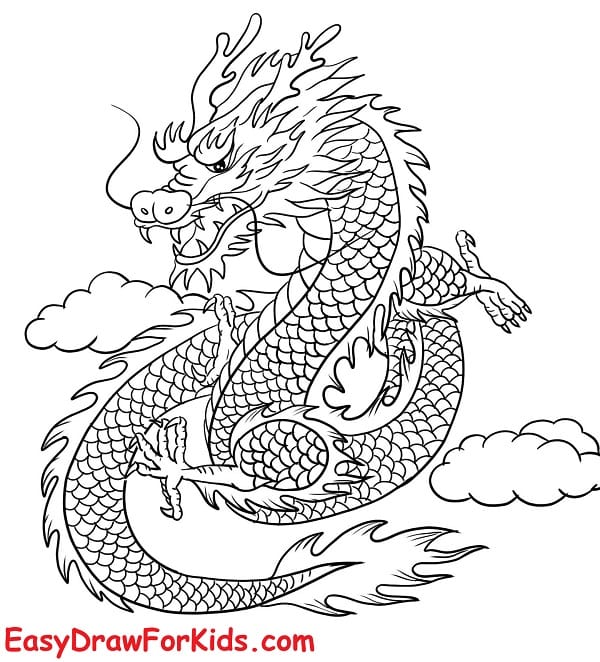
Step 8: Color your Chinese Dragon drawing by your style
3. How to draw Ender Dragon
The Ender Dragon is a formidable boss found in the End dimension of Minecraft.
With its jet-black scales, piercing purple eyes, large bat-like wings, and vicious temperament, this mythical beast strikes fear into the hearts of many players.
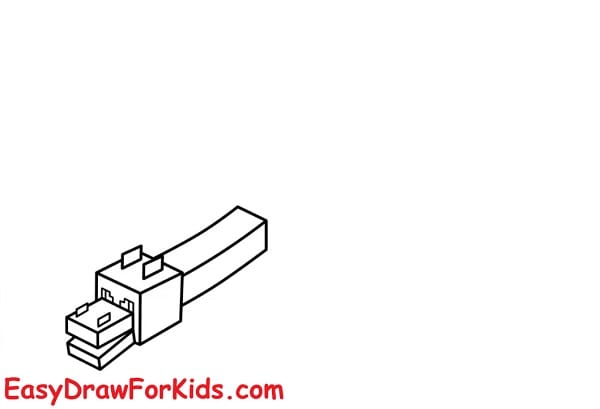
Step 1: Start by sketching the basic shapes of the head
Next, focus on the mouth and jaws. The Ender Dragon has a fearsome, elongated jaw lined with sharp teeth.
Pay close attention to the reference images to accurately capture the shape and texture of the mouth.

Step 2: Draw a horizontal cylinder from behind the head for the dragon’s neck
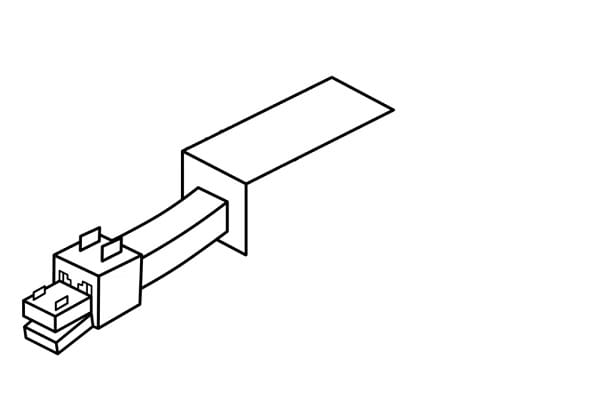
Step 3: Draw a larger horizontal cylinder from the neck to the dragon’s body
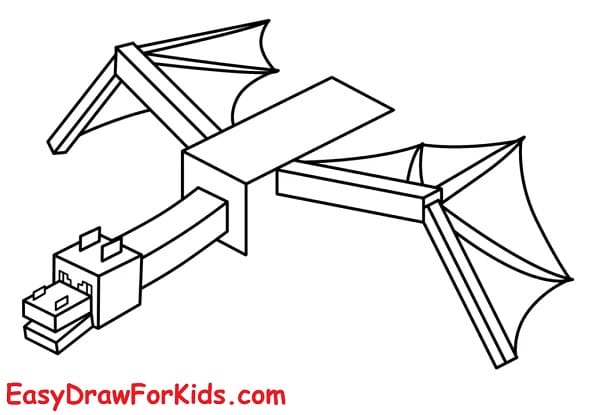
Step 4: The Ender Dragon’s wings are a prominent feature. Begin by sketching the basic shape and structure of the wings, ensuring they are proportional to the body.
Once the overall shape is established, draw the intricate membranes that make up the wings. These membranes can be depicted using a series of curved lines.
Don’t forget to include the wing spikes, which add to the Ender Dragon’s intimidating appearance.
Step 5: The Ender Dragon has four powerful legs that support its massive frame.
Draw the basic shapes of the legs, and then refine the details, such as the claws and scales.
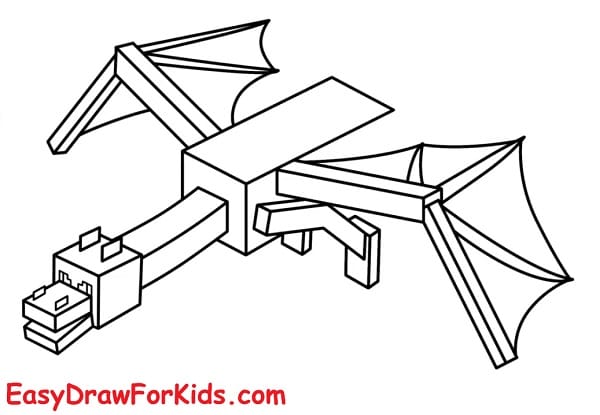
Step 6: Continue drawing the dragon’s hind legs.
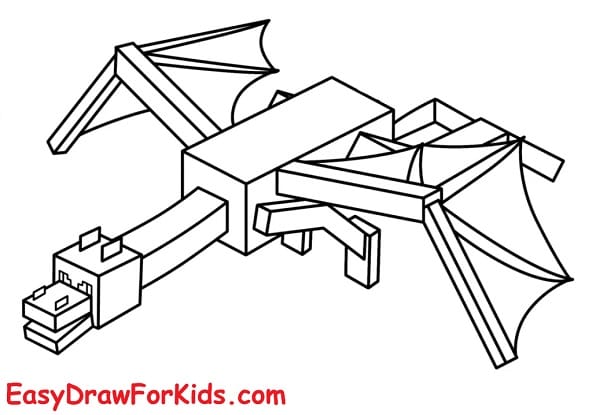
Step 7: The Ender Dragon’s tail is long and spiked, adding to its intimidating presence.
Start by sketching the basic shape and curve of the tail, ensuring it is proportional to the rest of the body.
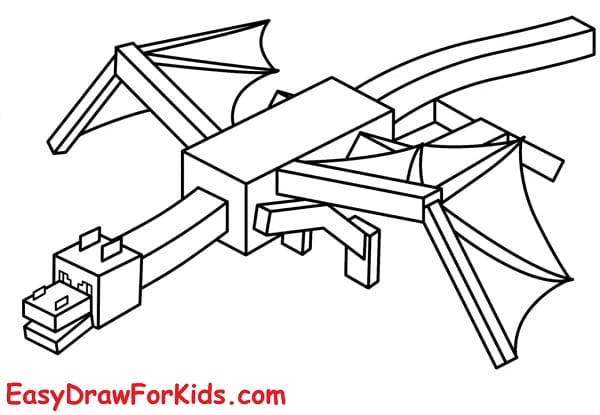
Step 8: Once the basic shape is established, draw the individual spikes that run along the length of the tail.
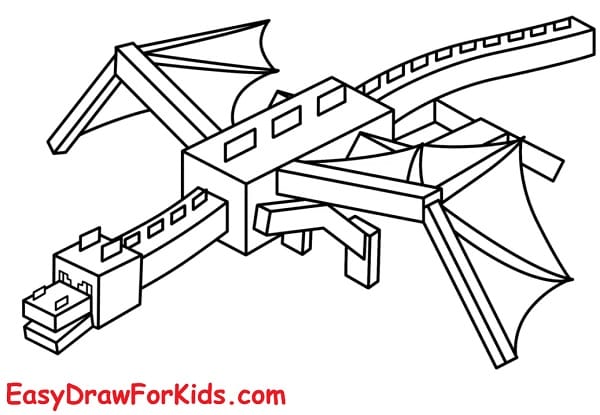
Step 9: Coloring
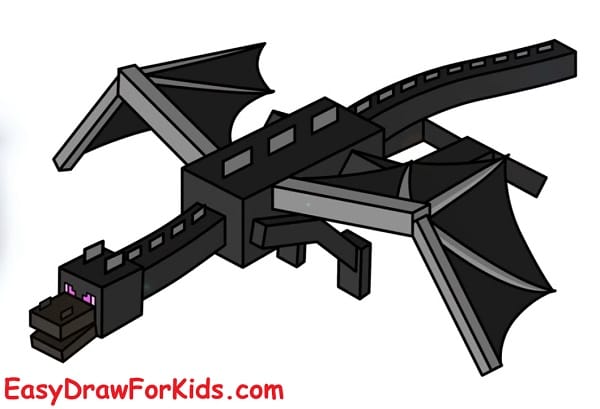
And there you have it – a complete dragon drawing from start to finish!
Easydrawforkids.com hope working through this tutorial on how to draw a dragon gave you insight for how to approach this mythic creature’s unique anatomical challenges.
You can now apply these fundamental steps to inventing all kinds of dragons just from your imagination.


