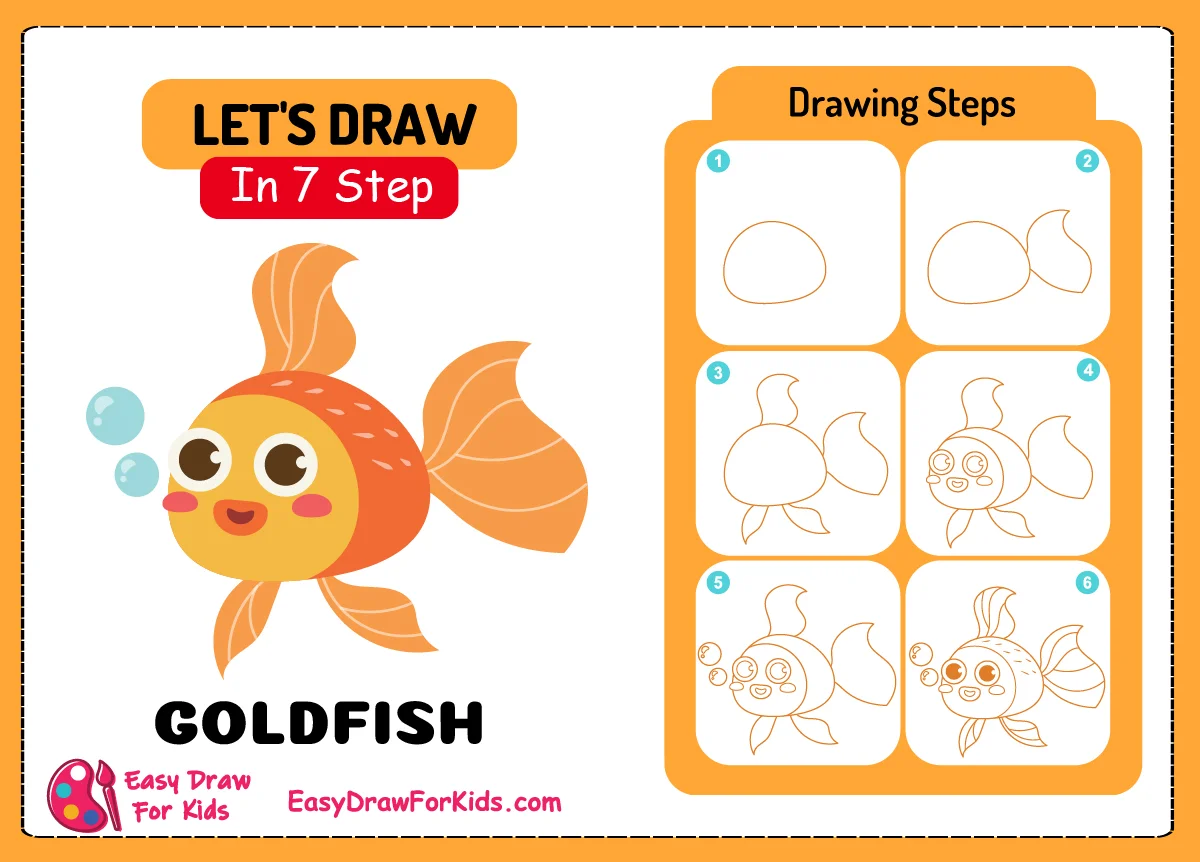
Goldfish are a popular aquarium fish with a variety of shapes, sizes, and colors.
In this tutorial, easydrawforkids.com will guide you learning how to draw a goldfish with 7 steps.
How to Draw a Goldfish – A Step by Step Guide
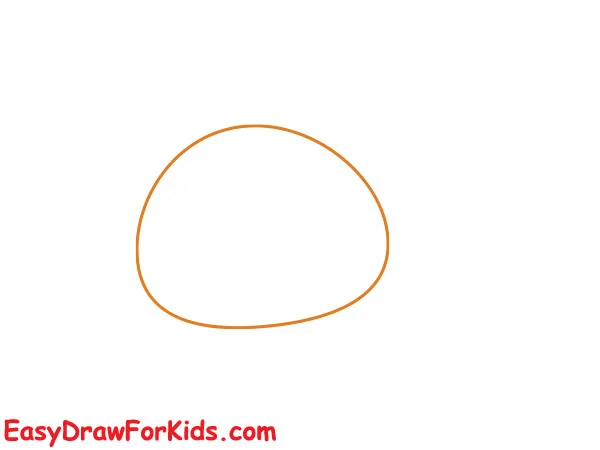
Step 1: Draw the Main Body Oval
Draw a large oval shape near the center of your paper to create a rounded, chubby body.
Position the oval slightly angled, not perfectly vertical or horizontal.
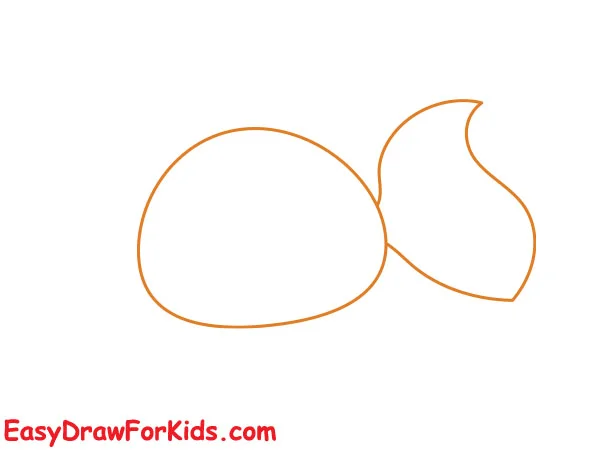
Step 2: Next, draw the tail of the goldfish
Goldfish have long, delicate fins that wave gently as they swim.
Sketch a broad, fluid shape that tapers at the end of the body for the tail fin
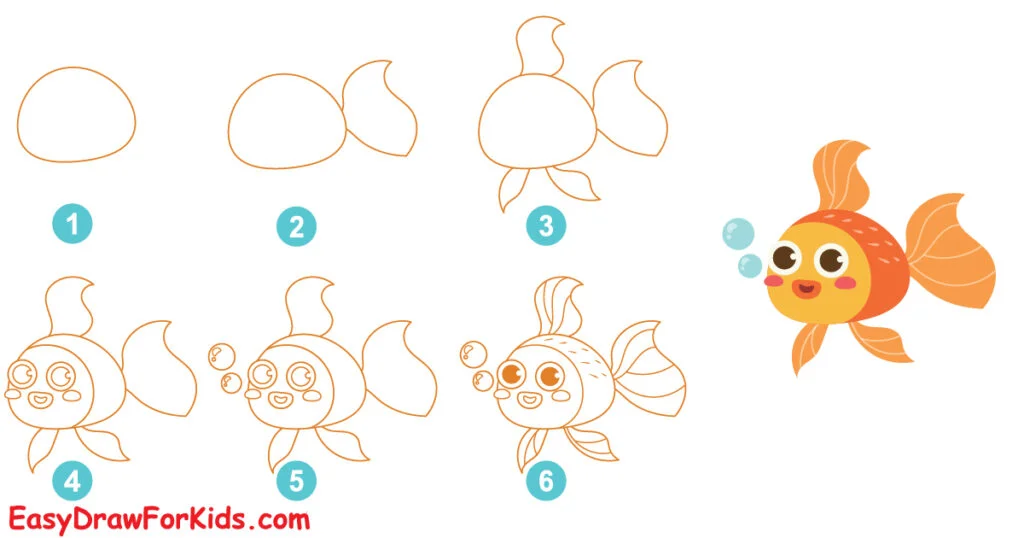
Step 3: Now, start drawing the fins of the fish
Sketch a small triangle about the same width as the body for the dorsal fin.
Draw two slender triangles or teardrops side by side at below of the body for the pelvic fins.

Step 4: Add the Eyes and Mouth
Draw two circles for the eyes, draw a smaller circle inside it for highlights. Add a black oval pupil on the left side.
Draw a curved smile line above for the mouth, leaving a white gap for teeth.
On the snout, add two small oval nostrils.

Step 5: Now, draw bubbles to your goldfish drawing as shown the picture

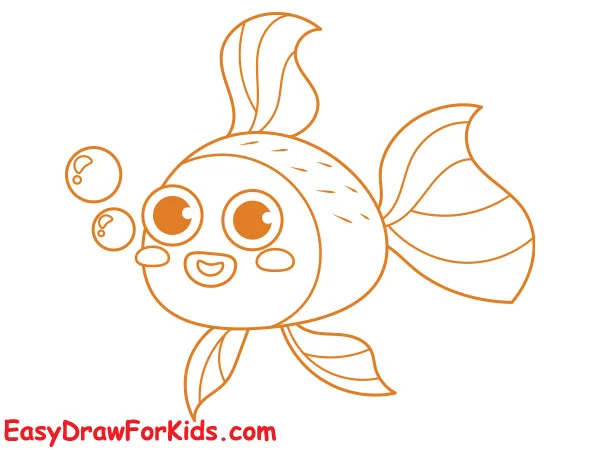
Step 6: Next, finish off the details of your goldfish drawing
Draw small, slightly curved lines across the body and fins to represent scales.
Add fringe shapes along the tail fins and pelvic fins.
Step 7: Add Color to Your Goldfish Drawing
This is the most fun of all the steps in this guide on how to draw a goldfish!
Fill in the body first with an orange or yellow.
Use vivid reds, oranges, and yellows to color fins
Fill in around the goldfish shape with wavy blue.
For variety, add aquatic plants, rocks, gravel.
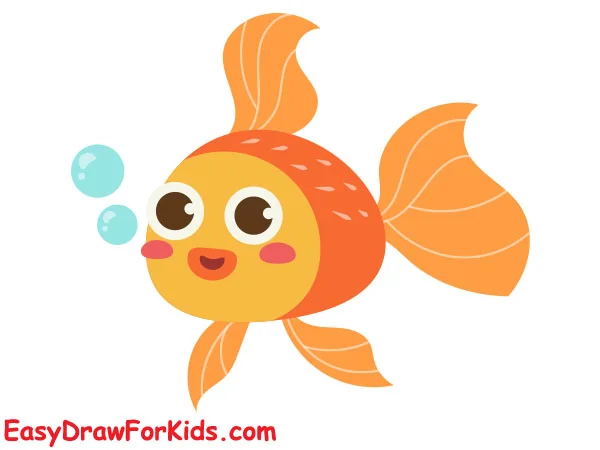
The distinctive oval body, flowing fins, and bright color make goldfish an idea to draw.
Try different poses, colors, and mediums.
