If you want to learn how to draw a grasshopper with ease, you’ve come to the right place.
In this tutorial, easydrawforkids.com will show you drawing a kawaii grasshopper from start to finish.
How To Draw A Grasshopper – A Step By Step Guide
1. Easy Grasshopper Drawing

This guide on how to draw a grasshopper in 9 steps to help you draw a grasshopper with ease!
Step 1: Start by drawing an oval shape for the grasshopper head.
Draw two long, thin lines that curve slightly upward at the top of the head for the antennae.

Step 2: Draw a large oval shape on the grasshopper’s head for the eye. Inside the eye, add a smaller circle for the pupil.
Draw a curve line for the neck, as shown in the picture.

Step 3: Extend a long, curved lines from the thorax for the wings.

Step 4: The fourth step of this guide on how to draw a grasshopper, draw a curved line on the bottom of the wing for the belly.

Step 5: Draw a thick and rounded curved lines extend outward for the first segment of the leg.

Step 6: Repeat the process for the other legs, as shown in the picture.

Step 7: Add more curved lines for the subsequent leg segments, make them thinner as you move away from the body.
Repeat the process for the other legs.

Step 8: At the end of the leg, draw a round, knobbly shape to represent the foot.

Step 9: Grasshopper often have shades of green or brown, but you can use any colours you like.

2. Kawaii Grasshopper Drawing
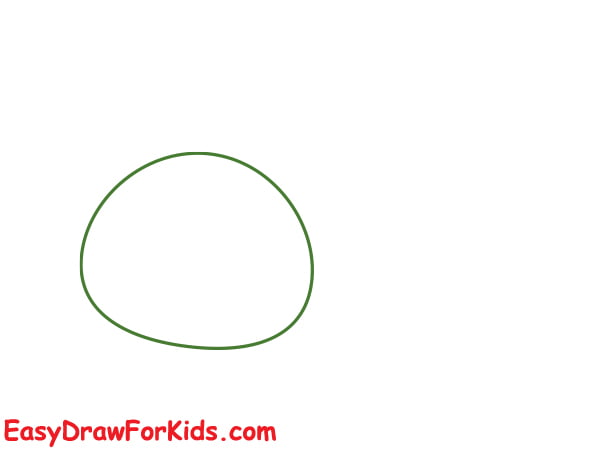
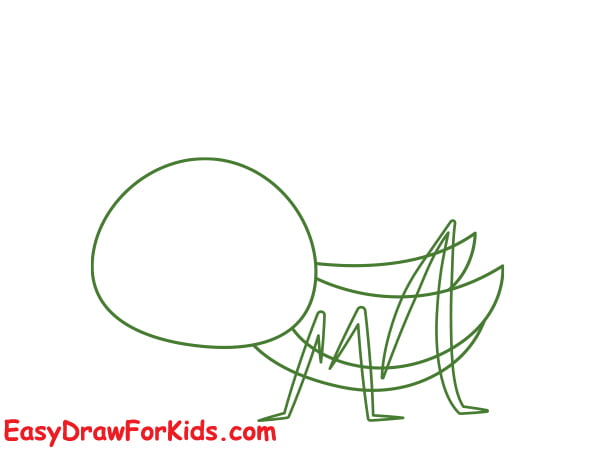
Step 1: Draw an oval shape for the head. The head should be large compared to the body.
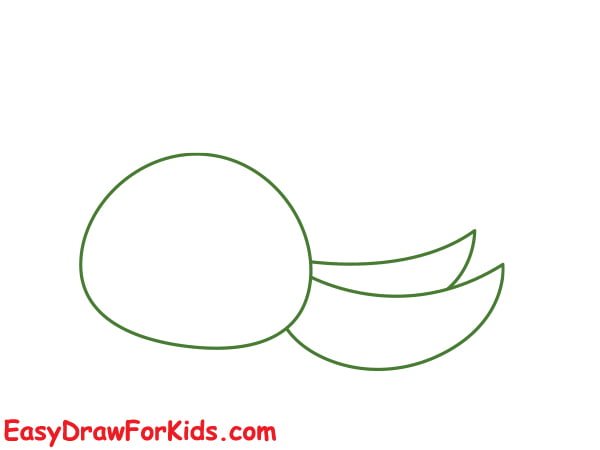
Step 2: Extend two elongated, triangular shapes extending from the back of the thorax for the wings.
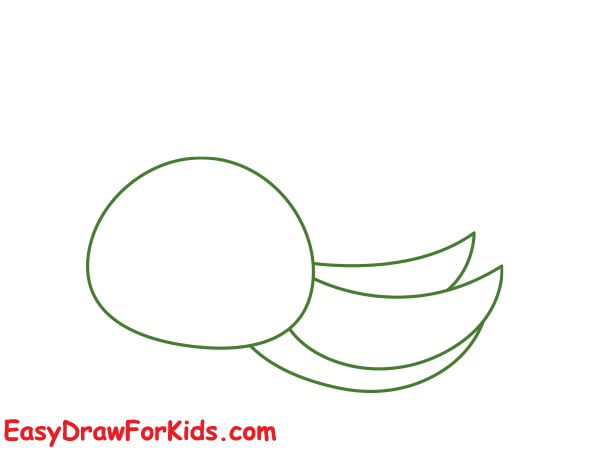
Step 3: Sketch an elongated oval shape beneath the wings for the body.
Step 4: Extend two thick, curved lines from the bottom of the thorax and abdomen to create the base of the hind legs.
Divide each leg into several segments using short, horizontal lines.
Repeat this process for the middle and front legs, but make them smaller.
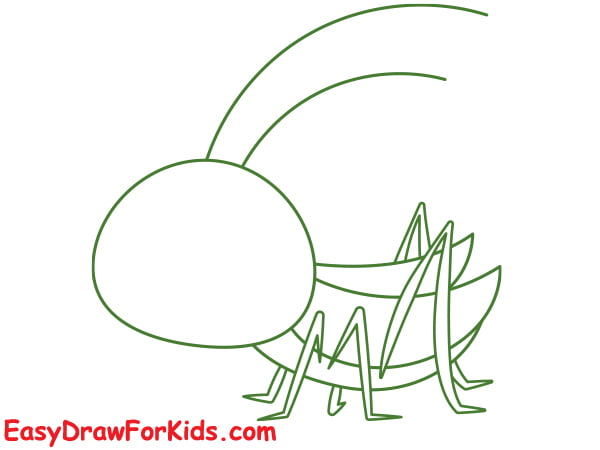
Step 5: Draw two thin, elongated shapes at the top of the head for antennae.
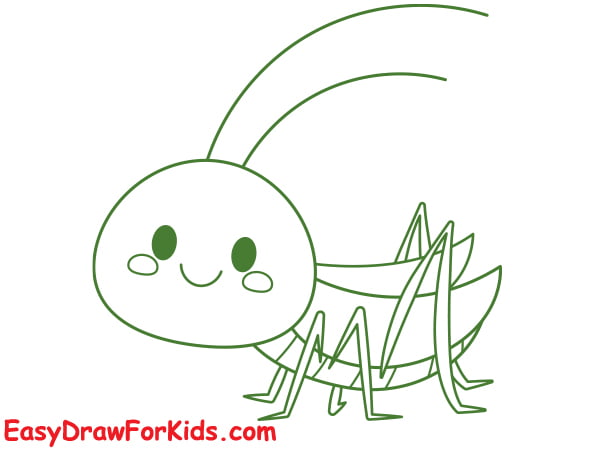
Step 6: Draw two large circle for the eyes, draw a small curve line for the grasshopper’s smile.
Sketch two small circles on either side of the face to represent rosy cheeks.
Step 7: You can choose green, brown, and yellow, as these colours are commonly found in real grasshoppers.
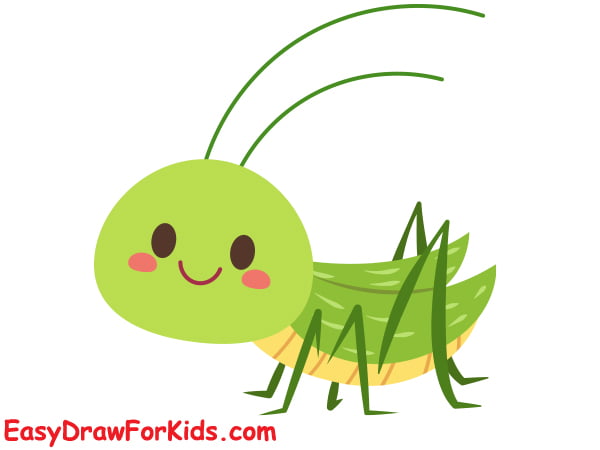
Drawing a grasshopper is a fun experience that allows you creativity and explore the world of cute art.


