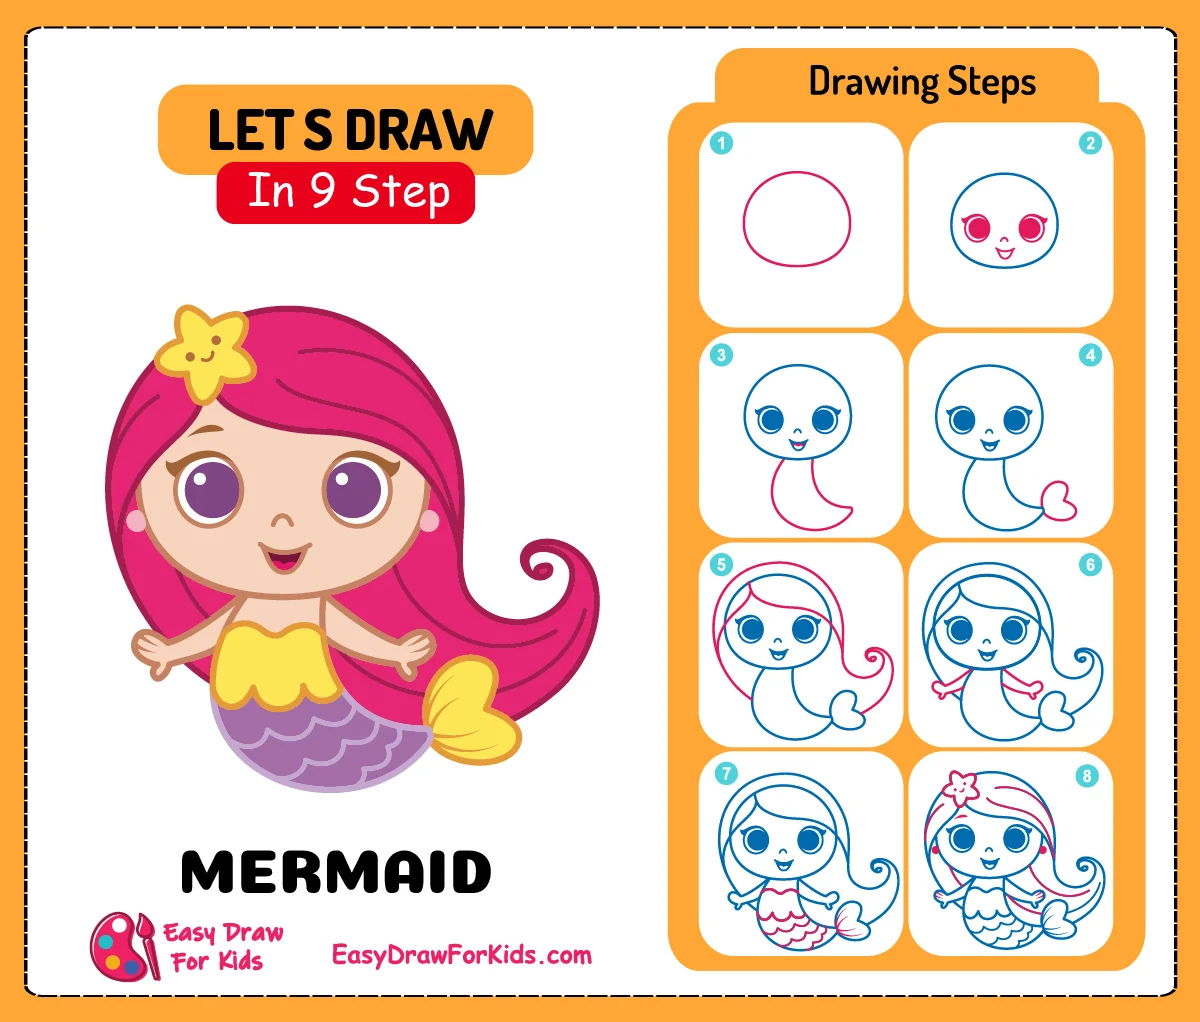
In this tutorial, easydrawforkids.com will guide you learning how to draw a mermaid with 4 ways for you choose.
Just following this guide, you’ll have the skills to draw a cute mermaid.
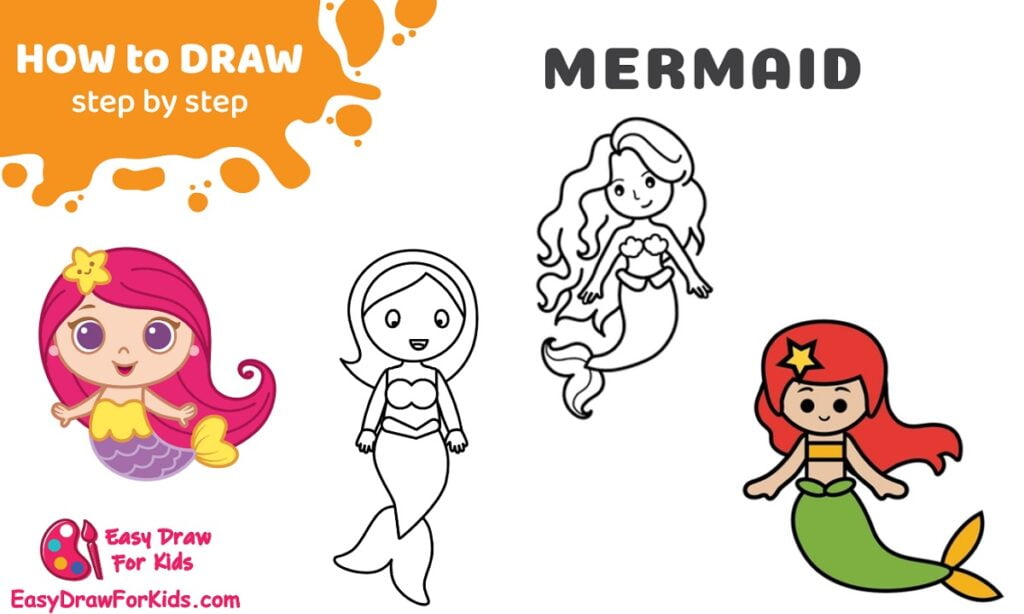
How to Draw a Mermaid – A Step by Step Guide
1. Mermaid Ariel Drawing
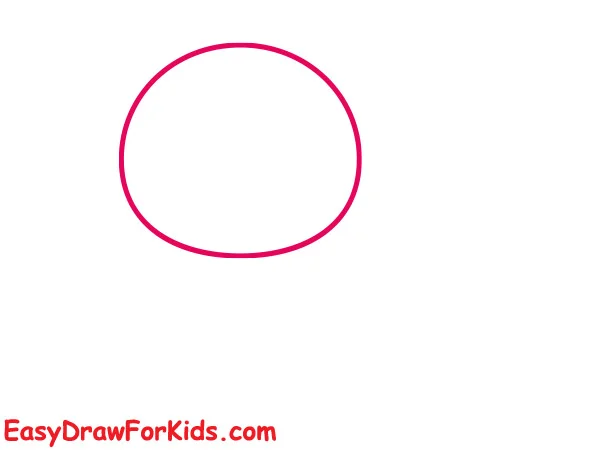
Step 1: Start by lightly sketching a large oval shape for the head
Step 2: In this step of guiding how to draw a mermaid, focus on the facial detail.
Draw oval shapes for the eyes, small noses, and delicate lips.
Enhance the face by adding eyebrows, eyelashes.

Step 3: Draw a curve line below the head for the body, make the waist tapering inward.
Draw the tail fins extending from the hips down.

Step 4: From the back of the body, draw an oval shape like a heart for the tail as shown the picture.

Step 5: Use light, wispy lines to draw the hair, give the hair depth and texture.

Step 6: Draw in the arm shapes as two ovals on either side of the shoulders. The bent arm should taper to the wrist.

Step 7: Next, draw in the mermaid scales on her tail
Draw delicate fins sprouting from the forearms, add ribbon-like fins flowing back from the hips as well.
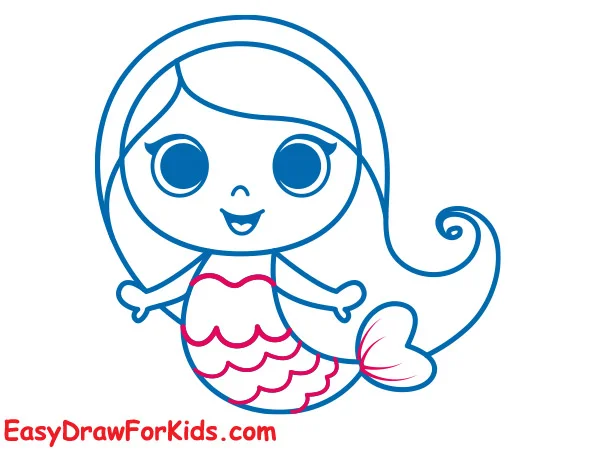
Step 8: Draw necklaces, armbands, crowns, and hair ornaments decorated with shells, stars, jewels.
Place a few delicate shells, starfish, or sea flowers in the hair or hands.
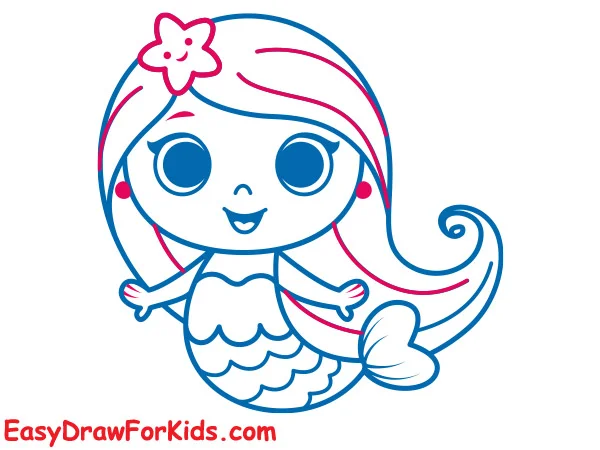
Step 9: Choose a colorful tail hue like green, blue, purple, or bright pink. Vary shades from light at the waist to darker at the fluke.
Choose human skin tones for the upper body and face. Redhead mermaids are classic!
Lightly color the water with blues and greens. Add light rays shining down.

2. Little Mermaid Drawing
Step 1: Draw a circle for the head and a vertical lines to create a guideline for the eyes and nose.
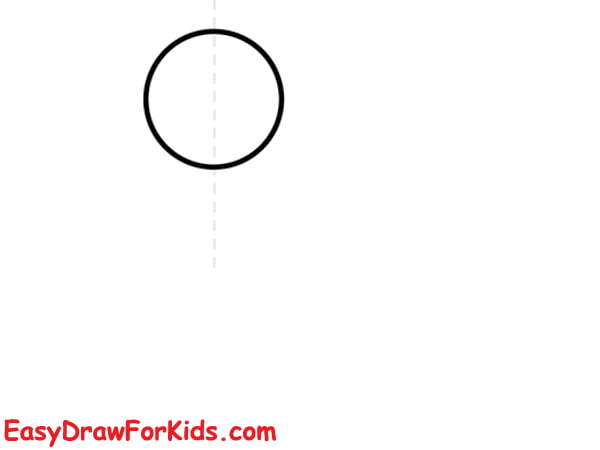
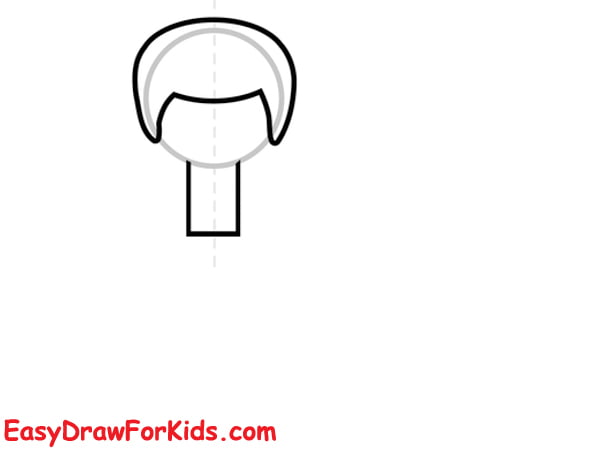
Step 2: Draw a curved line on the top of the head for the hair, draw a retangular below the head for the body.
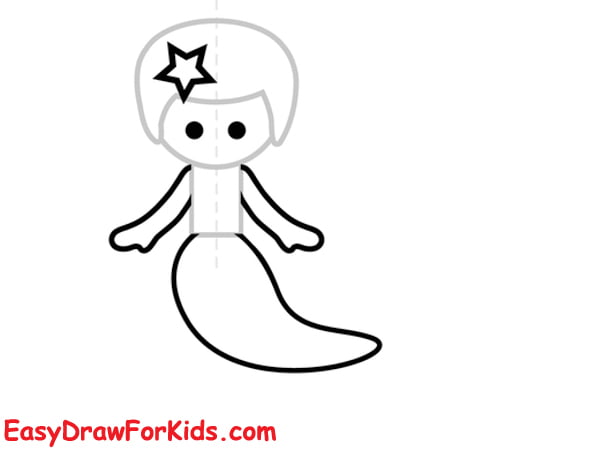
Step 3: Draw two small dot for the eyes and a star into the hair.
Extend two curved lines beside the body for the arms.
Draw a curved line near the hips, curving inward for the tail.
Step 4: Add some details to the hair and body
Draw two oval shapes from the tail for the fins.

Step 5: Erase the excess lines
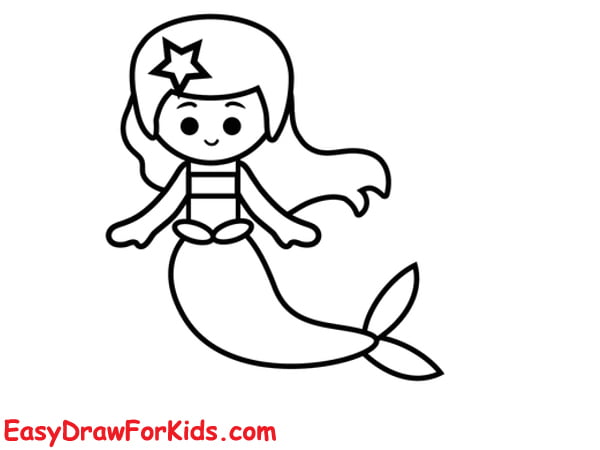
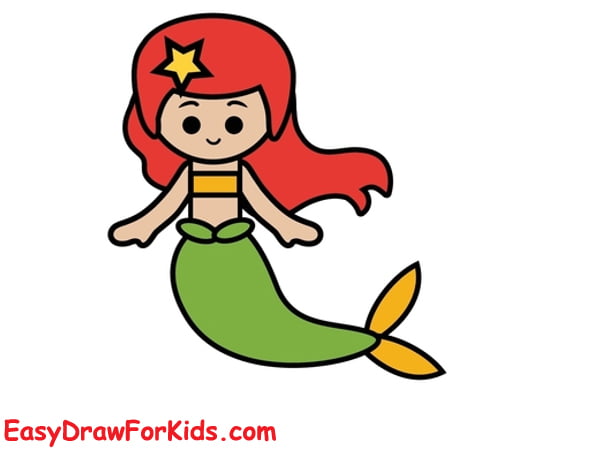
Step 6: Take your time to color your mermaid drawing!
3. Easy Mermaid Drawing
Step 1: Start by draw a circle for the head and two circle for the eyes, an oval shape below the eyes for the smiling mouth.

Step 2: Draw a smooth curved lines for the hair as you can see in the reference image.

Step 3: Draw a curved vertical line below the head for the neck.
Draw an oval chest shape and curved vertical line for the waist tapering inward.
Lightly sketch the hips as another oval shape, slightly wider than the chest.

Step 4: Draw the hands and arms as shown the picture

Step 5: Below the body, draw a two smooth lines to create the tail
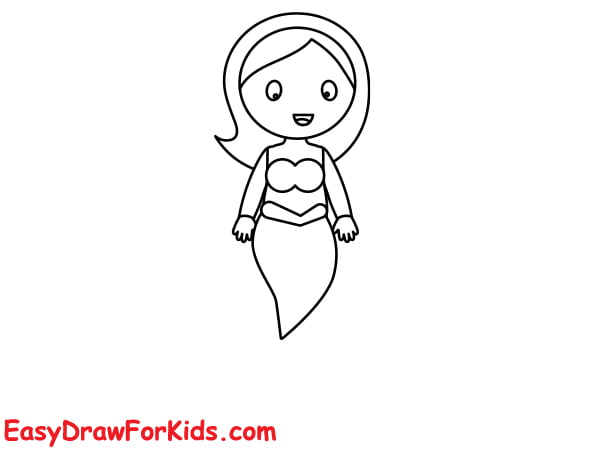
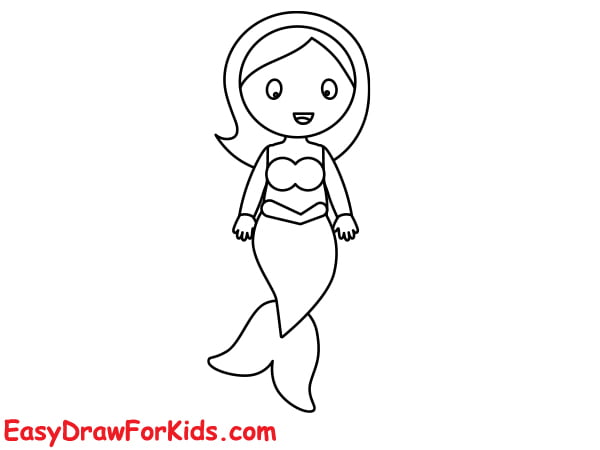
Step 6: Draw the two halves of the tail separate, leaving a narrow gap between them
4. Pretty Mermaid Drawing
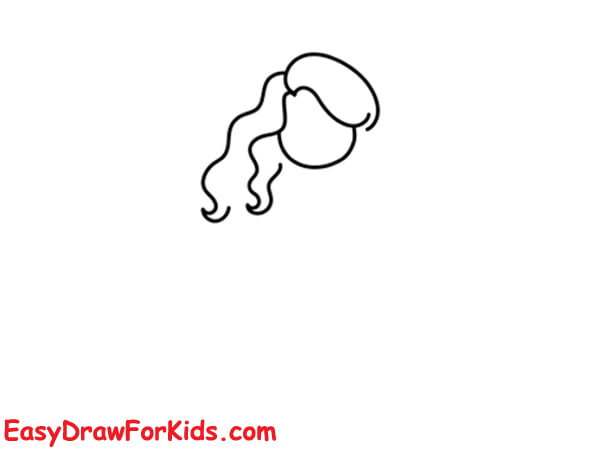
Step 1: Draw a curved line for the face.
Use flowing, wavy lines to draw long strands of wind-blown hair.
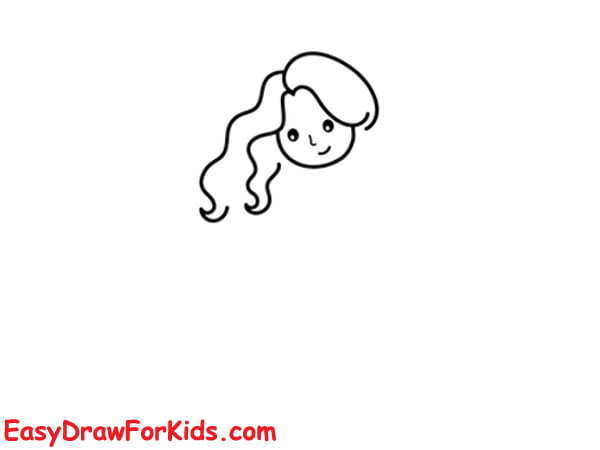
Step 2: Draw two oval shape for the eyes, small nose and delicate lips.
Step 3: Draw two hands below the head as you can see in the reference image.
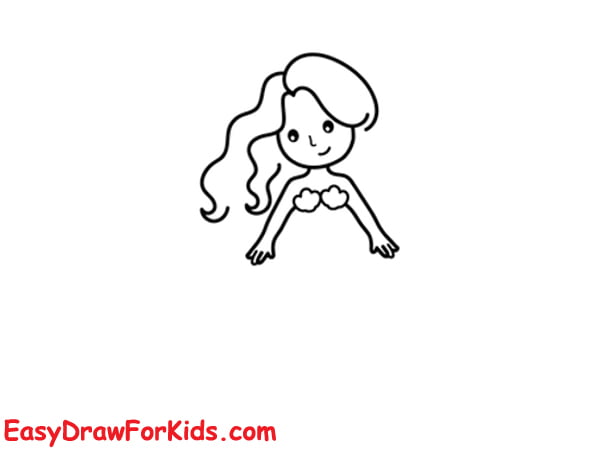
Step 4: Draw the body with with a shell bra
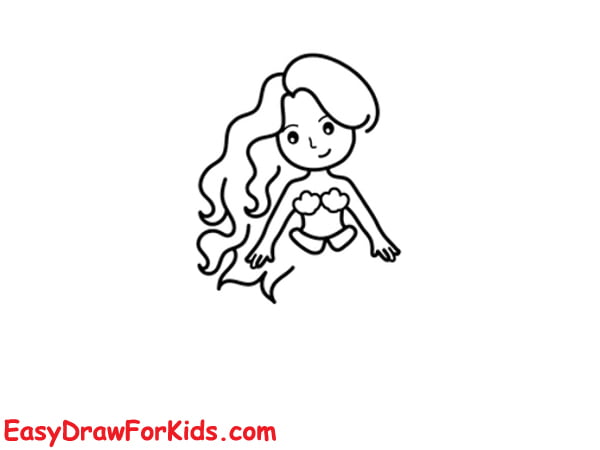
Step 5: Draw the tail below the body as shown the picture
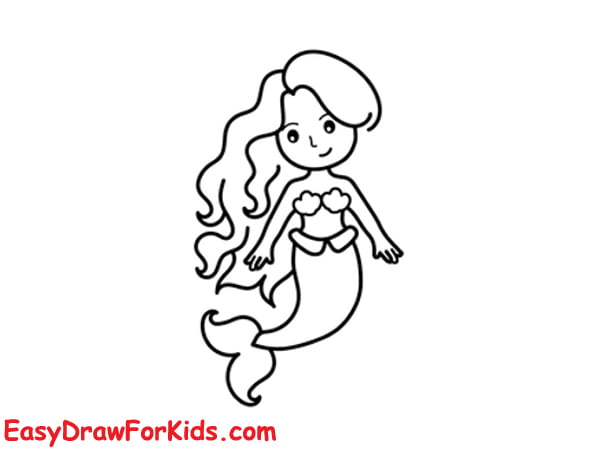
Step 6: Draw the hair over the shoulders and down the back in wavy strands.
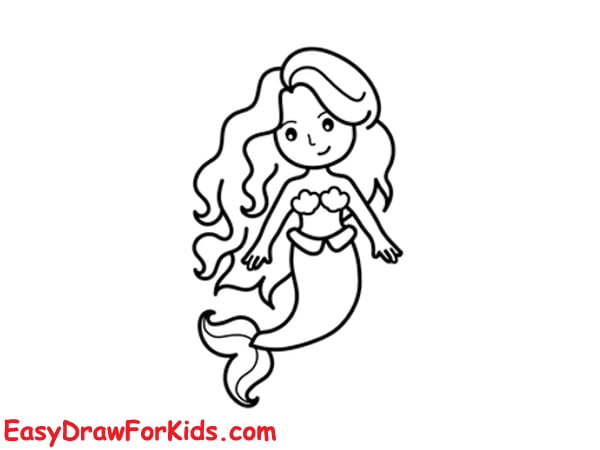
I hope you’ve found this detailed, step by step guide helpful.
Let me know if you have any other mermaid drawing questions.
Be sure to show off your mermaid art creations!
I’d love to see your impressive improvement.
