Are you looking for some ways to draw a mouse?
If so, then you’ve come to the right place!
This tutorial, easydrawforkids.com will show you how to draw a mouse using simple shapes and lines.
How To Draw A Mouse – A Step By Step Guide
Here are five ways to help you draw the perfect mouse.
1. Cartoon Mouse Drawing
Step 1: Start with a simple oval shape to represent the head. Beneath the head, draw a rounded rectangle for the body.
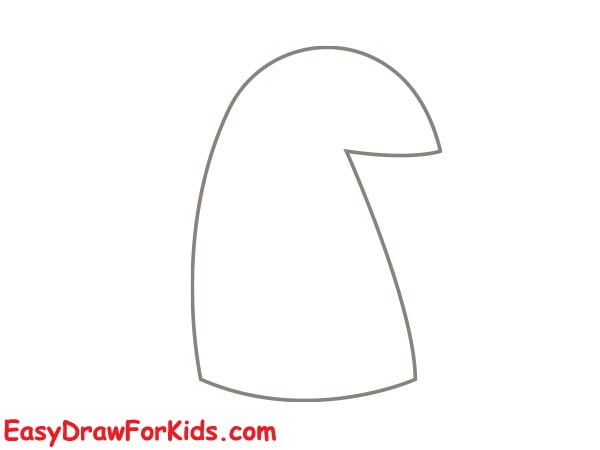
Step 2: Sketch two small round on top of the head to represent the ears, then add a small circle for the nose.

Step 3: Draw four thin, curved lines extending from the body to represent the legs.

Step 4: Extend a long, slender line from the back of the mouse’s body to represent the tail.

Step 5: Position two small circles inside the head for the eyes, add a small curved line beneath the snout to form the mouth.
Draw several thin, curved lines extending from the sides of the snout to represent the whiskers.

Step 6: Coloring cartoon mouse with a light base color for the fur, such as a light brown or gray.

2. Mouse Holding A Heart Drawing
Step 1: Start this guide how to draw a mouse by drawing two small circles as shown tin the picture to create the mouse’s ears.

Step 2: Below the ears, draw a triangle for the snout

Step 3: Below the head, draw an oval shape for the body.

Step 4: Drawing the front legs, hind legs and nose

Step 5: In front of the mouse, draw a heart-shaped that it is holding.
Sketch the mouse’s tail by drawing a long, thin, curved line coming from the back of the body.

Step 6: Add any final details to complete your cute mouse.

Step 7: Color it in using soft, warm tones for the mouse and vibrant red for the heart.

3. Simple Mouse Drawing
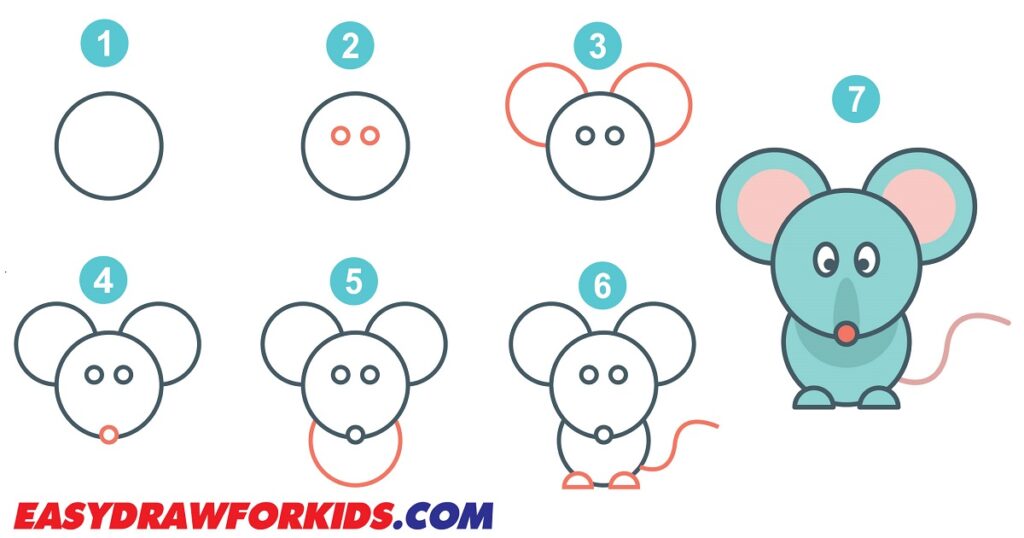
Step 1: Draw the circle for the head

Step 2: Draw two circle for a super simple mouse style.

Step 3: Mouse has very large, rounded ears. Draw two curved lines for the mouse’s ear.

Step 4: Draw small circle at the bottom of the mouse face for the nose

Step 5: The fifth step on guide how to draw a mouse, draw a curved line for the torso of the mouse.

Step 6: At the bottom of the torso, draw two small paws and add a curled, flowing tail
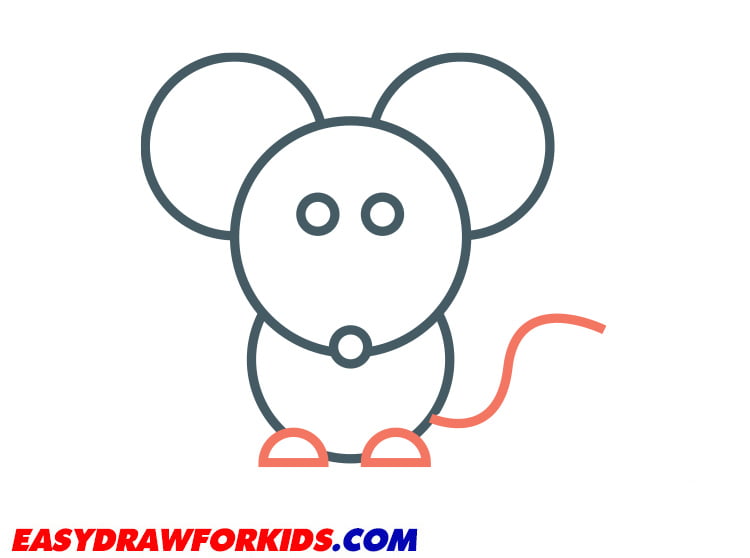
Step 7: Now that you have the basic shape of your mouse drawn, it’s time to color it.

4. Mouse Drawing Easy
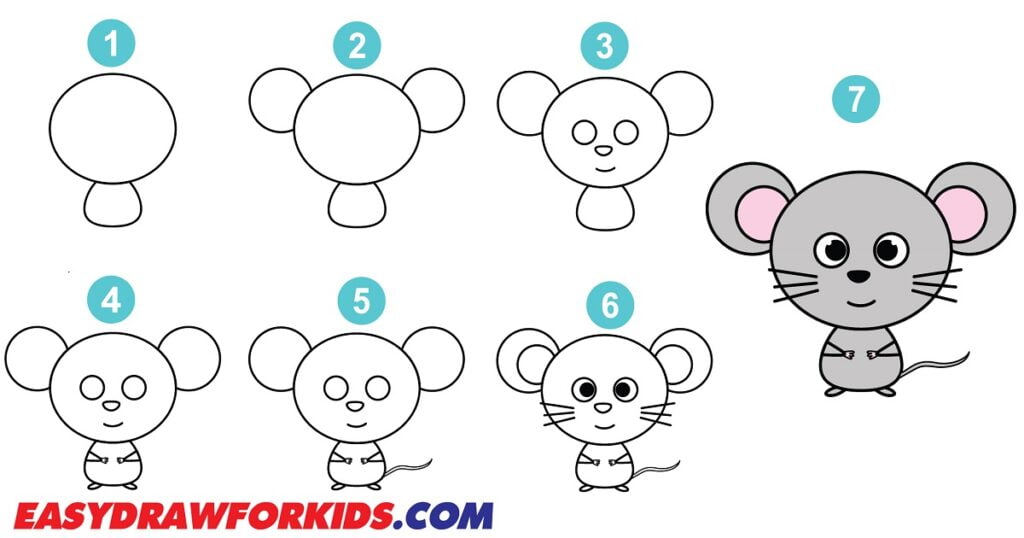
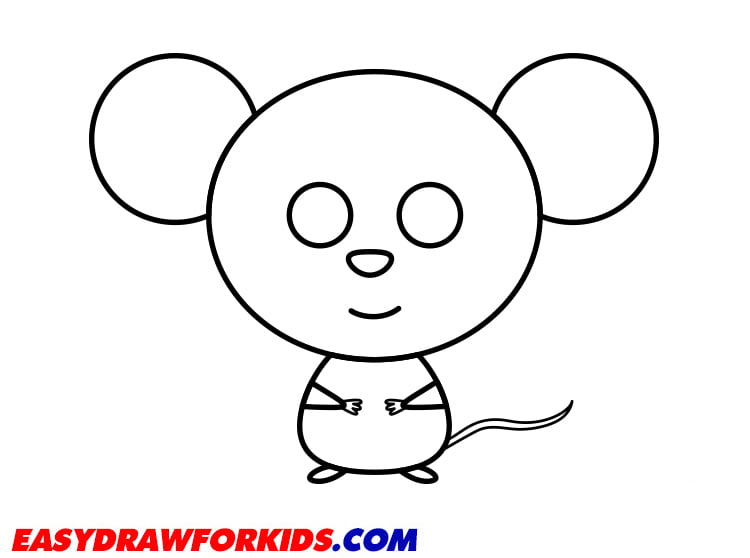
Step 1: Draw a big circle for the head and an oval for the torso
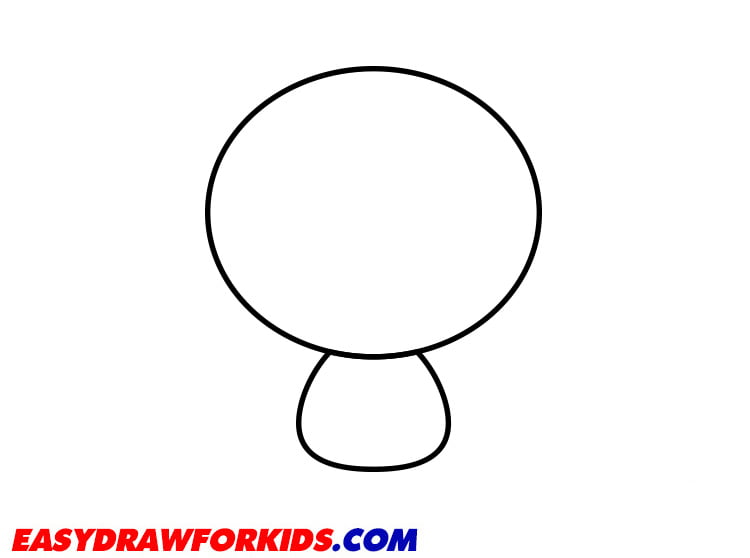
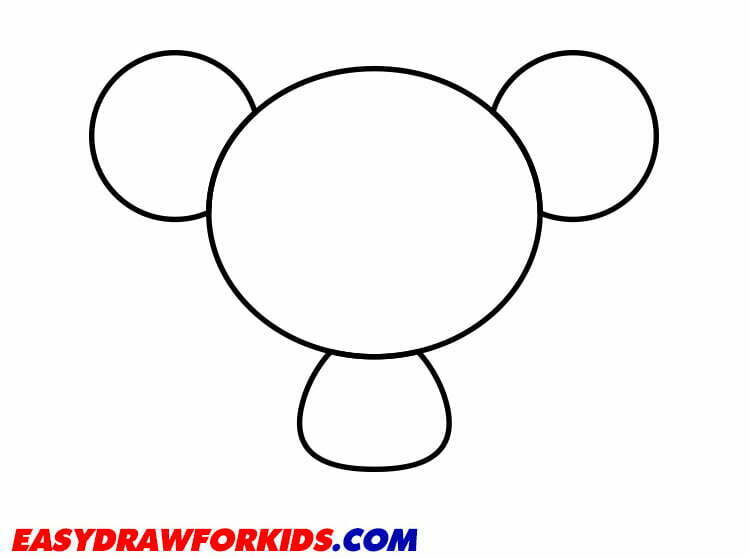
Step 2: With the help of smooth, rounded lines, depict the contours of each ear.
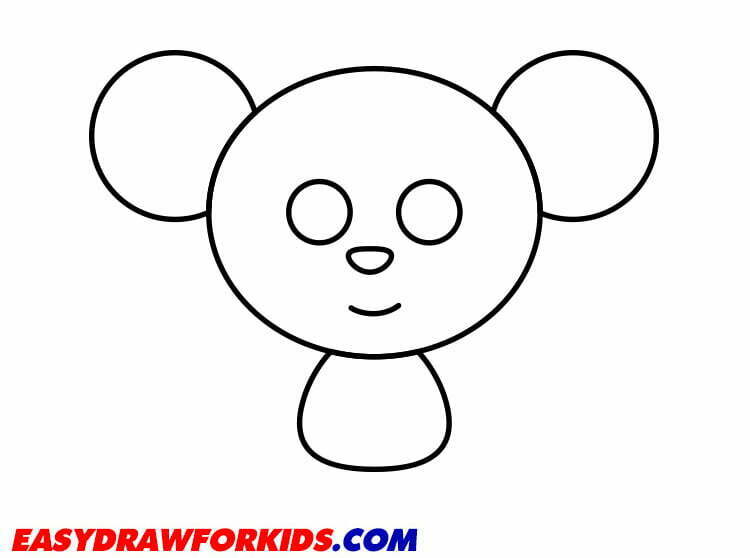
Step 3: Draw the eyes big and round, add a little bit of a smile to the mouse’s face, and a triangle for the nose.
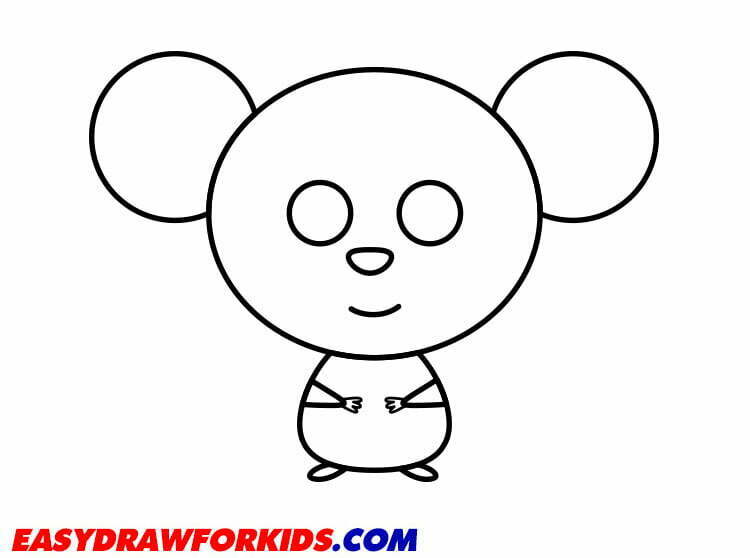
Step 4: Draw two triangle for the arm on the sides of the body and draw two small hands that have thin toes.
Next, at the bottom of the body draw two legs that are located together.
Step 5: Draw the long thin tail on the side of the body using a smooth curved line.
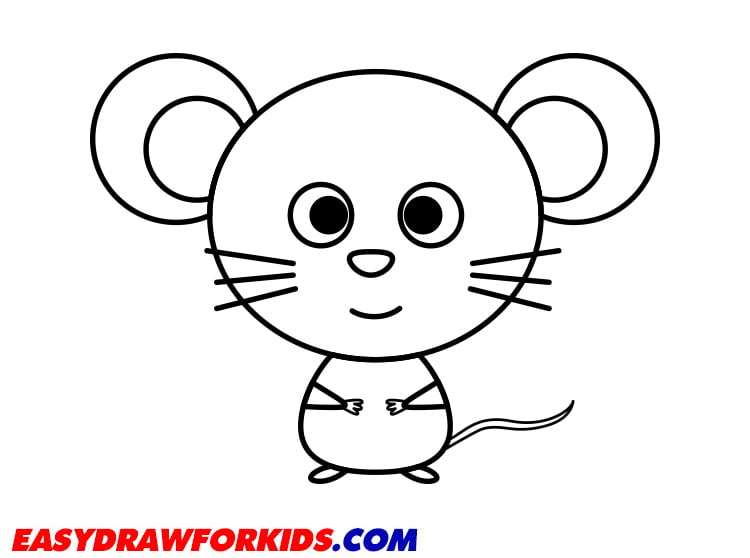
Step 6: Depict three short lines on the sides of the muzzle for the mustache.
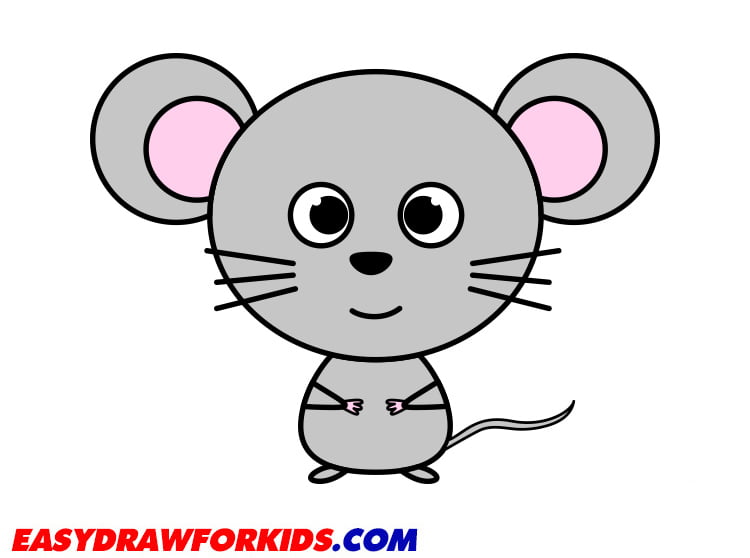
Step 7: Colour in your mouse, and add any other details you want. You could even add a background scene.
5. Realistic Mouse Drawing
Step 1: Sketching four oval shapes overlap each other, as shown in the picture.

Step 2: Draw curved lines connect them to form the basic outline of the mouse
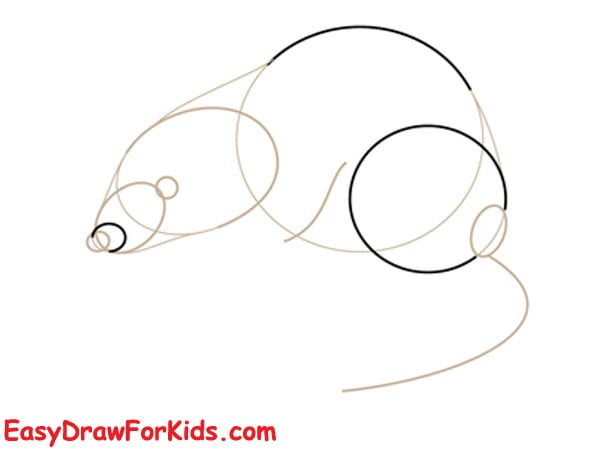
Step 3: Sketch the face and tail of the mouse
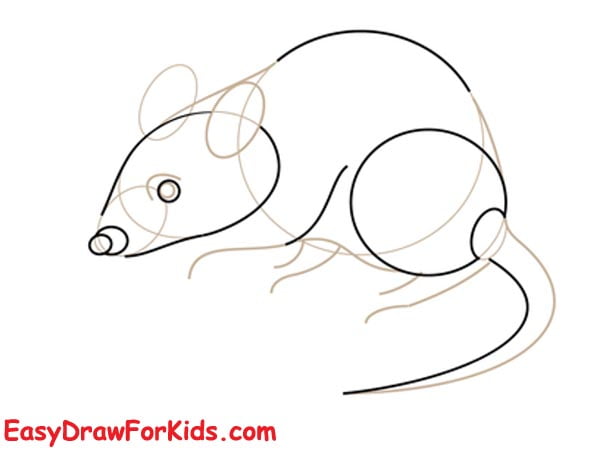
Step 4: Please adding details to the face, ears. Then draw the mouse’s legs by sketching four thin, cylindrical shapes coming down from the body.
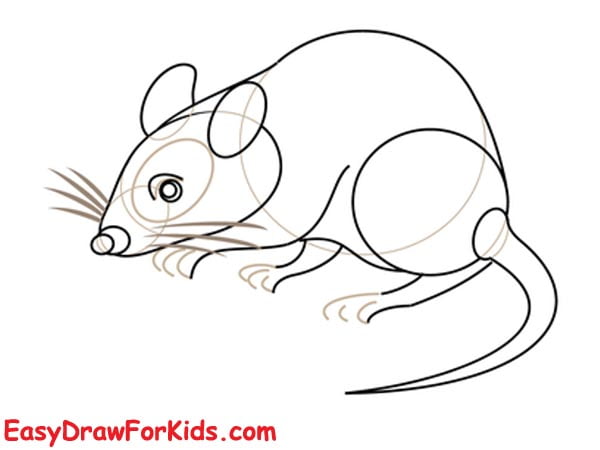
Step 5: Add fur texture by lightly sketching short, overlapping lines all over the mouse’s body and head.
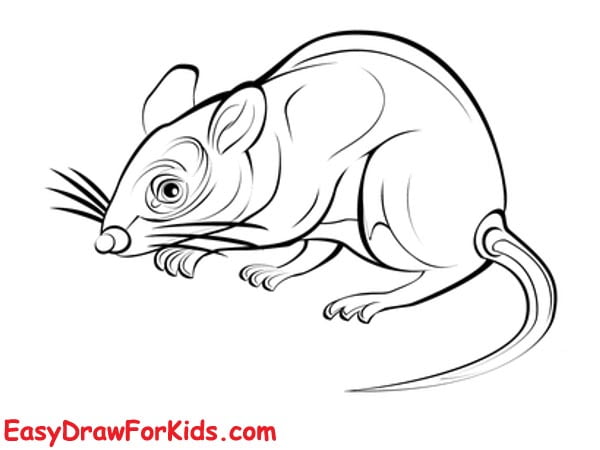
Step 6: You can color it in using gray, brown to create a realistic mouse.
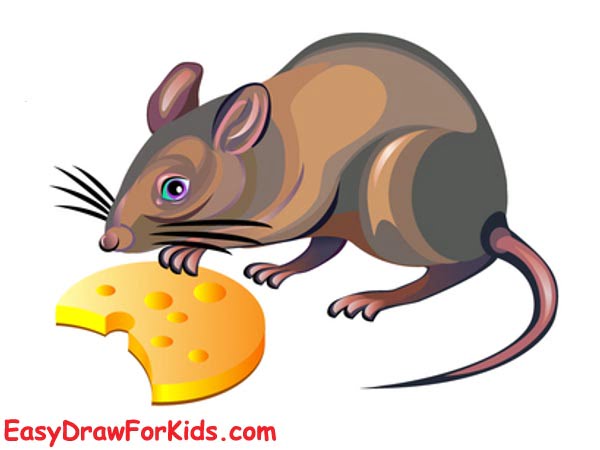
Now that you know how to draw a mouse, why not try drawing a whole family of them?
With these ways, you’ll be drawing mice like a pro in no time!


