Hello!
Today, easydrawforkids.com will help you learn how to draw a Walrus with more options.
By following the simple steps, you can quickly draw a perfect Walrus.
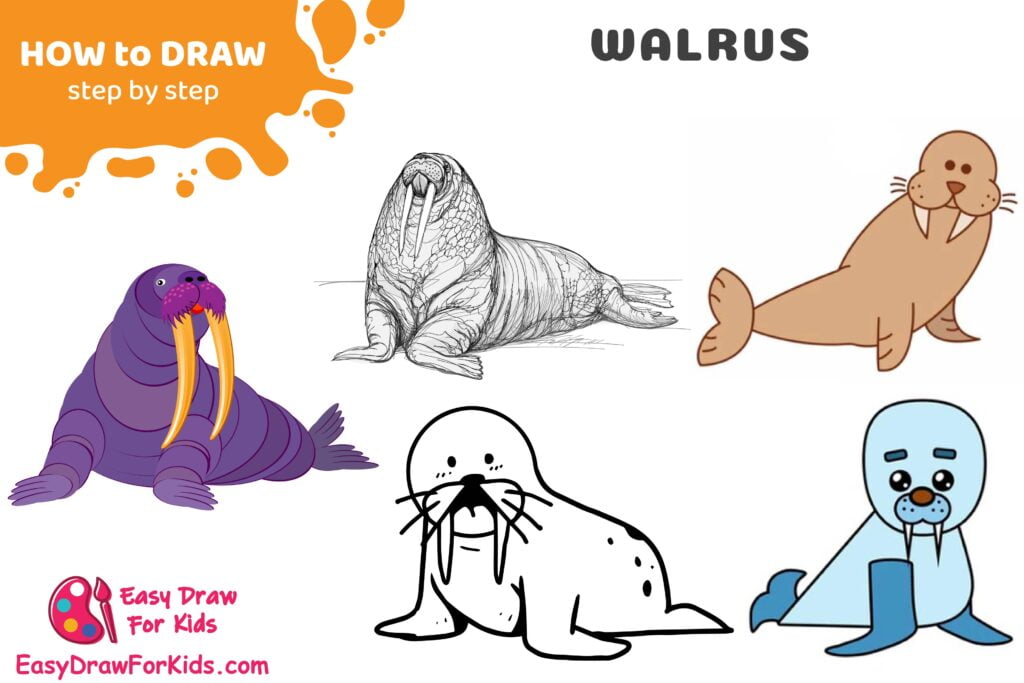
How To Draw A Walrus – A Step By Step Guide
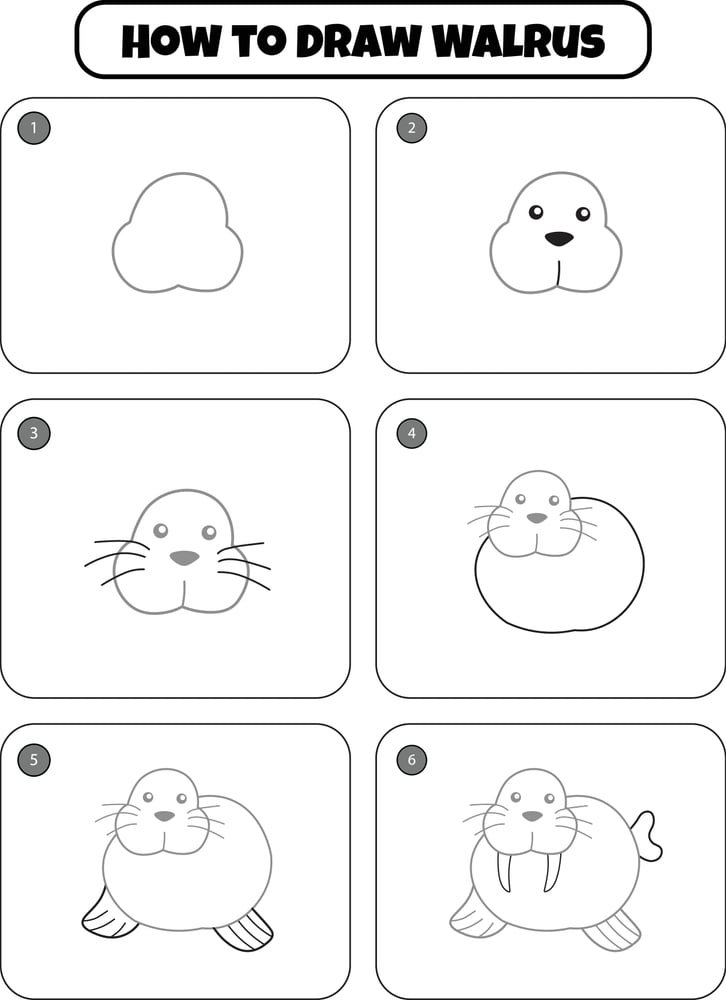
1. Cute Walrus Drawing

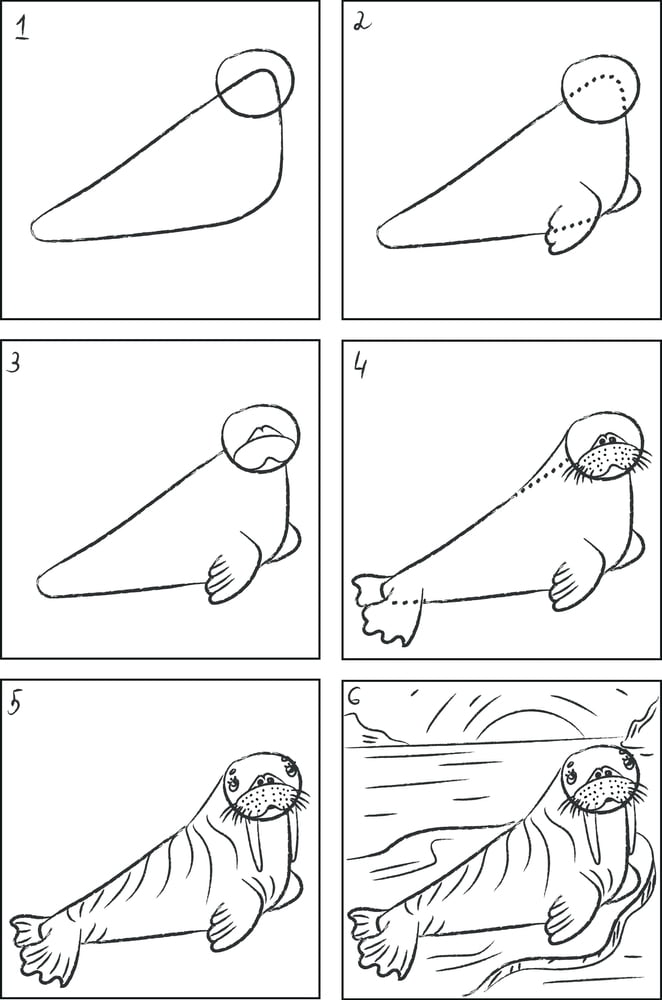
In this article on how to draw a walrus in 6 steps to help you drawing a cute walrus with ease!
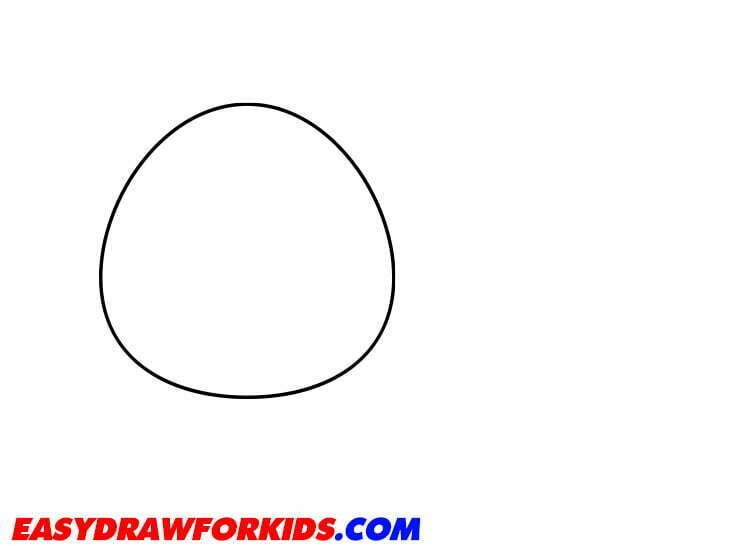
Step 1: Draw a shape look like a circle for the head.
Step 2: Drawing the snout, and two small circles for the eyes.
Next, sketch the mouth by drawing two curved lines beneath the snout.

Step 3: Draw a long oval shape for the body and flipper.

Step 4: Draw the fins with curved lines on the sides of the walrus body.
Draw some dots at the walrus mouth.

Step 5: Draw the whiskers by adding a few short lines on either side of the snout.

Step 6: Use grey, brown, black, and white to color your walrus. The eyes can be blue, brown, or black.

2. Cartoon Walrus Drawing

Step 1: At first, draw a circle for the seal’s head, then add two small circle inside the head for the walrus eyes

Step 2: Draw an oval shape below the eyes for the mouth

Step 3: Draw two triangles for the walrus fangs coming out of the bottom of the nose

Step 4: Draw a curve line for the body as shown in the picture

Step 5: Draw the fins with curved lines on the sides of the body.

Step 6: Draw two curve lines coming out the body to form the tail, add the shape look like the heart for the flipper

Step 7: Use dark and light blue for your picture or by your style

3. Simple Walrus Drawing
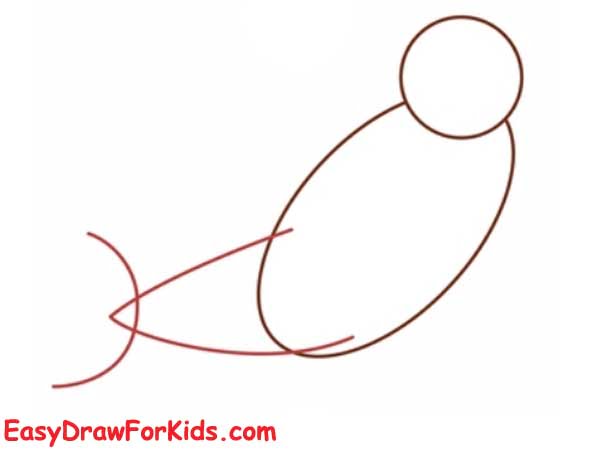
Step 1: Start with two rounded oval shapes that overlap each other.
Make the bottom half wider to give it a stocky, hefty appearance.

Step 2: Add the back flipper and a short, rounded tail at the back of the body.
Step 3: Create the front flippers by drawing curved lines coming out from the upper body.
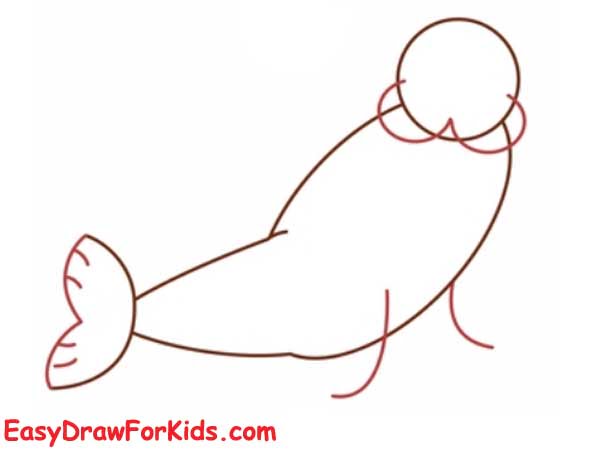
Step 4: In the center of the face, sketch a large, triangular nose shape.
Step 5: Add two simple, oval-shaped eyes near the top of the head.
Draw the walrus’s tusks by adding two curved lines extending down from the upper lip, starting at the edges of the nose.

Step 6: Use brown to color your walrus drawing.

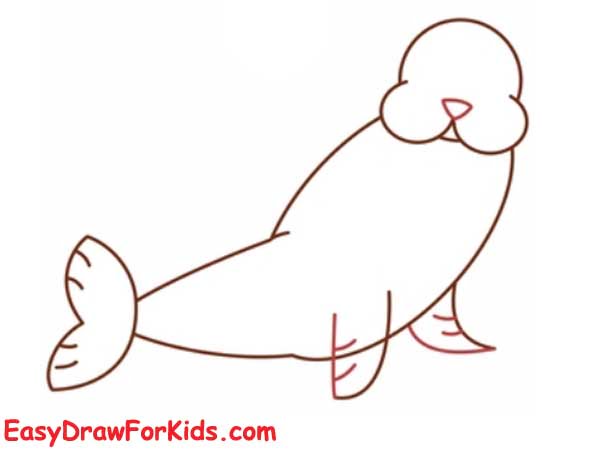
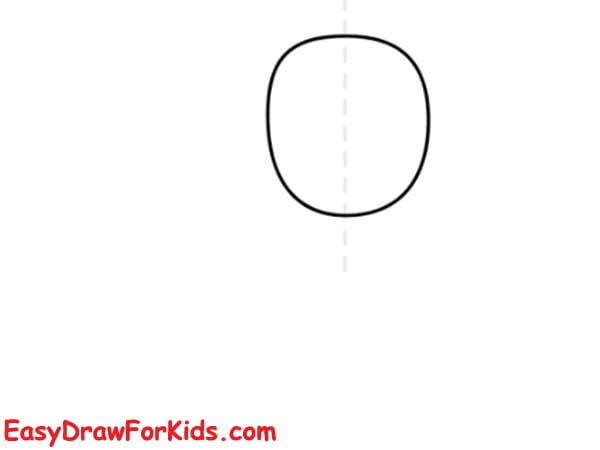
4. Easy Walrus Drawing
Step 1: Draw an oval shape for the head.
Draw guidelines dividing the circle into two parts, as shown in the picture.
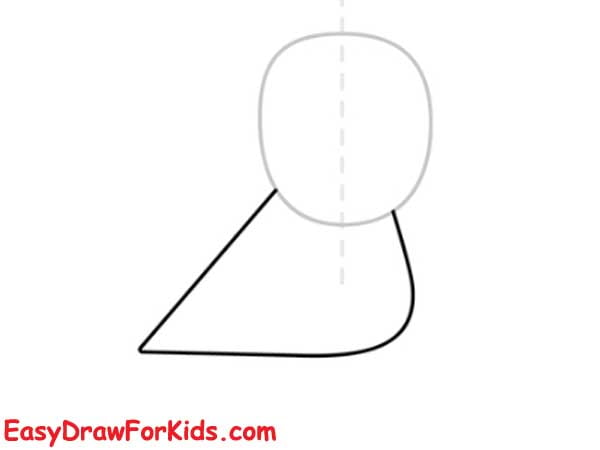
Step 2: Add an oval shape for the walrus’s body.
Step 3: Next, draw a back flippers, eyes and snout for your walrus

Step 4: Sketch a large, triangular nose, tusks down from the upper lip, starting at the edges of the nose. Then, draw the front flippers.

Step 5: Erase any excess lines.

Step 6: Color your walrus drawing by your style.

5. Walrus Drawing By Letter Q
Step 1: Draw a large, rounded “Q” shape for the walrus’s head.

Step 2: Inside the head, draw a nose and whiskers, as shown in the picture.

Step 3: Add more whiskers and snout for your walrus drawing.

Step 4: Draw two dot for the eyes, extend two curved lines downward from the nose to create the walrus’s tusks.

Step 5: For the front flippers, draw two curved lines extending out from the sides of the body.

Step 6: Add the back flippers by sketching two larger curved lines coming out from the lower half of the body.

6. Walrus Drawing Use Circles
Step 1: Draw seven oval shape overlap each other to form the head and body

Step 2: Add more oval shape, as shown in the picture.

Step 3: Extend two curved, semicircular shapes downward from the upper lip to create the tusks.

Step 4: Complete the overall shape with a small, rounded circle for the walrus’s tail at the back.

Step 5: Erase any extra lines.

Step 6: Coloring

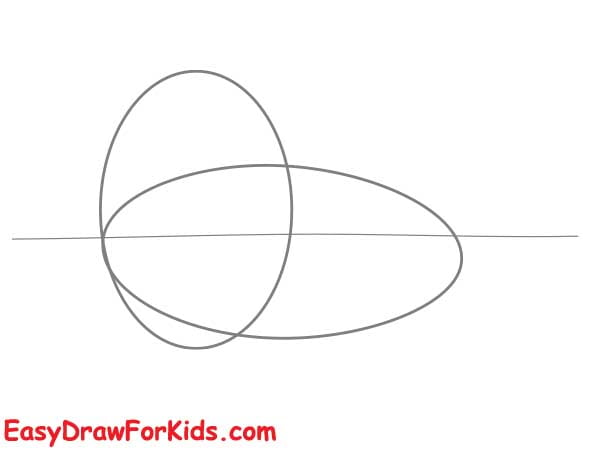
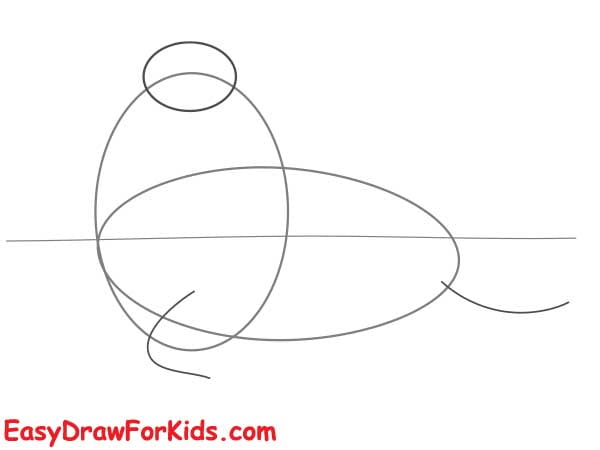
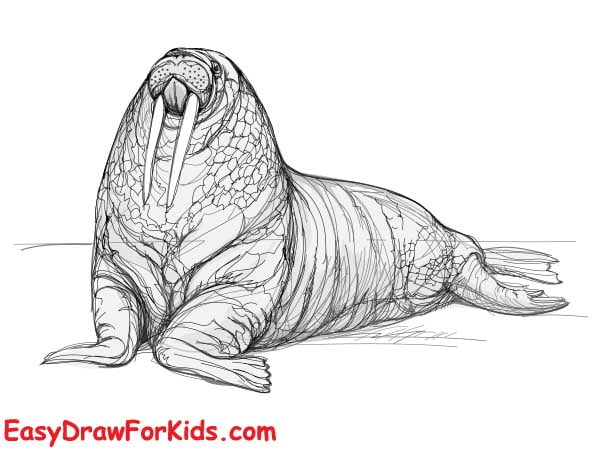
7. Realistic Walrus Drawing
Step 1: Draw two vertical and horizontal ovals overlapping each other, as shown in the picture.
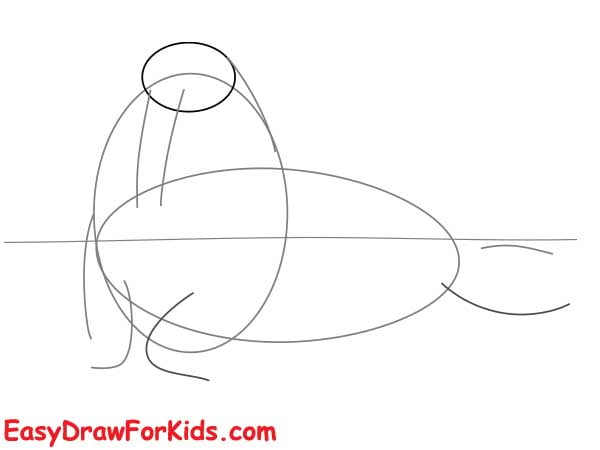
Step 2: Add a smaller, rounded shape on top for the walrus’s head.
Step 3: In this step on guide how to draw a walrus, sketch of walrus fin and tail.
Step 4: For the front flippers, draw curved, paddle-like shapes extending from the sides of the body.
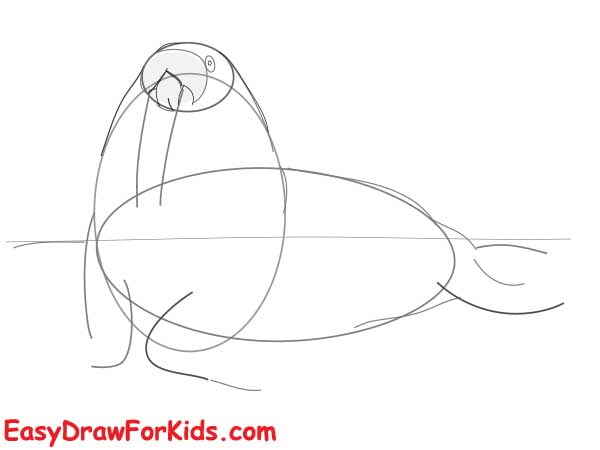
Step 5: Sketch the back flippers using larger, more rounded paddle shapes coming out from the lower body.
Step 6: Sketch the eyes, nose, snout, tusks for your walrus drawing
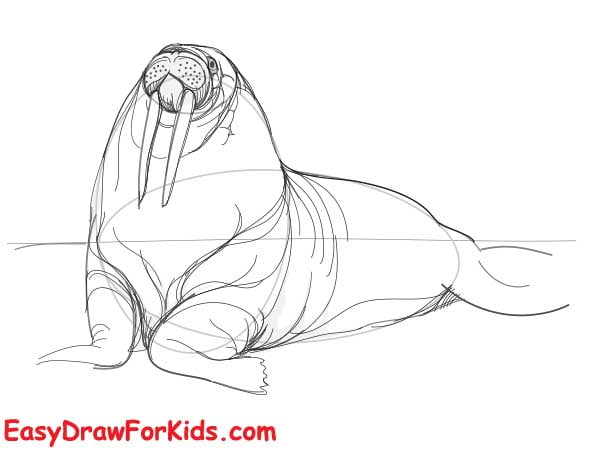
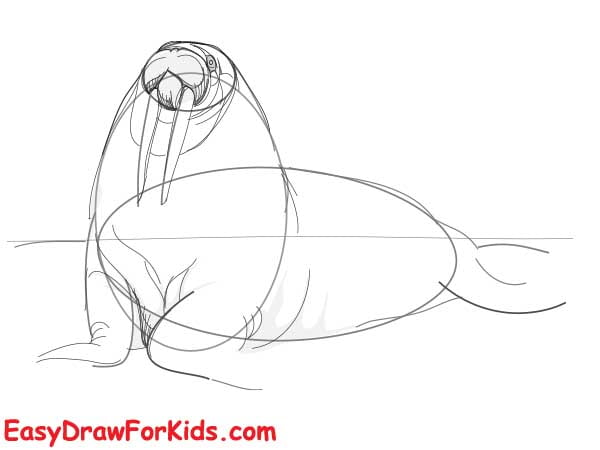
Step 7: Draw the tail as a short, rounded shape at the back of the body. Add some wrinkles and folds to make it look more realistic.
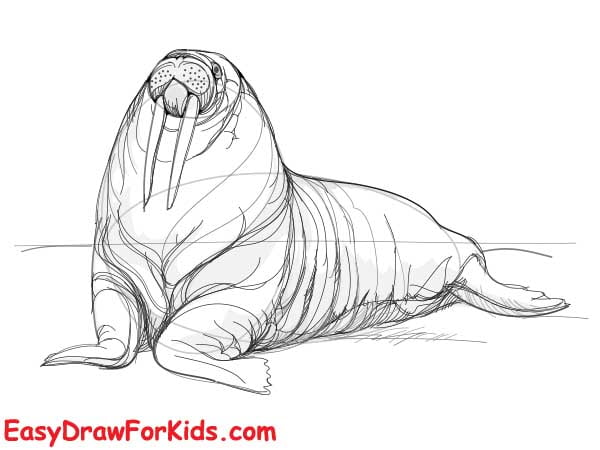
Step 8: Add some skin folds, wrinkles and creases throughout the walrus’s body, especially around the neck, face and flippers.
More Ways to Learn Drawing a Walrus
8. Walrus Drawing Idea 1
9. Walrus Drawing Idea 2
And there you have it – a cute walrus ready for the Arctic!
Don’t forget to sign your artwork. Add details like background, ice, or water to complete your scene.
With a little practice like this guide how to draw a walrus, you’ll be drawing adorable walrus with ease.


