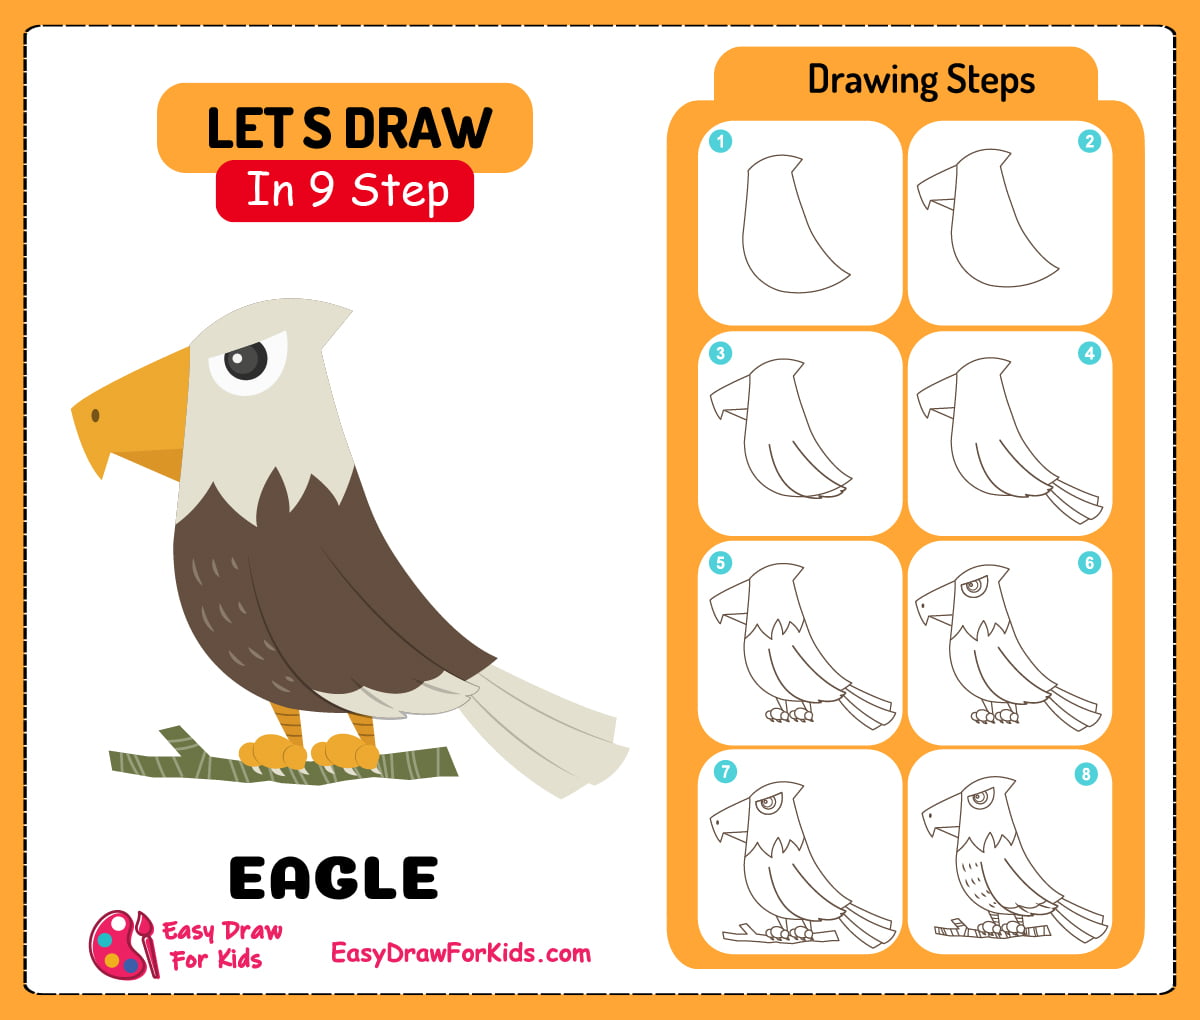
Have you ever wanted to draw an eagle?
In this tutorial, easydrawforkids.com will teach you how to draw an eagle step by step in 4 ways.
By the end of this guide, you’ll have the knowledge and skills to create an impressive eagle drawing that showcases its majestic nature.
How to Draw an Eagle – A Step by Step Guide
1. Cute Eagle Drawing
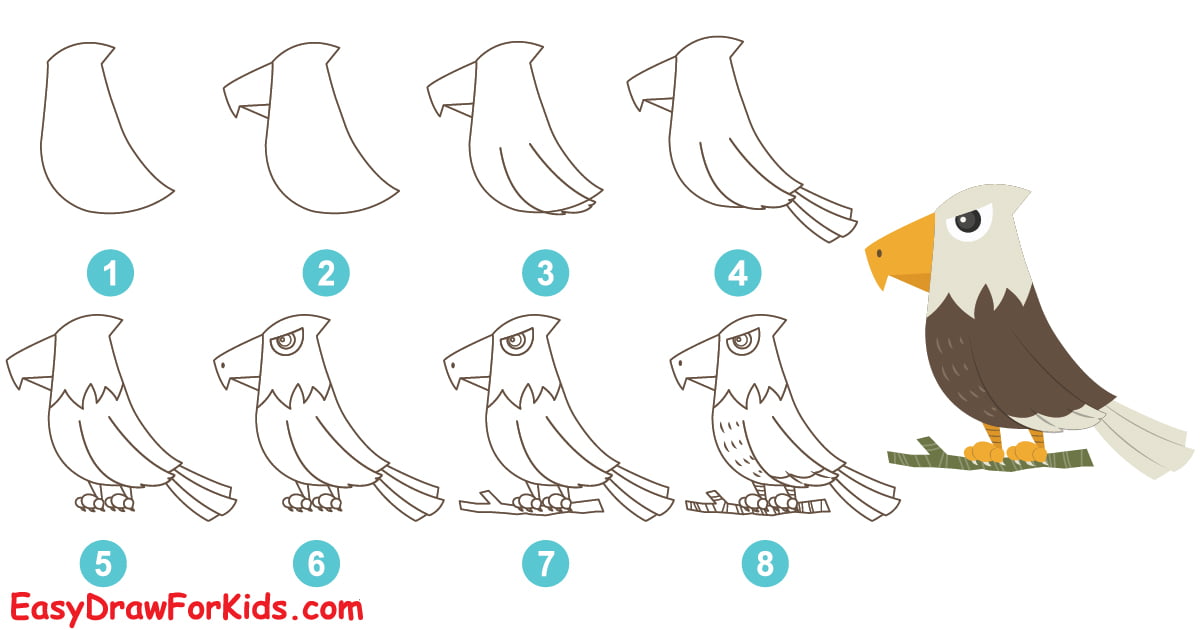
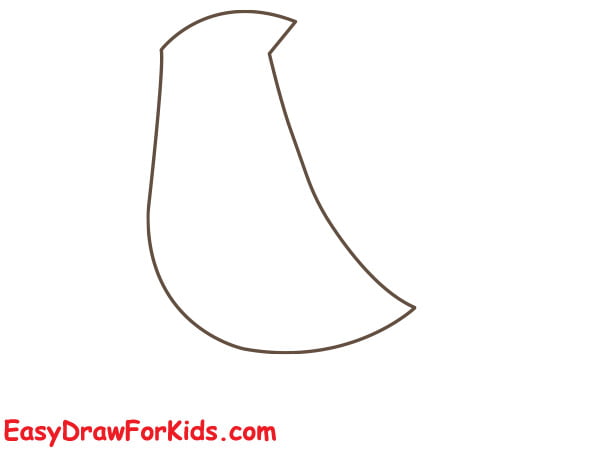
Step 1: Begin this guide how to draw an eagle by outlining an oval shape, as shown in the picture, to form the head and body.
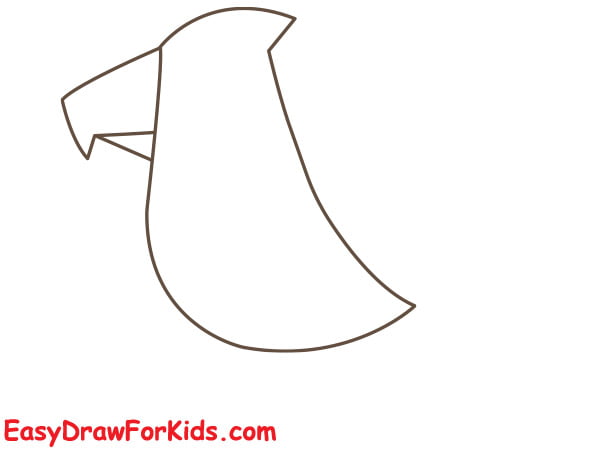
Step 2: Below the head, draw the upper beak as a sharp triangle, keeping it thick and strong.
Step 3: Now, draw the wings eagle
Draw a long, pointed shape extend down from the body for the main wing.
Draw longer, pointed feather shapes extending from the main wing outline.
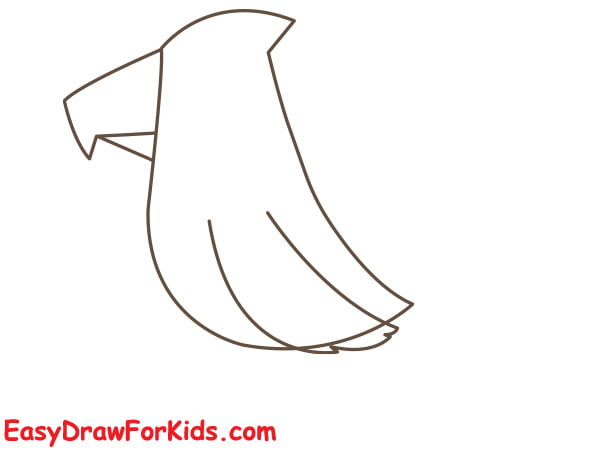
Step 4: At the end of the body, add three oval shapes, like many layers, and extend down to form the tail.
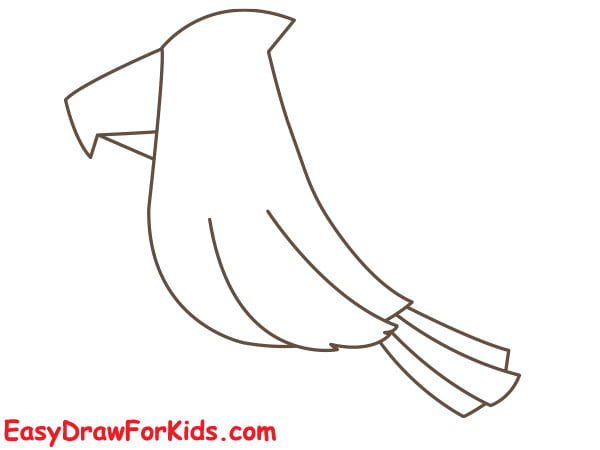
Step 5: Extend two lines from the body to form the legs. Add curves at the ends for the talons.
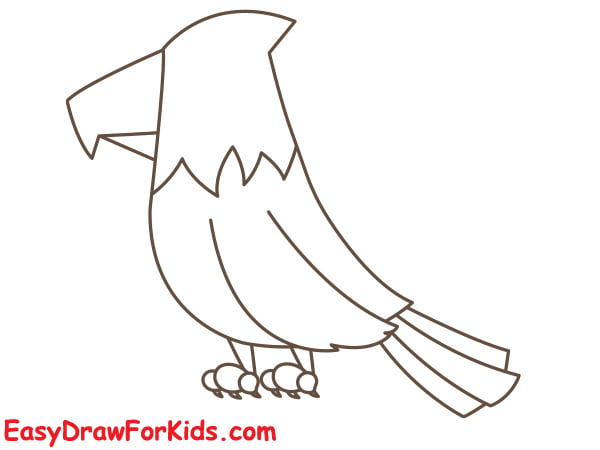
Step 6: Add details to the head
Add circular eye above the beak. Sketch the brow ridge with bumpy lines.
Below the head, make rough feathered textures going down the neck.
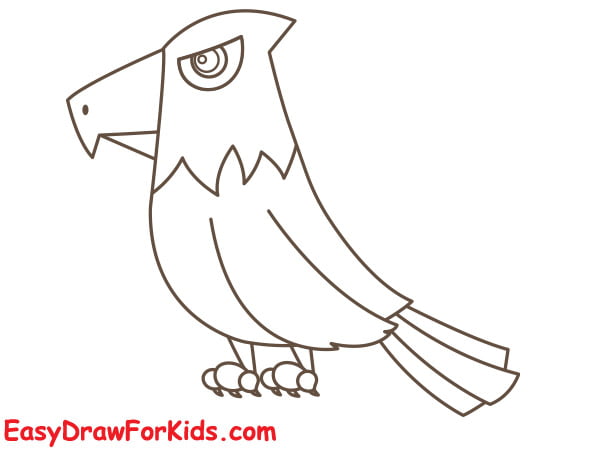
Step 7: Drawing the Tree Branches
Sketching the main trunk of the tree branch by using short, jagged lines.
Vary the thickness and spacing of these lines to simulate the roughness of the bark’s surface.
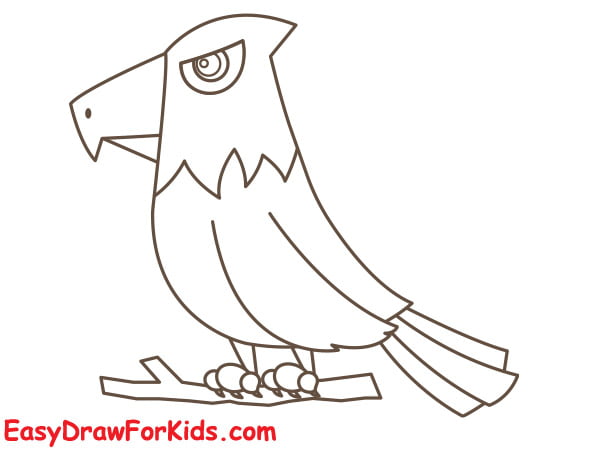
Step 8: In this step on guide how to draw an eagle, add feather details for your eagle.
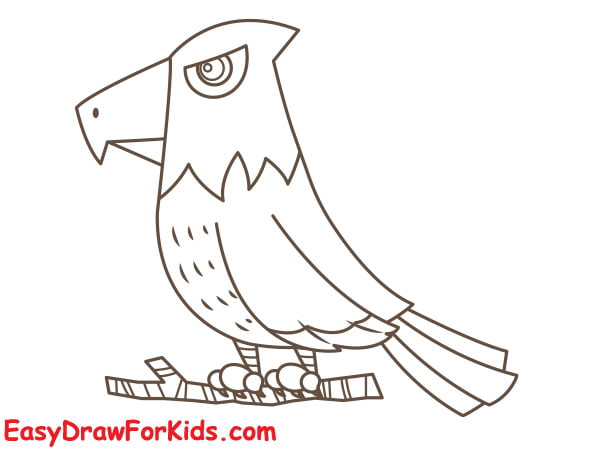
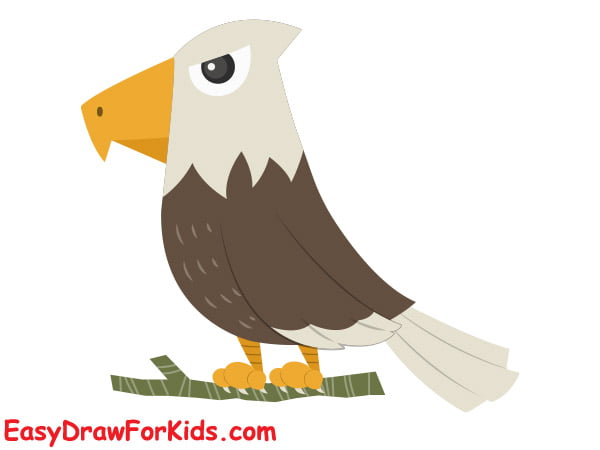
Step 9: Choose the colors and coloring your eagle drawing
2. Flying Eagle Drawing
Step 1: Draw an oval shape as shown in the picture for the head

Step 2: Below the head, draw a long oval shape for the body
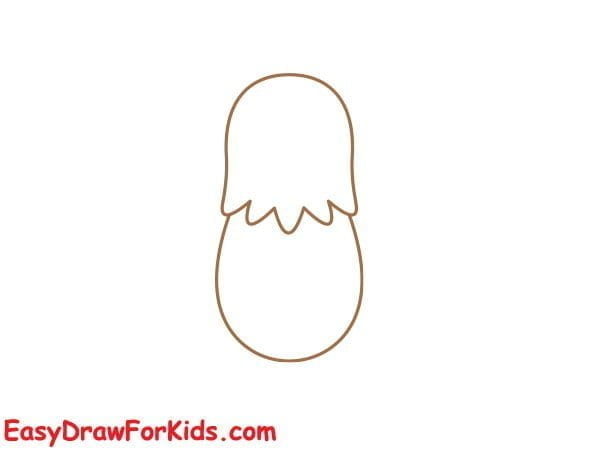
Step 3: Extend a series of long, slightly curved lines from the end of the body to form the tail feathers.

Step 4: Extend two long lines from the body to form the wings. The wings should be slightly raised and angled backward to depict the eagle in flight.
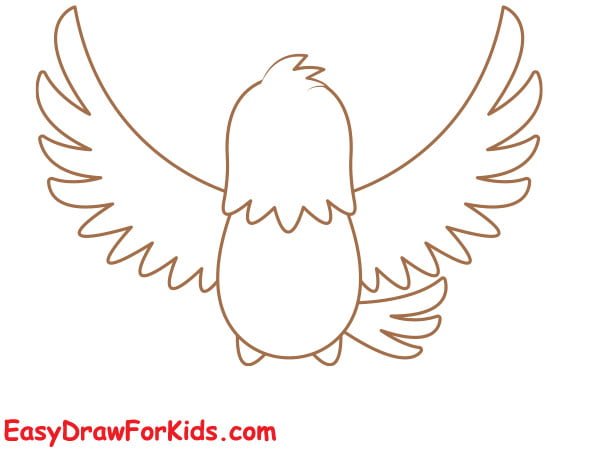
Step 5: Extend two lines from the body to form the legs. Add curves at the ends for the talons.
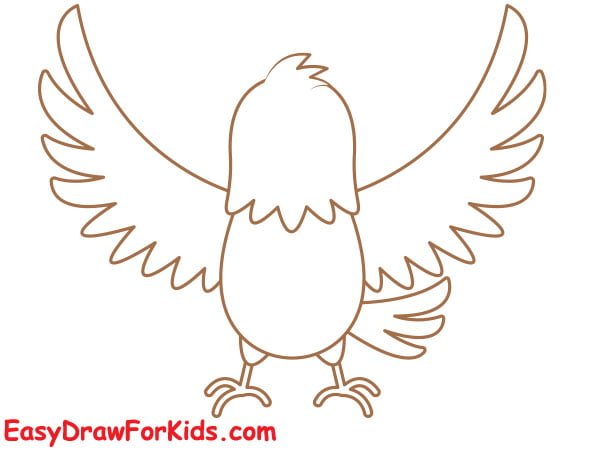
Step 6: The sixth step on guide how to draw an eagle, adding eyes, small curve line for the eyebrows, and a sharp beak.
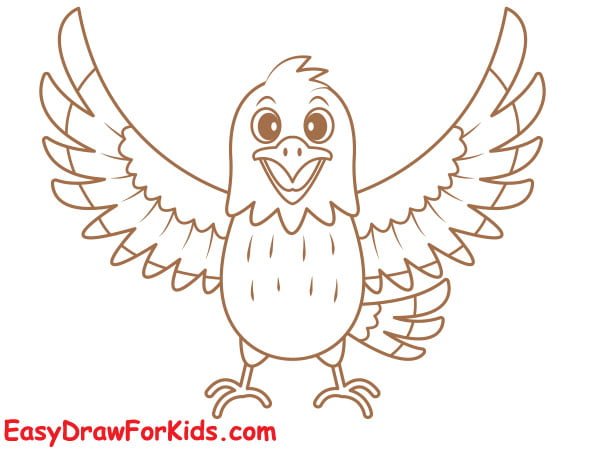
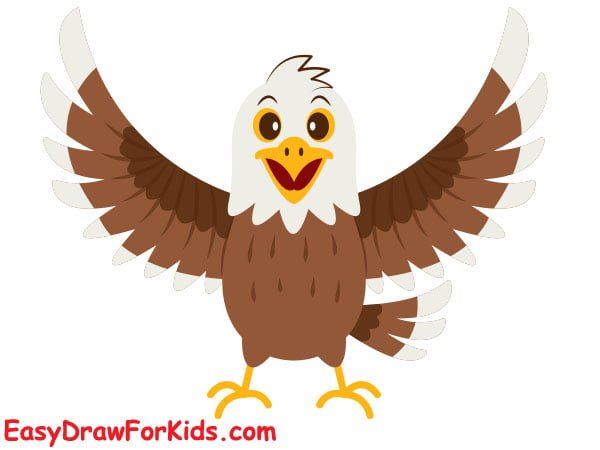
Step 7: Once you’re satisfied with your flying eagle drawing, it’s time to color it.
3. Simple Eagle Drawing
Step 1: Sketching the head

Step 2: Add details to the head
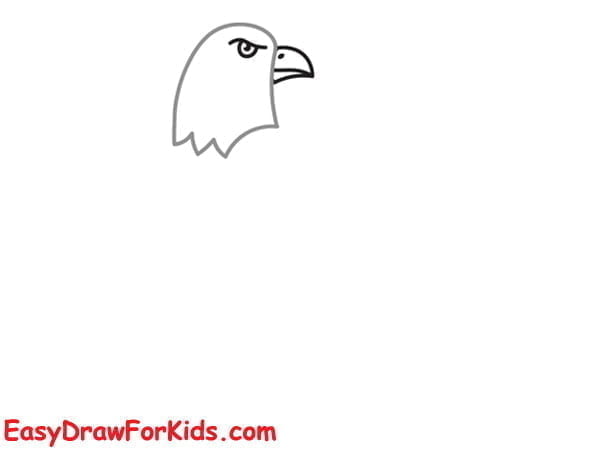
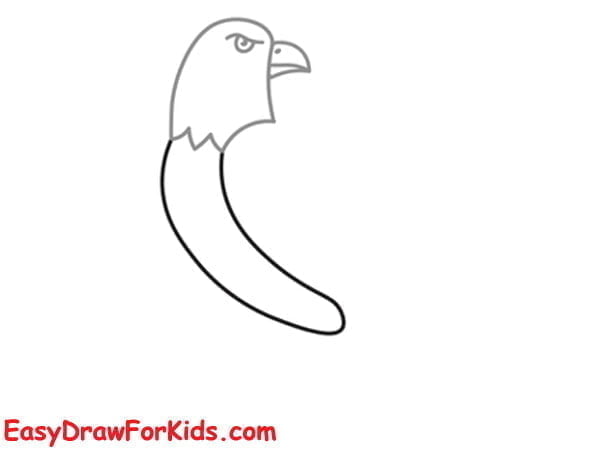
Step 3: Sketching body by using a long oval shape to form it
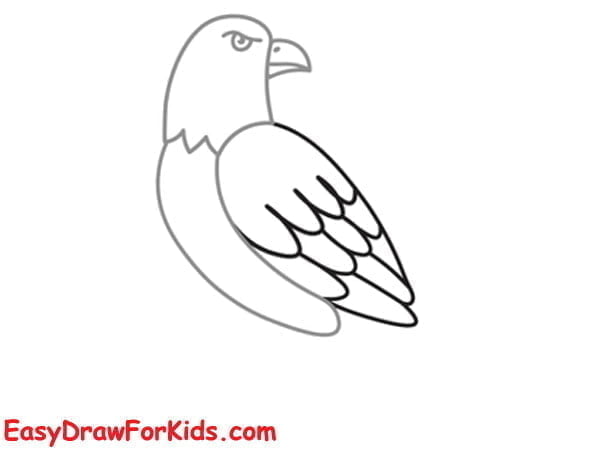
Step 4: Outline the wings, add feathers to the wings
Step 5: In this step on guide how to draw an eagle, draw the legs and talons
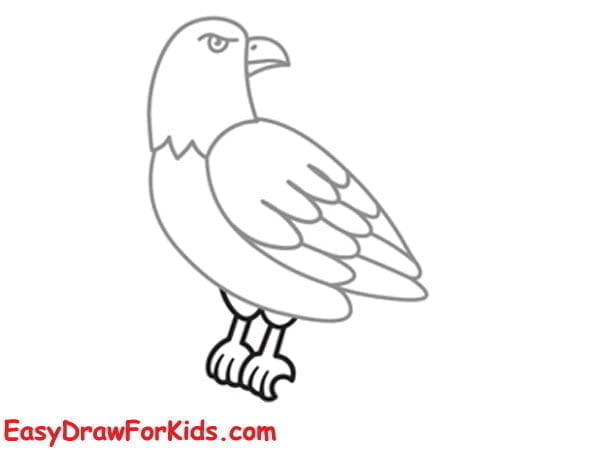
Step 6: Sketch the tail of the eagle
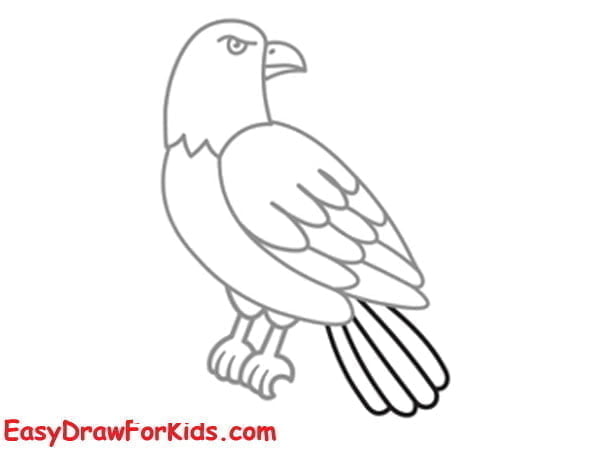
4. Realistic Eagle Drawing
Step 1: Begin by sketching a rough outline of the eagle using an oval shape for the head

Step 2: Add a gentle curve for the back and a diagonal line for the beak.
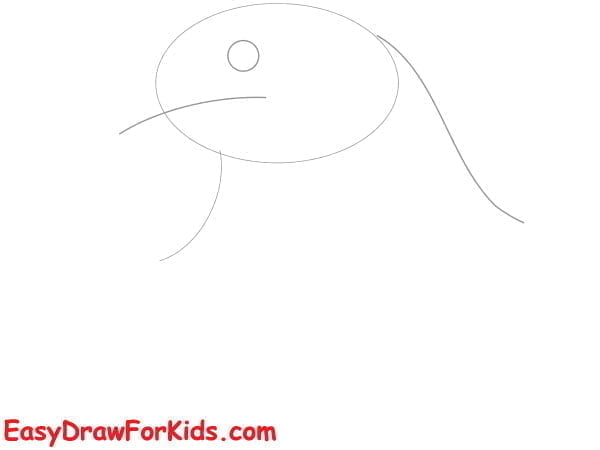
Step 3: Add more details to the head. Define the beak with a curved line and indicate the placement of the eyes.
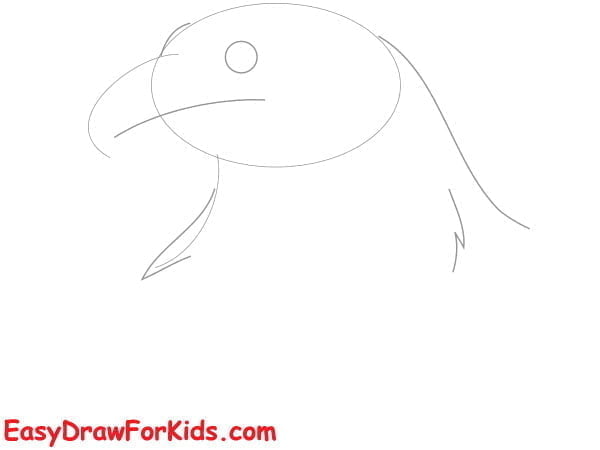
Step 4: Shape the beak with more precision, adding a hook-like tip.
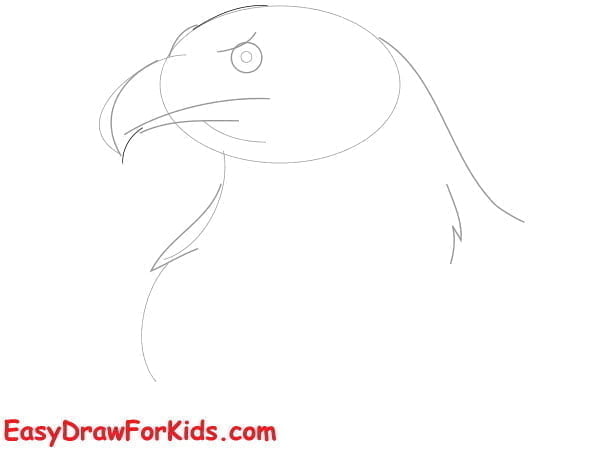
Step 5: Adding feather details to the head.
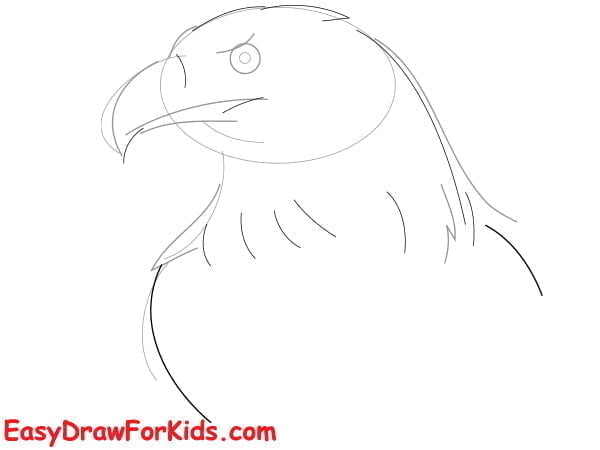
Step 6: Use short, curved lines to create the texture and contours of the feathers.
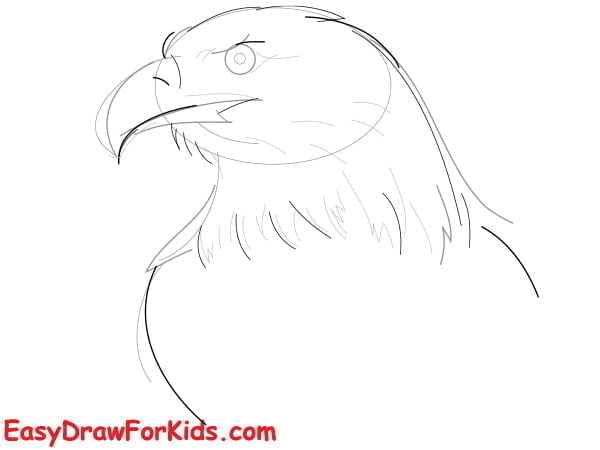
Step 7: Add a small, round eye with a highlight to bring it to life.
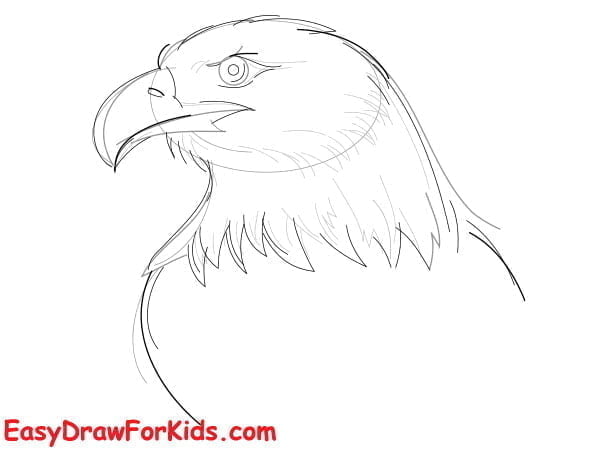
Step 8: Focus on refining the details of the face, including the eyes, beak, and facial expressions.
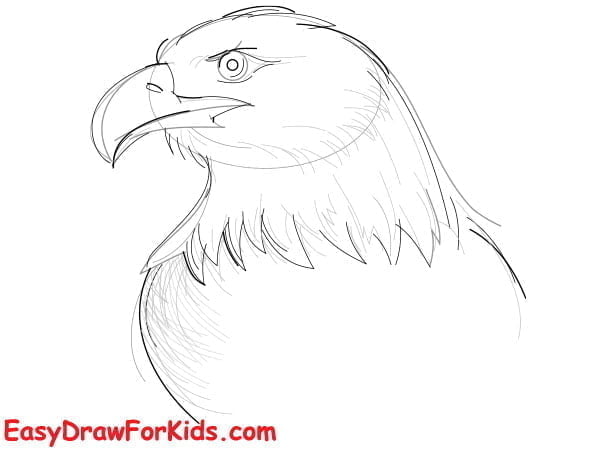
Step 9: Erase guidelines and add shadows
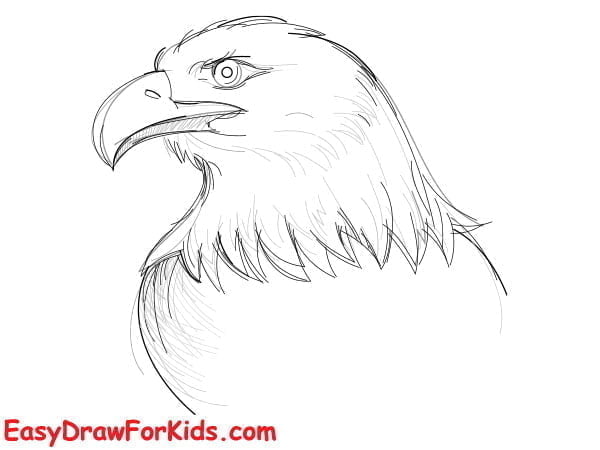
Well done! You have successfully learned how to draw an eagle.
Starting with simple outlines to intricate details, you can create a striking and realistic eagle.
Soon, you’ll be able to create stunning eagle drawings from imagination.
Learning these steps gives you the confidence to draw eagles and other birds.
