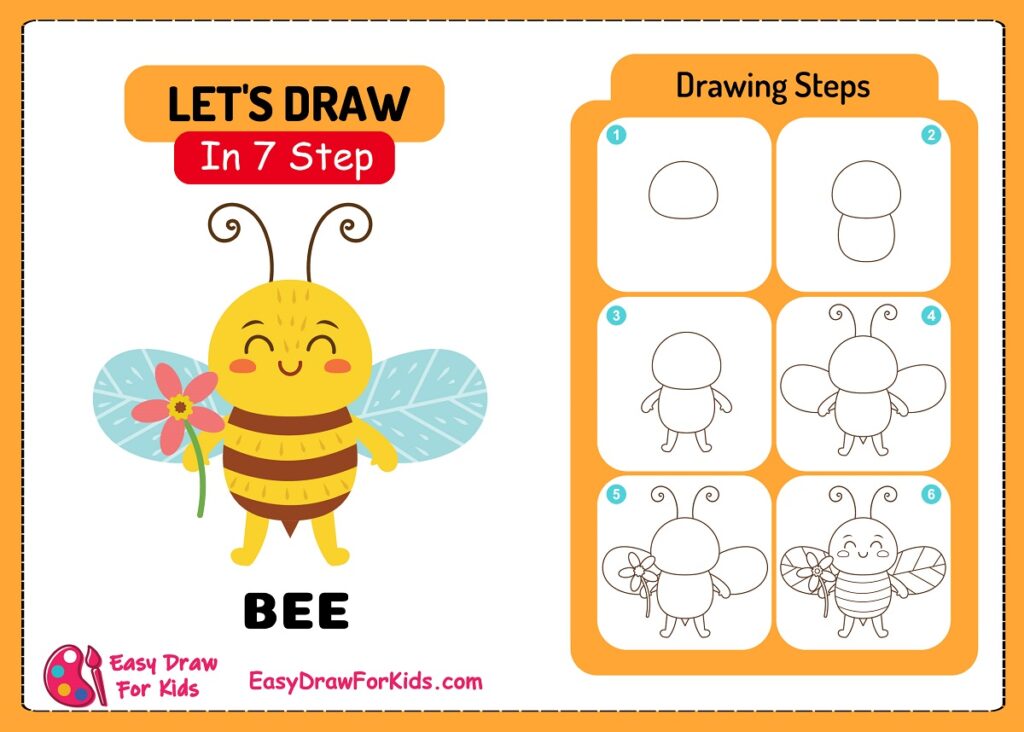
Welcome to this easy, step-by-step drawing of a bee!
Today, easydrawforkids.com will show you how to draw a bee with seven ways.
How To Draw A Bee – A Step By Step Guide
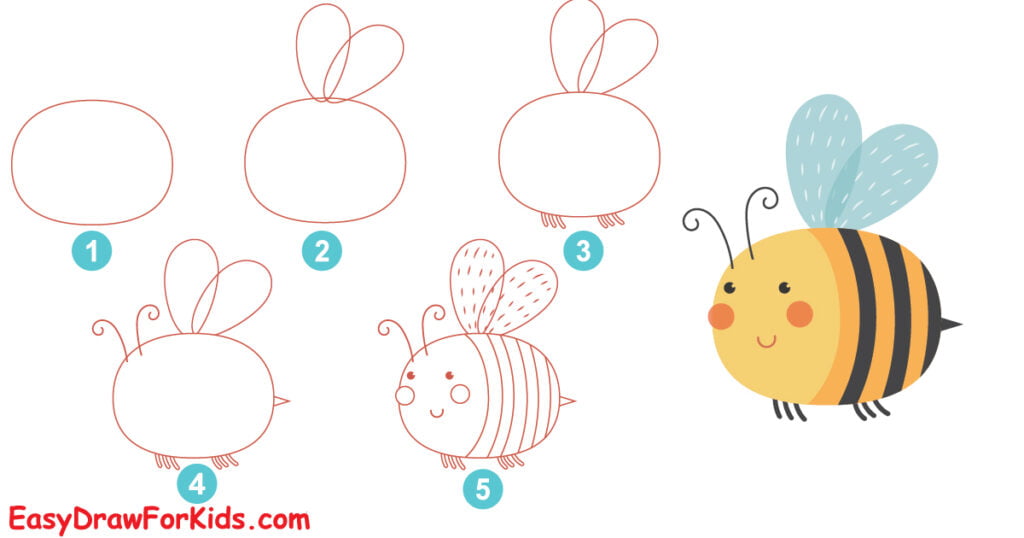
1. Cute Bee Drawing

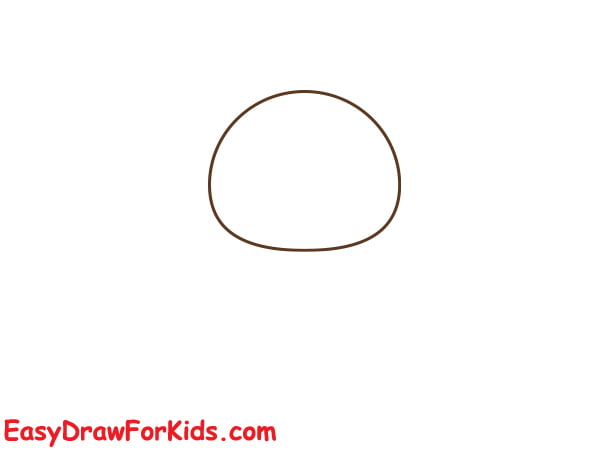
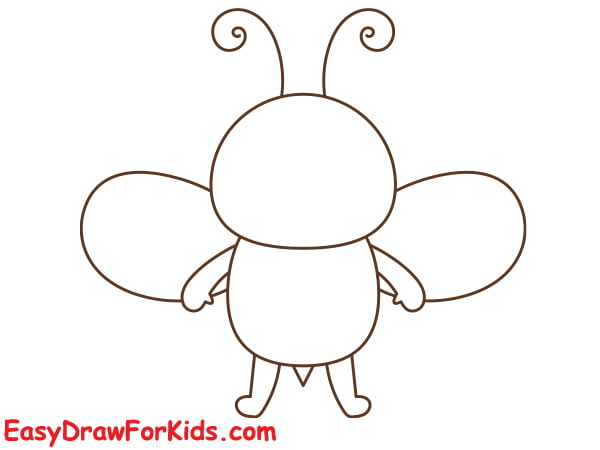
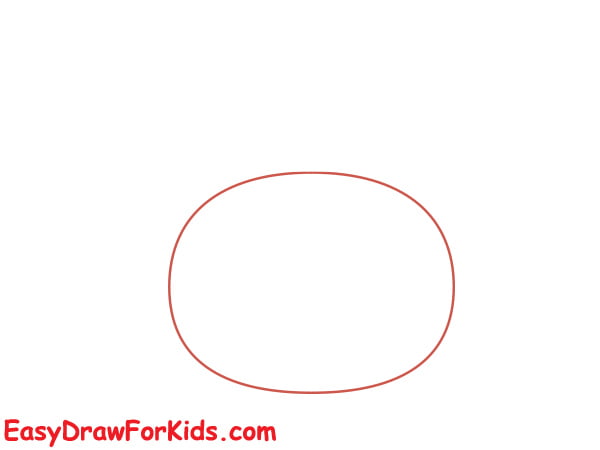
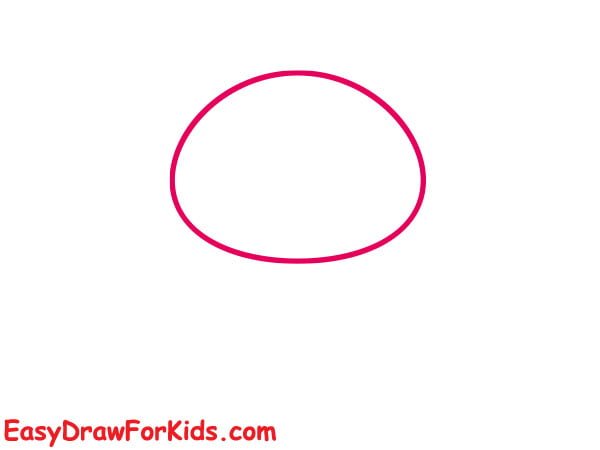
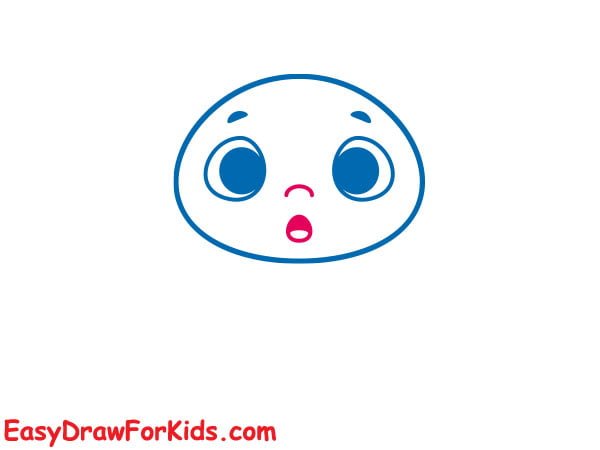
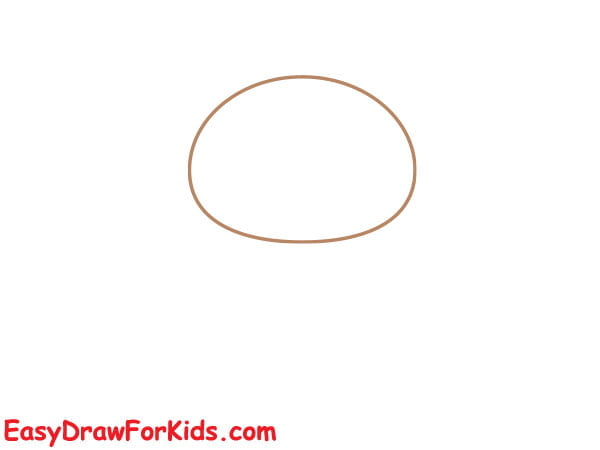
Step 1: Start by drawing an oval shape for the bee’s head.
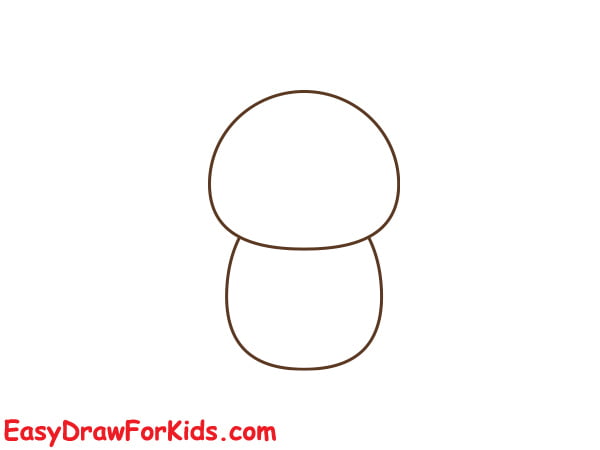
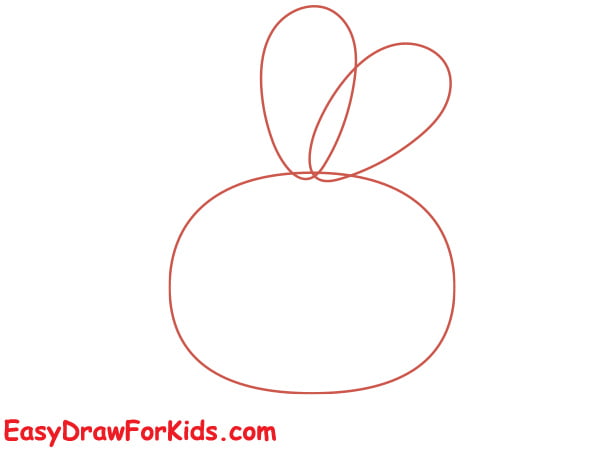
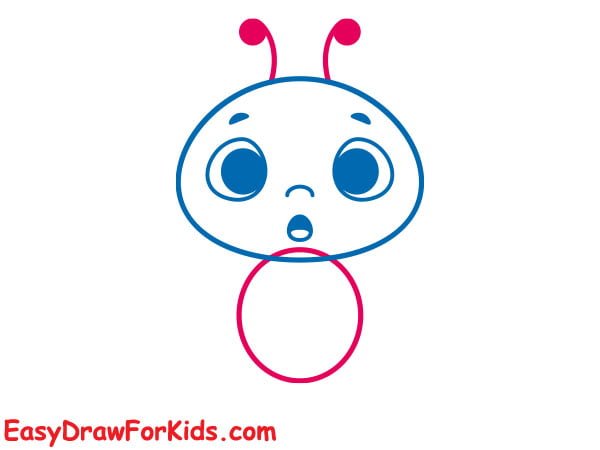
Step 2: Next, draw a larger oval shape at the bottom of the head for the bee’s body.
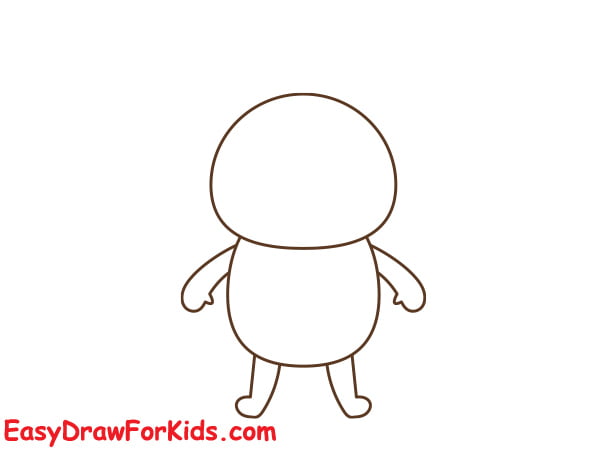
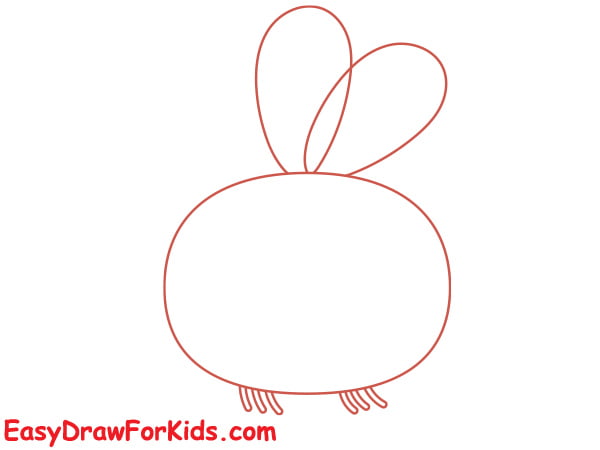
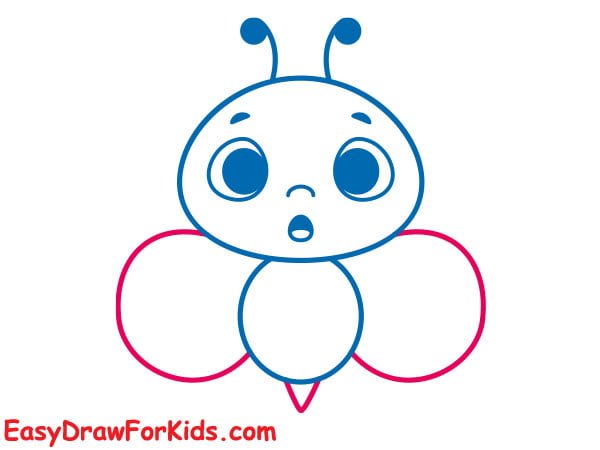
Step 3: The third step of this guide on how to draw a bee, you draw four curved lines to form the arms and legs.
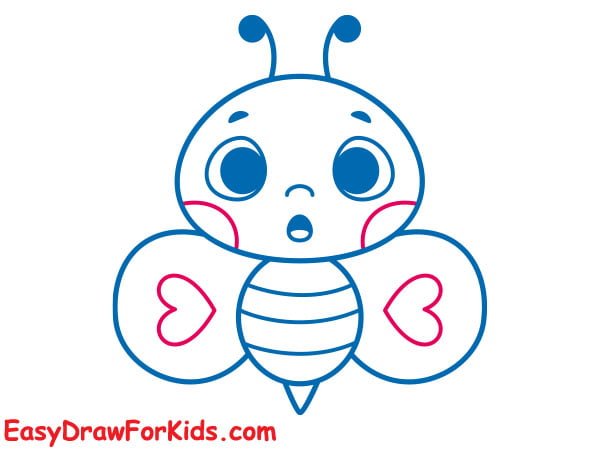
Step 4: On each side of the body, draw a half-oval shape for the wings.
Then, add two curved lines above the head for the antennae.
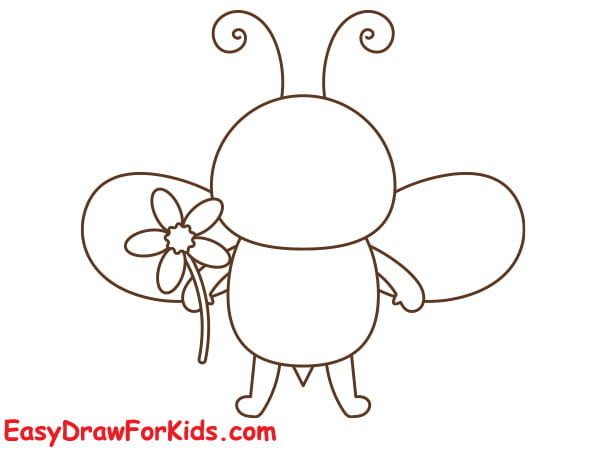
Step 5: Adding the flower
Start by drawing a small circle for the centre of the flower. Then, draw five petals around the circle.
Behind the flower, draw a curved stem down to the bee’s hands.
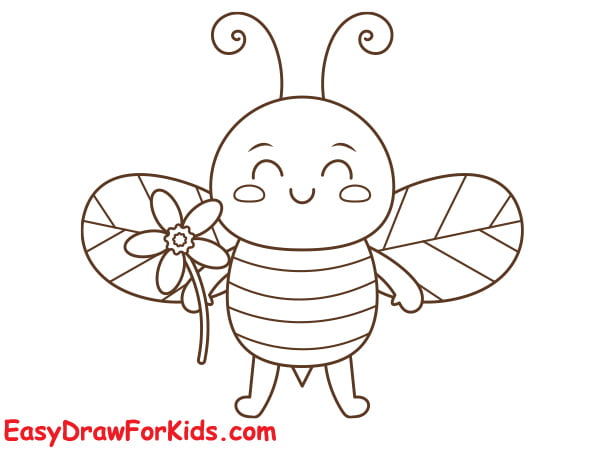
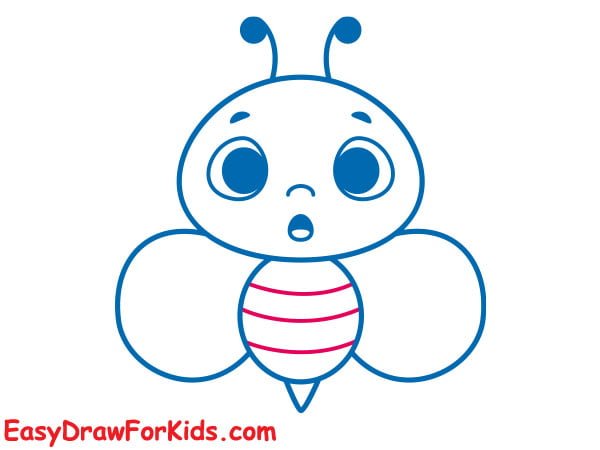
Step 6: Now, you can add the finishing details to the bee’s body.
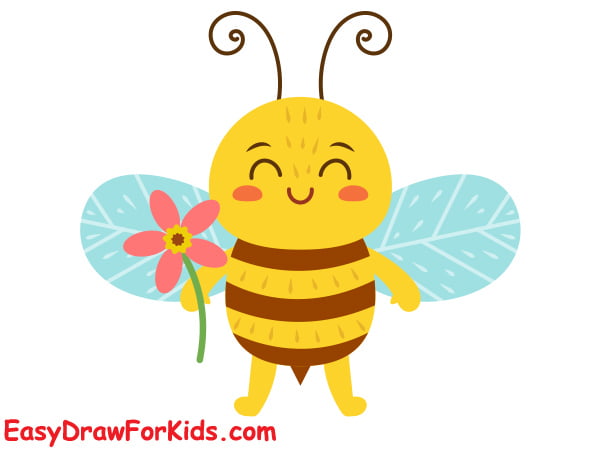
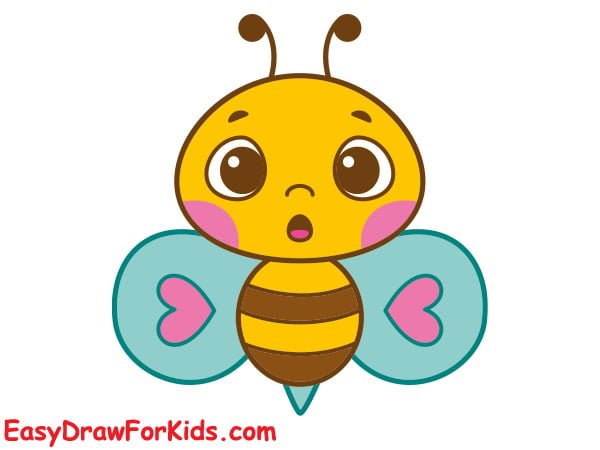
Step 7: Now, let’s add some color to bring your bee to life.
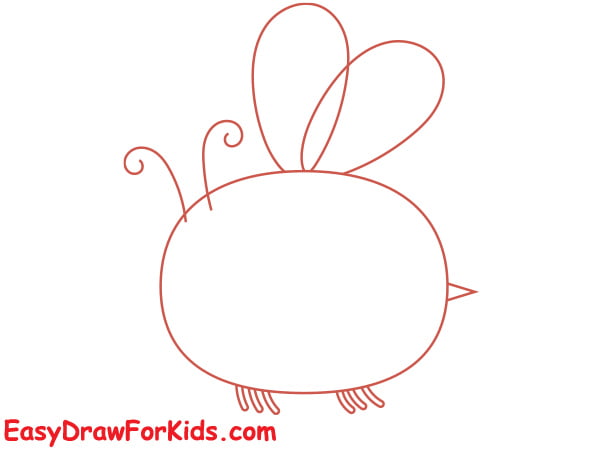
2. Honey Bee Drawing
Step 1: Draw a horizontally stretched oval for the body.
Step 2: Draw two long, narrow ovals above the thorax for the wings.
Step 3: On the lower of the thorax, draw four lines that extend downward at angles for each leg.
Step 4: Starting at the top of the head, you draw curved lines that extend up. Curl the end of each antenna into a spiral.
Step 5: The bee’s head comes next; you draw a cute face.
Draw black stripes across the bee’s abdomen section.
Add minor details like fuzz, hair, or pollen.
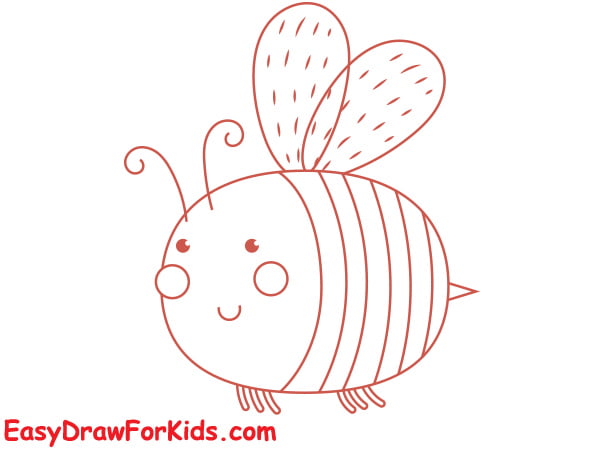
Step 6: Now, add some colour to bring your bee to life.

3. Baby Bee Drawing
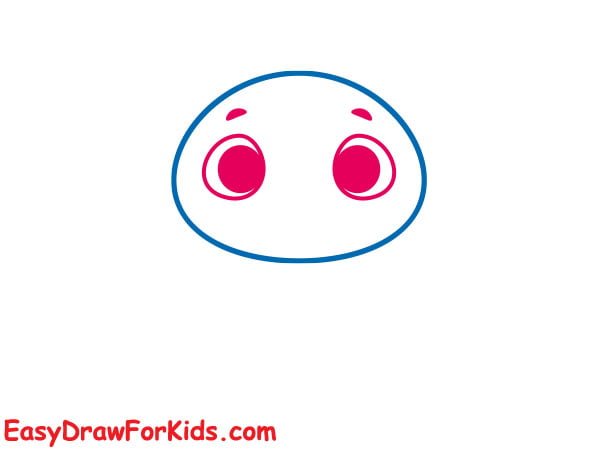
Step 1: Draw a circle for the baby bee’s head.
Step 2: Now, draw two small circles towards the front of the head to represent the bee’s compound eyes.
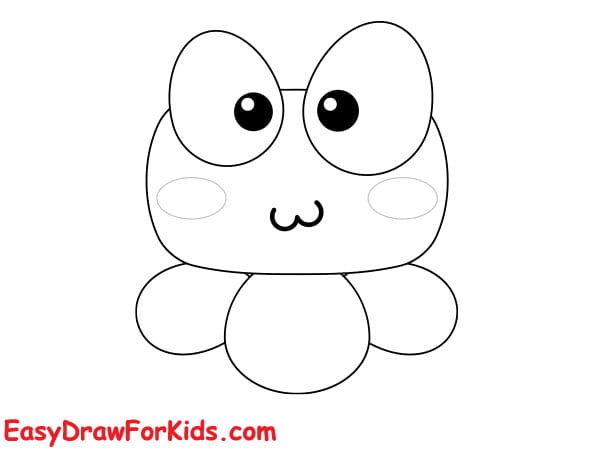
Step 3: In this step on guide how to draw a bee, you draw a curved line for the nose and small oval shape for the mouth.
Step 4: Below the head, add a small oval shape for the body.
Then, draw two curved lines on the top of the head to form antennae
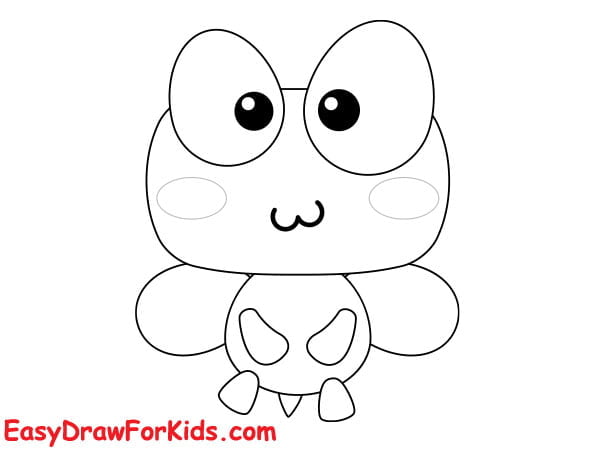
Step 5: Let’s draw two small, curved lines on each side of the body to represent the wing buds.
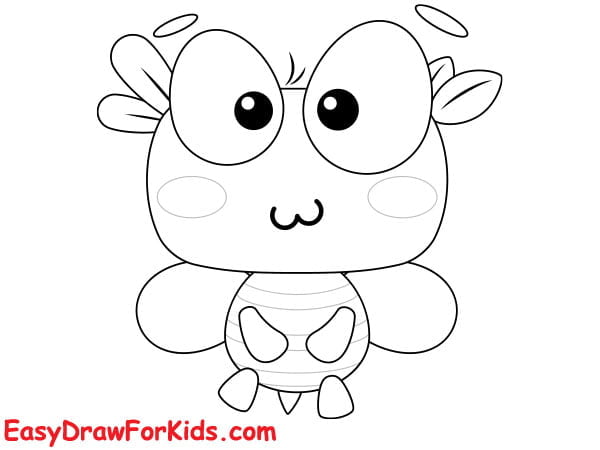
Step 6: Use light, horizontal lines to divide the bee’s body into segments
Step 7: Now, refine the lines and adding details.
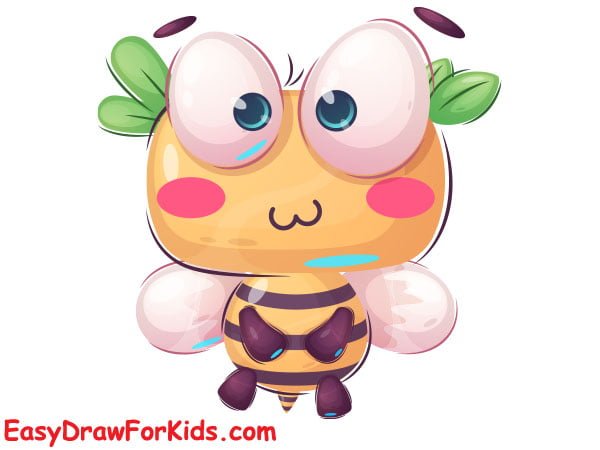
Step 8: Coloring the baby bee drawing
4. Bee Bear Drawing
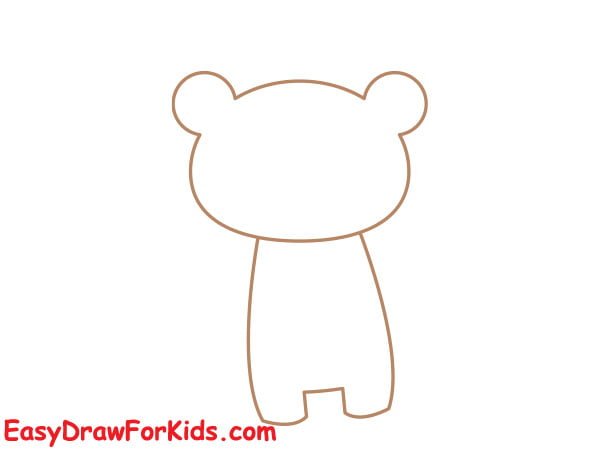
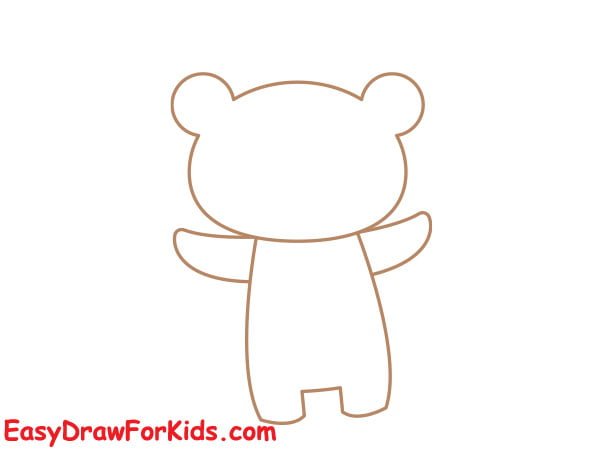
Step 1: Draw an oval shape to represent the bear’s head.
Step 2: In the second step on guide how to draw a bee, add two round ears on the top of the head

Step 3: Now, extend two curved lines from the bottom of the head to form the body and legs.
Step 4: Next, draw two small oval shapes at the top of the torso for the bear’s arms.
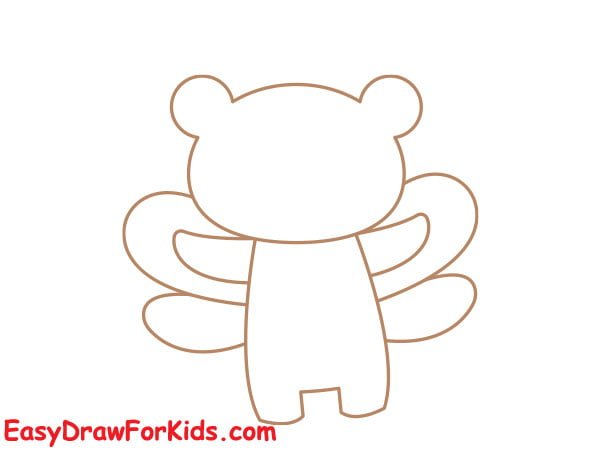
Step 5: Sketch four curved lines extending from the bear’s back, forming the outline of the wings.
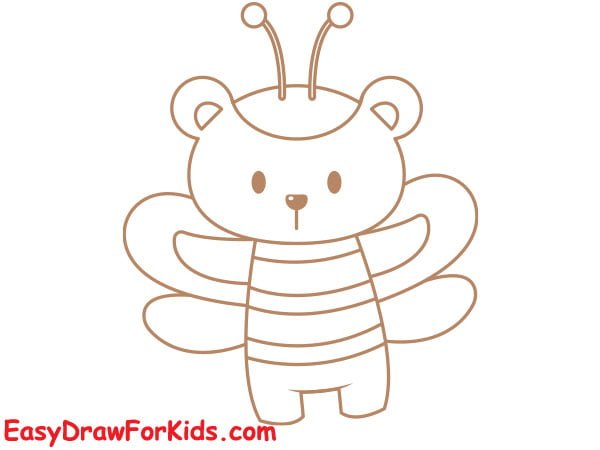
Step 6: Now, adding facial features and antennae to your bear bee.
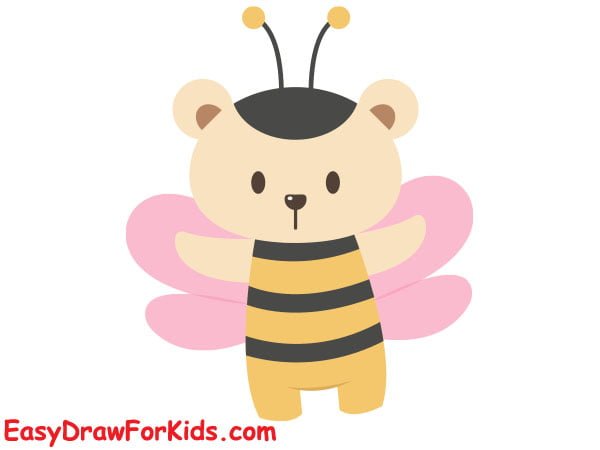
Step 7: Start by colouring the bear bee with your chosen colours
5. Cartoon Bee Drawing
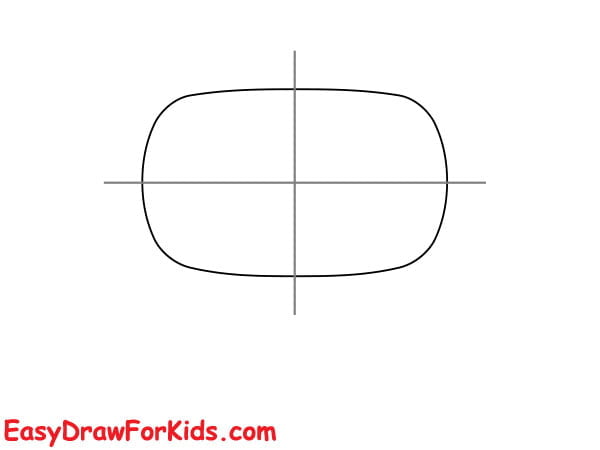
Step 1: Draw a rectangular to form the head of your cartoon bee
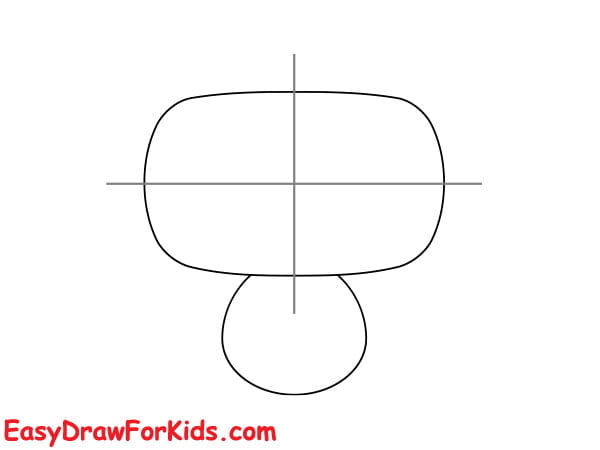
Step 2: Below the head, adding a small oval shape for the body
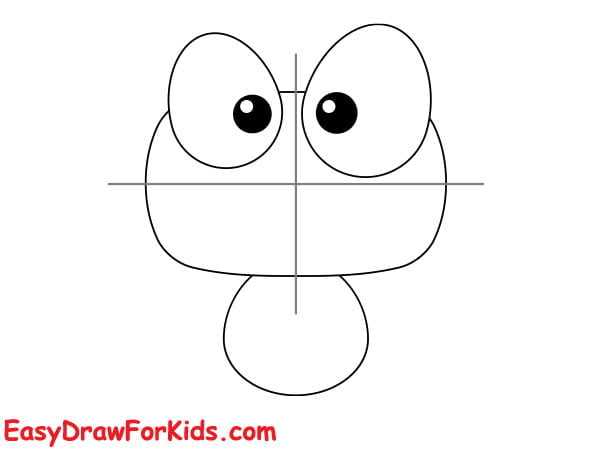
Step 3: Now, you add two large circles on the top of the head for the bee’s eyes.
Then, add two small dots inside the eye for the pupils.
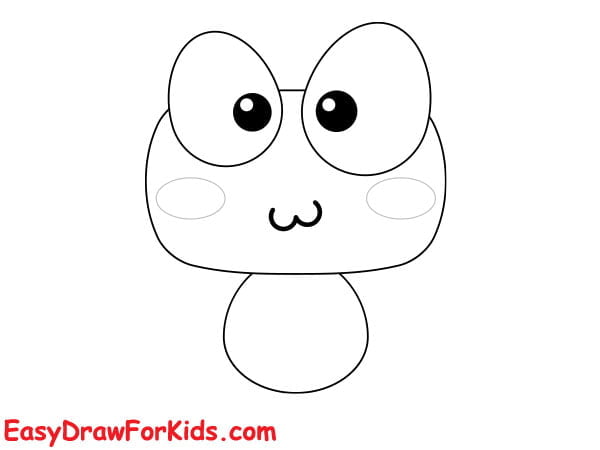
Step 4: Now, add a slight smile below the eyes to give your cartoon bee a friendly expression.
Step 5: Add two small curved lines on either side of the thorax for the bee’s wings.
Step 6: You draw small curved lines from the body extending out for the bee’s legs, as shown in the picture.
Step 7: Next, add a small curved line above the eyes for the bee’s eyebrows.
To the thorax, draw two short horizontal lines towards the bottom for the bee’s stripes.

Step 8: Give the bee some character by adding rosy cheeks.
Step 9: Adding color to your cartoon bee will make it come to life even more.
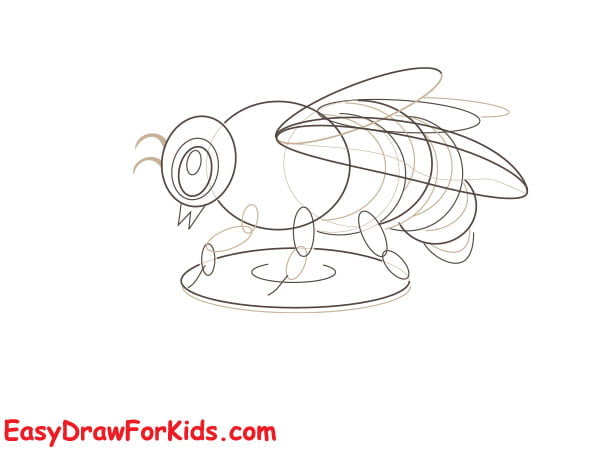
6. Realistic Bee Drawing
Step 1: Sketch the basic shapes of your realistic bee.
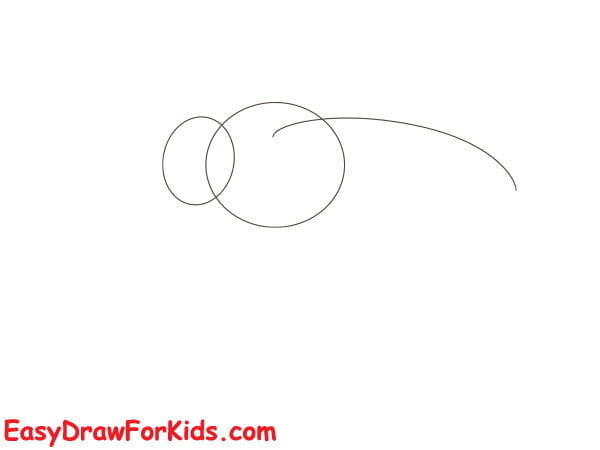
Step 2: Sketching oval shapes overlap each other to represent the bee’s.
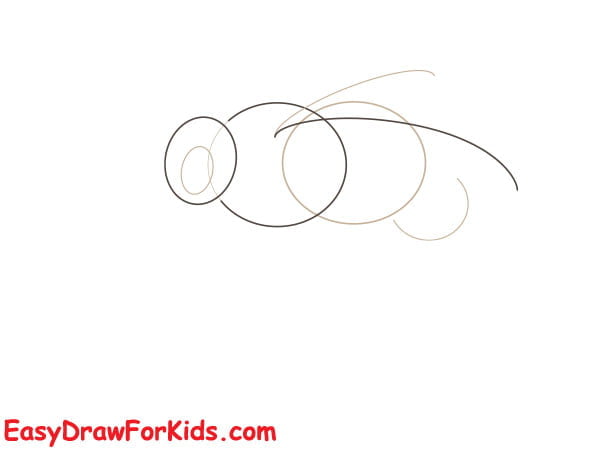
Step 3: Now, adding oval shapes overlap each other to form the wings.
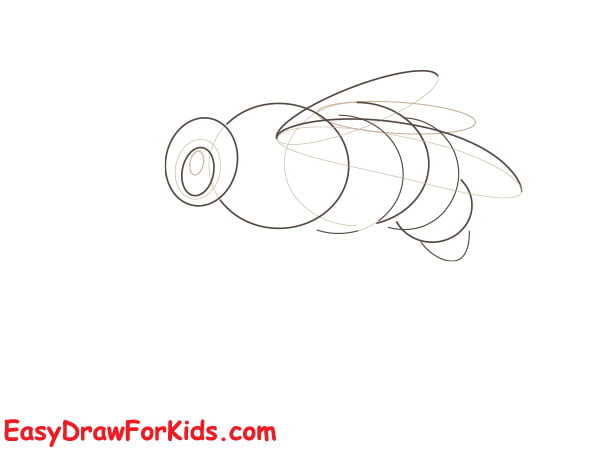
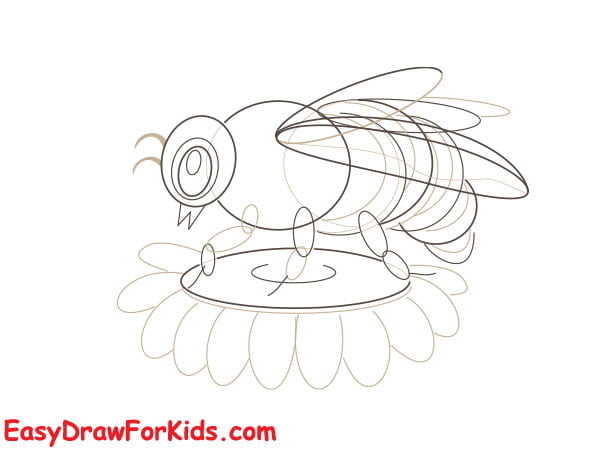
Step 4: Next, sketch the basic shape of the flower.

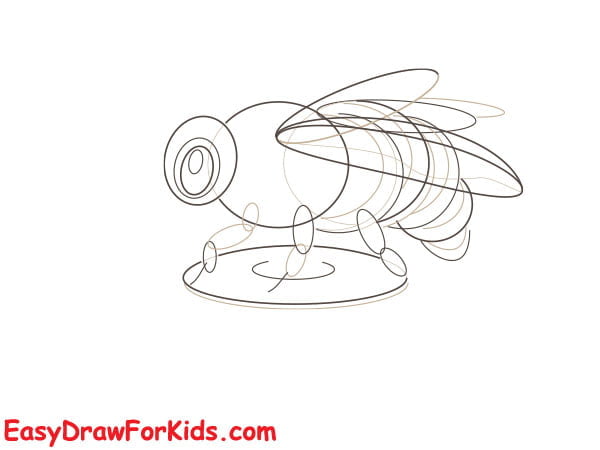
Step 5: Draw basic stick figures and gradually add more detail to form the legs
Step 6: Adding an oval-shaped for the bee’s eye. Then, draw the delicate antennae.
Step 7: Drawing series curved lines overlap each other to form the flower petals.
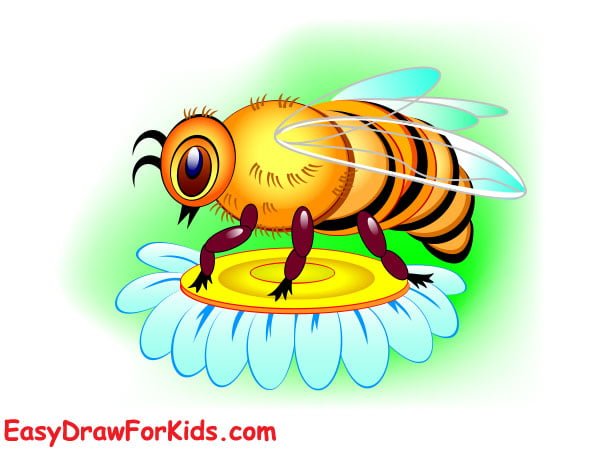
Step 8: Refining the details as the bee’s legs, antennae and flower’s intricate patterns.

Step 9: Coloring your realistic bee drawing
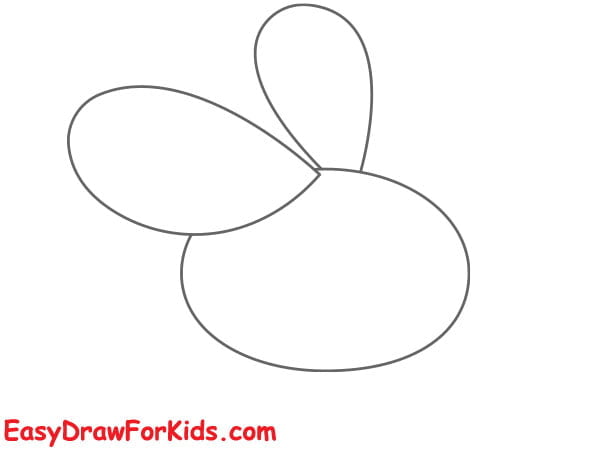
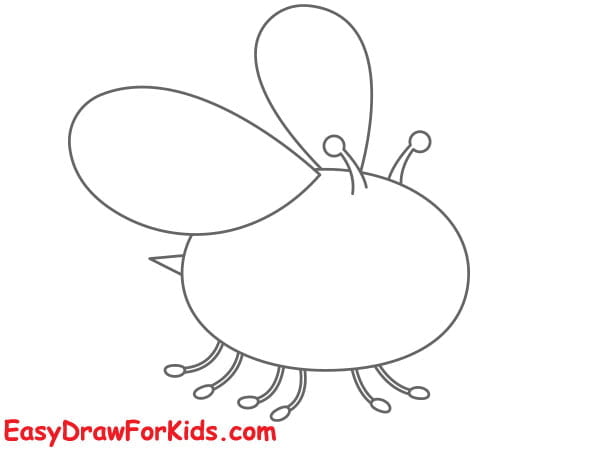
7. Funny Bee Drawing
Step 1: Start by drawing a large oval body

Step 2: Draw two curved lines extending outward to indicate the wings.
Step 3: In this step, add an antennae and legs for your realistic bee
Step 4: Creating the funny bee’s face and eyes
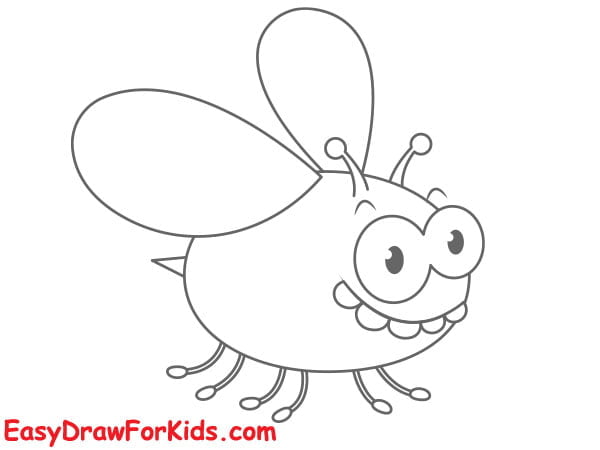
Step 5: Adding details to the wings and body.

Step 6: Bees are typically shades of yellow, black, and sometimes brown or orange. Now it’s time to color your funny bee.
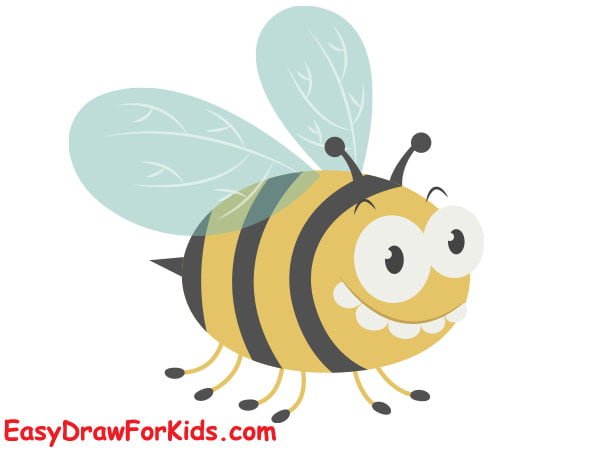
Congratulations, you now know how to draw a bee!
Look up photos of bumble bees, carpenter bees, and other bee species for more bee inspiration.