Do you ever want to learn how to draw a bike? Look no further!
This article will guide you through the process of drawing a bike step by step in 3 ways.
How to Draw a Bike – A Step by Step Guide
1. Simple Bike Drawing
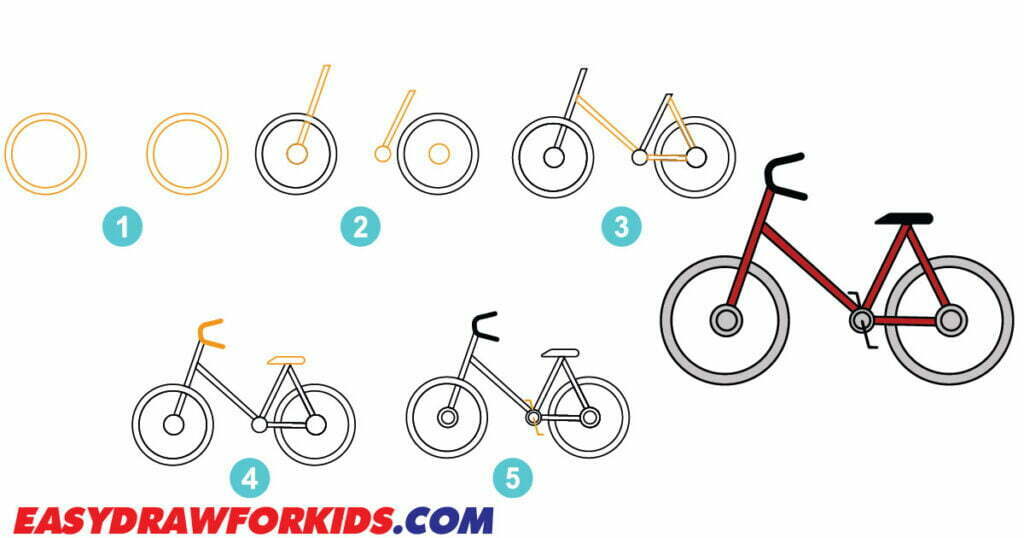
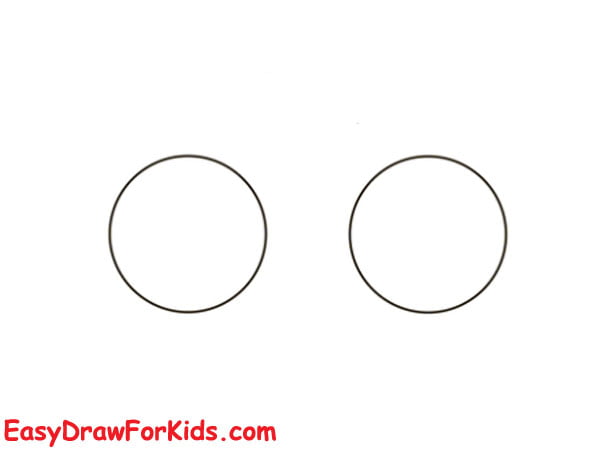
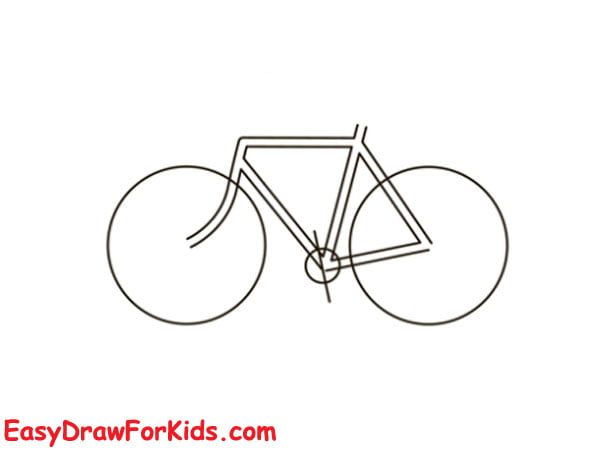
Step 1: Draw the Wheels
Start this guide how to draw a bike by drawing two circles side by side to form the rear wheel and front wheel of the bike.
On each wheel, draw a smaller circle inside the larger one to represent the tires.

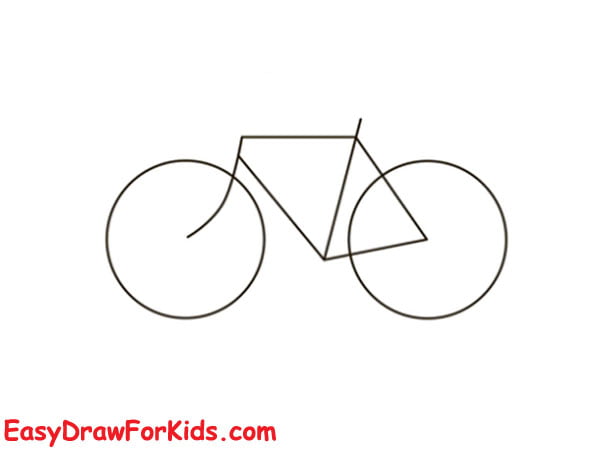
Step 2: Draw the Frame
Draw a smaller circle inside each wheel for the wheel hubs.
Add a long vertical line extending upwards from the front wheel hub to form the handlebar stem.
Drawing a small circle between two wheels creates the centre of the pedal; from this circle, a vertical line is drawn to form the seat tube.

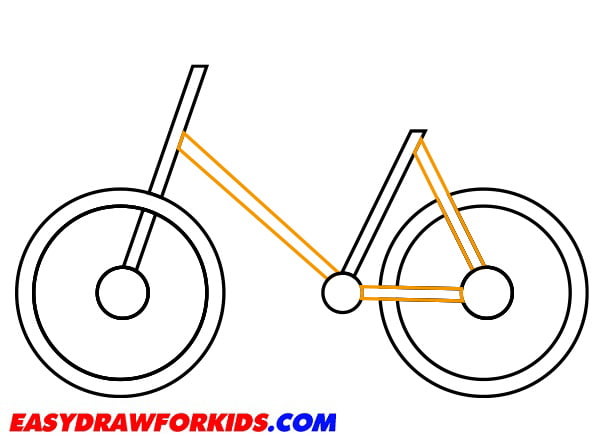
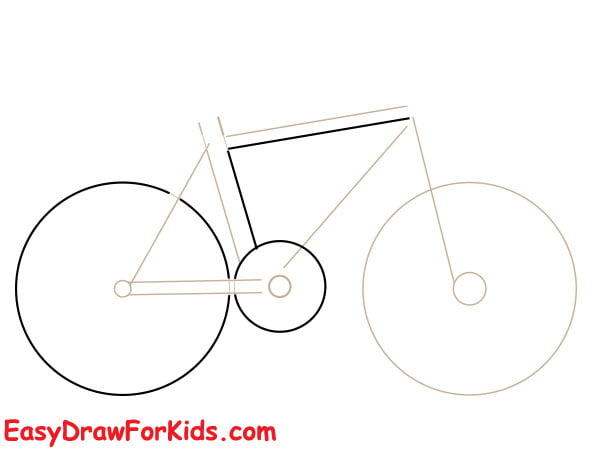
Step 3: Complete the Frame
Connect the two circles with a straight line on the bottom to form the base for the frame.
Draw a horizontal line from the seat tube towards the front wheel.
Step 4: Draw the handlebars and seat
Draw two long, thin lines extending outward and curving slightly upward at the top of the frame to form the handlebars.
Draw a small rectangle for the seat in the centre of the frame just above the rear wheel.

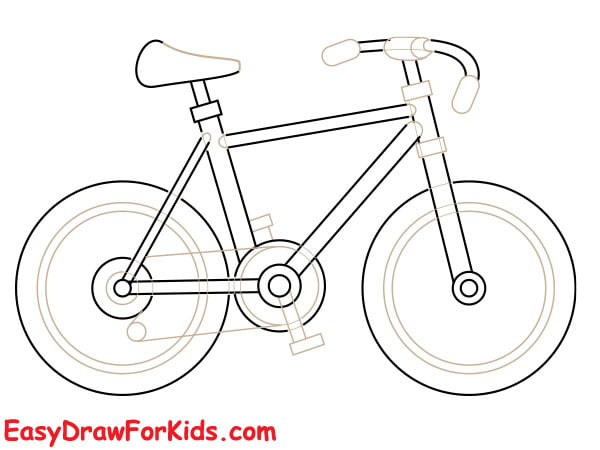
Step 5: Draw the Pedals
From the centre of the pedal circle, draw two curved lines that extend outward.
To form the sides of the pedal, connect the ends of the curved lines with two straight lines that are parallel to each other.

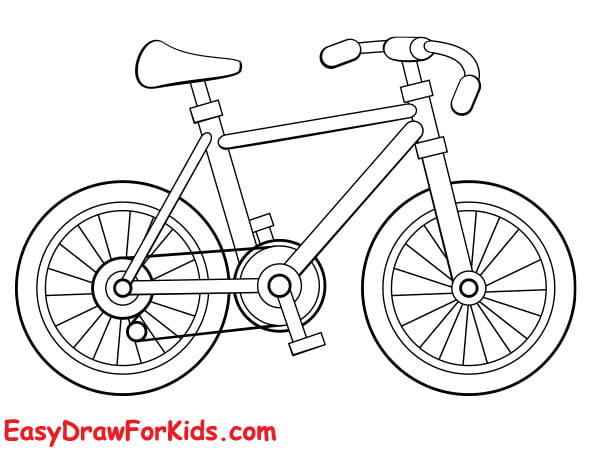
Step 6: Consider using red and black for a classic bike color scheme.

2. Cartoon Bike Drawing
Step 1: Draw two circle for the wheels
Step 2: Sketching the frame
Step 3: Complete the frame and outline the pedal
Step 4: The fourth step on guide how to draw a bike will outlining the handlebars

Step 5: Complete the handlebars and pedal

Step 6: Adding the seat and two circle inside the wheels for the wheel hub

Step 7: Draw two lines that connect the pedal with the rear wheel hub to form the chain

Step 8: Draw a facial to your cartoon bike

Step 9: Color your cartoon bike drawing

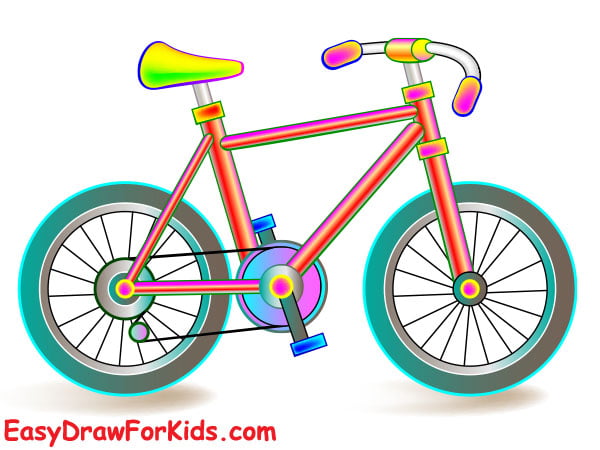
3. Realistic Bike Drawing
Step 1: Draw a large oval shape for the main body and two circles for the wheels.

Step 2: Outline the Frame
Draw the top tube, down tube, seat tube, and chainstays. Add the handlebars and the seatpost.
Step 3: The third step on guide how to draw a bike will focus on the handlebars and seat

Step 4: Go back to the frame and add more details to make it look realistic.
Step 5: Draw the rims, spokes, and tires.
Draw the grips on the handlebars and the shape of the seat.
Step 6: Add any color do you want.
Learning to draw a bike is extremely rewarding.
By following this tutorial, anyone can master sketching bikes.