If you’ve ever wanted to learn how to draw a bull step by step, you’ve come to the right place.
In this tutorial, I will walk through how to draw a bull step by step from start to finish.
How To Draw A Bull – A Step By Step Guide
1. Cute Bull Drawing
In this article on how to draw a bull in 6 steps to help you drawing a bull with ease!
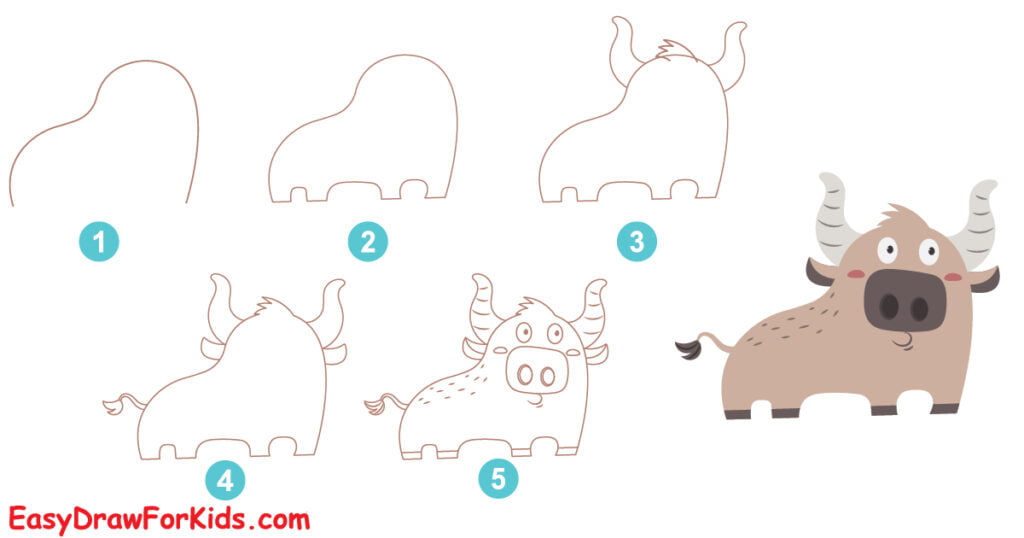
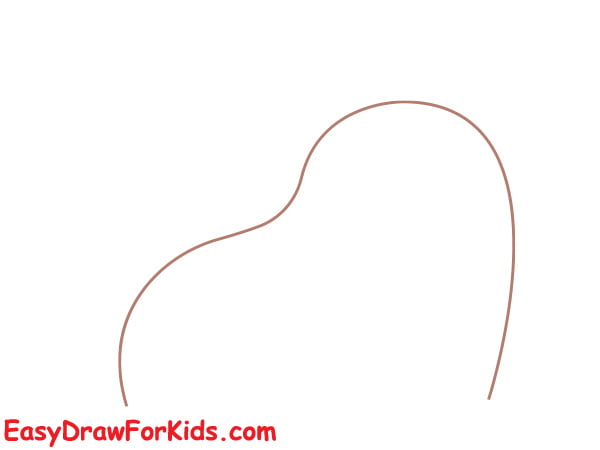
Step 1: Sketching the Basic Shape
Start by drawing a curved line for the body of the bull. Then add a smaller curved line for the head.
Next, draw a curved line connecting the head and body to create the neck.
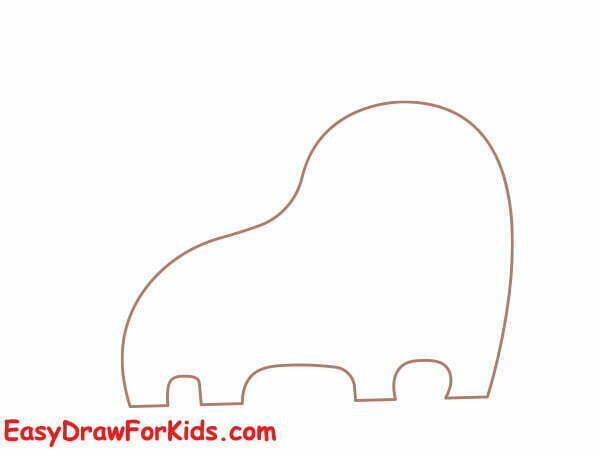
Step 2: Draw four legs extending down from the body as shown the picture.
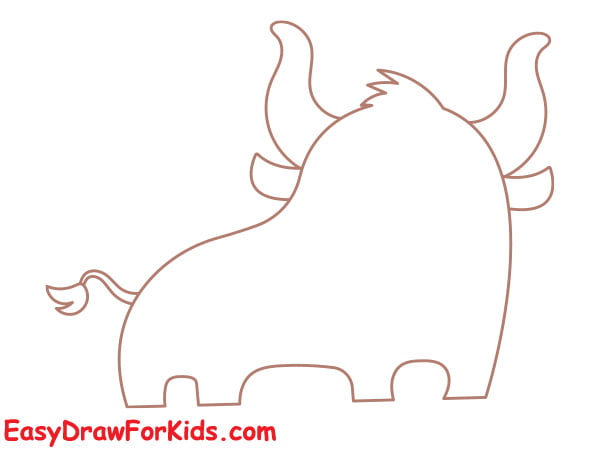
Step 3: On the top of the head, draw a pair of curved lines that extend upward and then slightly curve backward for the horns.

Step 4: Drawing the Ears and Tail
Draw two triangular shape below the horns for the ears.
At the back of the body, draw a long, curved line for the tail of the bull. Add some short lines along the tail to represent the fur.
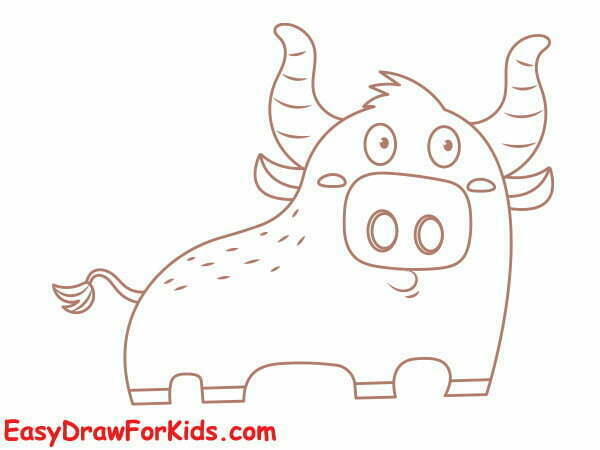
Step 5: Adding the Facial Details
On either side of the head, draw two small circles for the eyes. Add a smaller circle inside each eye to represent the pupils.
From the front of the head, draw an oval shape for snout of the bull. Draw a small oval shape for the nostril.
Add a small curved line below the nose for the mouth.
Adding short, thin lines a long the body for the fur.
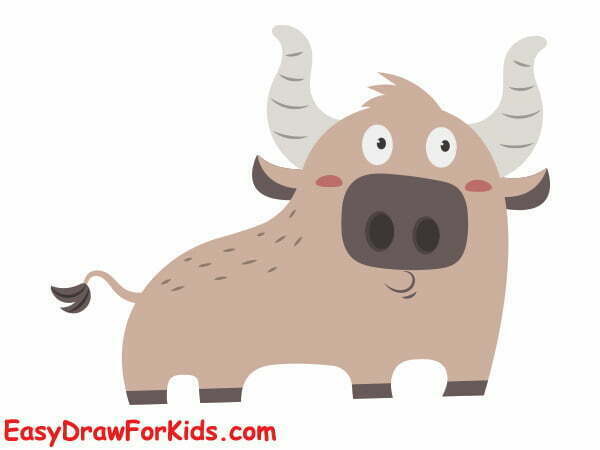
Step 6: Now that we’ve successfully this guide how to draw a bull, use brown to color your drawing.
2. Cartoon Bull Drawing
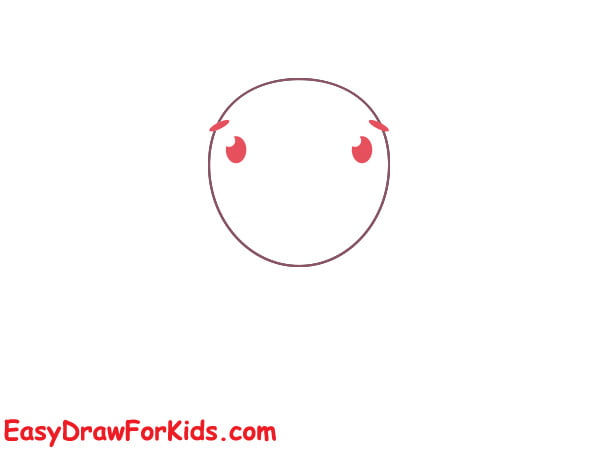
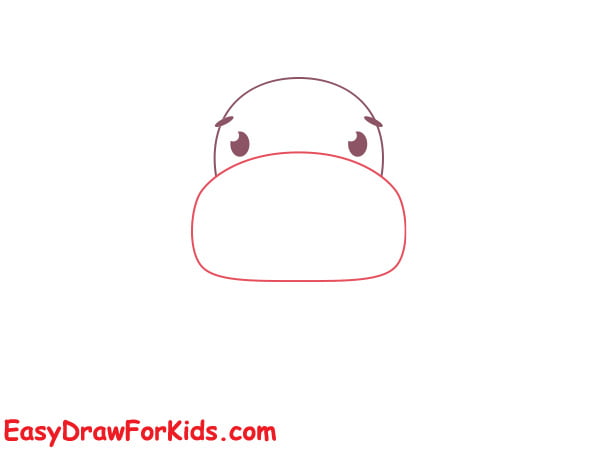
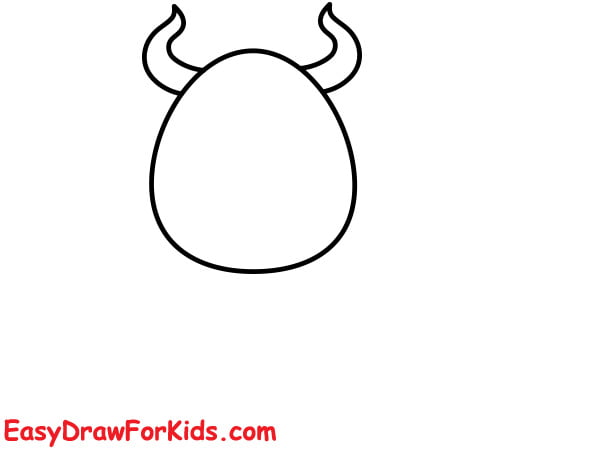
Step 1: Draw an oval shape to form the the bull head

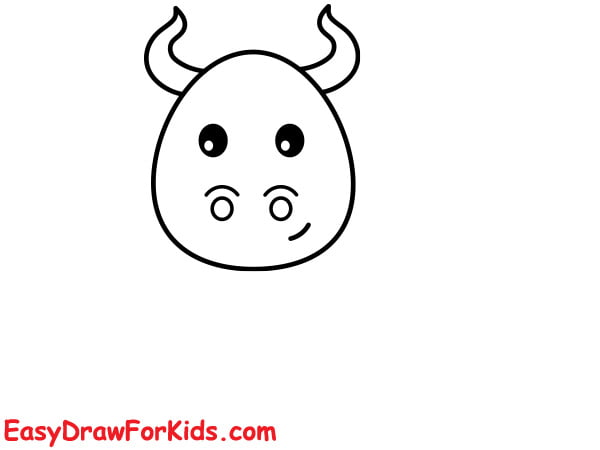
Step 2: The second step on guide how to draw a bull by drawing two oval shape inside the head for the eyes
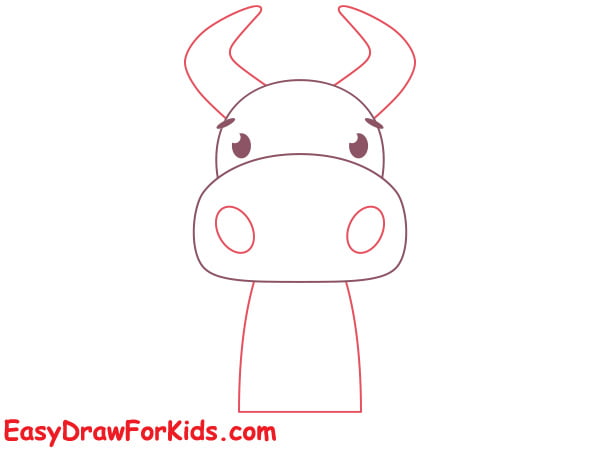
Step 3: Draw a rectangular shape at the front of the head for the muzzle
Step 4: Draw the horn, torso and nostril
Draw two curved lines extending from the top of the head, tapering towards the ends to create the horns.
Draw two curved lines inside the muzzle for the nostrils.
Draw two curved lines extending from below the head to creae the shoulders.
Next, sketch the chest and belly by drawing a curved line below the shoulders as shown the picture.
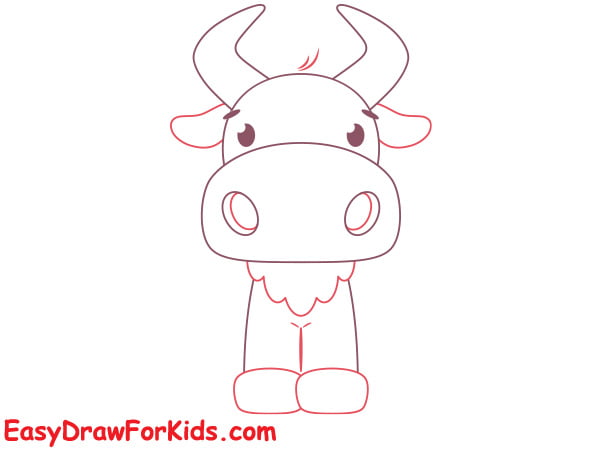
Step 5: Drawing the front legs and ears below the horns
Step 6: Draw the tail from the back of the torso
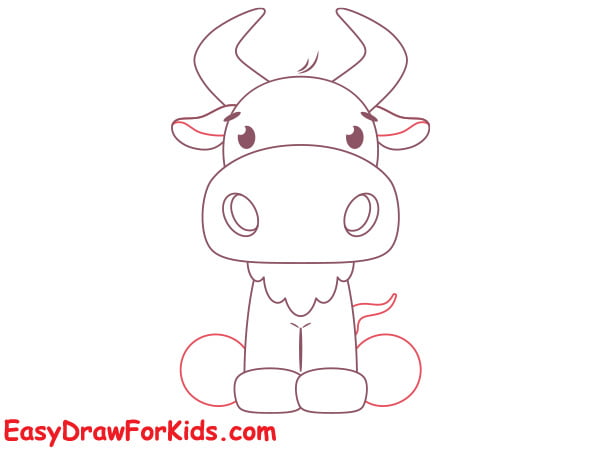
Step 7: Draw the hind legs
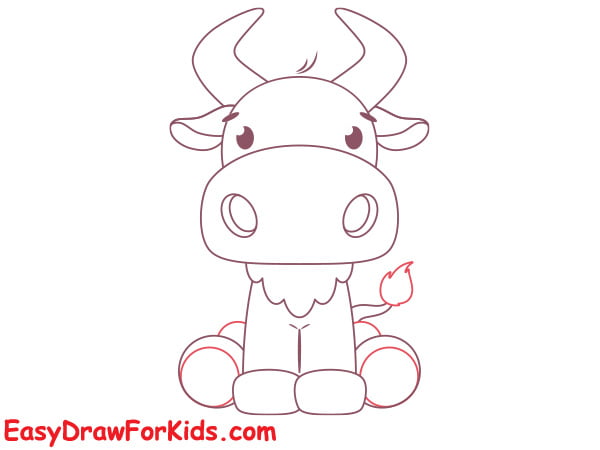
Step 8: At the bottom of each leg, draw a curved shape to represent the hoof

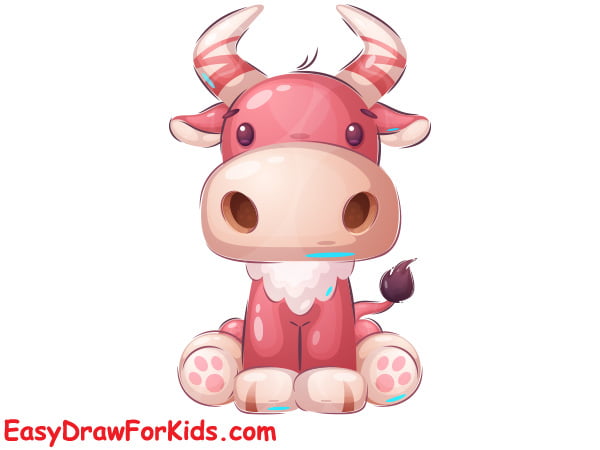
Step 9: Coloring your drawing
3. Easy Bull Drawing
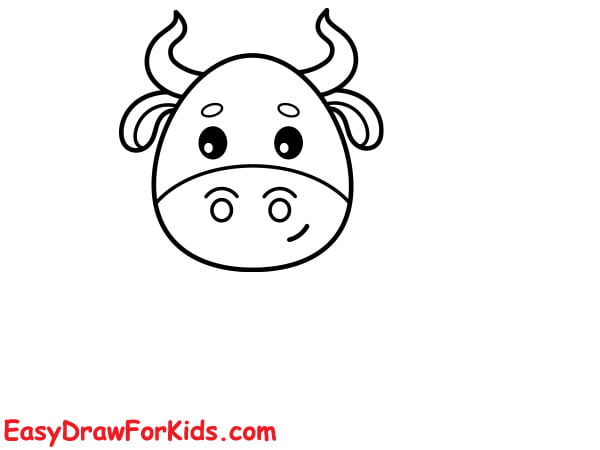
Step 1: Draw an oval shape for the head, add two horns on the top of the head.
Step 2: Draw the facial details as shown the picture
Step 3: In this step on guide how to draw a bull by adding the ears below the horns
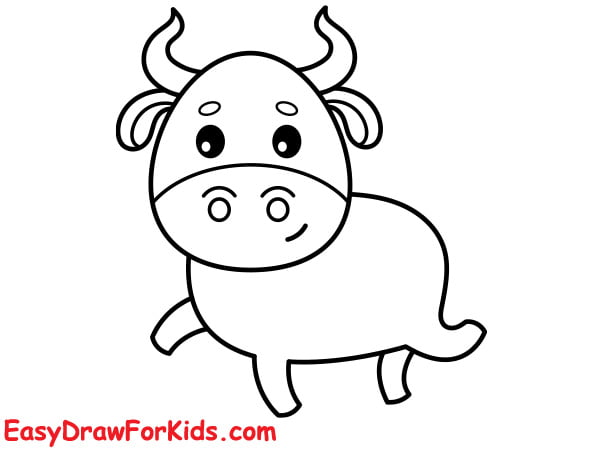
Step 4: Draw the torso and legs below the head
Step 5: Adding the tail from the back of torso
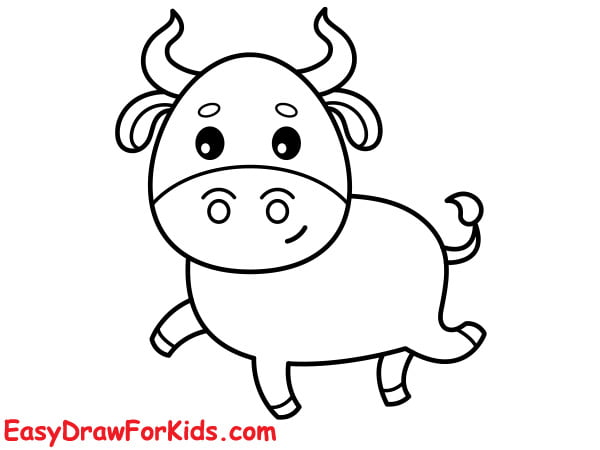
Step 6: Adding details

By following these steps, you can create realistic bull, take time with the facial features and muscular body.


