If you’ve ever wanted to capture the beauty of a cactus on paper, you’re in the right place.
Here is a beginner’s tutorial on how to draw a cactus step by step.
With a few simple steps, you can create your unique cactus art.
How To Draw A Cactus – A Step By Step Guide
1. Cute cactus drawing
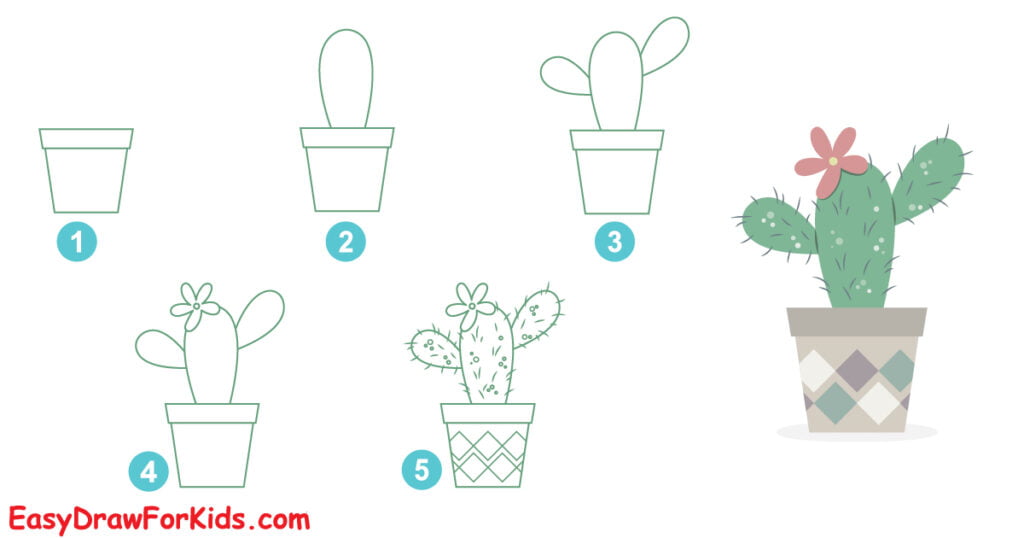
Step 1: Sketching the terra cotta Pot
Start by drawing a simple oval shape, and a wider oval shape to form the opening of the pot.
Add a few more curved lines to connect the top and bottom of the pot as shown the picture.

Step 2: The second step on guide how to draw a cactus by draw a vertical oval shape standing up in the center of the pot to form the main trunk of the cactus.

Step 3: Add “branches” to the cactus by drawing smaller ovals around the main shape.

Step 4: Sketching flowers on the top of Cactus
Draw a circle at the top of the trunk to form the cactus flower.
Then, add a short vertical line underneath the stigma.

Step 5: Add the spines and pattern for the Pot
Draw a series of short lines radiating out from the trunk to represent the cactus spines.
Add lines across the Pot for a pattern.
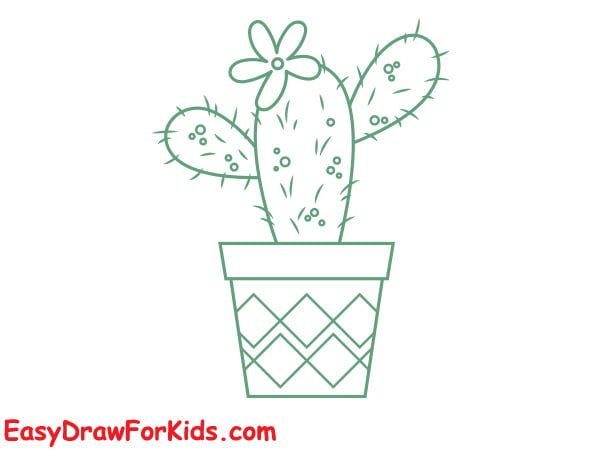
Step 6: When choosing colors for your cactus and pot, using green and brown for a realistic look.

2. Realistic Cactus drawing
Step 1: Start by drawing an oval shape to form the outline of the pot.
Then, draw a horizontal line that intersects with the vertical line for the guideline.

Step 2: Below the oval on step 1, draw another smaller oval shape, then connect two oval shapes to complete the pot.

Step 3: Sketching simple oval shapes ovelapping to form the trunk and branches as shown the picture.
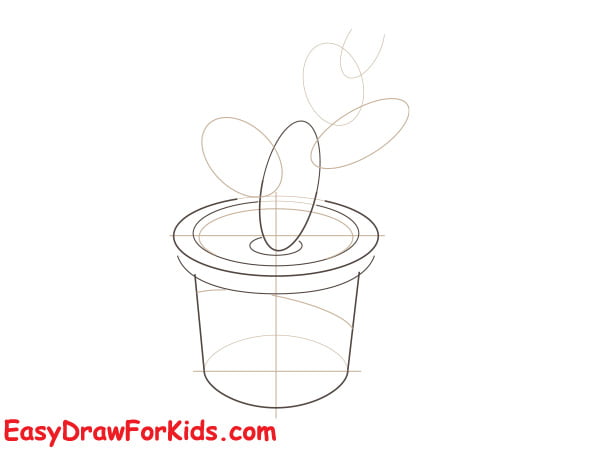
Step 4: Sketch the spines protruding from the body and branches of your cactus.
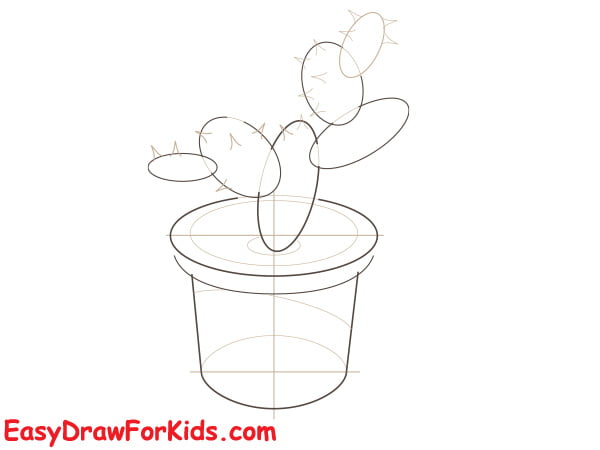
Step 5: The fifth step on guide how to draw a cactus will adding more spines and a flower
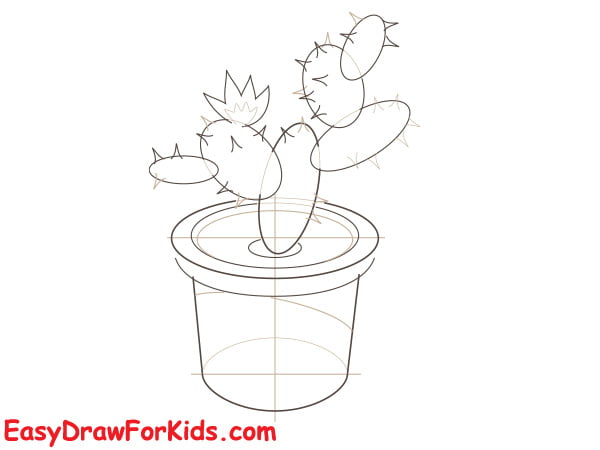
Step 6: Erase any pencil lines that you don’t want to be seen in the final drawing.
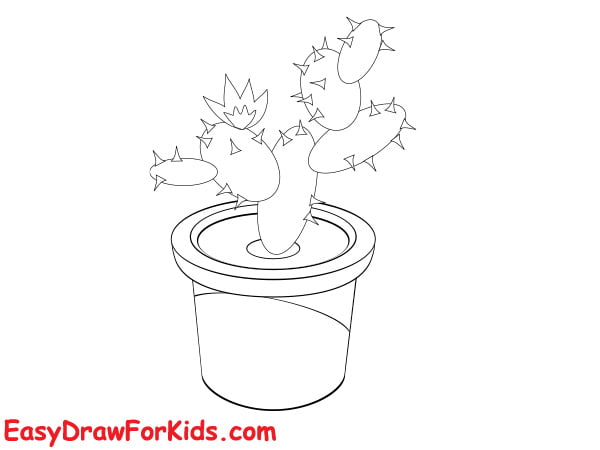
Step 7: Color your cactus drawing

3. Simple Cactus drawing
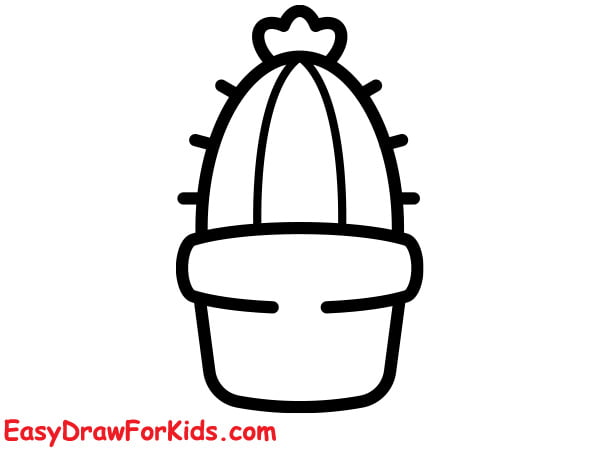
Step 1: The first step on guide how to draw a cactus by sketching a simple cylindrical shape for the pot.

Step 2: On the top of the pot, draw a basic oval shape for the cactus body.
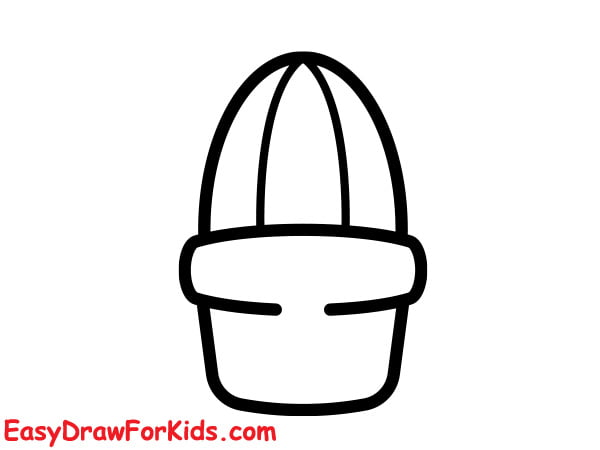
Step 3: Adding details to the cactus
Adding ridges and curves along the cactus body.
Next, using short, light strokes, sketch the spines along the ridges and curves of the cactus.
Then, add a flower on the top of the cactus.
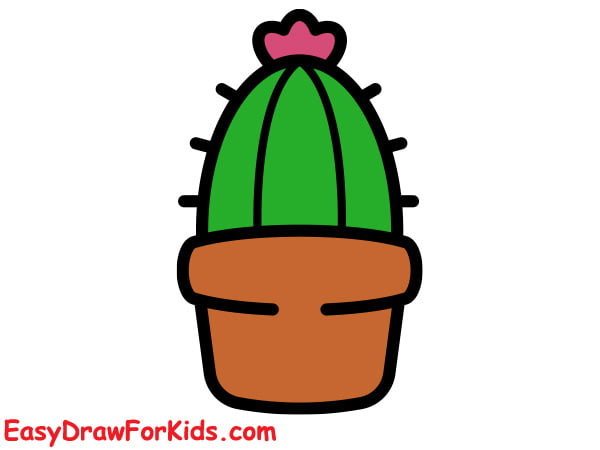
Step 4: If you wish to add color to your cactus drawing, use the base color (green or brown) to color your drawing.
Tips for drawing a Cactus
If you’re new to drawing, don’t worry! Here are some tips to help you get started:
Begin by sketching out basic shapes, then add more details as you go.
The more you draw, the better you will become. Set a time each day or week to practice your drawing skills.
Remember to be patient and have fun with the process.


