Are you a fan of capybaras and want to learn how to draw a capybara?
The capybara is the largest rodent in the world with barrel-shaped body, short head, and blunt nose.
In this tutorial, easydrawforkids.com will guide you learn to draw this adorable creature.
How to Draw a Capybara – A Step by Step Guide
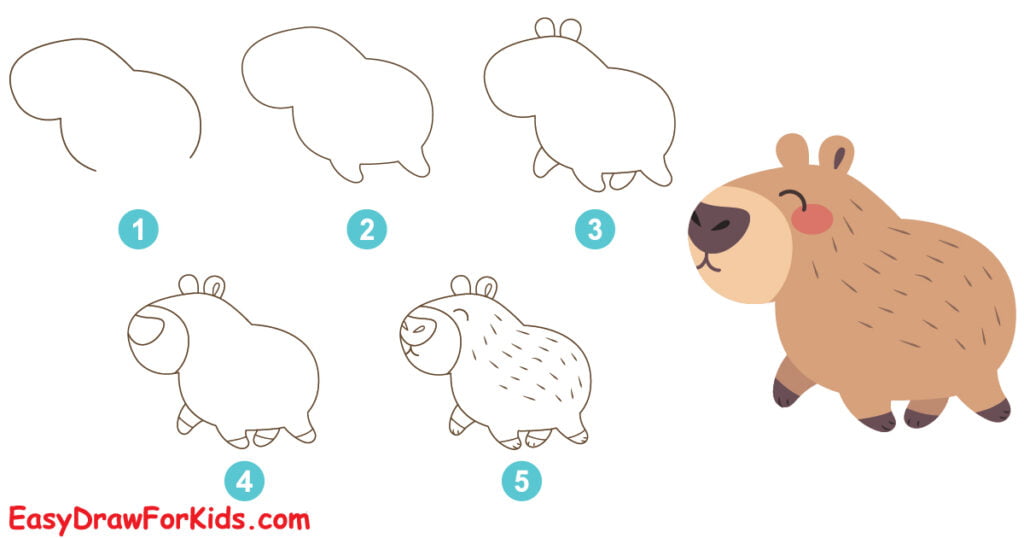
1. Easy Capybara Drawing
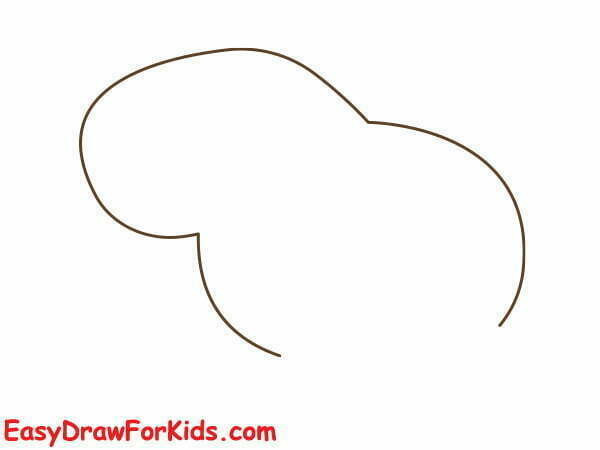
Step 1: Sketch the Basic Shape
In this first step in our guide on how to draw a capybara by drawing a large oval shape for the body.
From the top of the oval, draw a smaller oval shape to form the head.
Connect the head and the body with a curved line to create the neck.
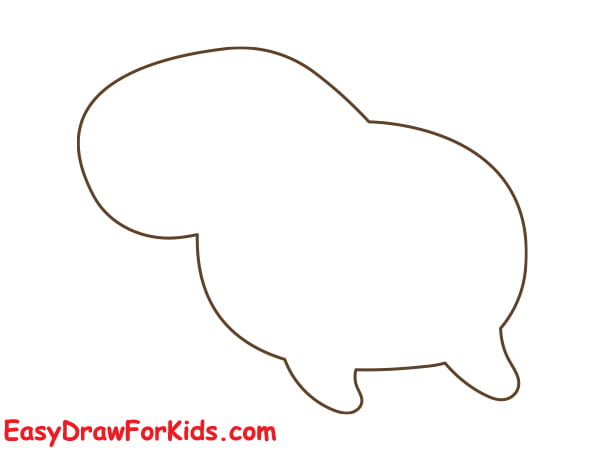
Step 2: Draw the Legs
Draw two lines extending from the bottom of body for the legs.
Connect the legs with a curved line at the bottom.
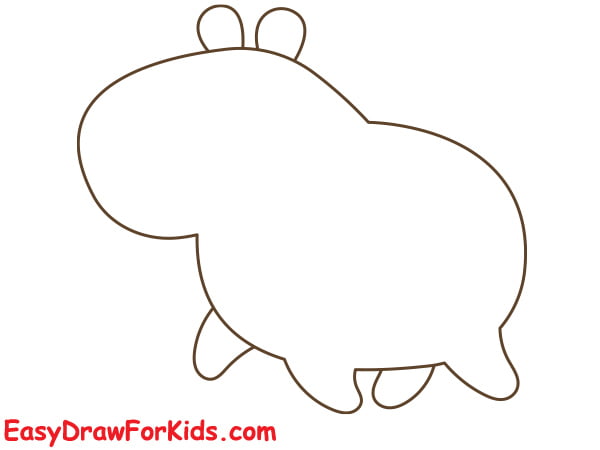
Step 3: Drawing the Capybara Ears
Repeat the previous step to draw the second front leg and back leg on the other side.
Add two small circles near the top of the head for the capybara ears.
Step 4: Drawing the Capybara muzzle
Draw a small oval inside the head for the muzzle
Draw rounded feet at the end of each leg by adding small curved lines.

Step 5: Depict the Facial Details and Fur
Draw two small curve lines to form the close eyes.
Below the eyes, draw a small, curved line for the capybara nose. Add two small dots for the nostrils.
Draw a smiling mouth by adding a curved line below the nose.
Use small, curvy strokes to create the fur.

Step 6: Color Your Drawing
Use light brown and tan shades for the fur, the eyes can be black or dark brown.
Color the claws and toes a grayish tone. Add grass or ground under the feet.
Take your time coloring your adorable capybara drawing to come to life!

2. Cute Capybara Drawing
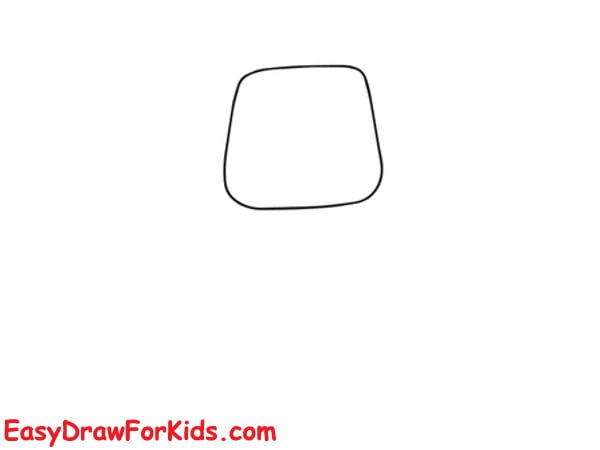
Step 1: Draw a rectangular shape for the head
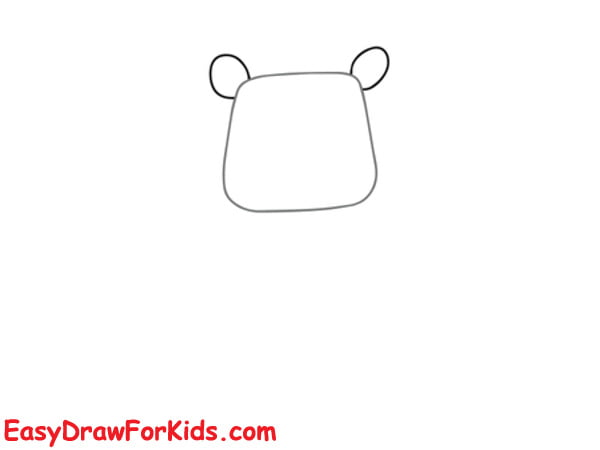
Step 2: Draw two oval shape on the side of the head for the ears
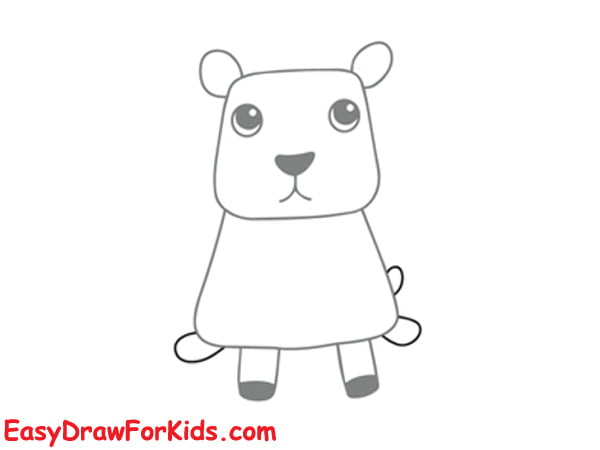
Step 3: Adding facial detail
Draw two circle for the head, and small circle inside it for the pupils.
Draw a triangle below the head for the nose, and curved line for the mouth.

Step 4: Draw a larger rectangular shape below the head for the torso

Step 5: Below the torso, extend down two small rectangular for the back legs.

Step 6: Draw two front legs and tails
Drawing a capybara is a fun experience for everyone; with more practice, you will be better at drawing a capybara.
So, grab your pencils, follow this step-by-step instruction for drawing a capybara, and start creating fantastic capybara art today!


