Doctors play a vital role in lives, providing medical care and keeping us healthy.
Drawing a doctor is a great way to pay tribute to their importance.
This guide on how to draw a doctor in 4 ways to help you draw a doctor with ease!
How To Draw A Doctor – A Step by Step Guide
1. Easy Doctor Drawing
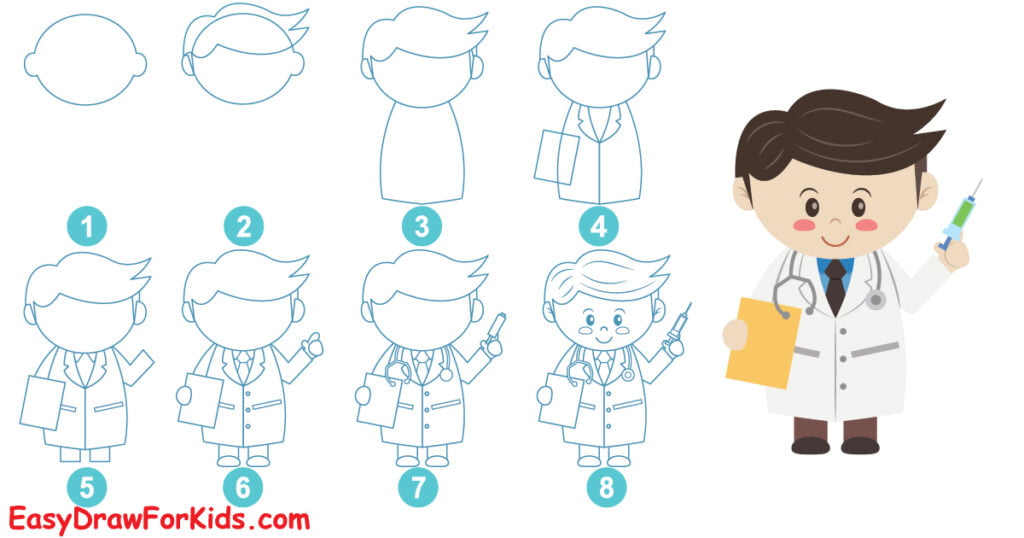
Step 1: Start this tutorial how to draw a doctor by drawing a circle for the doctor’s head, draw roughly circle ears on each side of the head.

Step 2: Draw the doctor’s hair by adding short, curved lines or a hairstyle that you prefer.

Step 3: From the bottom of the head, draw a slightly elongated oval shape that will serve as the doctor’s body.

Step 4: Draw the Clothes
Add a collar to the doctor’s clothing by drawing a curved line around the neck area.
Draw a rectangular shape in the hand and a small clip at the top for a clipboard

Step 5: Draw the Arms and Legs
Draw two narrower, curved lines extending from the sides of the body to create the arms.
Add two straight lines extending downwards from the body to create the legs.

Step 6: Draw the Hand and Foot
At the end of the arm, draw a small oval shape for the hand holding a clipboard.
Draw two oval shape at the end of the leg for the foot.

Step 7: Draw the syringe and stethoscope
Draw the syringe on the doctor’s hand.
For a stethoscope, draw a curved line on one side of the neck and add circular shapes for the listening end and earpieces.

Step 8: Add details to the doctor’s face by drawing two oval-shaped eyes, a curved line for the nose, and a smiling mouth.

Step 9: Bring your doctor drawing to life with color!

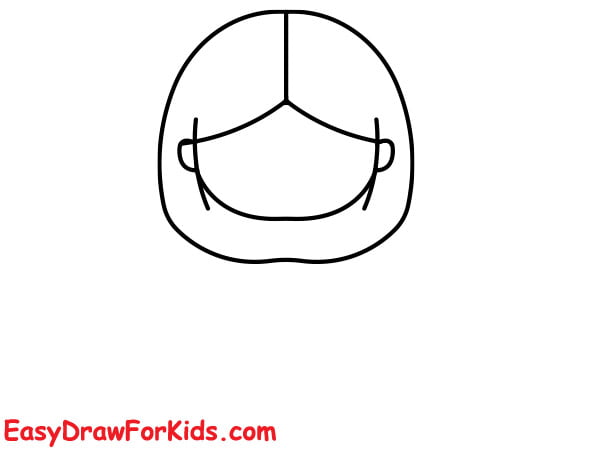
2. Cute Doctor Drawing
Step 1: Draw a curved line for the face; draw two small curved lines on the top of the face to form the ears.

Step 2: You can choose any hairstyle you like
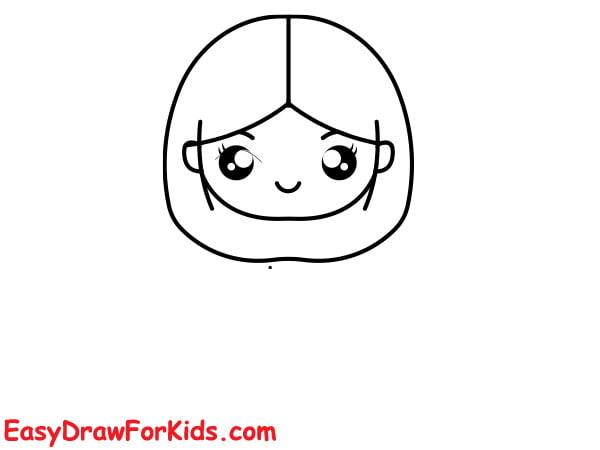
Step 3: Draw two large, expressive eyes. Add eyelashes to make them look more feminine.
Below the eyes, draw a small, cute nose. Then, draw a smiling mouth with a slight curve to create a friendly expression.
Step 4: The fourth step on guide how to draw a doctor, sketch the doctor body by drawing a neck and shoulders, then draw a lab coat.
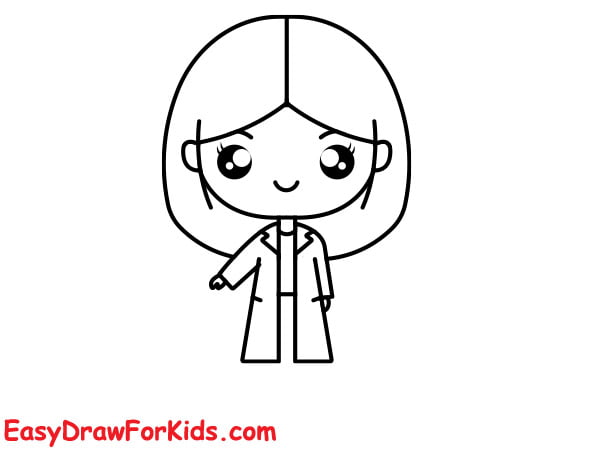
Step 5: Draw two lines extending down from the bottom of the coat to create the legs.

Step 6: Sketch small, round hands at the end of each arm holding a medical tools.

Step 7: Select your favorite colors and bring your cute doctor to life.

3. Simple Doctor Drawing
Step 1: Draw an Oval for the Head

Step 2: Above the head, sketch the doctor’s hair, draw a small curved line for the nose.

Step 3: On the head, draw two small circles for the eyes; add a simple curved line for the mouth.

Step 4: Below the head, draw a rectangular shape for the body. Extend two straight lines from the sides of the body to create the doctor’s arms.

Step 5: In this step on guide how to draw a doctor, add a stethoscope around the neck and the syringe.

Step 6: Extend two lines downwards from the bottom of the body to create the legs.

Step 7: Draw a small rectangular shape on the chest area to represent a name tag.

Step 8: If you wish, you can add color to your drawing.

4. Cartoon Doctor Drawing
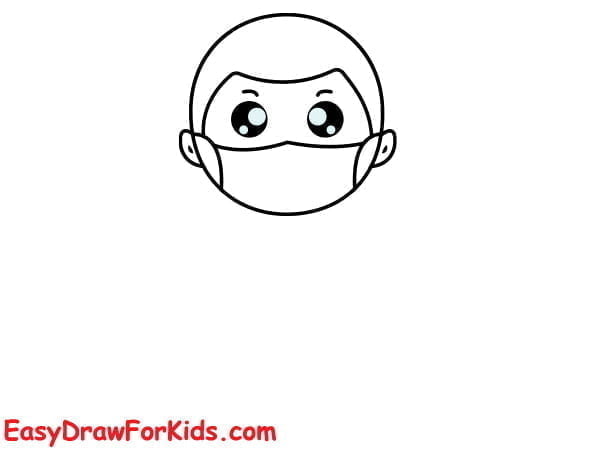
Step 1: Draw a vertical oval shape for the head.

Step 2: Draw two oval shapes for the eyes, and add the mask below the eyes.
Step 3: Draw the body and arms
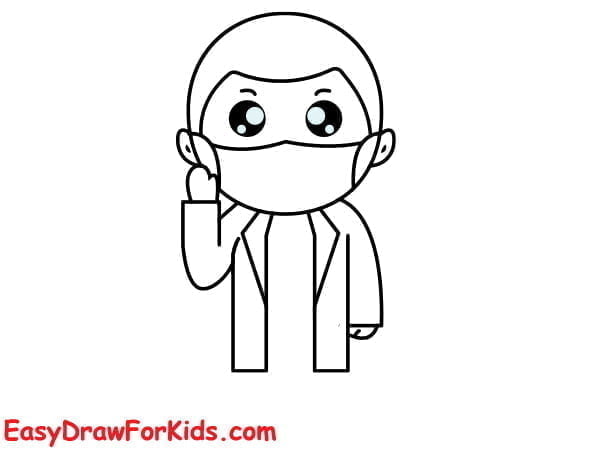
Step 4: Draw the legs
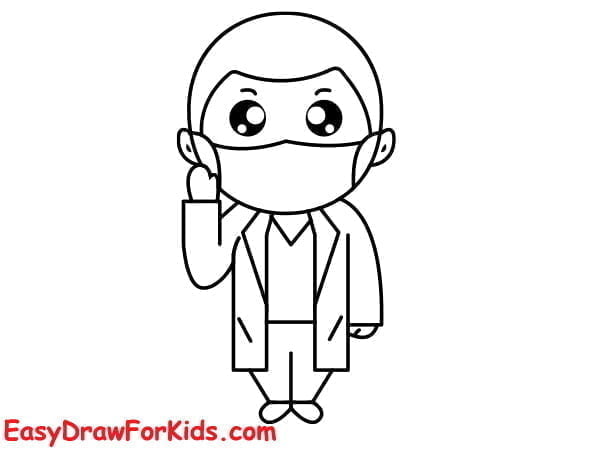
Step 5: The fifth step on guide how to draw a doctor, add a stethoscope around the neck

Step 6: Now, you can add color to your drawing

By paying attention to the details of their attire and accessories, you have created a realistic representation of a doctor.
You’ll be amazed at what you can create!


