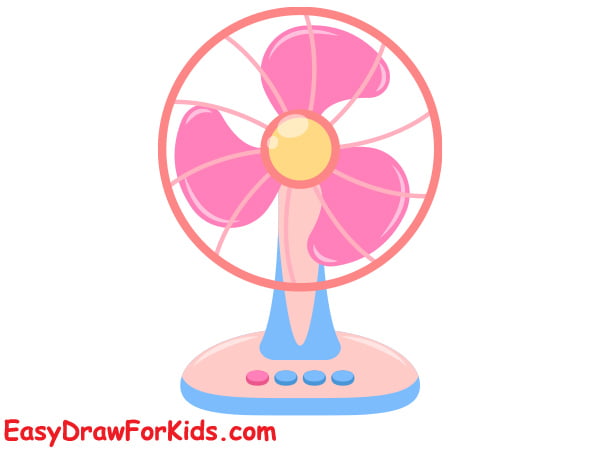
Drawing a fan seems simple enough – a few curved blades attached to a base.
In this step-by-step guide to drawing a fan, easydrawforkids.com will teach you how to draw a fan from start to finish.
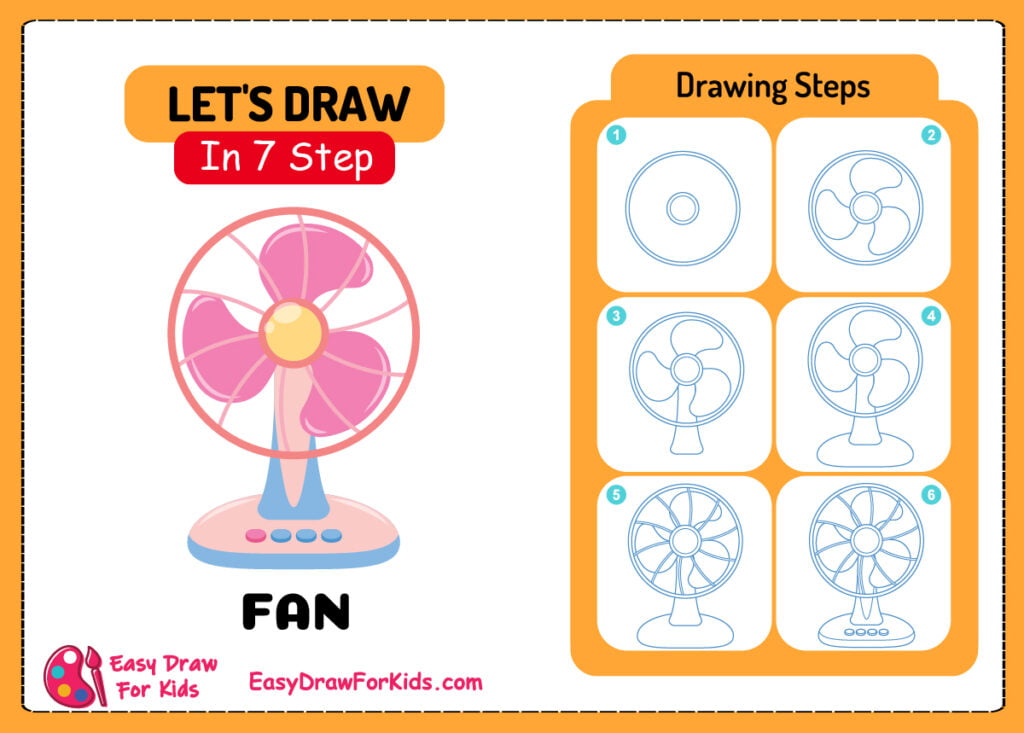
How to draw a fan – a step by step guide
1. How to draw a fan

Step 1: Draw the Top Arc
Determine the size of your drawing and draw two circles of different diameters.
In the center, draw a circle where the blades are attached.

Step 2: Adding the Blades
To draw the blades, begin with one long smooth curve extending from the center circle.
Make the curve a bit wider in the center and tapering slightly at the ends.
Once you have the shape of one blade, draw the remaining blades at even intervals around the center fitting.

Step 3: Creating the Handle
Next let’s add the handle which enables the user to control the fan’s height and direction.
Lightly sketch a straight vertical line from the center point to represent the handle’s main bar.
Step 4: Draw a rectangle below the handle for the base

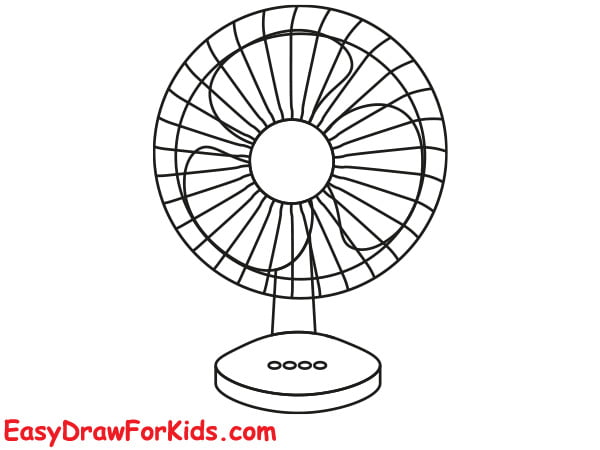
Step 5: Draw curved lines as shown the picture for the fan guard
Step 6: On the base of the fan, draw three identical buttons in the form of semicircles for fans switch button
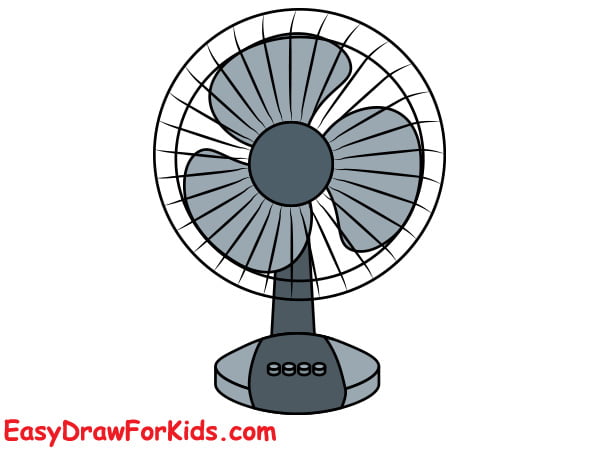
Step 7: For the final step of guide how to draw a fan, let’s add some color to bring your fan to life.
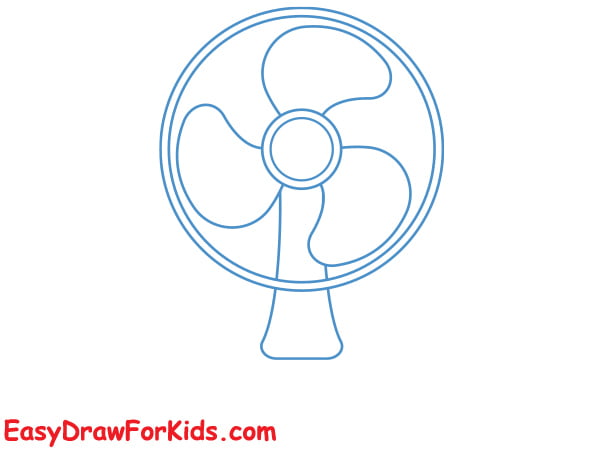
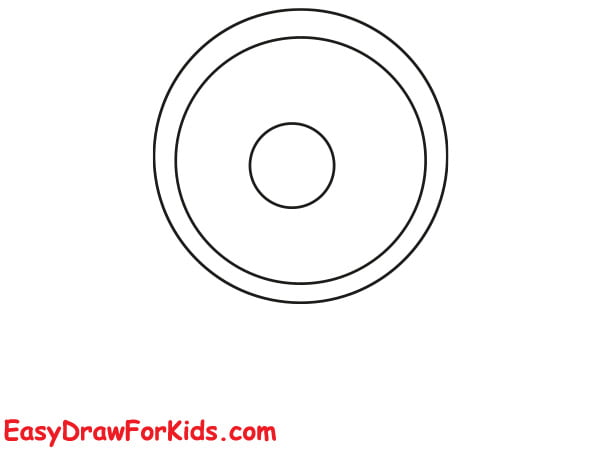
2. How to draw an electric fan
Step 1: Drawing the base of the Fan
Start by sketching a circular shape to form the central hub.
Next, draw a slightly larger circle around the central hub, leaving some space between the two circles to form circumference of the fan.
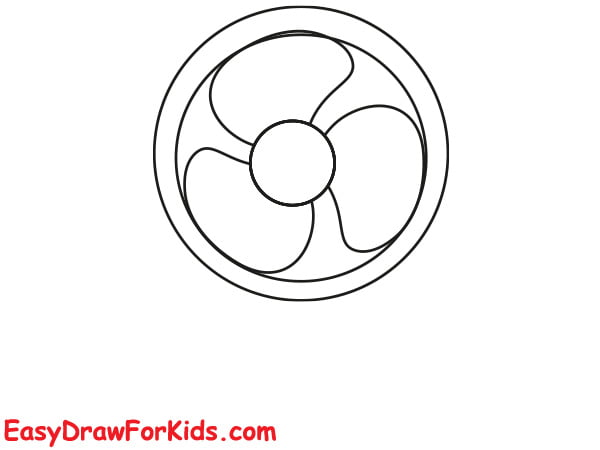
Step 2: Draw blades extending from the base, following the guidelines you established in the previous step.
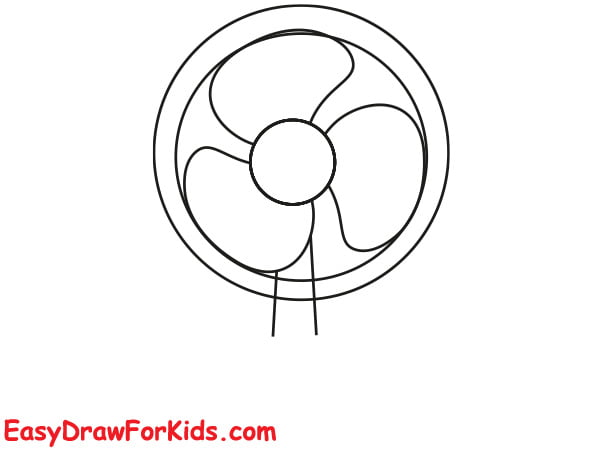
Step 3: Draw two straight lines extending down from the center of the blade for the handle.
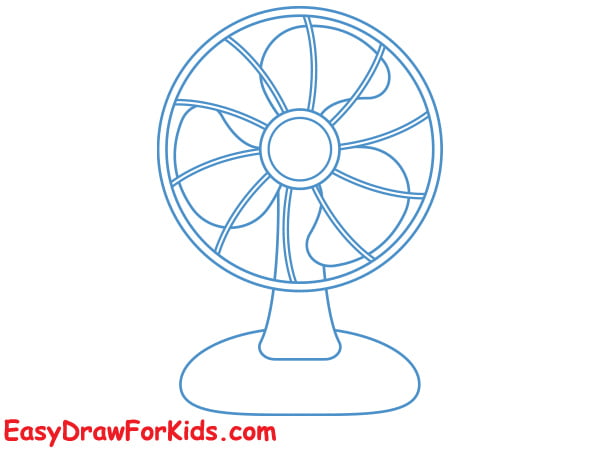
Step 4: Draw more curved lines for the fan guard

Step 5: Drawing the base of the Fan
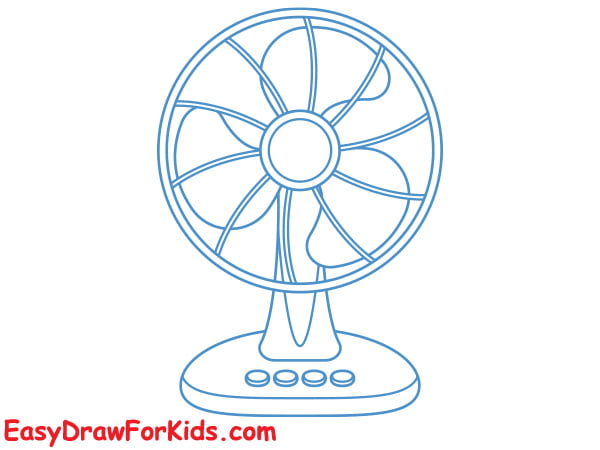
Step 6: If you want to add color to your fan drawing, let’s color it.
Tips and Tricks for Drawing a Fans
Use smooth curves when drawing the blades.
Look at photos for technical details to include.
Practice drawing elliptical curves if you struggle with the blade shape.
By following the steps outlined in this guide on drawing a fan and using the tips provided, you can create a beautiful fan drawing.
Remember to keep practicing, and you will see improvement in your drawing skills over time.