Are you fascinated by the graceful and elegant flamingos?
Do you want to draw pink birds but don’t know how to start?
In this tutorial, easydrawforkids.com will help you learn how to draw a flamingo, even if you’re a beginner.
How to Draw a Flamingo – A Step by Step Guide
Here are 4 ways you can try to learn how to draw a flamingo step by step
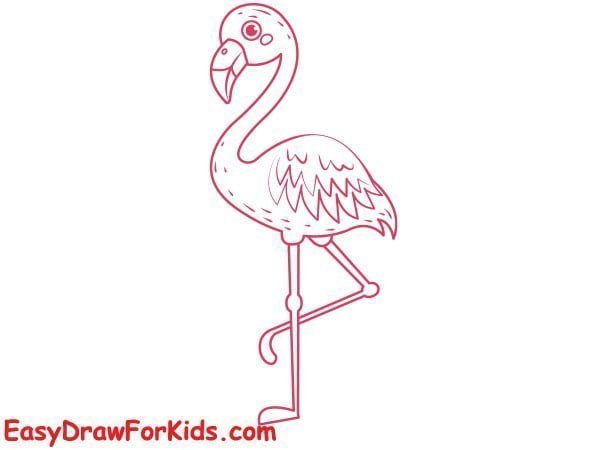
1. Cartoon Flamingo Drawing

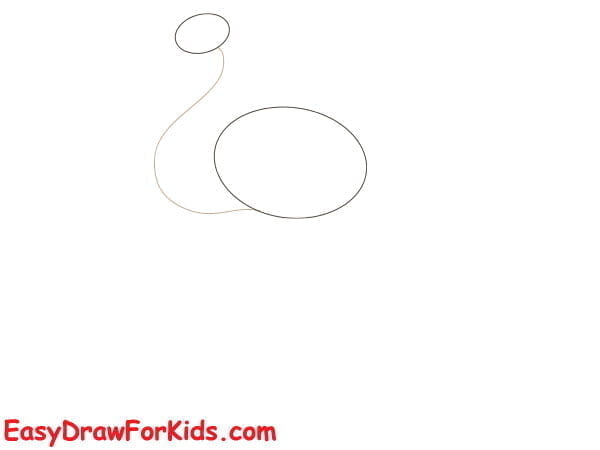
Step 1: Draw a small oval shape at the top of paper for the head.
Then draw a smaller oval shape inside the head for the eye as shown the picture.

Step 2: Add the neck and beak
Add a tiny dot inside the circle to represent the pupil.
Draw a curved line from the beak to the head to create the bird’s mouth.
Add a small curve near the beak for the nostril.
Below the circle, draw a long curved line for the neck.

Step 3: Sketch out the flamingo’s belly
Draw a curved line for the flamingo’s belly from the bottom of the neck.
Draw curved strokes to indicate the direction of the feathers building up the layers.

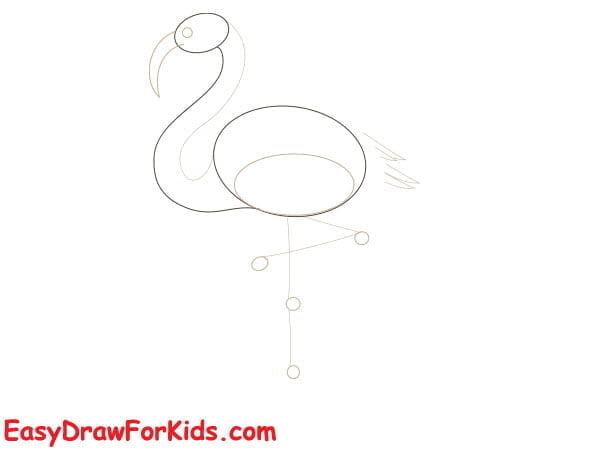
Step 4: Sketch out the wing and tail
On one side of the body, draw a curved line that starts from the back and ends near the bottom of the body to form the wing.
At the back of the body, draw a series of curved lines that extend outward to create the tail.

Step 5: Extend two long, thin lines downward from the body to create the flamingo’s legs. Add curved lines to represent the joints.

Step 6: At the bottom of each leg, draw a shape that resembles an inverted “V” to form the feet.

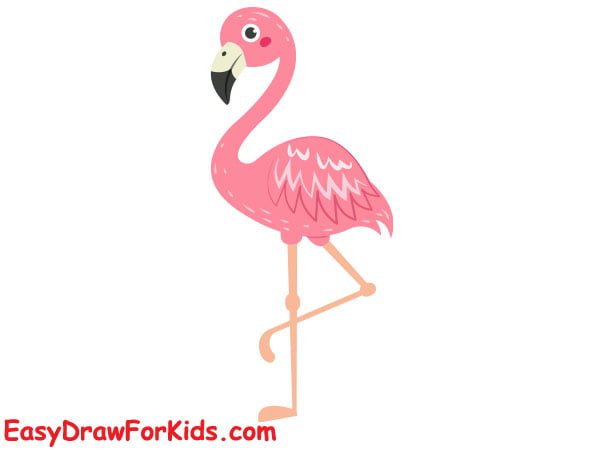
Step 7: Color your flamingo with pink for the body and wings, and orange for the beak and legs.

2. Simple Flamingo drawing
This guide on how to draw a flamingo in 7 steps to help you drawing a cute flamingo with ease!

Step 1: Draw a small circle for the head. Inside the head, draw a smaller circle for the eye

Step 2: From the back of the head, draw a long, curved line that bends slightly towards the bottom to form the neck.

Step 3: Draw and extend a long, curved line from the head to create the beak.

Step 4: Draw an oval shape from the neck to create the body.

Step 5: Draw an oval shape at the top of the body for the wing as shown in the picture

Step 6: Draw two thin, curved lines extending from the bottom of the body to create the legs.
At the end of each leg, draw a small oval shape for the feet.

Step 7: Flamingos are typically pink so that you can use shades of pink for the body, legs, and beak.

3. Cute Flamingo Drawing
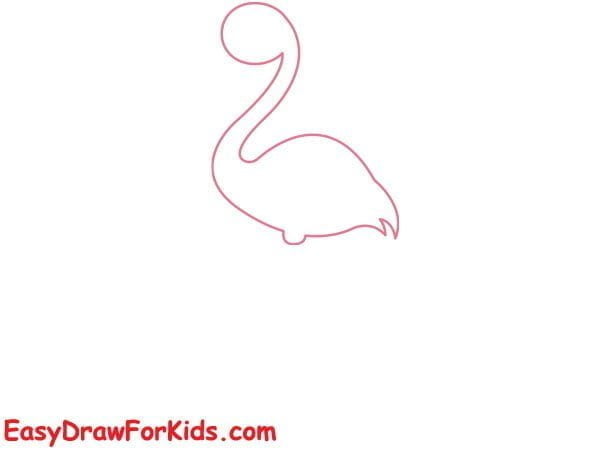
Step 1: Draw a simple oval for the head and a curved line for the neck.

Step 2: At the end of the neck, draw a two curved line to form the body.

Step 3: At the end of the body, connect two curved lines as shown in the picture to form the tail.
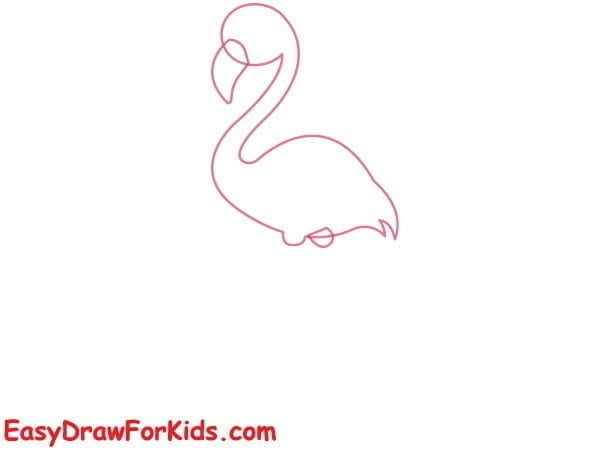
Step 4: Draw a curved line from the bottom of the head to form the lower portion of the beak. Then, add another curved line above it to create the upper beak.
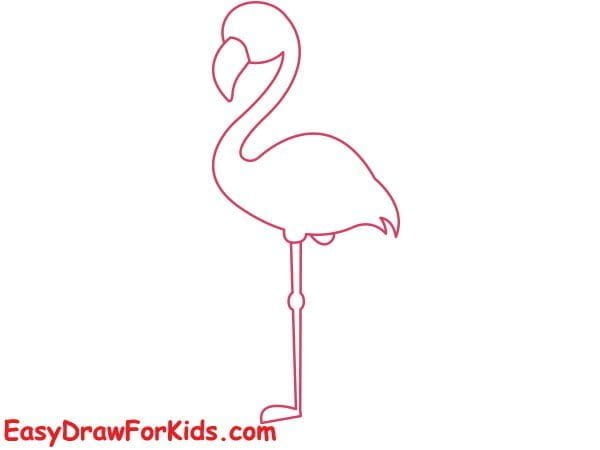
Step 5: Draw a long, straight line extending downward to form the first leg
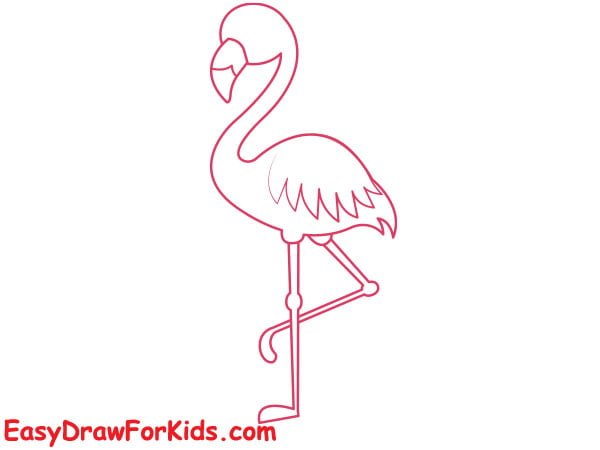
Step 6: In this step on guide how to draw a flamingo, draw another leg and wing.
Step 7: To add the eye, draw a small oval shape near the back of the head.
Step 8: Flamingos are famous for their vibrant pink plumage, choose pink to color your flamingo drawing.
4. Realistic Flamingo Drawing
Step 1: Sketch the basic shape
Begin this method on guide how to draw a flamingo by drawing an oval shape slightly elongated to form the flamingo’s body.
Draw a smaller oval shape for the head.
Next, draw a curved line connect body and head for the neck.
Step 2: Extend a curved line from the front of the head, tapering it to a point at the end to form the beak.
Step 3: Add feather details to the body and wings, bringing your flamingo drawing to life.
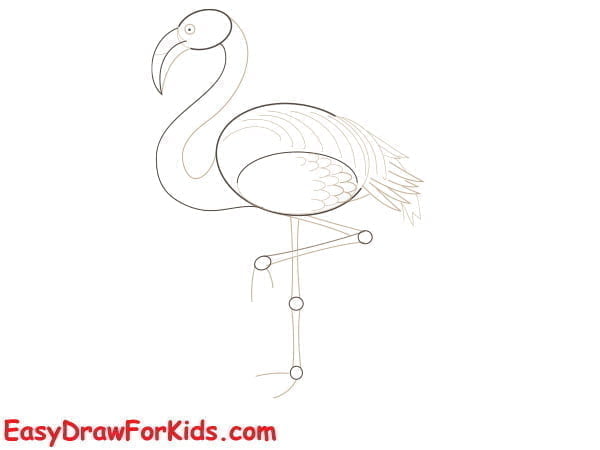
Step 4: Drawing the legs and feet
From the bottom of the body, draw two long, straight lines extending downwards.
At the bottom of each leg, draw a curved line to represent the flamingo’s foot.
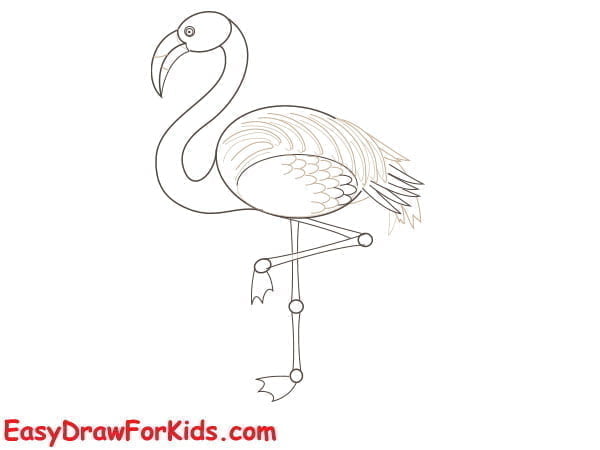
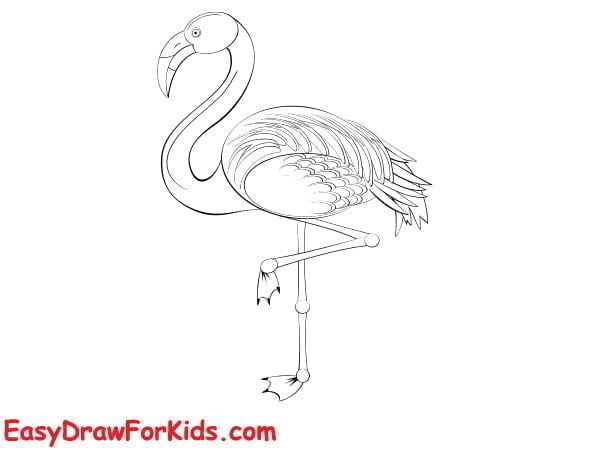
Step 5: Add detail to the wings and body, and draw individual feathers using curved lines.
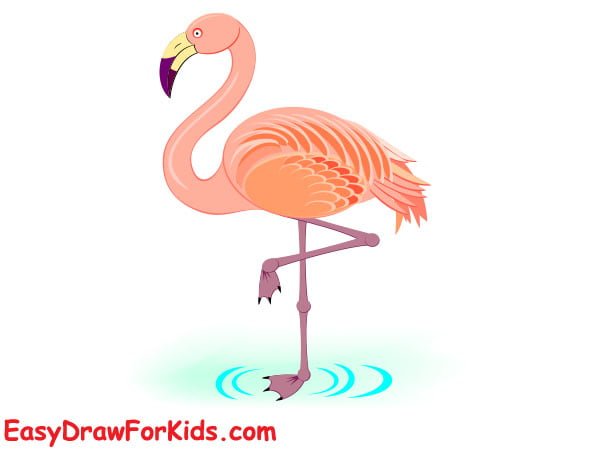
Step 6: Adding Color to the Flamingo
It’s time to bring your flamingo to life with vibrant colors.
Flamingos are known for their distinctive reddish-pink feathers.
Drawing a flamingo is a rewarding experience, as it allows you to capture the beauty and grace of these unique birds.
By following these step-by-step, you’ve successfully captured the grace of these birds.
Remember to take your time, pay attention to the details, and don’t be afraid to make mistakes.
Start drawing your flamingo today!


