The fly is often regarded as a nuisance and can be found resting almost everywhere.
If you want to learn how to draw a fly, this guide is for you.
In this tutorial, easydrawforkids.com will walk through a simple step-by-step process for drawing a fly.
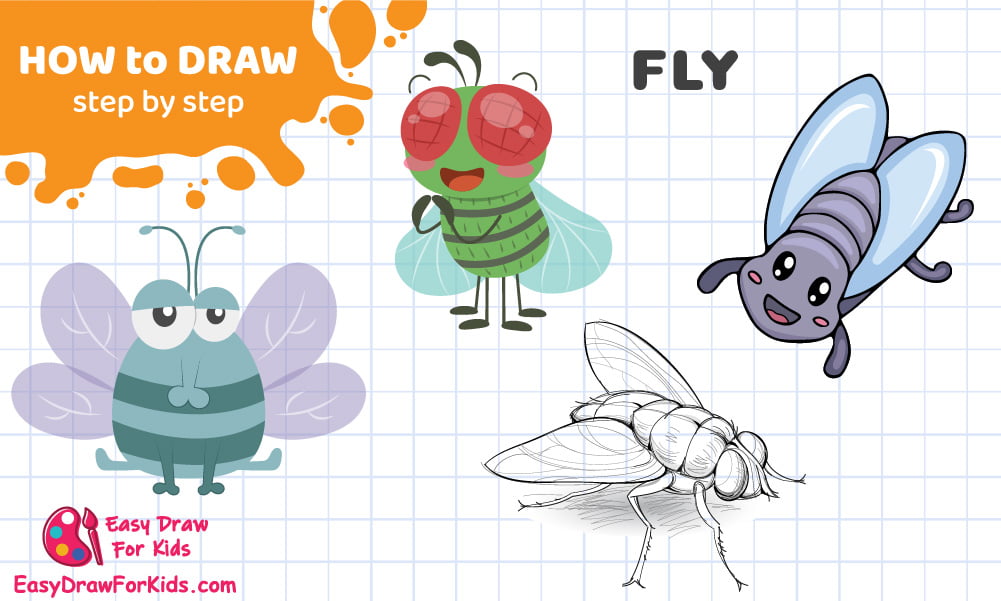
How To Draw A Fly – A Step by Step Guide
1. Cute Fly Drawing
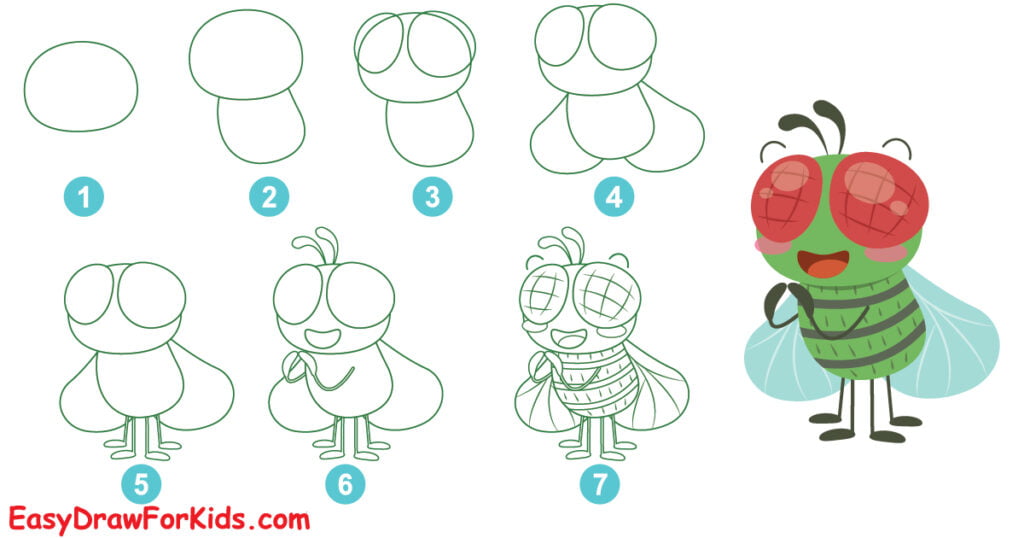
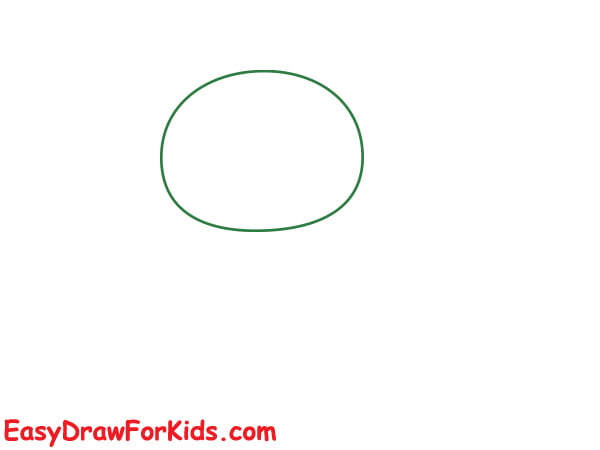
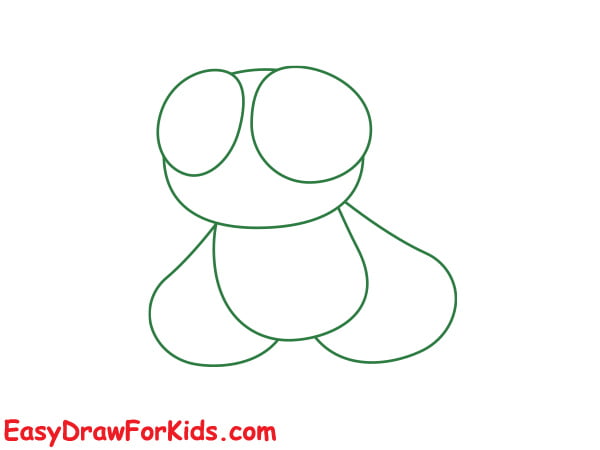
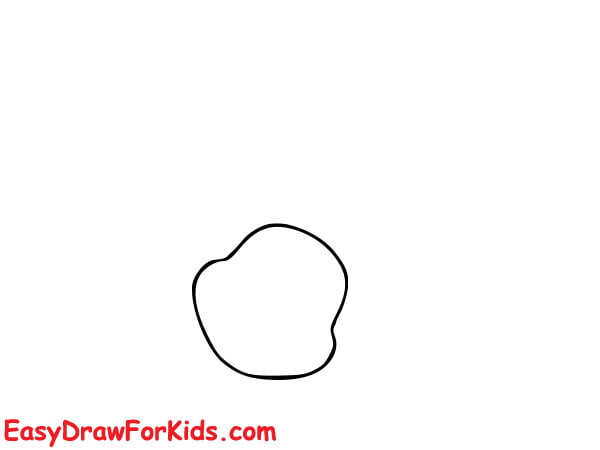
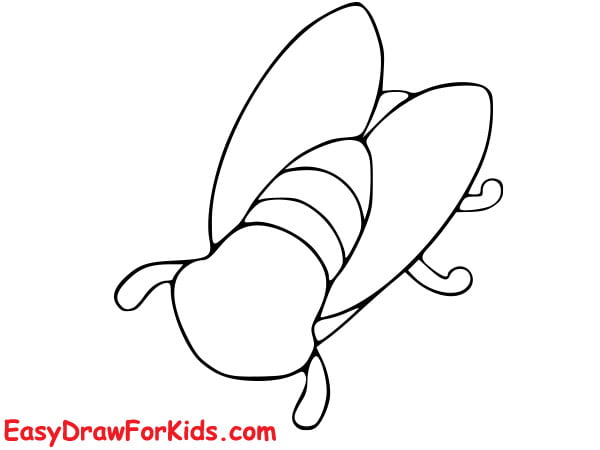
Step 1: The first step on guide how to draw a fly by draw an elongated oval shape for the fly’s head.
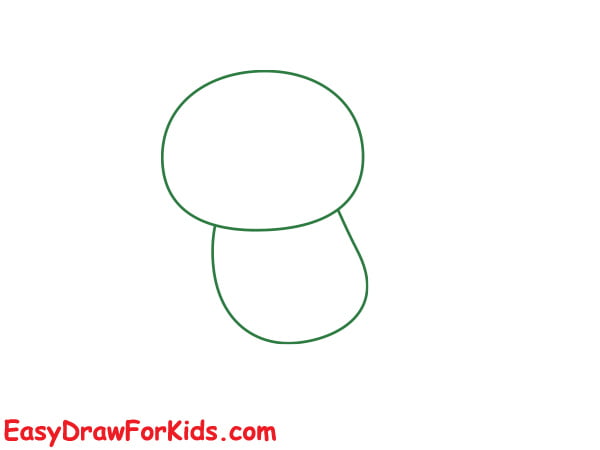
Step 2: On the bottom of the head, draw an oval shape for the fly’s body.
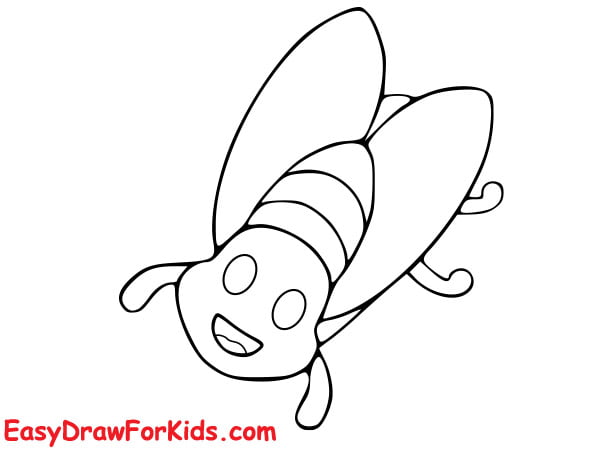
Step 3: Inside the head, draw two large, round eyes.

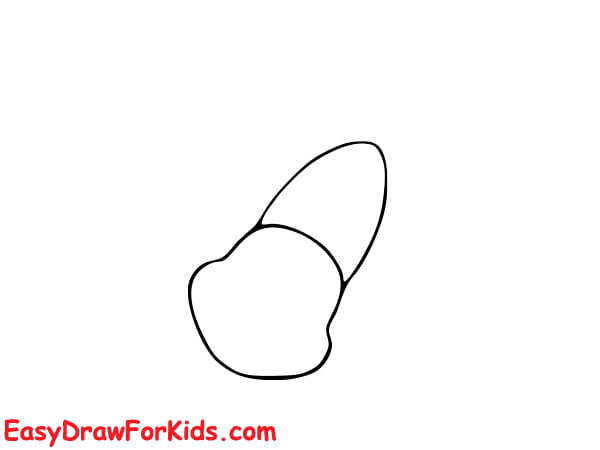
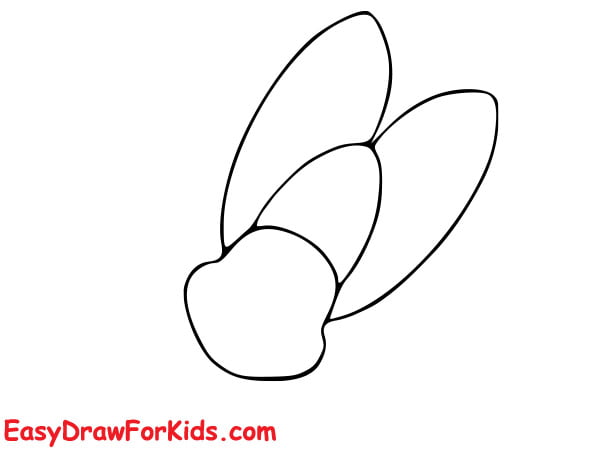
Step 4: Sketch the wings extended out on each side of the body as triangles with rounded edges.
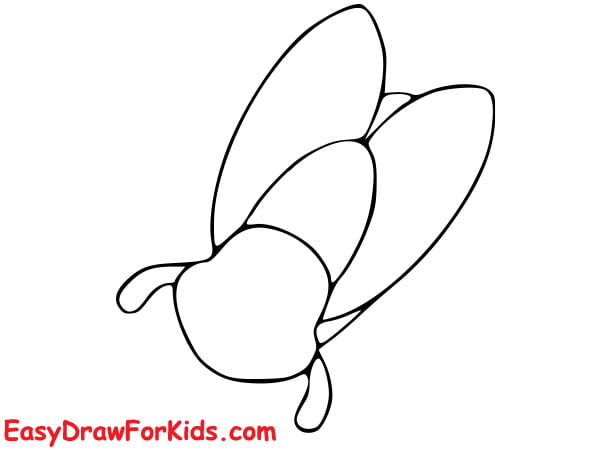
Step 5: Draw the Legs
On the lower part of the body, draw four small oval shapes close together for the fly’s hind legs.
Add small oval shapes at the ends of the legs to represent the fly’s feet.

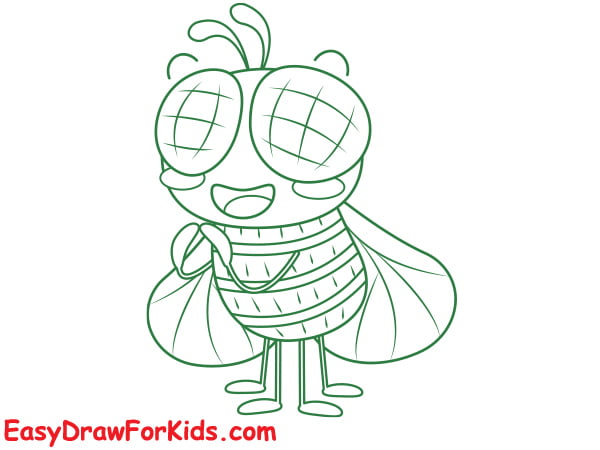
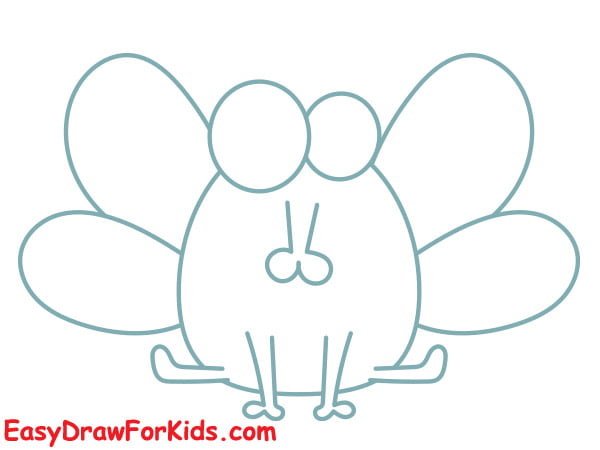
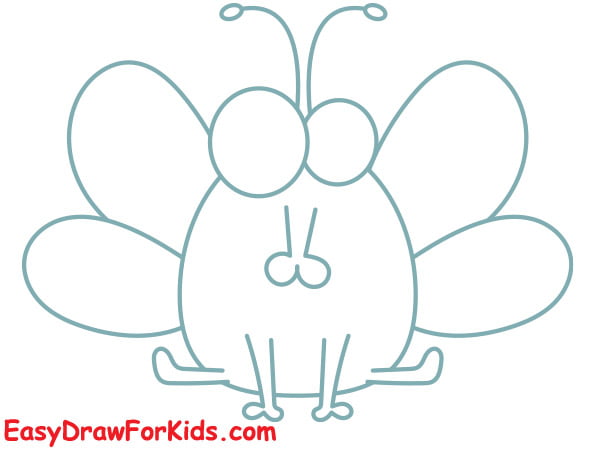
Step 6: Draw the front legs and mouth
Extend two thin, segmented lines from the body to create the front legs.
Draw two small lines on top of the head for the antennae.
Draw an oval shape below the eyes to create a smiling mouth.

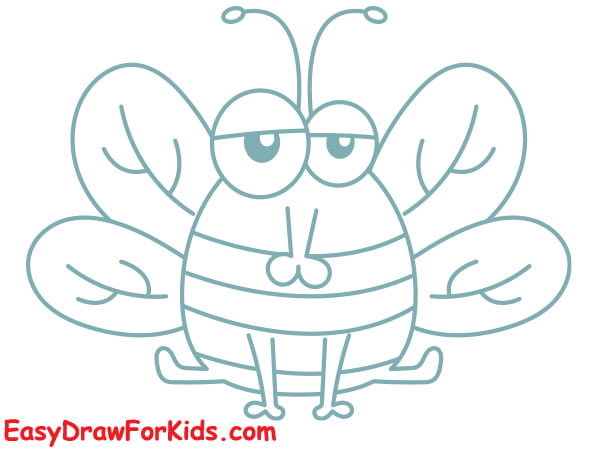
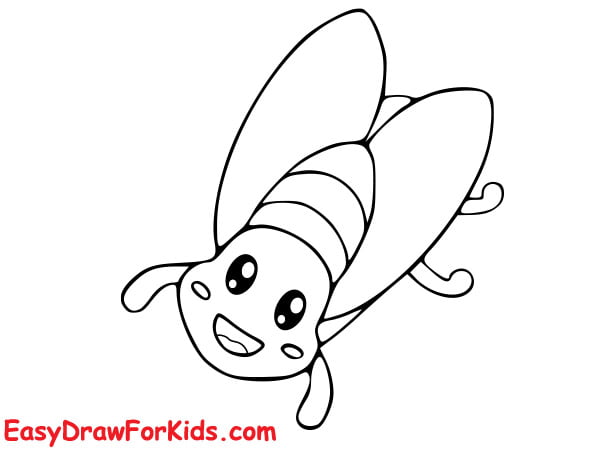
Step 7: Adding detail and texture to your fly’s as shown in the picture
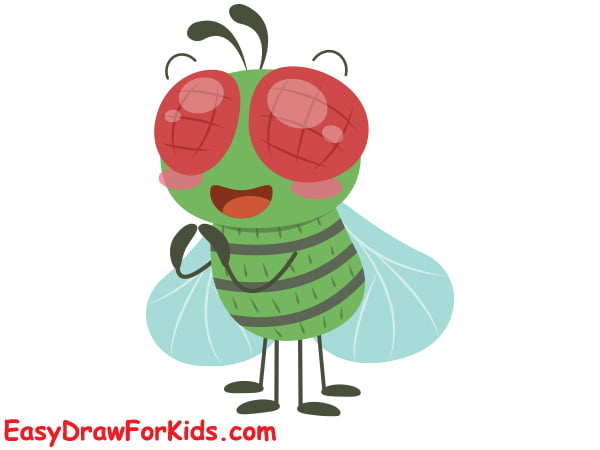
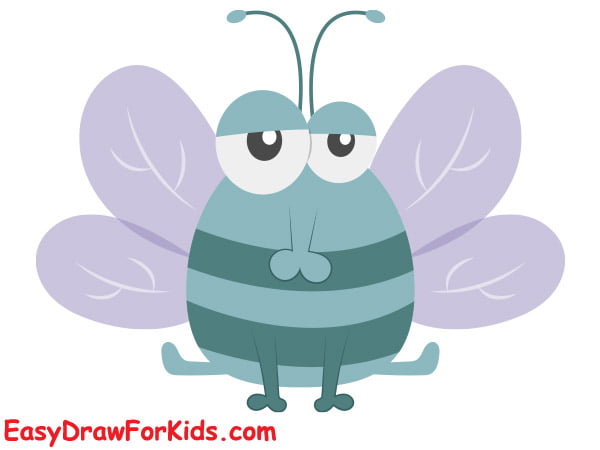
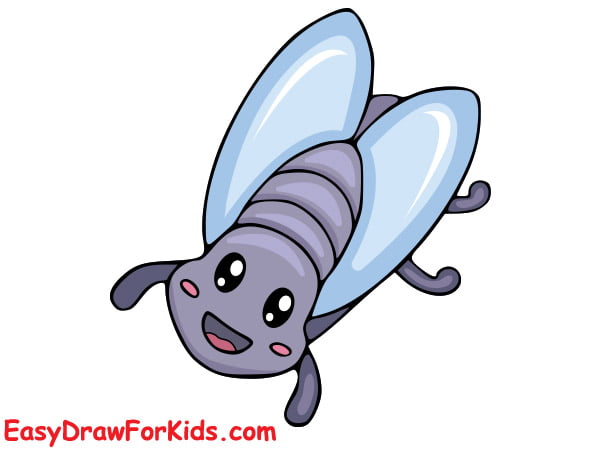
Step 8: Color the drawing
Now you completed this guide on how to draw a fly, it’s time to bring your fly art to life with color!
Flies are typically dark colored, so you can use shades of black, gray, or dark brown to color them.
2. Cartoon Fly Drawing
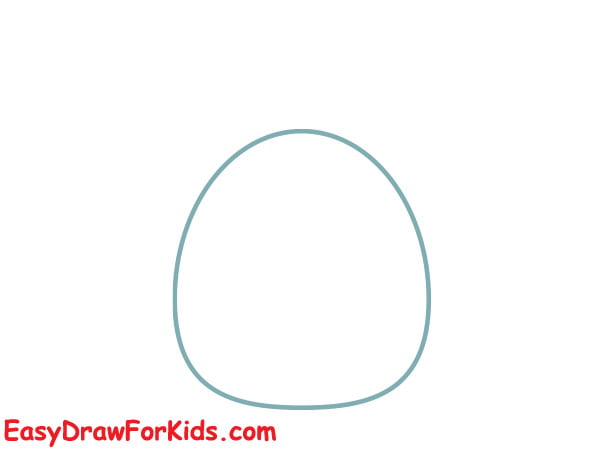
Step 1: Draw a large oval shape for the head and body for cartoon fly
Step 2: The second step on guide how to draw a fly by draw two circles with different sizes on the top of the head for the eyes

Step 3: On the face, draw a small oval shape for the proboscis.

Step 4: From the bottom of body, draw the legs by using curved lines as shown in the picture

Step 5: Extend four circles on each side of the body for the fly’s wings.
Step 6: On the top of the head, draw two curved lines for the antenna
Step 7: You can add fun patterns to the wings or body to give the fly a more cartoonish look.
Step 8: Color your fly drawing
3. Simple Fly Drawing
Step 1: Sketching the head
Step 2: Draw a curved lines for the body
Step 3: Draw two long curved lines for the wings
Step 4: The fourth step on guide how to draw a fly by draw two front legs
Step 5: Draw the hind legs
Step 6: Draw the face for fly
Step 7: Add detail for the fly
Step 8: Coloring
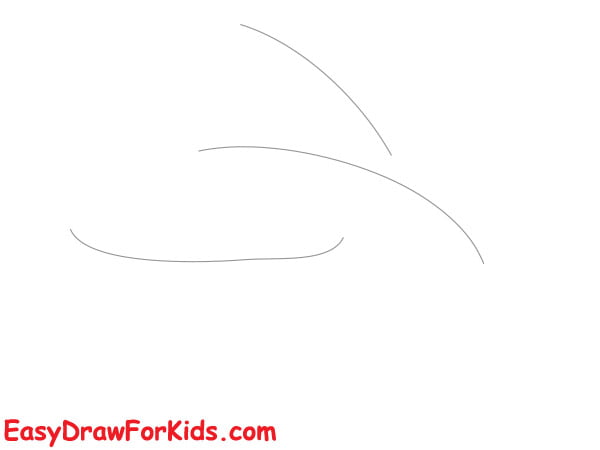
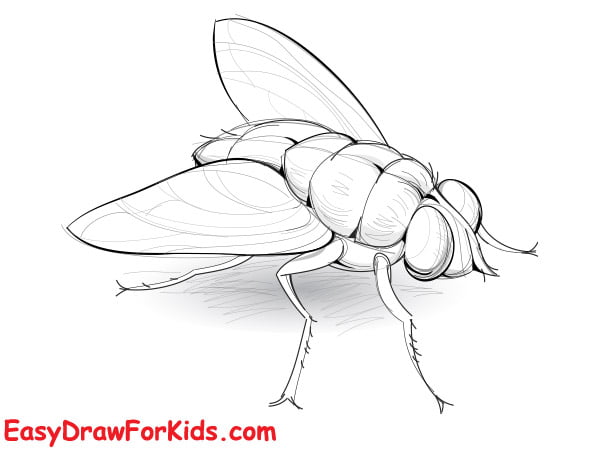
4. Realistic Fly Drawing
Step 1: Draw three curved lines as shown in the picture to outline the basic shape
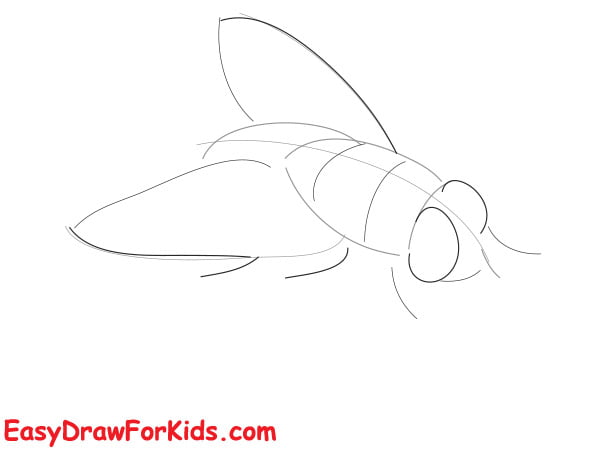
Step 2: Sketching the body

Step 3: Sketch the wings and eyes
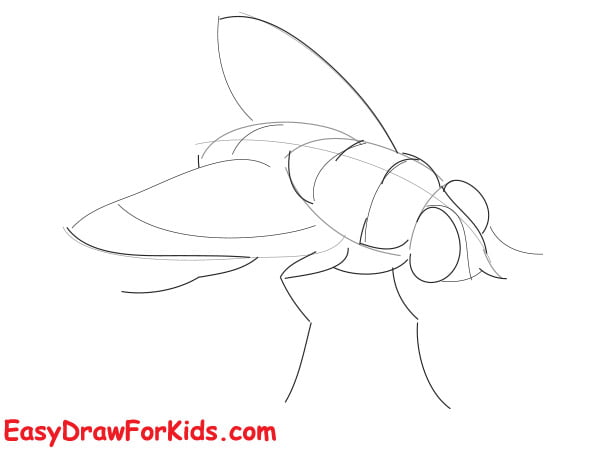
Step 4: Draw the legs
Step 5: Add details to the wings and body
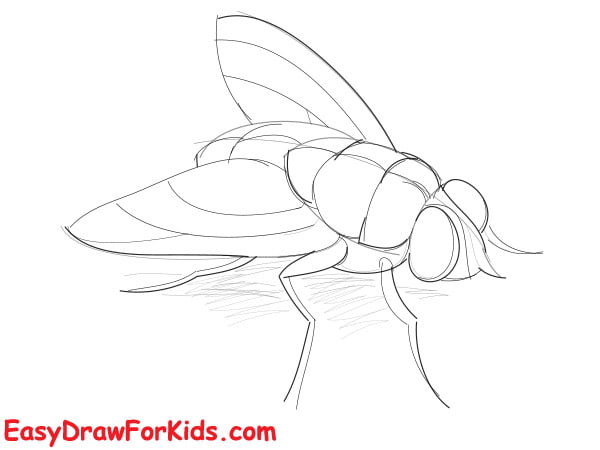
Step 6: Add finer details such as hairs on the body, texture on the wings, and small bristles on the legs
Drawing a fly requires patience and attention to detail, but the results are worth it.


