Are you looking for a creative and unique way to wrap your gifts?
Look no further!
Learning how to draw a gift box step by step is fun and adds a personal touch to your presents.
In this article, easydrawforkids.com will guide you through drawing a gift box from start to finish.
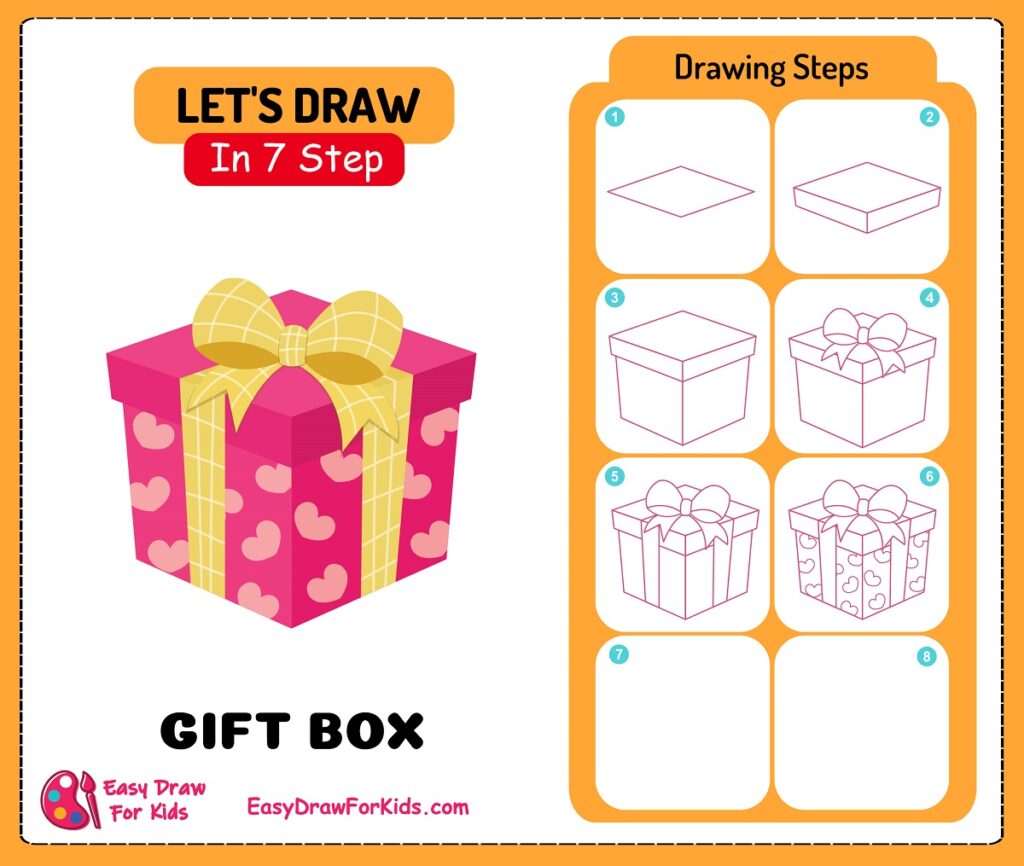
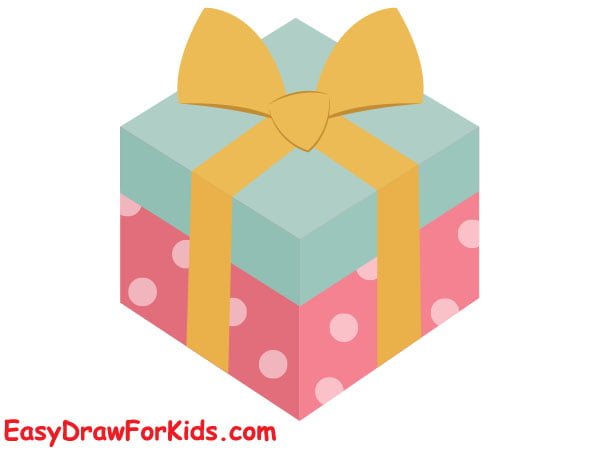
How To Draw A Gift Box – Step By Step Guide
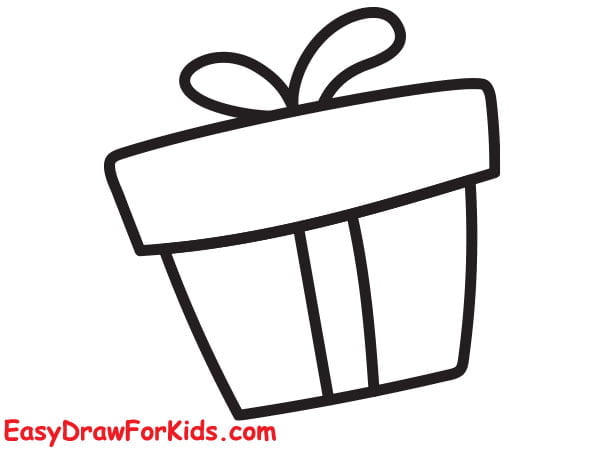
1. Cute Gift Box Drawing
In this article on how to draw a gift box in 7 steps to help you drawing a gift box with ease!

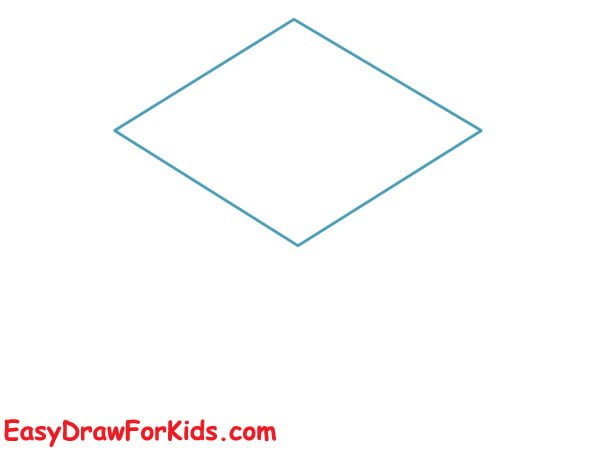
Step 1: Draw a rhombus shape to form the lid of the gift box.

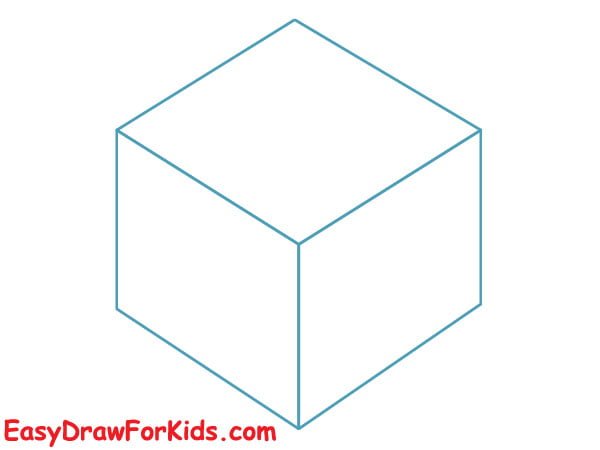
Step 2: Draw three vertical lines that extend downward, connect them to form the sides of the lid.

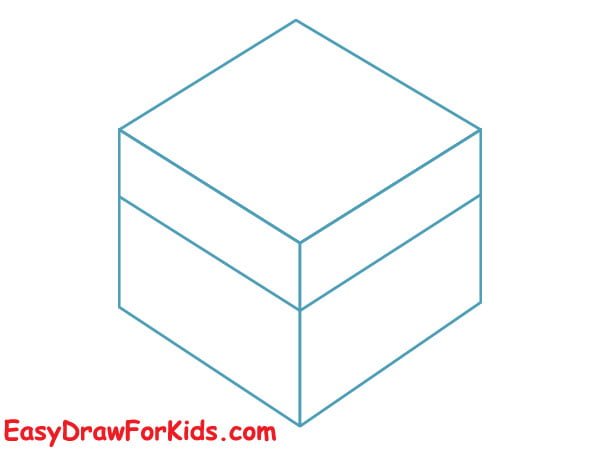
Step 3: Draw three vertical lines parallel from the bottom of the lid, then connect them to create the base of the box.

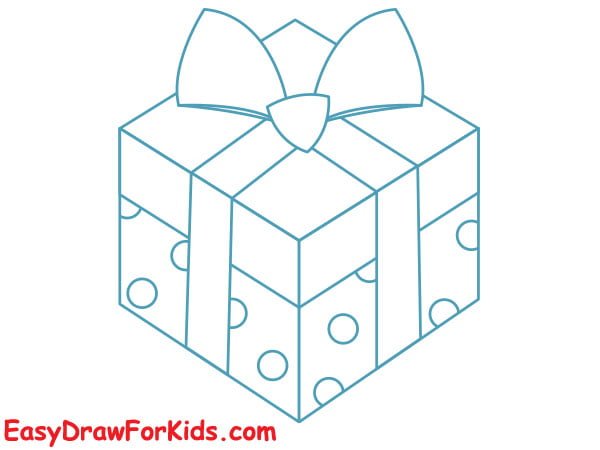
Step 4: Adding the bow on the top of the gift box

Step 5: The third step of this guide on how to draw a gift box, draw the ribbons of your gift box

Step 6: Draw a series of hearts on the surface of the gift box.

Step 7: It’s time to colour your cute gift box drawing.

2. Christmas Gift Box Drawing
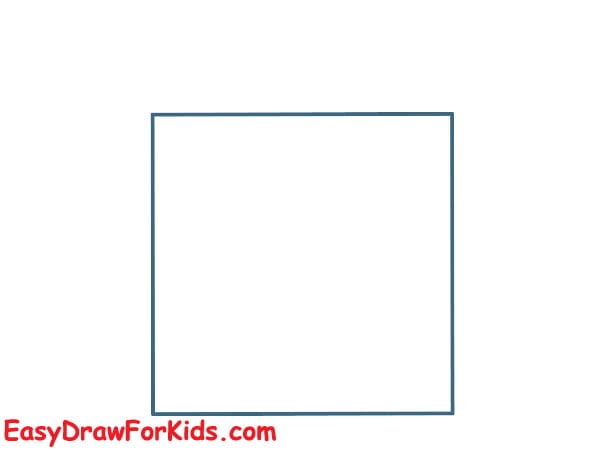
Step 1: Start by drawing a rectangular shape to form the gift box.
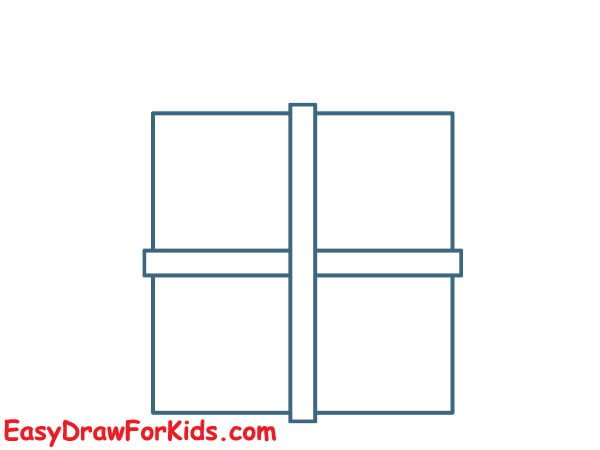
Step 2: Draw two intersecting lines inside the gift box to create the ribbon.
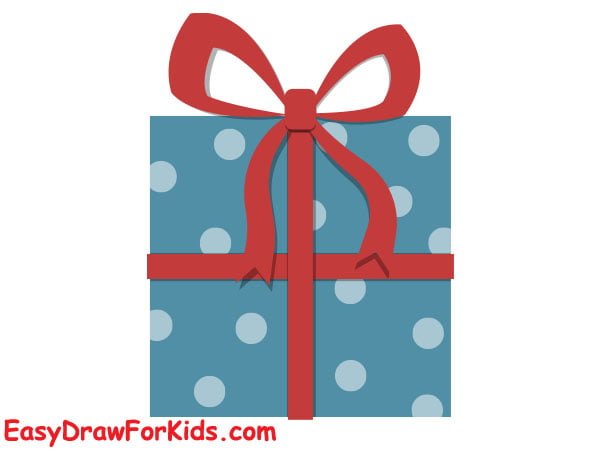
Step 3: Add a bow to the top of the gift box and a series of dots on the surface of the gift box.

Step 4: Gift boxes come in various colors, so choose your favorite festive colors for the box, bow, and gift tag.
3. Gift Box Drawing Easy
Step 1: Draw a rhombus shape as your box’s sides.
Step 2: With the rhombus shape in place, add the base of the gift box.
Step 3: Outline the Lid
Step 4: Draw the Bow and Ribbon
At the center of the lid, draw a series of curved lines to create the bow shape.
From the bow, draw two curved lines extending downward along the sides of the gift box.

Step 5: Adding patterns to the surfaces of your gift box.
Step 6: Add color to your drawing.
4. Simple Gift Box Drawing
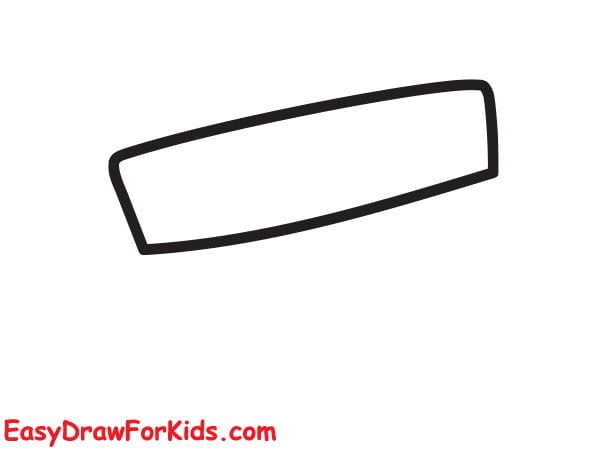
Step 1: Draw a slightly tilted rectangular
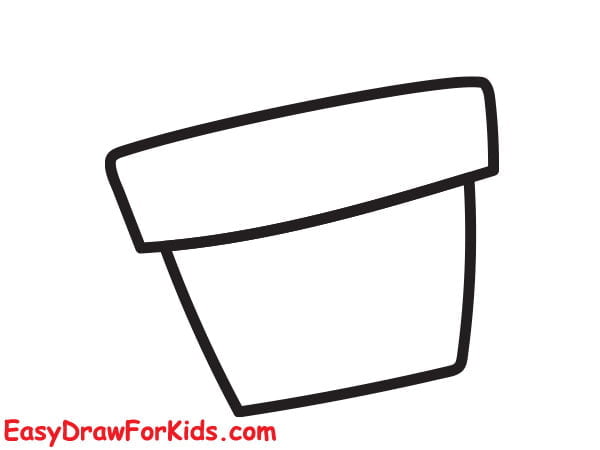
Step 2: Draw a smaller rectangular at the bottom to complete the box’s outline.
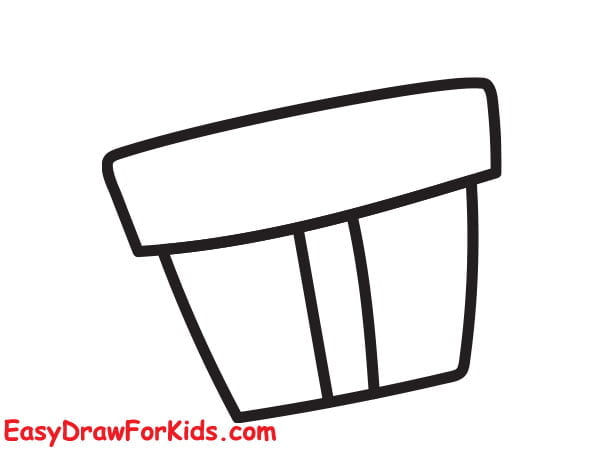
Step 3: Adding ribbon
Step 4: Add a bow to the top of the gift box to complete.
Learning how to draw a gift box step by step is easy and fun.
With simple guide, you can create beautiful gift boxes in no time.