If you ever wonder how to draw a girl step by step, this tutorial easydrawforkids.com will guides you through it.
Now, let’s get started!
How To Draw A Girl – A Step By Step Guide
1. Simple Girl Drawing

Step 1: Sketch an oval shape, keeping the height slightly narrower than the width.

Step 2: Draw the ears on each side of the face, sketch the short hair sits above the ears.

Step 3: Sketching the clothes
Draw two diagonal lines extending from the shoulders to create the top part of the dress.
Connect the diagonal lines with a curved line at the bottom to create the dress’s neckline.
Connect the ends of the curved lines to complete the skirt.

Step 4: Drawing the arms
Draw curved lines that extend out from the body to form the arms.
Draw a small circle for the girl’s hand at the end of the lower arm line.

Step 5: Drawing the legs
In this step in this guide on how to draw a girl will focus on the legs.
Extend the lines downward to create the legs, and small ovals at the ends of the legs for the feet.

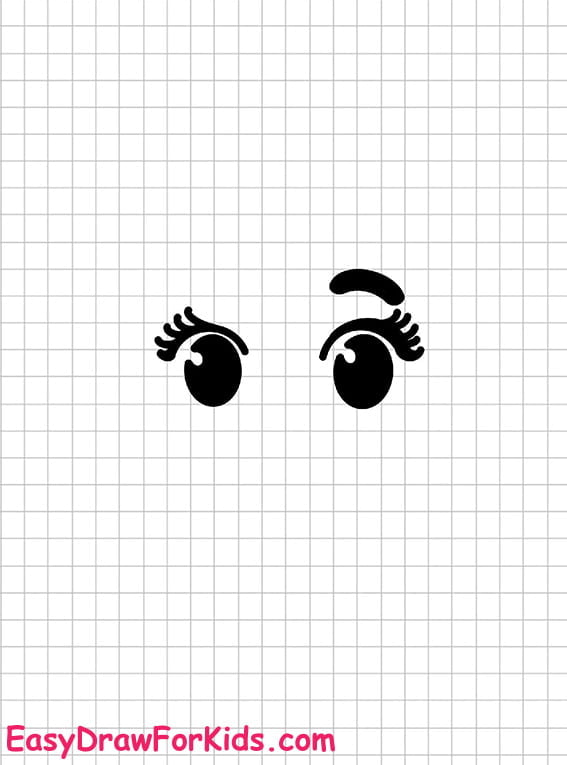
Step 6: Sketching the face of a girl, add eyelashes and eyebrows to give more definition to the eyes.

Step 7: Add accessories like watches and jewelery for flair.

Step 8: Now that you successfully this guide how to draw a girl, it’s time to color your drawing.

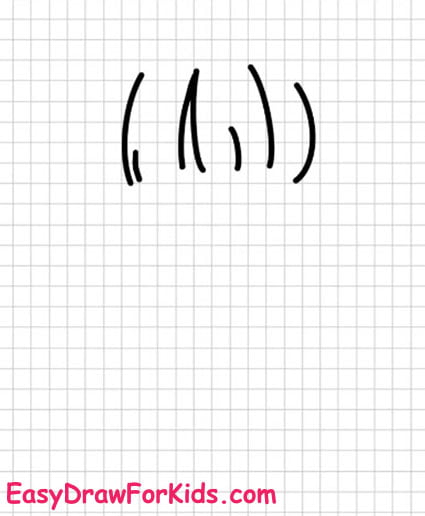
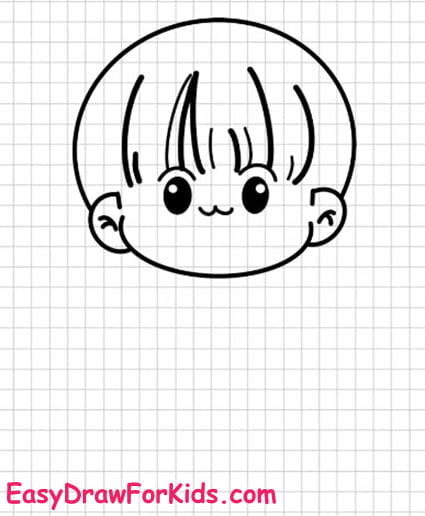
2. Beautiful Girl Drawing
Step 1: Draw three vertical arcs on the left and right
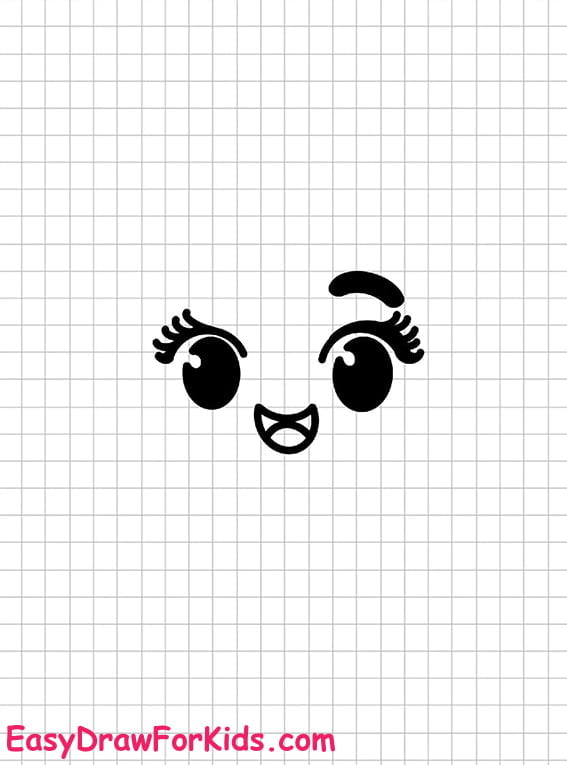
Step 2: Add eyes and a raised mouth
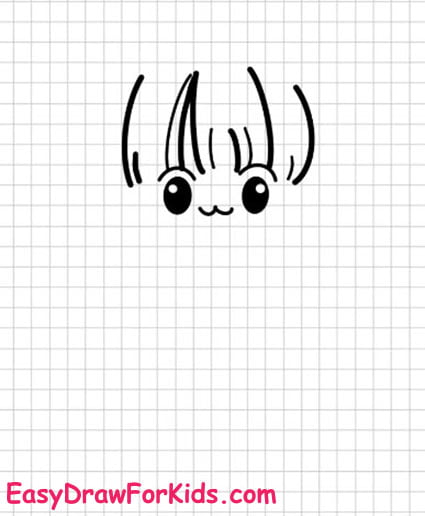
Step 3: Draw a big circle for the head and add ears
Step 4: Add braids to the left and right below the ears
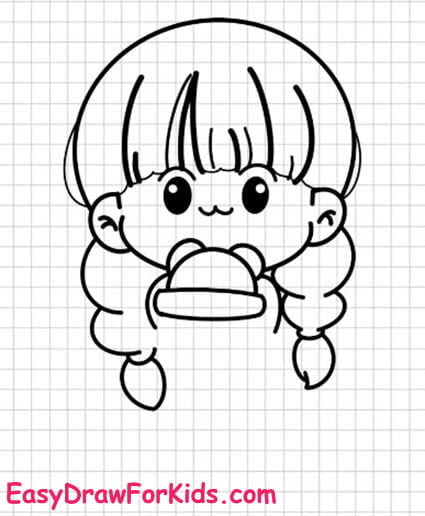
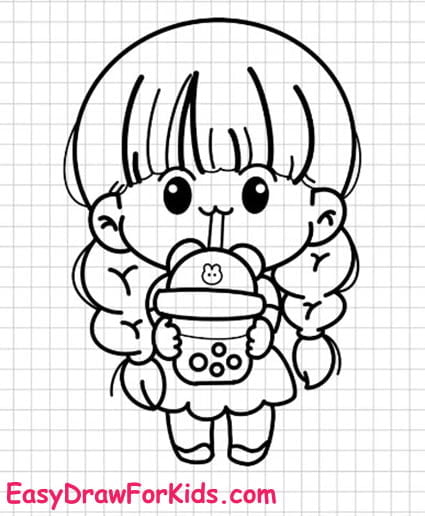
Step 5: Draw the hand and milk tea held
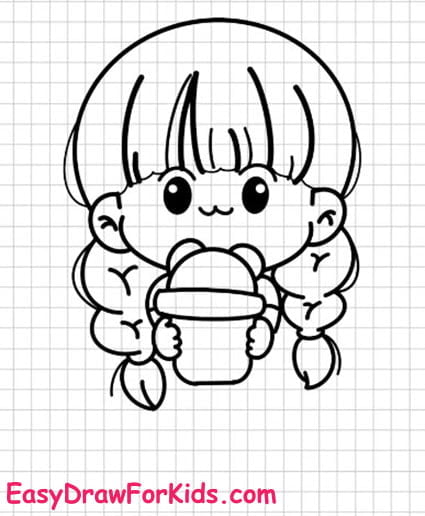
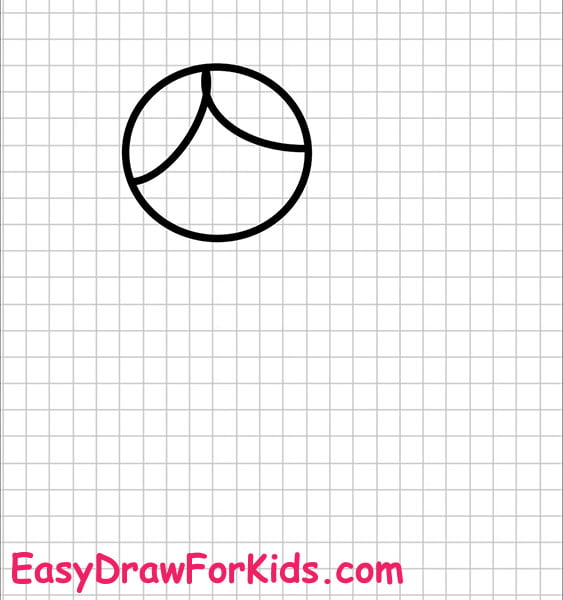
Step 6: Add the straw and pearls to the bottle
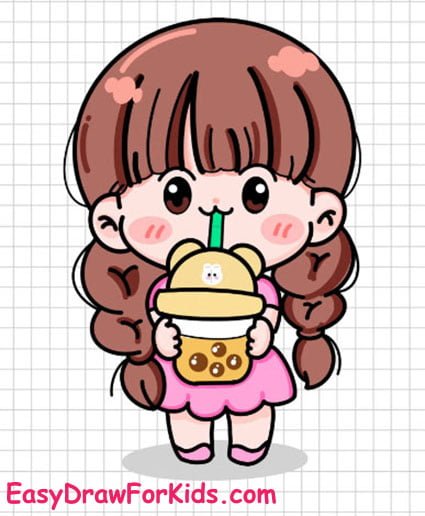
Step 7: Color it, isn’t it cute?
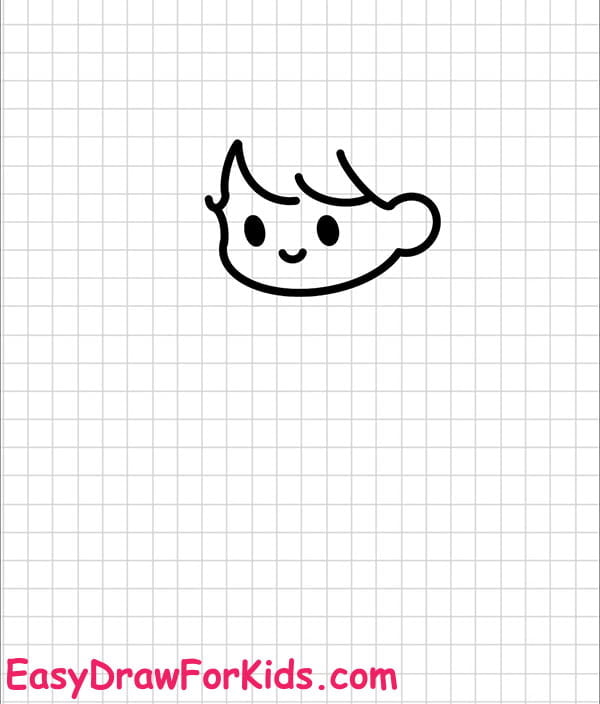
3. Little Girl Drawing
Step 1: First, draw a circle and a human shape
Step 2: Add eyes, mouth and bow
Step 3: Draw the little girl’s body
Step 4: Add two arms and two legs
Step 5: Draw the pattern of the skirt and stockings
Step 6: Lead the puppy with a rope in your left hand
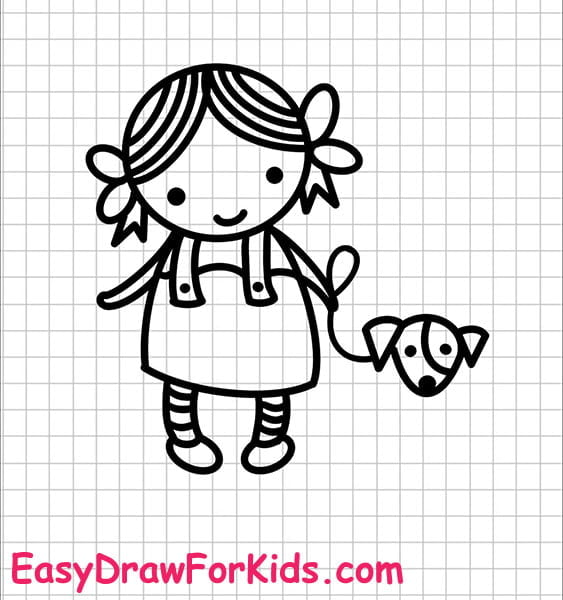
Step 7: Draw the complete body of the puppy
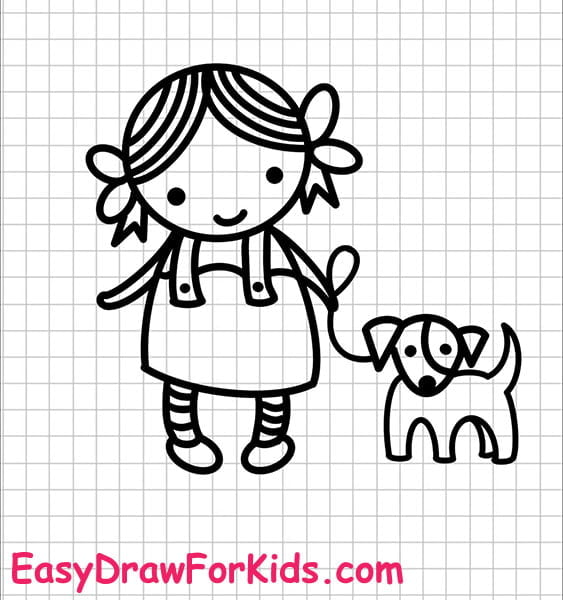
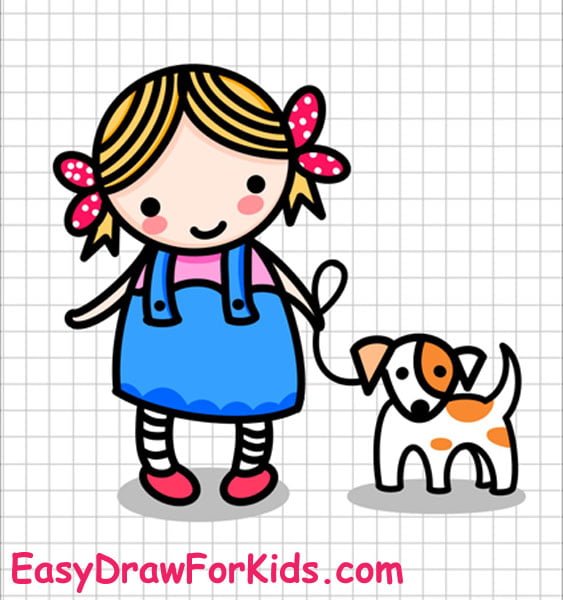
Step 8: Color your little girl drawing
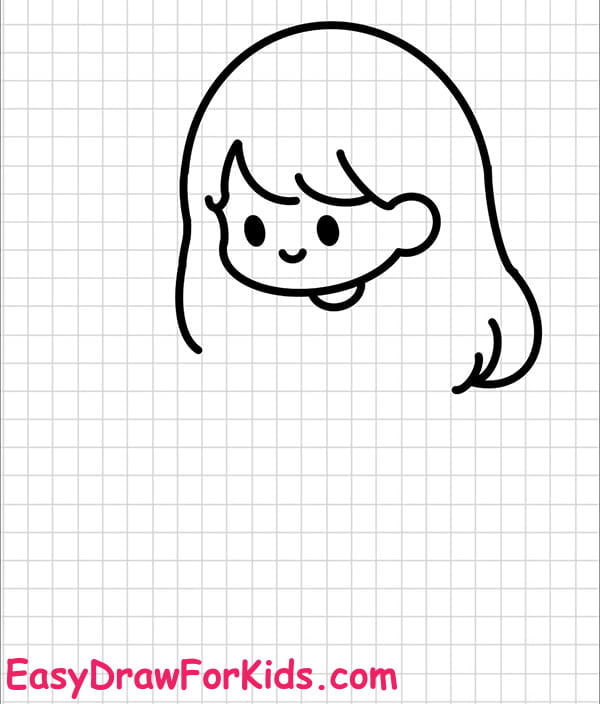
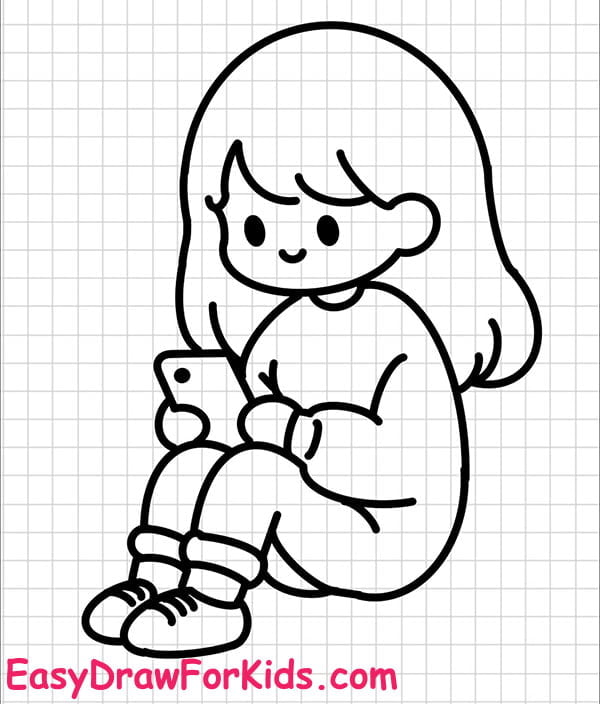
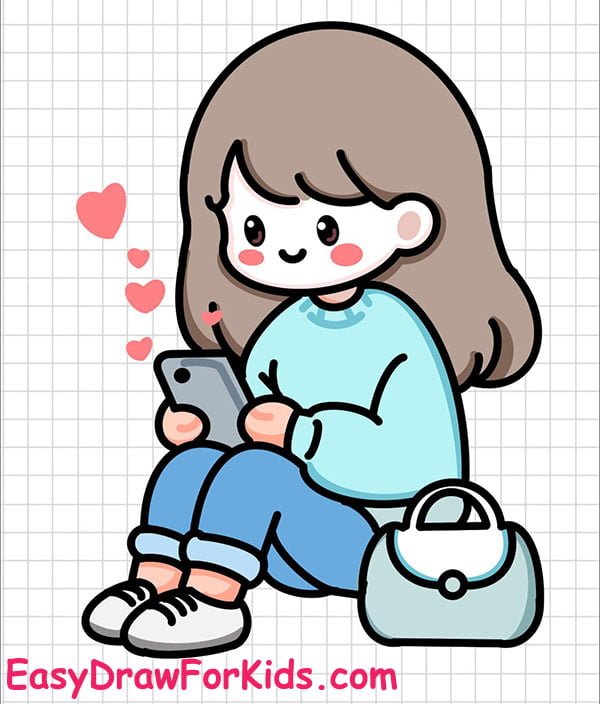
4. Sitting Girl Drawing
Step 1: Draw cute eyes and mouth

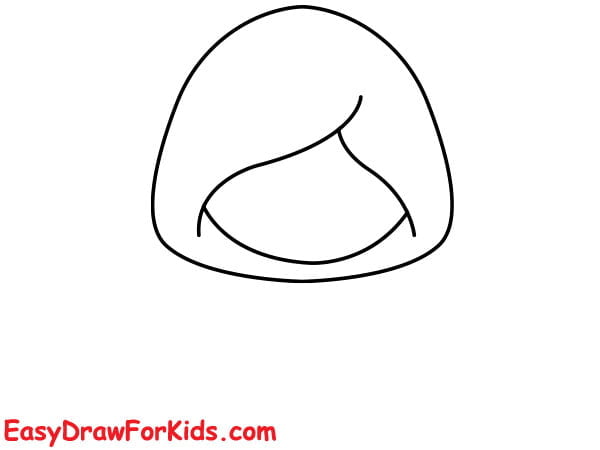
Step 2: Draw hair and round face
Step 3: Draw long hair
Step 4: Add body and mobile phone
Step 5: Apply color and see if it’s done
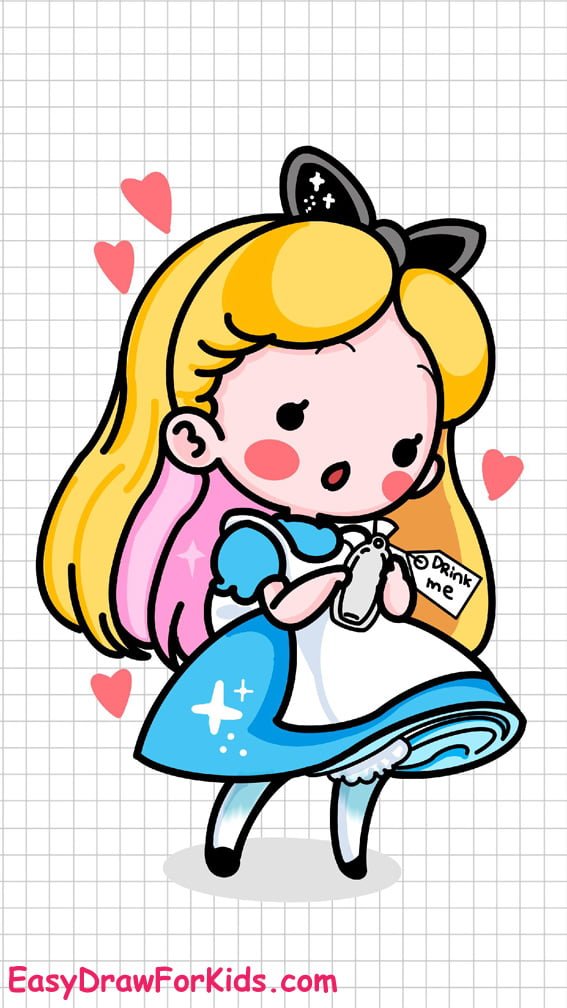
5. Cartoon Girl Drawing
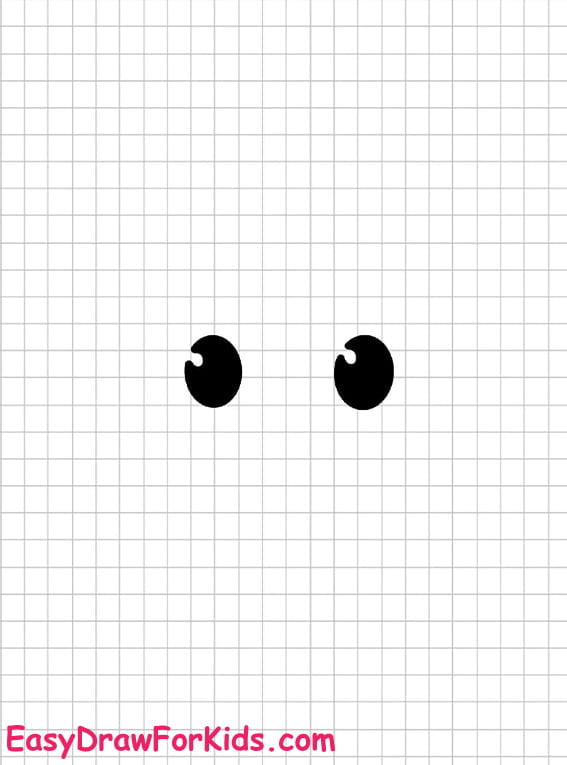
Step 1: Draw two circles for the girl’s eyes
Step 2: Draw the round face, hair and ears
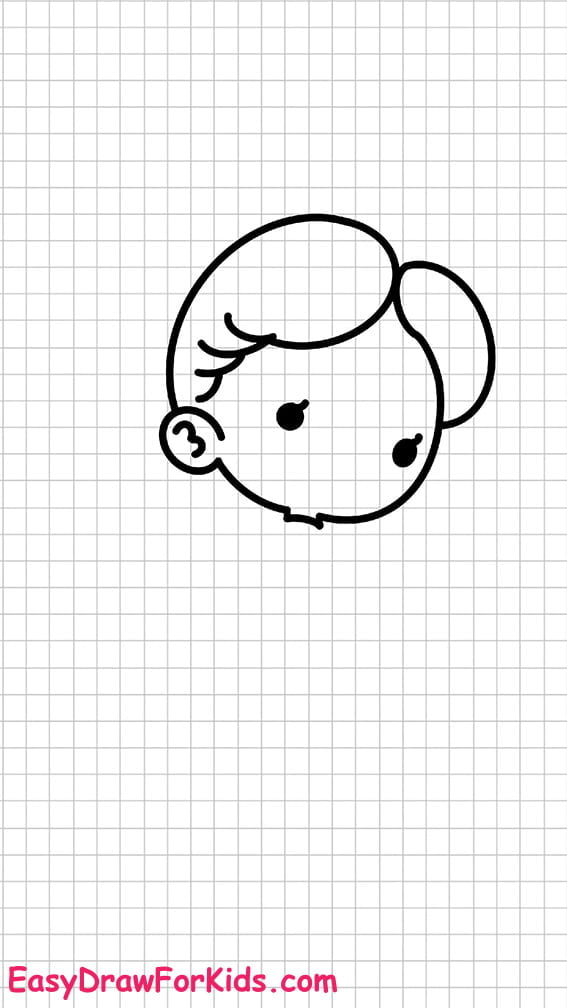
Step 3: Draw the bow at the top of the head
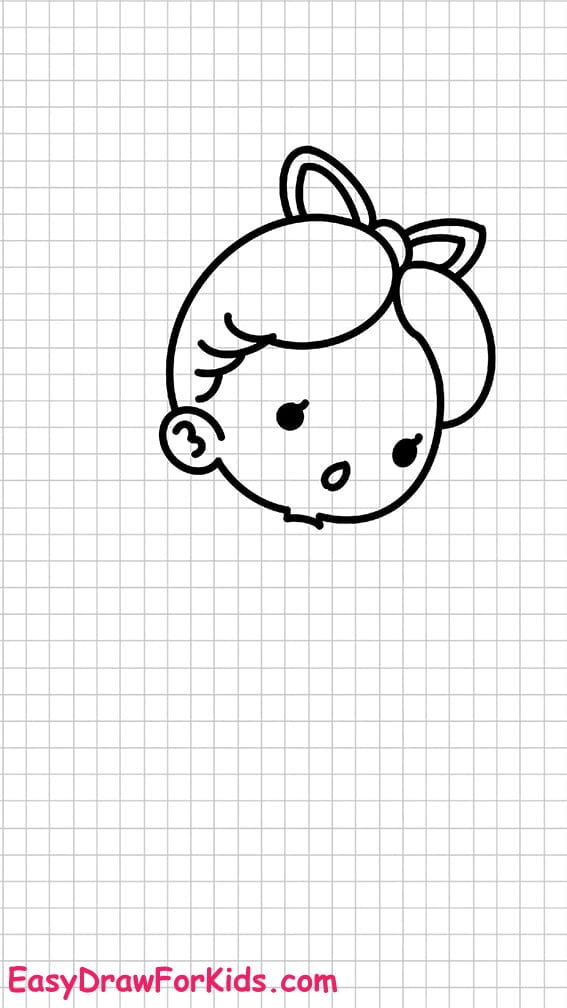
Step 4: Draw a series of curved lines around the head for a long hair.
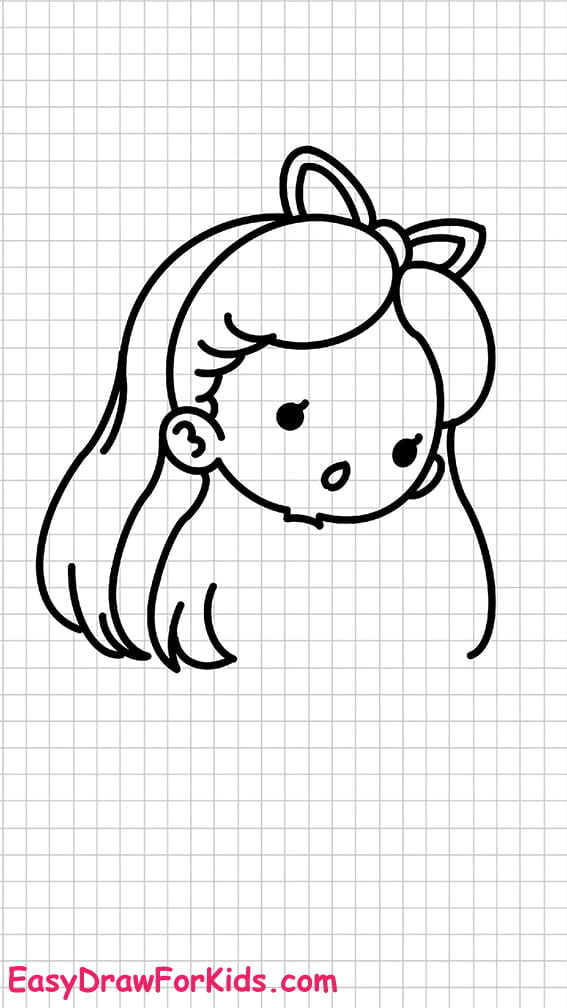
Step 5: Draw the arms holding a bottle

Step 6: Next, draw a dress, extend two lines downward from the bottom of the dress to create the girl’s legs

Step 7: Draw more hearts around your cartoon girl
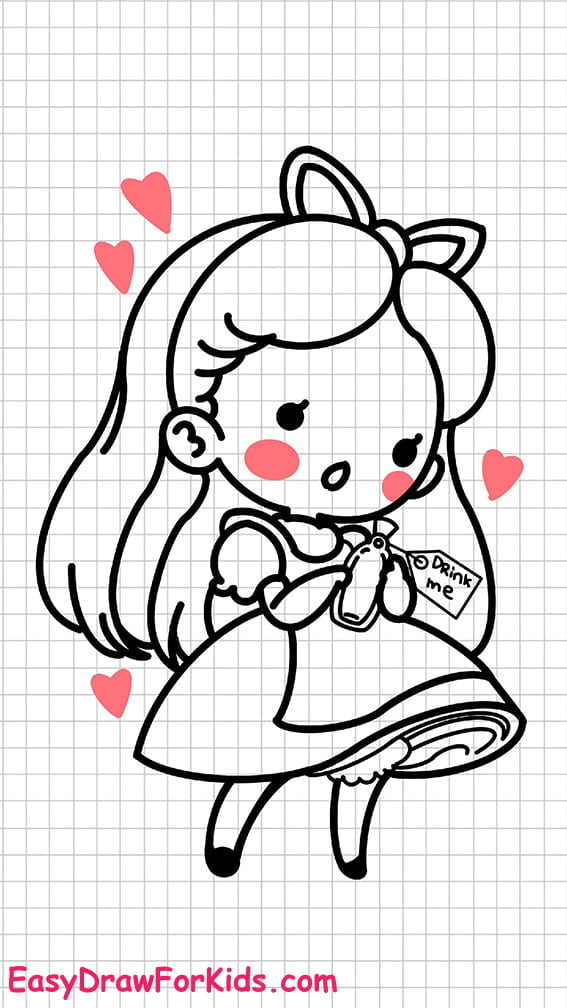
Step 8: Experiment with different colors and textures to make your cartoon girl unique.
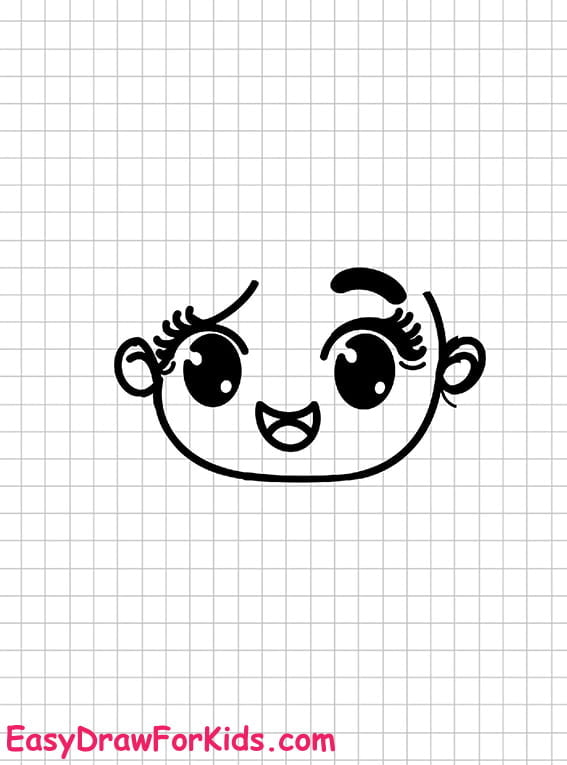
6. Cute Girl Drawing
Step 1: Draw two large eyes
Step 2: Add eyelashes above the eyes for a more feminine look.
Step 3: Draw a curved line below the eyes to represent the smiling mouth.
Step 4: Draw a round face and ears
Step 5: Draw a curly hair for cute girl
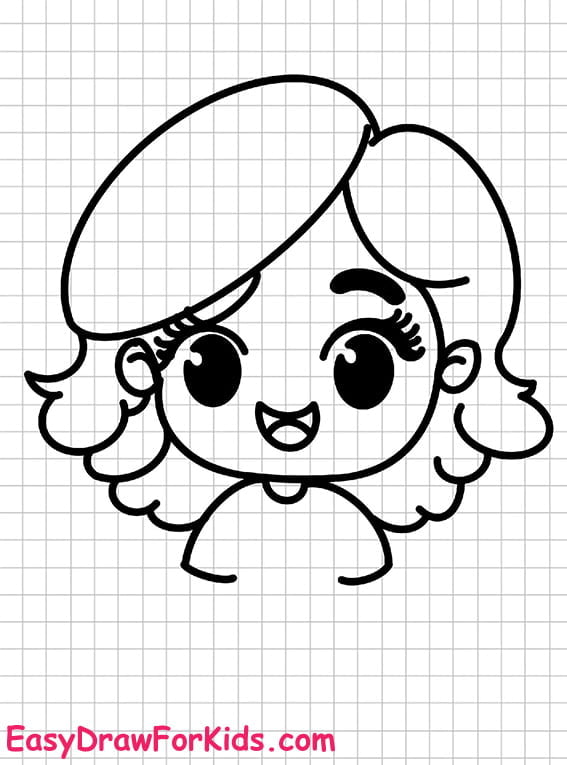
Step 6: Next, add two arms and hands

Step 7: Draw clothing and legs for cute girl
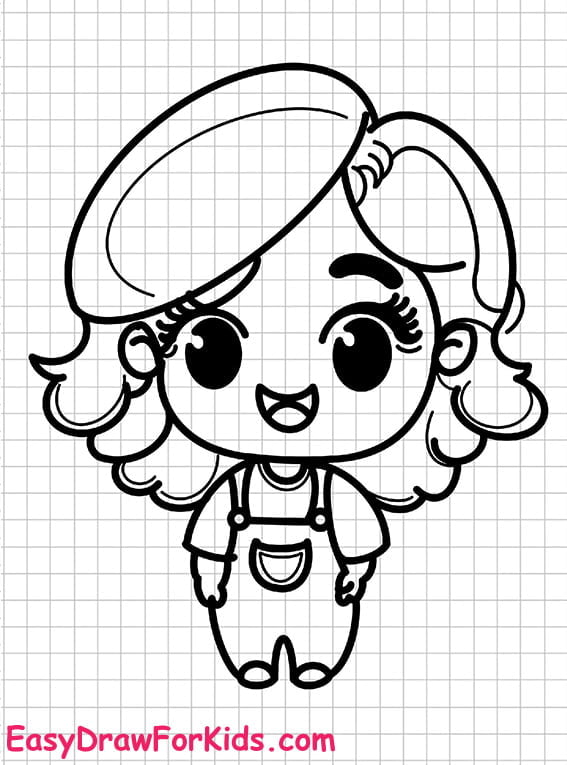
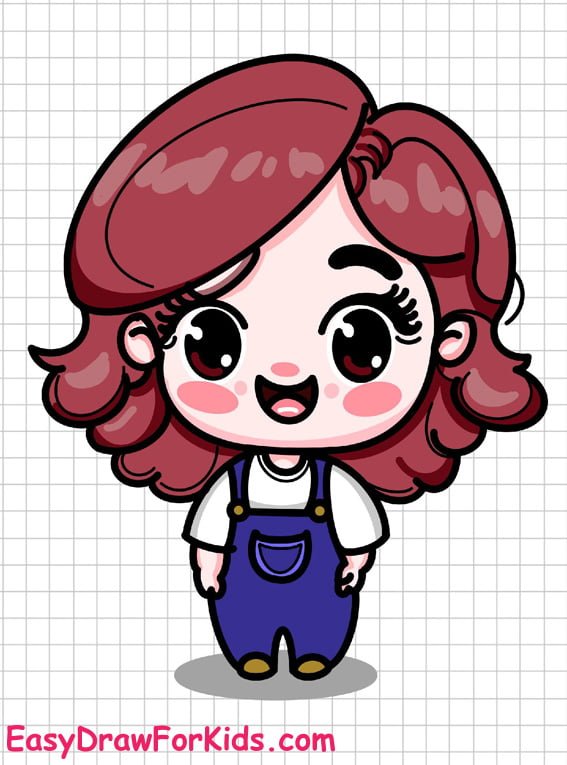
Step 8: Color your cute girl drawing
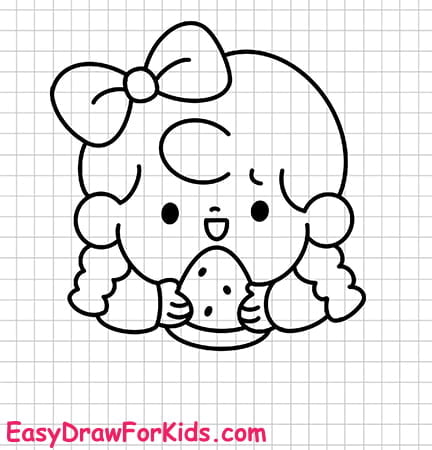
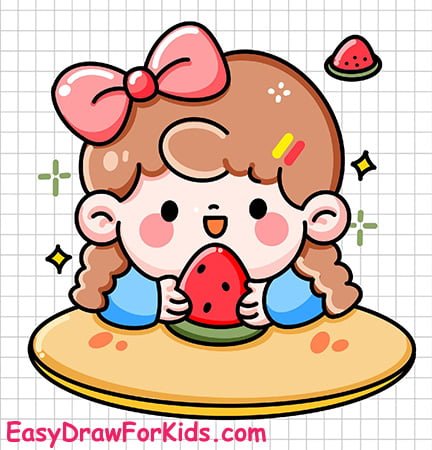
7. Cute Girl Eating Watermelon Drawing
Step 1: Sketch two dot for the eyes
Step 2: Draw the girl’s face, hair, eyebrows, a nose, and a smiling mouth.
Step 3: Sketch a bow on the top of the head
Step 4: Draw a braid below the ear and two arms below the braid
Step 5: Draw a watermelon slice on the hand of cute girl
Step 6: Add an oval shape below the arm for the table
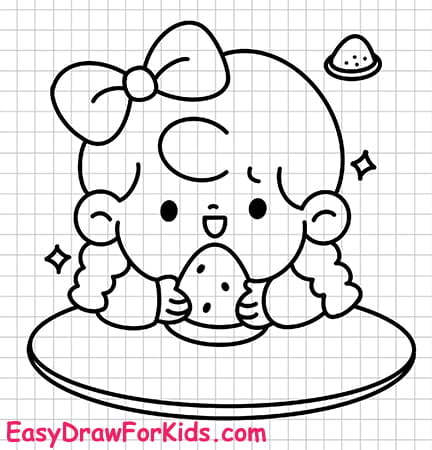
Step 7: Color the watermelon with shades of green, red, and pink, and add appropriate colors to the girl’s hair, clothing, and surroundings.
8. Cute Girl Wearing Dress Drawing
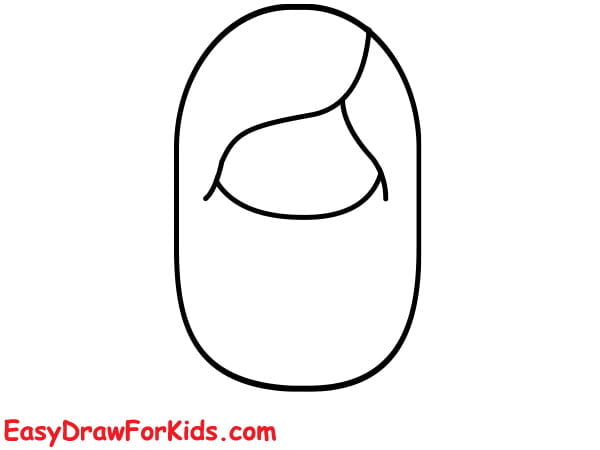
Step 1: Draw a round face, draw the girl’s hair in any style you like.
Step 2: Add details to the face, such as eyes, eyebrows, nose, and lips.
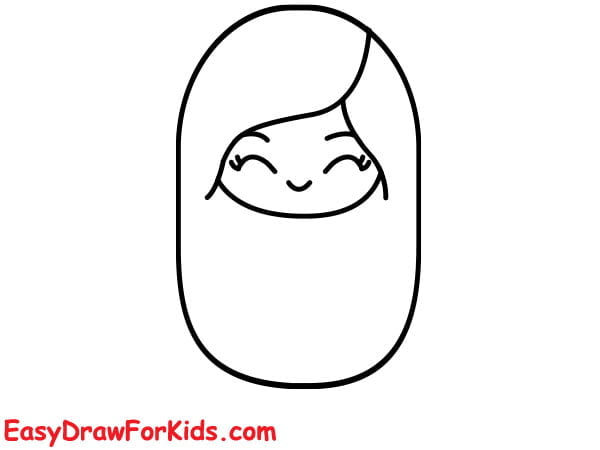
Step 3: Adding accessories to the hair and ears
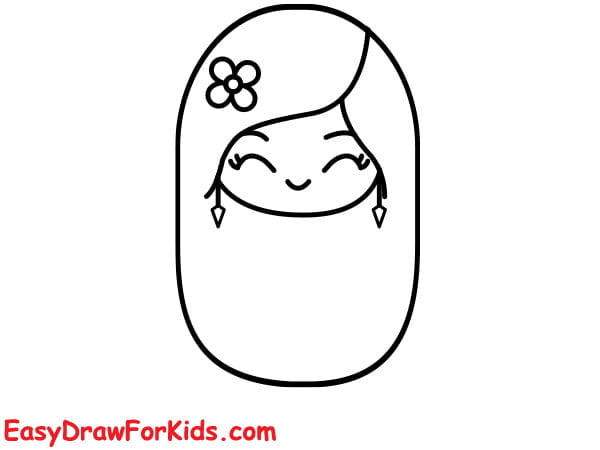
Step 4: Add two lines extending downward from the bottom of the head to create the outline of the dress.

Step 5: Adding arms to your cute girl drawing
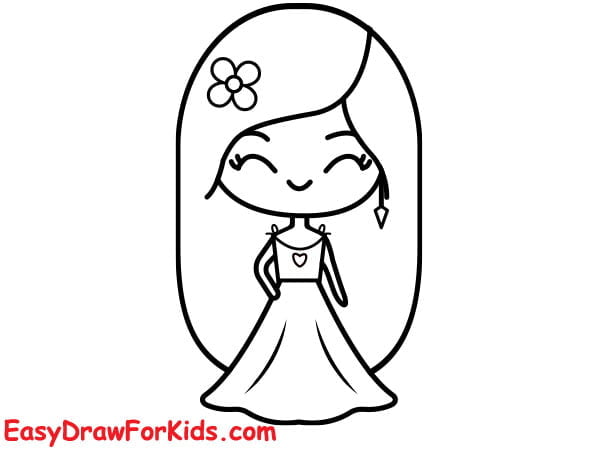
Step 6: Coloring your drawing

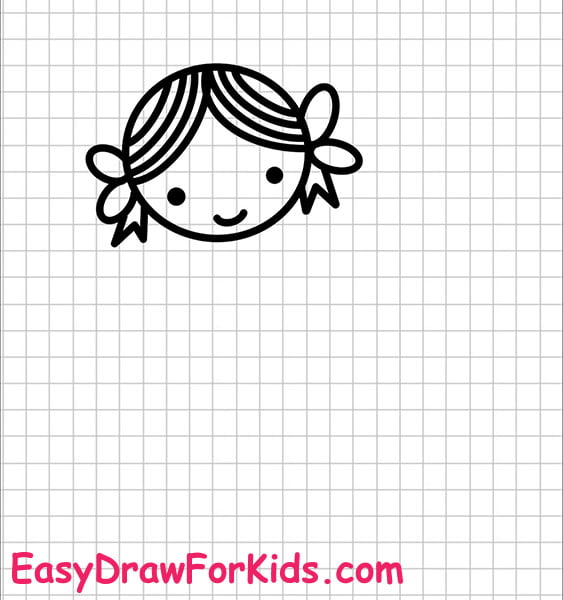
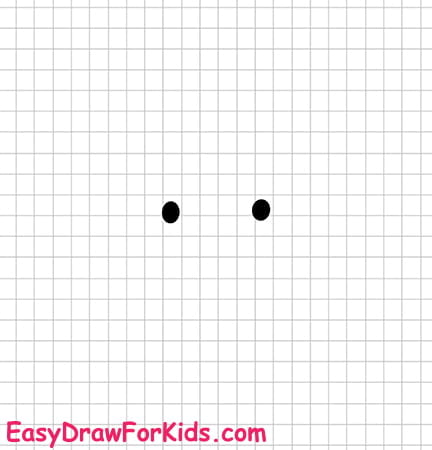
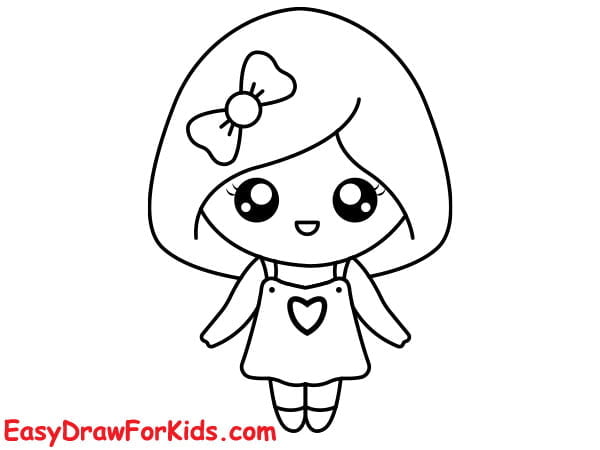
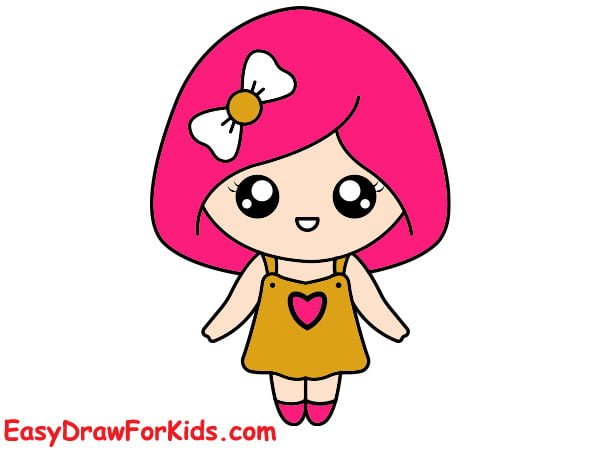
9. Little Cute Girl Drawing
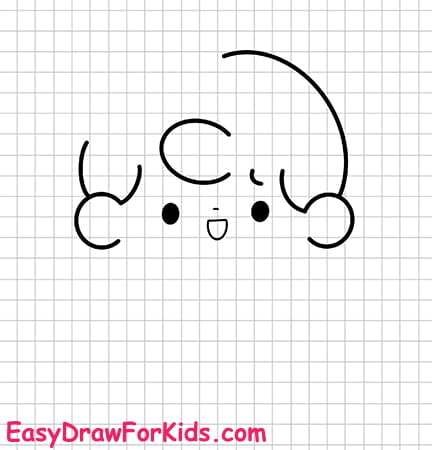
Step 1: Outline the girl’s hair and round face.
Step 2: Draw the girl’s face, you can also include rosy cheeks to enhance the cuteness.
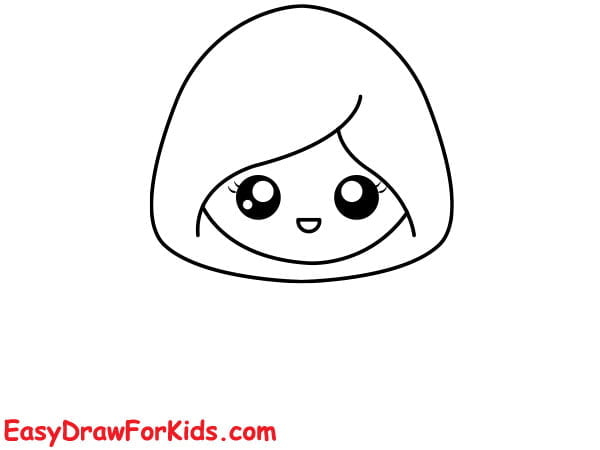
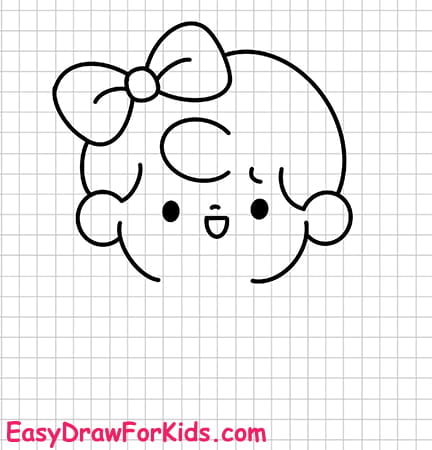
Step 3: Draw the bow on the head
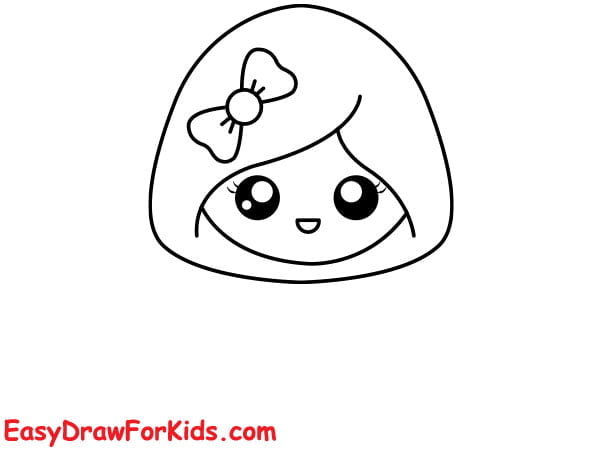
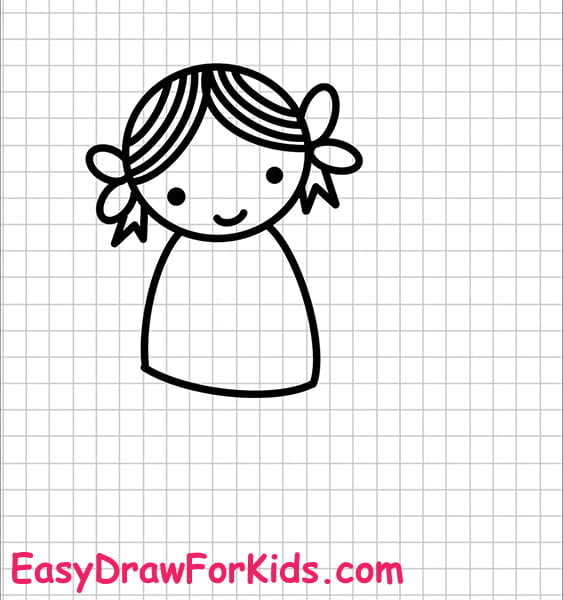
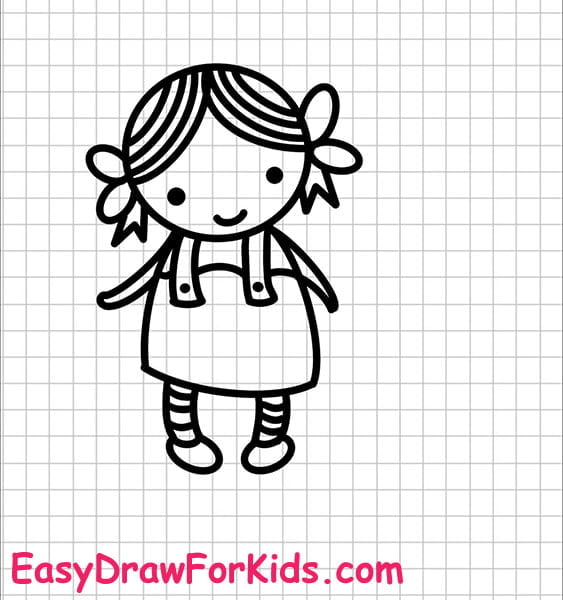
Step 4: Below the head, draw an overalls for little cute girl
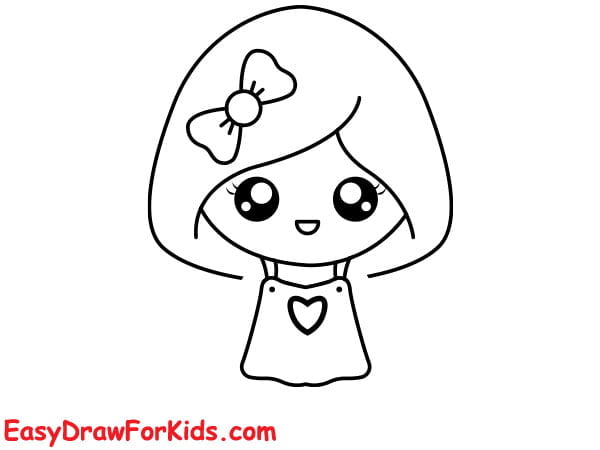
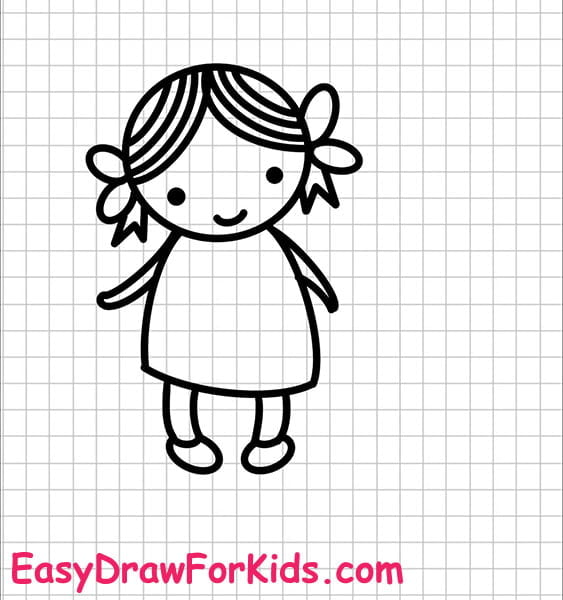
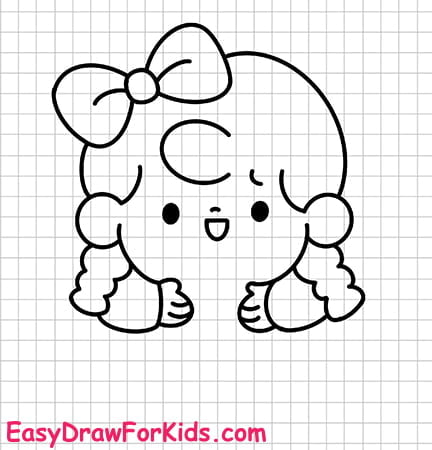
Step 5: Draw the girl’s arms by extending two lines outward from the sides of the body.
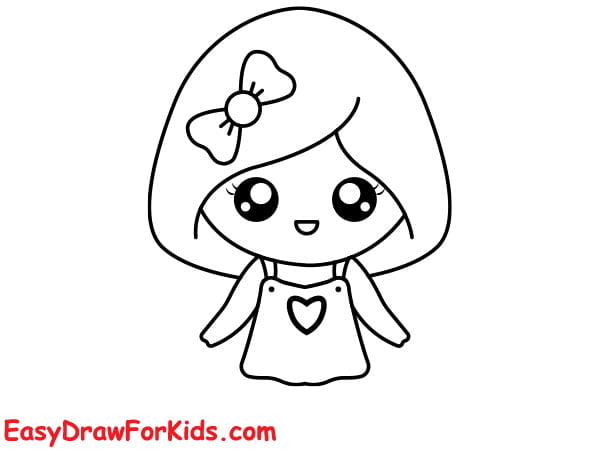
Step 6: Draw the short legs and chubby to maintain a cute appearance.
Step 7: Choose soft and pastel colors to enhance the cuteness of the girl.
Now we complete this guide how to draw a girl!
These steps are just a guide, you can add your style to make the drawing unique and adorable.


