Do you want to create stunning guitar drawings?
The guitar is one of the most popular musical instruments in the world.
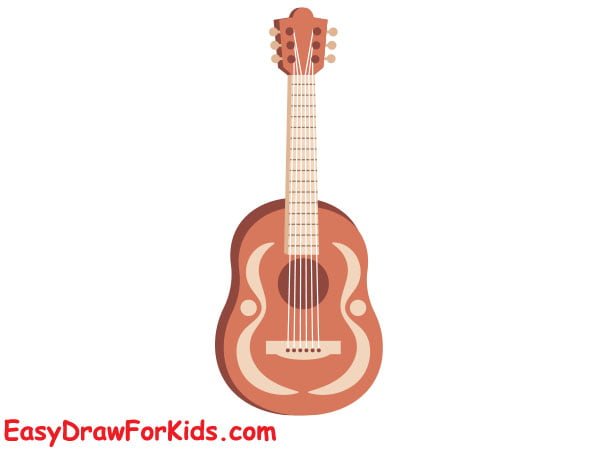
In this guide on how to draw a guitar, easydrawforkids.com will help you draw a beautiful guitar, from the basic shape to intricate details like strings and frets.
How to Draw a Guitar – A Step by Step Guide
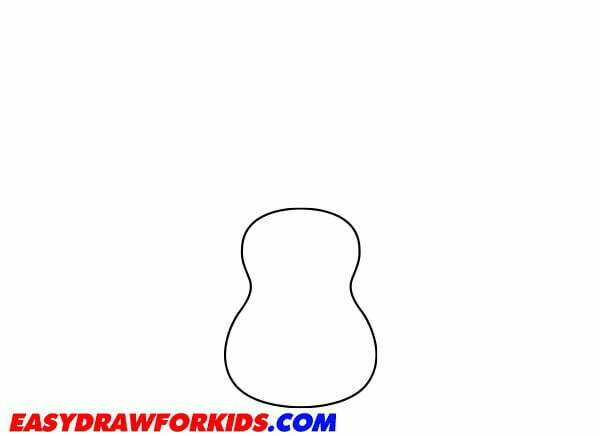
1. Cartoon guitar drawing
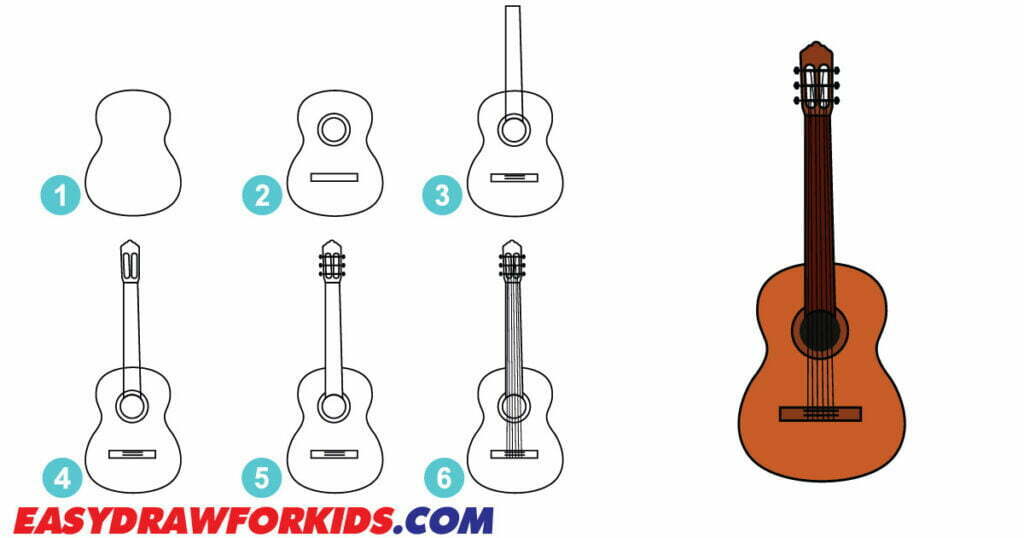
Step 1: Start by drawing two rounded shapes of different sizes overlapping, then draw two curved lines to connect them, as shown in the picture to form the guitar body.
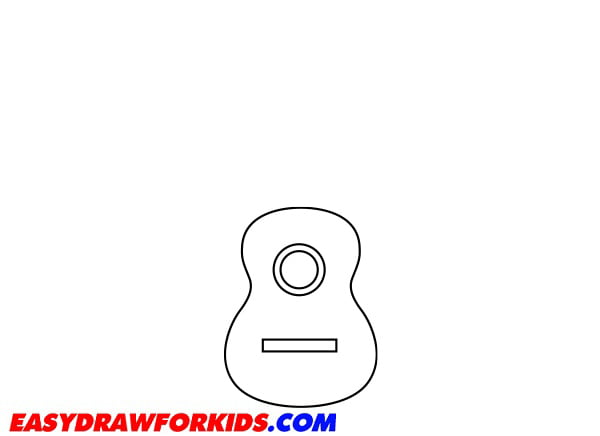
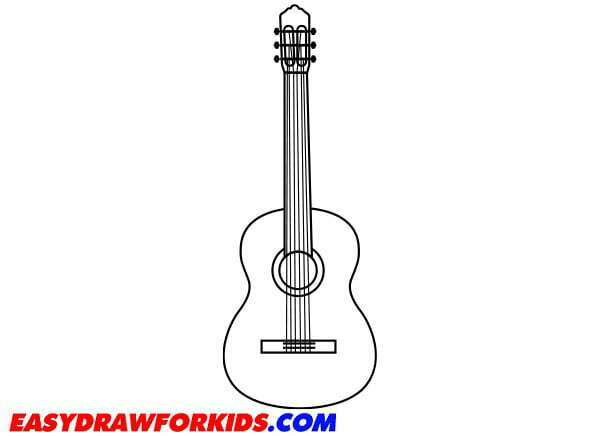
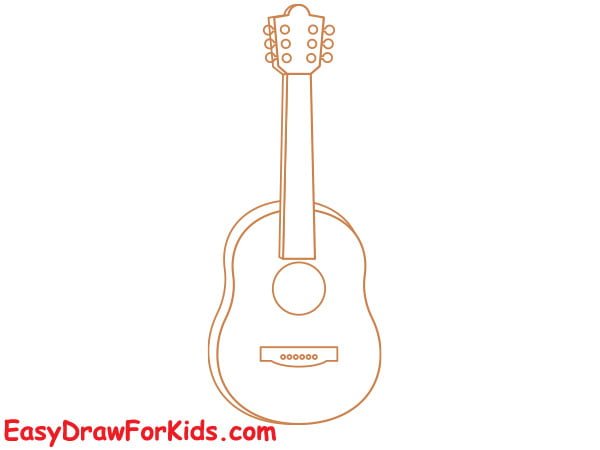
Step 6: Add the soundhole and guitar bridge
On the body of the guitar, draw a round shape in the center to form the soundhole.
At the bottom of the body, draw a small rectangle. This is the bridge, where the guitar strings are anchored.
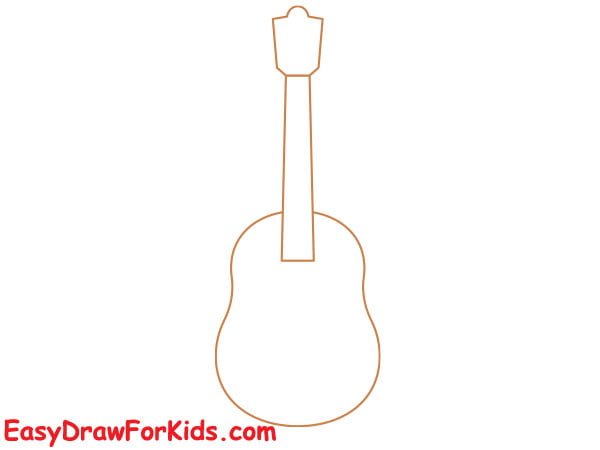
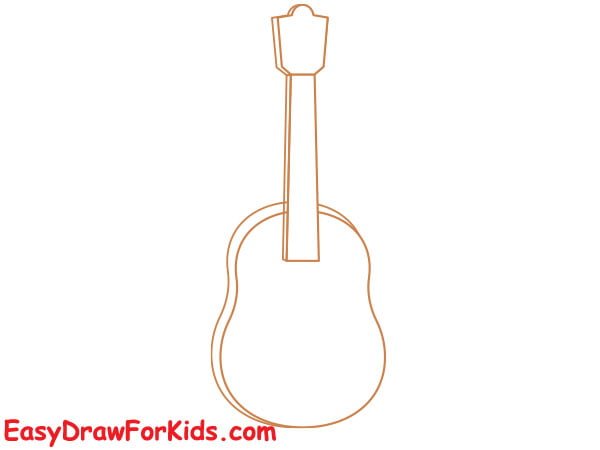
Step 3: At the top of the body, draw a long, thin rectangle extending upwards to form the guitar neck.

Step 4: At the top of the neck, draw a larger rectangular shape for the headstock.
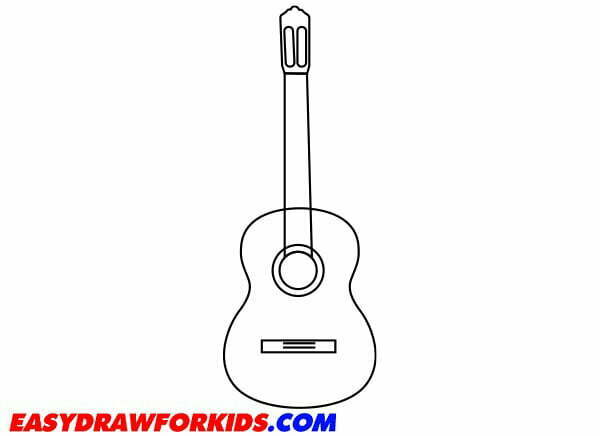
Step 5: Add the Tuning Keys
The fifth step of this guide on how to draw a guitar will focus on the tuning keys of your guitar.
Guitars have six strings, add six tuning keys along one side of the headstock.

Step 6: Draw six parallel lines that span from the tuning keys to the bridge.
Step 7: You can color your guitar drawing by your style

2. Easy Guitar Drawing
Step 1: Draw a long oval shape as shown in the picture for the guitar body.

Step 2: Extend upwards a long rectangle from the top of the body to form the guitar neck.

Step 3: Sketch the guitar headstock
Step 4: Draw texture to give the guitar a realistic perspective.
Step 5: Draw a circle on the guitar body to form the soundhole.

Step 6: At the lower end of the guitar body, draw a small rectangle for the guitar bridge.

Step 7: On the headstock, add six circles in a row to represent the tuning pegs.
Step 8: Draw six straight lines extending down the neck and over the body to form the guitar strings.

Step 9: Add details to your guitar drawing.

Step 10: Guitars come in a variety of colors, so choose the color you like.
With this guide on how to draw a guitar, you can easily create a beautiful guitar drawing.
Most importantly, enjoy the process and find inspiration from the guitars you love.