If you’ve ever tried to draw a helicopter, you know it can be difficult to get all the details just right.
In this tutorial, I’ll go over everything you need to know to create a stunning helicopter drawing.
With some simple tips and tricks, you can learn how to draw a helicopter like a pro.
How to Draw a Helicopter – A Step by Step Guide
Here are five different styles you can try when you learn how to draw a helicopter step by step!
1. Easy helicopter Drawing

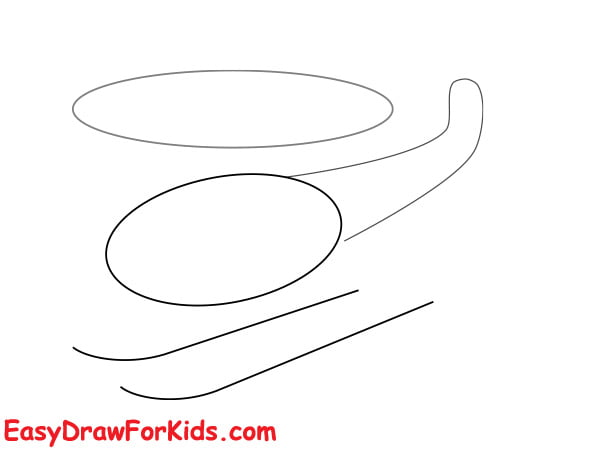
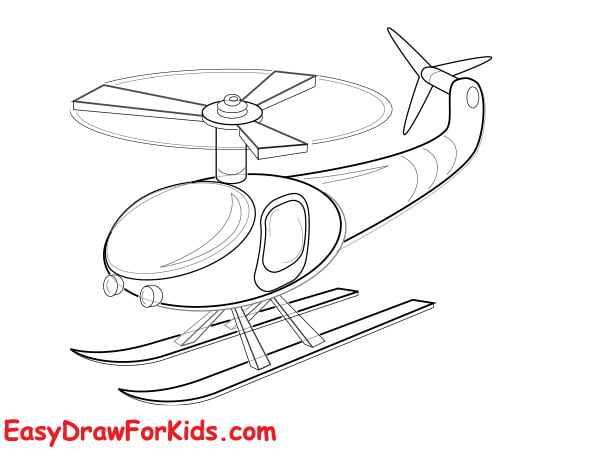
Step 1: Depict the body of the helicopter as a large oval.

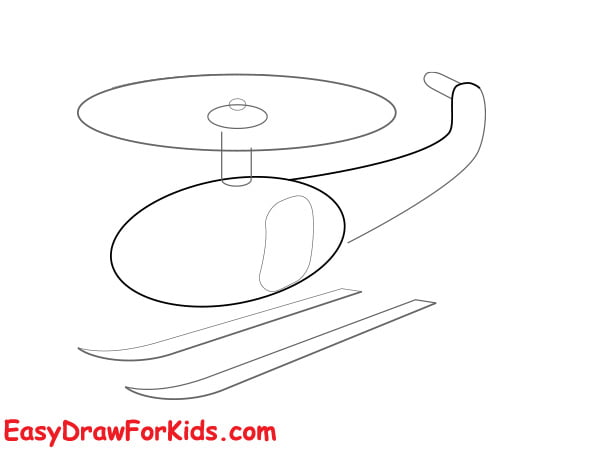
Step 2: Add details to the body of the helicopter such as windshield, doors.

Step 3: Underneath the body, draw the landing gear by adding two sideways rectangles with a vertical line down the center.

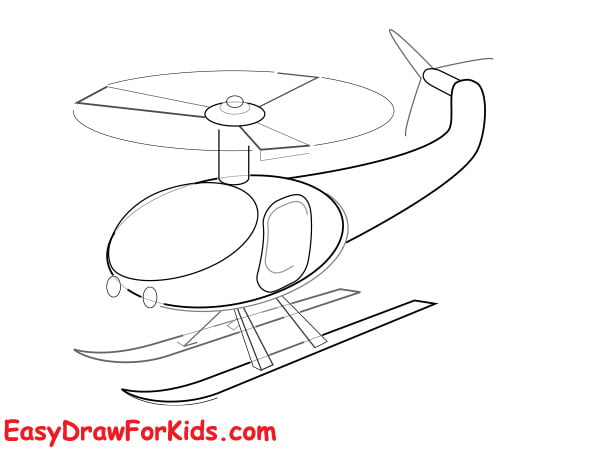
Step 4: Draw the main rotor blades extending out from the top of body.

Step 5: Draw a long narrow rectangle stemming from the rear of the helicopter body for the tail

Step 6: Draw four small lines, evenly spaced apart, for the tail rotor.

Step 7: Try shades of green, gray, black, or navy blue to color your helicopter.

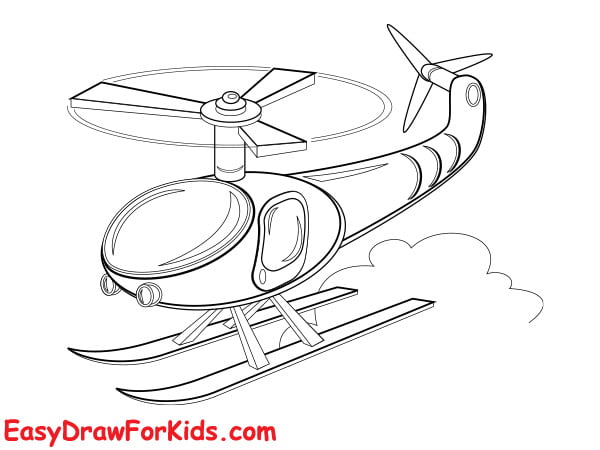
2. Simple Helicopter Drawing

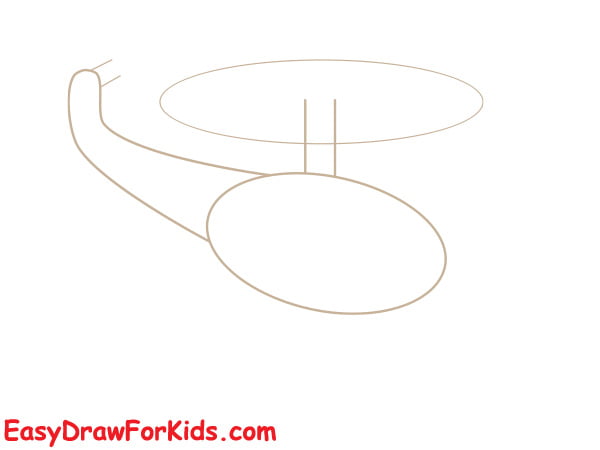
Step 1: Depict the Helicopter Body
Draw a large circle to form the body of the helicopter.
Draw small circles on top of the body to represent the cockpit windows.

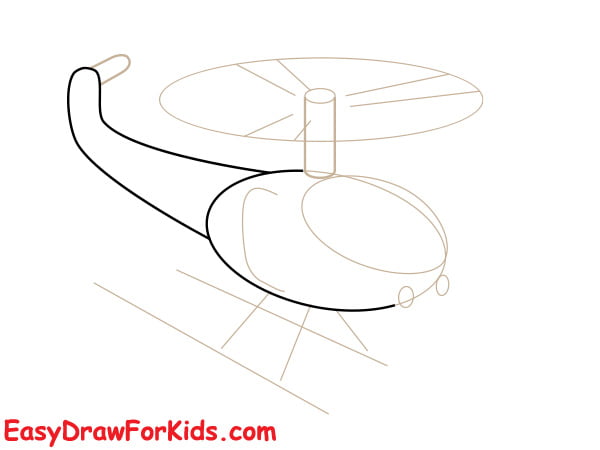
Step 2: Draw a circle inside the body for the window. Use long curve line to draw the tail of the helicopter.

Step 3: Under the helicopter add straight vertical and horizontal lines, and also curved lines as shown the picture for the landing gear

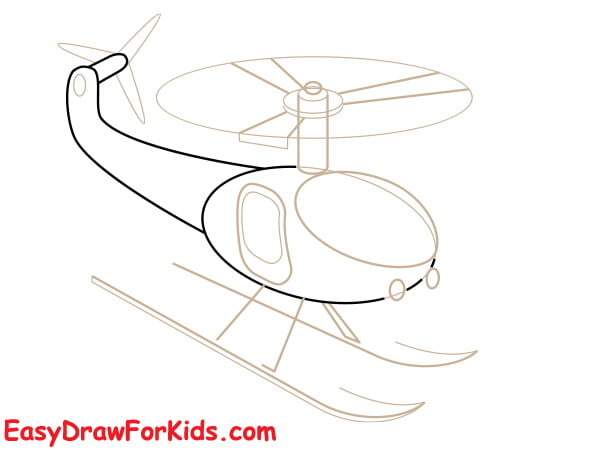
Step 4: Draw small rectangle at the top of the helicopter body and the curve line above the rectangle for the main rotor as shown the picture

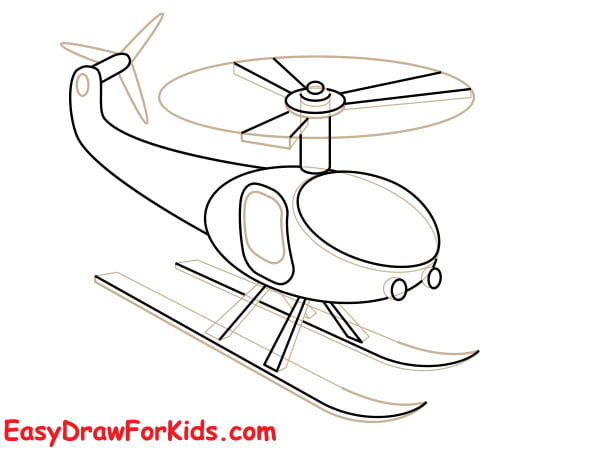
Step 5: Draw the rotor blades, make sure the blades get smaller towards the ends.

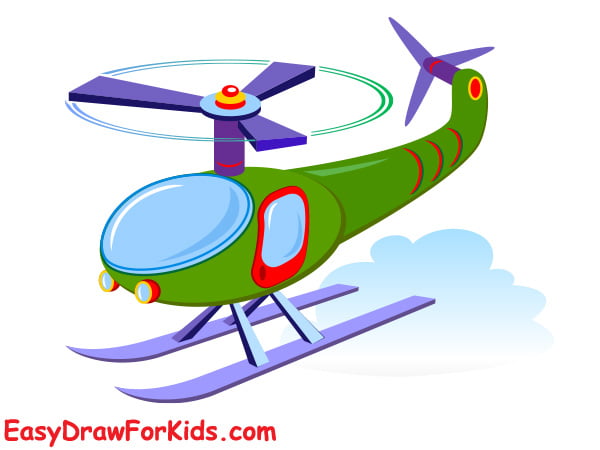
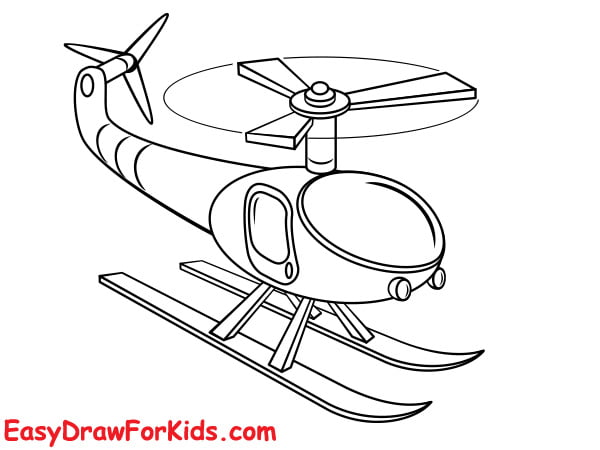
Step 6: Coloring
Start by shading in the body of the helicopter with a light grey color.
Darken the cockpit windows, color the headlights and doors with a bright yellow or orange.

3. Military Helicopter Drawing
Step 1: Start by sketching rectangles and ovals, to block out the overall form of the helicopter.
Step 2: Sketch the rotor hub, which is the central part where the rotor blades connect.
Step 3: After establishing the rotor hub, adding the blades one by one.
Step 4: Adding the Cockpit and Windows
Step 5: Adding Weapons and Other Details
Step 6: Color your drawing
4. Army Helicopter Drawing
Step 1: Start with an elongated shape to represent the fuselage.
Step 2: Add a smaller oval shape towards the front for the cockpit.
Step 3: Drawing the Rotor Blades
Draw a horizontal line across the top of the fuselage to indicate the location of the rotor blades.
Sketch vertical lines towards the rear for the tail rotor.
Step 4: Sketch the landing gear using simple lines.
Step 5: Add any final details like markings, insigniato give your drawing a realistic.
Step 6: Color your helicopter drawing

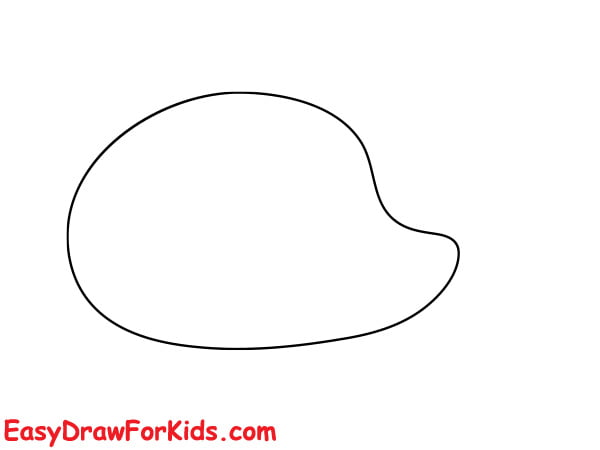
5. Cute Helicopter Drawing
Step 1: Draw an oval shape for the main body of the helicopter
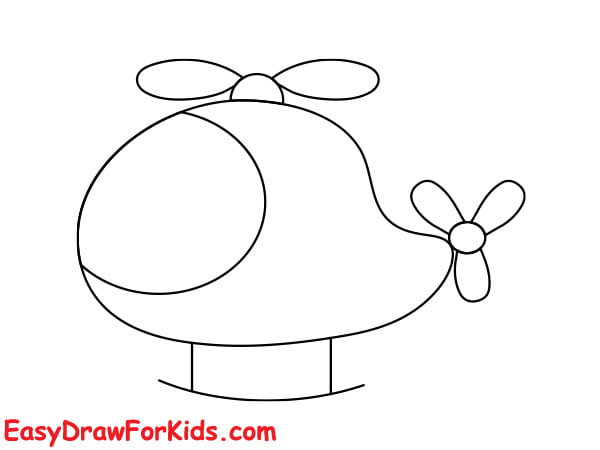
Step 2: Draw a half-circle at the front for the cockpit

Step 3: Adding the rotor blades on the top of main body and tail rotor.

Step 4: Draw curved lines for the landing gear
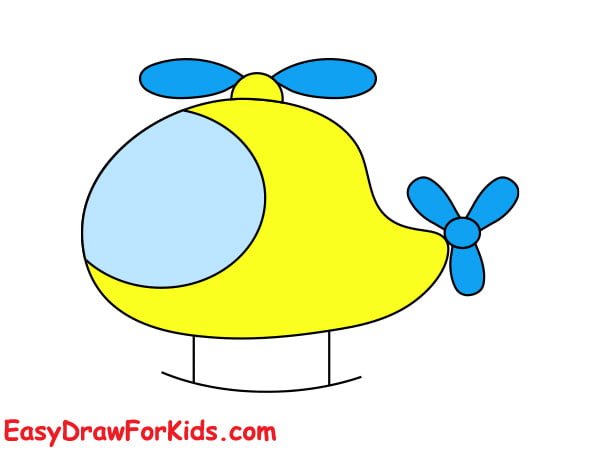
Step 5: The final step on guide how to draw a helicopter is coloring by your style
Learning how to draw a helicopter is a fun and rewarding experience.
Throughout this article, I have provided step-by-step basic shapes to add intricate details.
Follow these steps to create your unique helicopter.