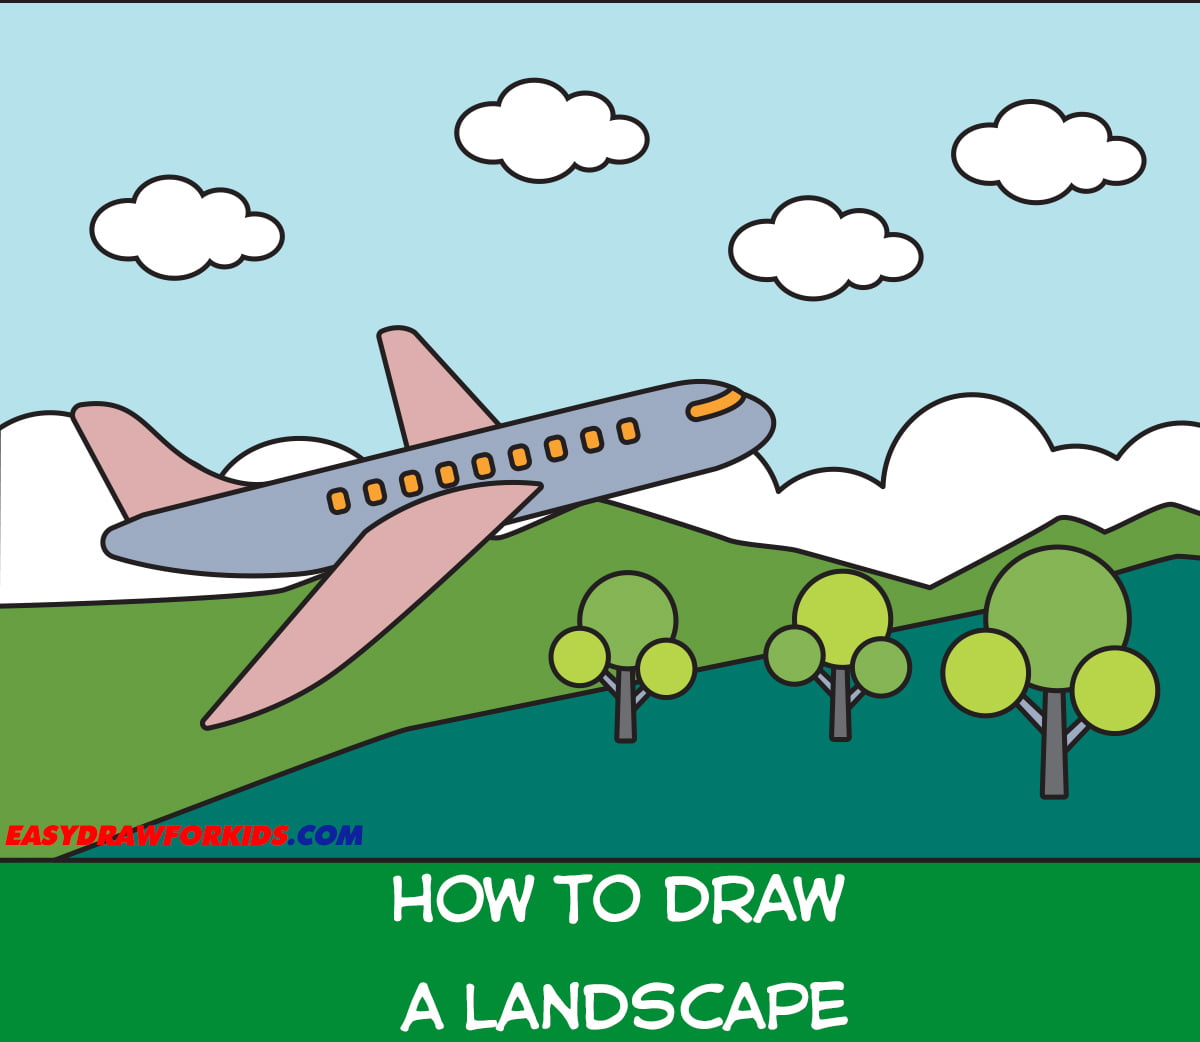
Are you looking for a fun and creative way to spend your free time?
Drawing is a great hobby that can help you de-stress and express your creativity.
One of the best things about drawing is that it doesn’t require any special equipment or training.
With a pencil, paper, and a little bit of patience, anyone can learn to draw.
In this article, we will show you how to draw a landscape in just a few simple steps.
Whether you’re a beginner or an experienced artist, this tutorial will teach you everything you need to know to create a beautiful landscape drawing.
How to Draw a Landscape: A Step by Step Guide
In this article on how to draw a landscape in 10 steps to help you drawing beautiful landscape!
Decide on the elements you want to include in your landscape, such as mountains, trees, a lake, or a sunset.
This will help you plan the composition of your drawing.
Now let’s get started…

Step 1: Sketch out The Land and Moutains
In this first step in our guide on how to draw a landscape
Using straight lines to draw an even rectangle to determine the size of the drawing.
Draw a curved line from the bottom to the upper part of your paper to represent the land. This line will separate the sky from the land.
Use curved lines to create the outline of the mountains, and vary the sizes and distances between them to give depth to your landscape.

Step 2: Draw the Sky
The second step of this guide on how to draw a landscape will focus on the sky
Start at the top of your paper and use your pencil to fill in the sky above the moutains.
Once you have your land sketched out, it’s time to add some shading.
Use your pencil to add shadows and highlights to your landscape.
This will give your drawing depth and dimension.

Step 3: Draw the Trees
This is the closest part of the landscape to the viewer.
Draw trees, hills, or other elements that are closer to the viewer.
Use different shapes and sizes to create variety and depth.
You can add grass, flowers, rocks, or any other elements to make it more interesting.
Pay attention to the scale and perspective, making objects in the foreground larger and more detailed.

Step 4: Depict the Airplane body
The fourth step of this guide on how to draw a landscape will detail the airplane fly in the sky
Draw a long, narrow oval shape slightly above the horizon line. This will be the main body of the plane, known as the fuselage.

>>>Read more: How to Draw an Airplane Step by Step
Step 5: Add some Details
Add a smaller oval shape at the front of the fuselage to represent the cockpit area.
Add details such as windows and doors to the fuselage.
You can draw rectangular or oval shapes for the windows and a curved line for the door.

Step 6: Draw the Tail
Draw a vertical stabilizer at the rear of the airplane.
It should be a tall, rectangular shape extending upwards from the fuselage.

Step 7: Draw the Wing
The seventh step of this guide on how to draw a landscape will detail wing of the airplane.
Draw a pair of wings on either side of the fuselage.
Each wing should be long and narrow, extending outwards from the body of the plane.
The wings can be slightly angled upwards.
On either side of the body, draw a wing.
Each wing should be a long, curved line that’s slightly curved inward at the top.

Step 8: Draw the second Wing
Repeat the previous step and draw the wing of the same shape at the top.

You can add additional details to your airplane, such as the landing gear, antennas, or even airline logos.
Step 9: Draw the Clouds
Draw the wavy lines of freeform shapes for the clouds at the sky.
You can go over a few ideas by how to draw a clouds of us
Don’t worry about making everything perfect – this is an easy landscape drawing, so it’s okay if things are a little bit wonky.

You can add birds flying in the sky, a stream running through the hills, or anything else that you like.
Use your pencil to add these details, and don’t be afraid to get creative.
Step 10: Use coloring Materials to bring your Landscape to Life
Now that we’ve successfully this guide how to draw a landscape, it’s time for coloring your beautiful drawing.
You can use colored pencils, markers, or watercolors to add colors to the sky, land, trees, and other elements.
Consider using different shades and blending techniques to create depth and atmosphere.

And there you have it – a beautiful landscape drawing that you can be proud of!
Tips for Drawing Easy Landscapes
Here are some tips to keep in mind when you learn how to draw a landscape:
- Start with simple shapes and build from there
- Use light, gentle strokes to sketch out your landscape
- Don’t worry about making everything perfect – imperfections can add character to your drawing
- Use shading to create depth and dimension
- Get creative with the details – add animals, people, or other elements to make your landscape unique
Conclusion
Now you know how to draw a landscape step by step
Drawing an easy landscape is a fun and rewarding activity that anyone can enjoy.
With just a few simple steps, you can create a beautiful drawing that showcases your creativity and artistic skills.
So grab a pencil and paper and give it a try – who knows what kind of beautiful landscapes you’ll create.
You may also enjoy:
Leave a Reply