Lighthouses have been used for centuries to help guide sailors safely to shore.
If you want to draw a lighthouse, you’ve come to the right place.
In this article, easydrawforkids.com will help you learn how to draw a lighthouse in 3 ways.
How to Draw a Lighthouse – A Step by Step Guide
1. Simple Lighthouse Drawing
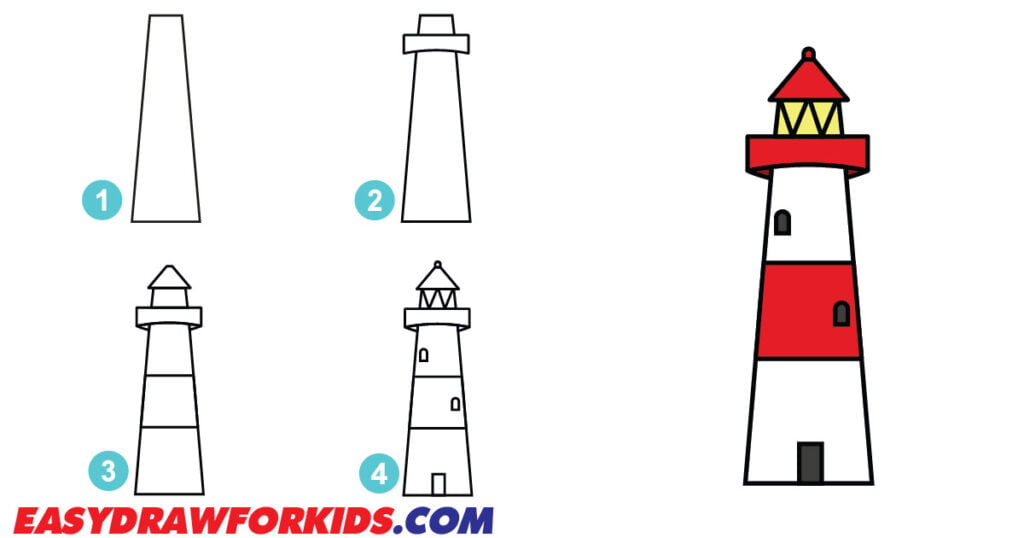
Step 1: Draw a tall, narrow cylinder shape for the tower of the lighthouse. Taper the cylinder slightly towards the top.

Step 2: The second step on guide how to draw a lighthouse, draw a smaller rectangle on top of the tower to create the lantern room of the lighthouse.
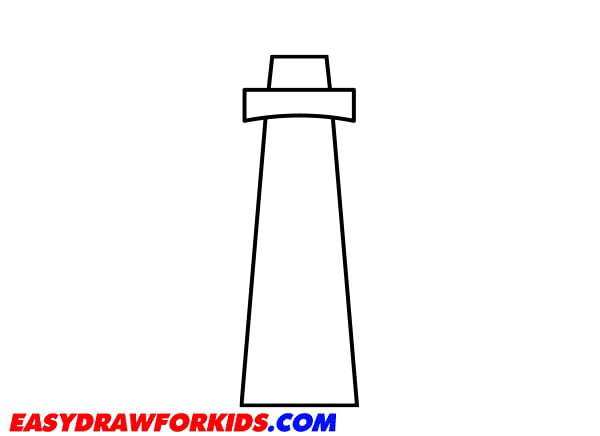
Step 3: Draw the roof of the lighthouse
Draw a slightly tapered cylinder shape to represent the dome of the lighthouse.
Add details to the tower by drawing horizontal lines on the tower.

Step 4: Add windows and door
Draw crosshatch lines to indicate the glass panels.
Draw a circle at the top of the tower to represent the lantern room.
Sketch a door or entrance at the base of the tower by drawing a rectangular shape with a curved top.
Add windows to the tower by drawing small rectangles between the horizontal lines.

Step 5: Lighthouses can be painted in various colors, you can choose white for the main structure, and red, black, or gray for the roof and lantern room.

2. Realistic Lighthouse Drawing
Step 1: Sketch the main structure
Begin by drawing a horizontal line to form the horizon.
Draw two vertical lines that converge slightly as they go upward to form the main cylindrical body of the lighthouse.
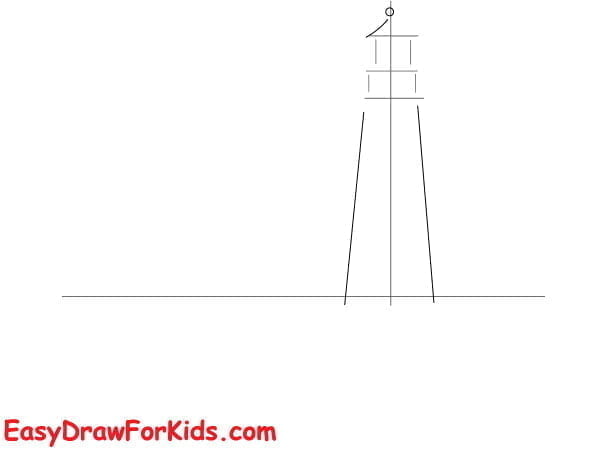
Step 2: On the top of the main structure, draw a cone-shaped structure for the light room.
Draw a dome-like shape to cover the light room.

Step 3: Create the Balcony
Draw a horizontal line around the main structure, slightly below the gallery to form the balcony. Add vertical lines to indicate the railing.

Step 4: On the main structure, sketch small rectangular shapes for windows and a larger rectangular shape for the entrance door.

Step 5: Draw a house
Draw two vertical lines for the base of the house.
On top of the rectangle, draw a triangular shape for the roof.

Step 6: Create the windows and chimney.
Draw a rectangular shape for the door on one side of the house.
On one side of the roof, draw a rectangular shape for the chimney.

Step 7: Draw long, curved lines below the house and lighthouse to form the hill

Step 8: The eighth step on guide how to draw a lighthouse, draw a tree on the hill.

Step 9: Behind the lighthouse, draw wavy lines to form the clouds

Step 10: Draw seagulls flying on the sky

Step 11: Color your lighthouse drawing

3. Sunset Lighthouse Drawing
Step 1: Draw a vertical line near the right side of the paper for the main structure of the lighthouse.

Step 2: Draw a half-circle shape for the roof of the lighthouse.
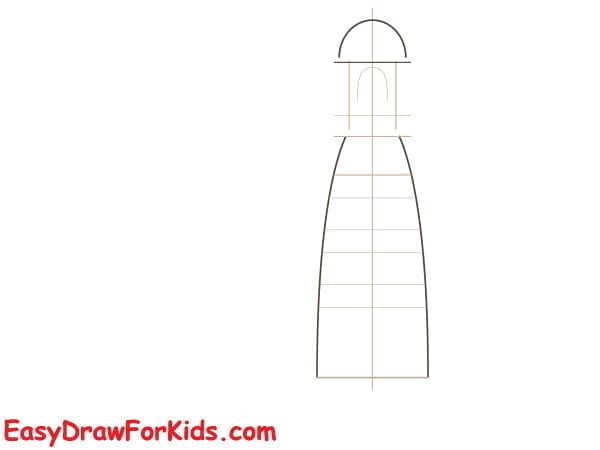
Step 3: Extend two horizontal line from the bottom of the light room to create a balcony.
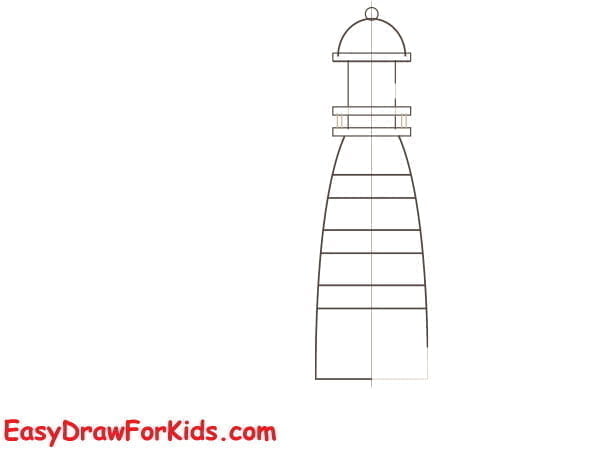
Step 4: Add windows, a door, and any other desired details to the lighthouse.

Step 5: Draw straight lines extend from the light room to form the light ray
Draw the house beside the lighthouse
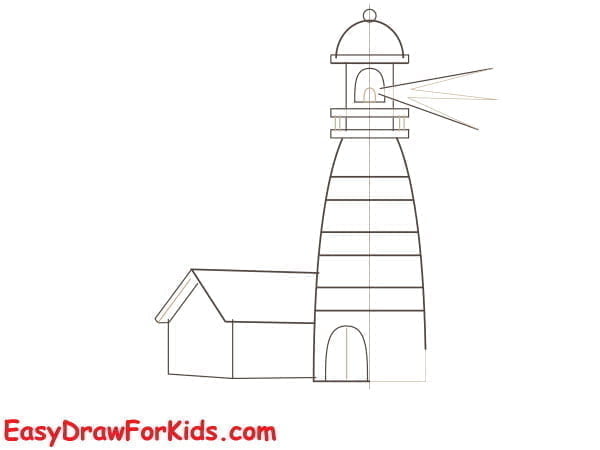
Step 6: The sixth step on guide how to draw a lighthouse, add the window and chimney for the house.

Step 7: Draw some oval shapes of different sizes on the base of the lighthouse to form the stones

Step 8: Draw wavy lines to create the clouds and seagulls on the sky

Step 9: Using warm colors such as oranges, pinks, and purples to create a sunset effect.

Learning how to draw a lighthouse allows you to connect with the coastal beauty.
With 3 ways to draw a lighthouse in this guide, you can create stunning lighthouse drawings.


