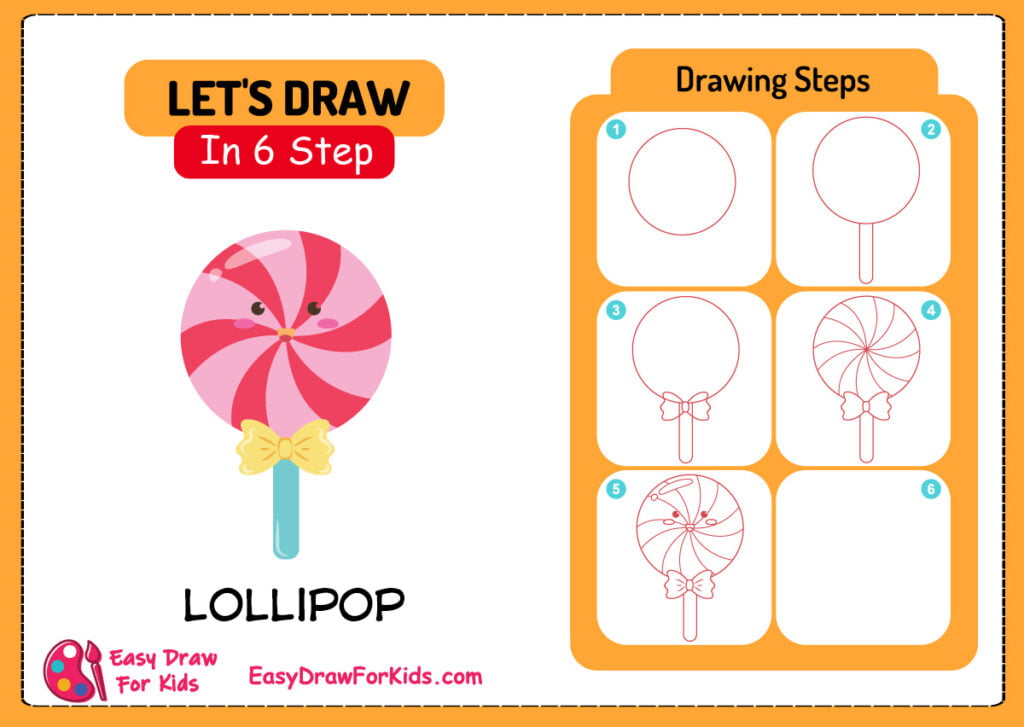
Drawing a cute, kawaii-style lollipop is a fun, easy way to create sweet art.
This tutorial, easydrawforkids.com will help you learn step-by-step how to draw a lollipop!
With just a few simple steps, you can draw an adorable lollipop.
How To Draw a Lollipop – A Step By Step Guide
1. Cute Lollipop Drawing
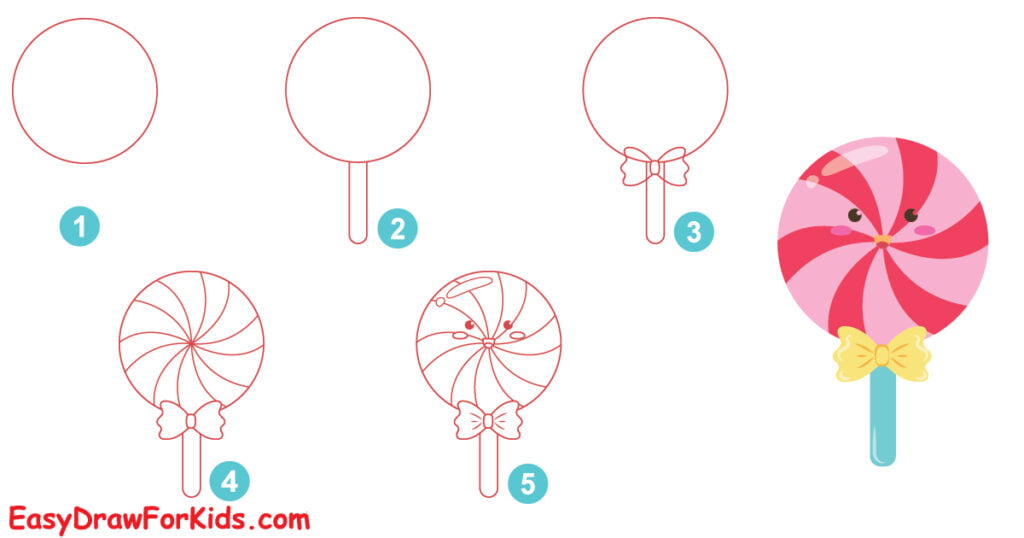
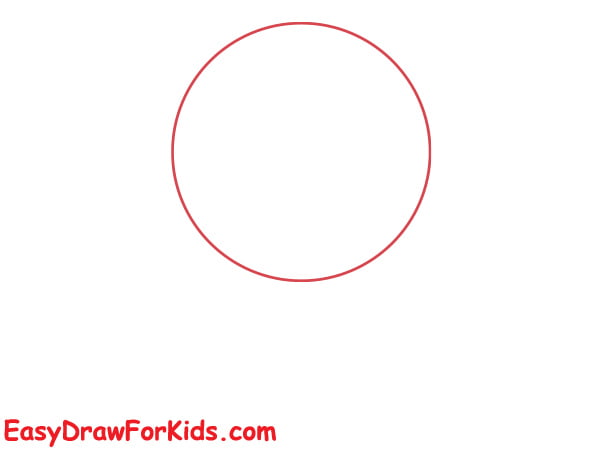
Step 1: Sketching the lollipop head circle
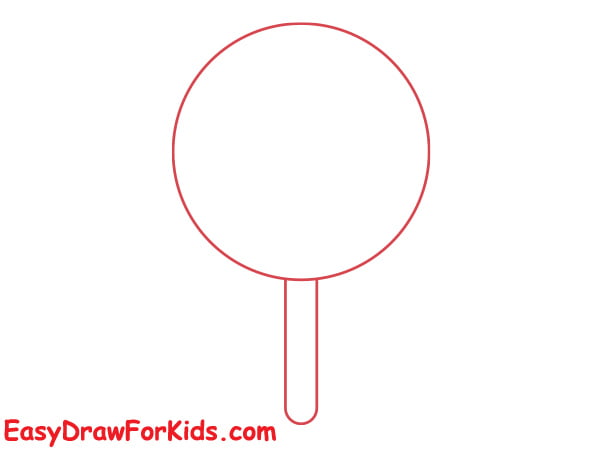
Step 2: With a nice round lollipop head established, next comes drawing the stick by using a long, vertical line extend from the bottom of the lollipop head .
Step 3: No cute lollipop would be complete without an adorable bow! Adding bow in the bottom of the lollipop head.
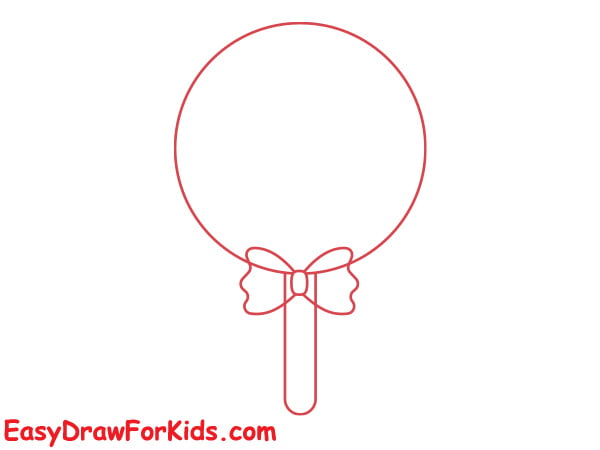
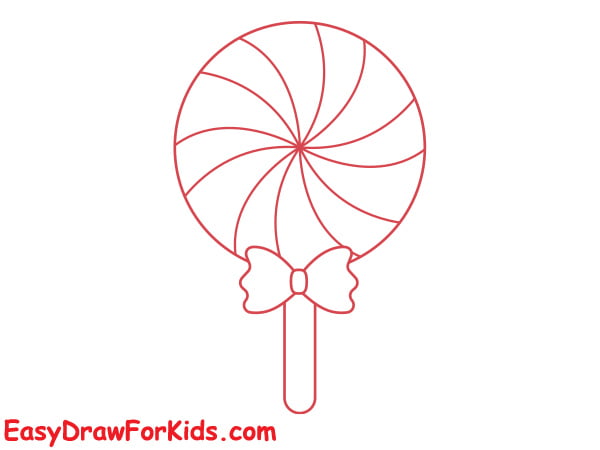
Step 4: Inside the candy shape, draw a spiral line that starts from the centre and gradually moves outward. This will give the lollipop a fun and swirly appearance.
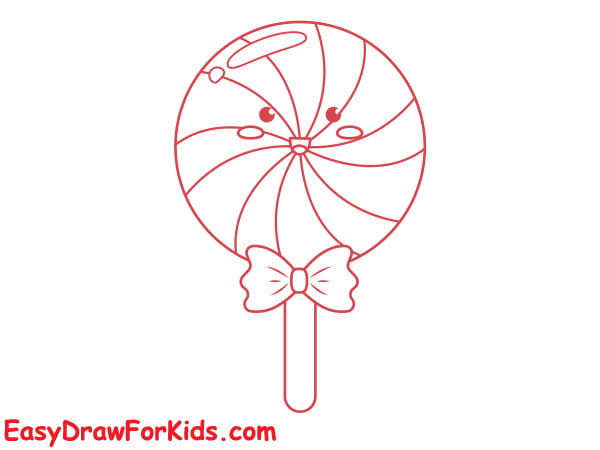
Step 5: Draw dazzling eyes and a sweet, endearing grin to give our popsicle oodles of personality.
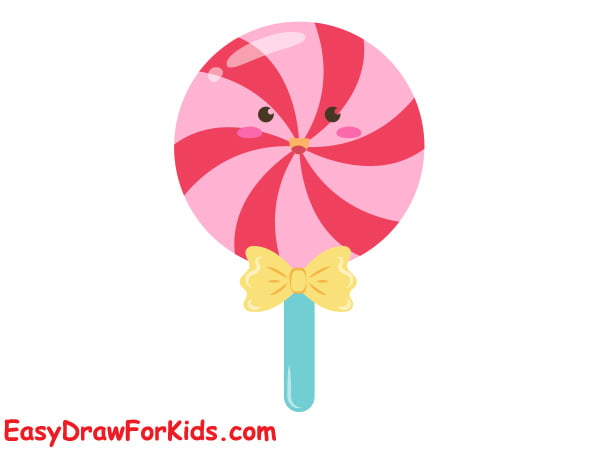
Step 6: The final step in the guide on how to draw lollipop is to lay down some yummy colours! Feel free to get creative with colours and patterns here.
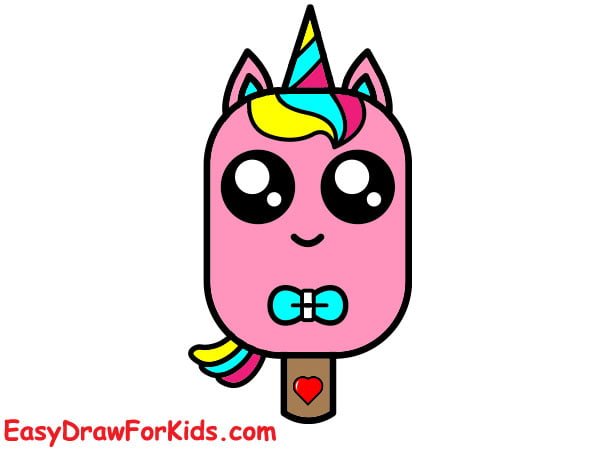
2. Unicorn Lollipop Drawing
Step 1: Sketching the lollipop shape as shown in the picture.
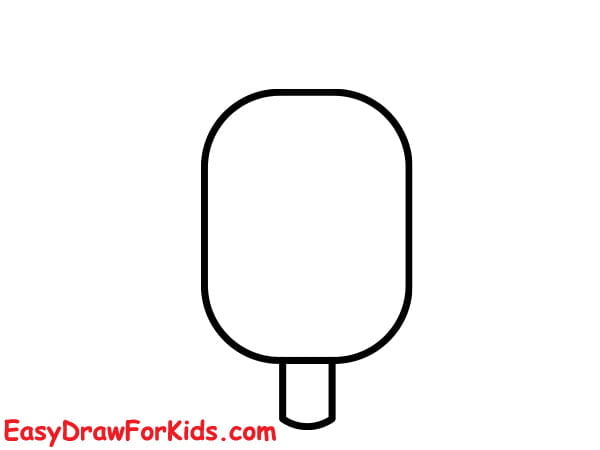
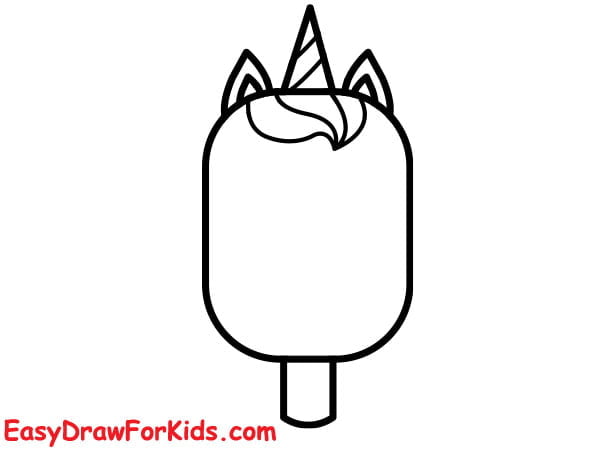
Step 2: From the top of the lollipop, draw a slightly curved line that extends upward for the unicorn’s horn.
Add two small, curved lines extending from the sides of the horn to create the ears.
Then, draw a series of curved lines below the horn for the unicorn’s mane.
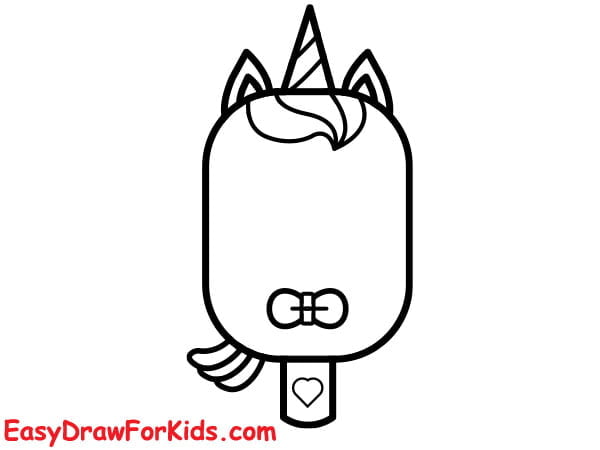
Step 3: Add the bow and unicorn’s tail by drawing curved lines extending from the bottom of the lollipop’s base.
Step 4: Draw two large, circular eyes near the top of the lollipop.
Below the eyes, draw a small, curved line to create the unicorn’s smiling mouth.
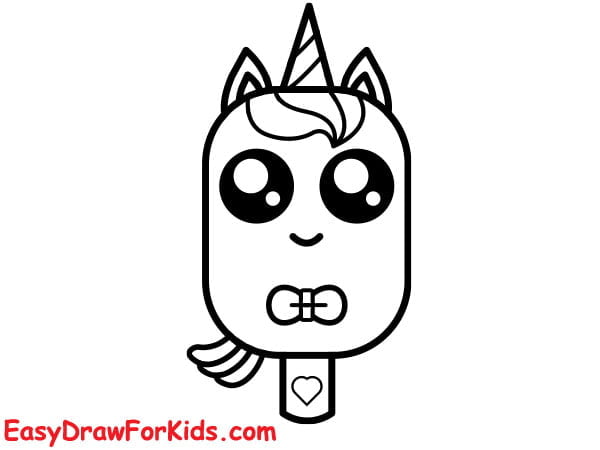
Step 5: Unicorns are often depicted with colorful manes and horns, so feel free to get creative with your color choices.
3. Kawaii Lollipop Drawing
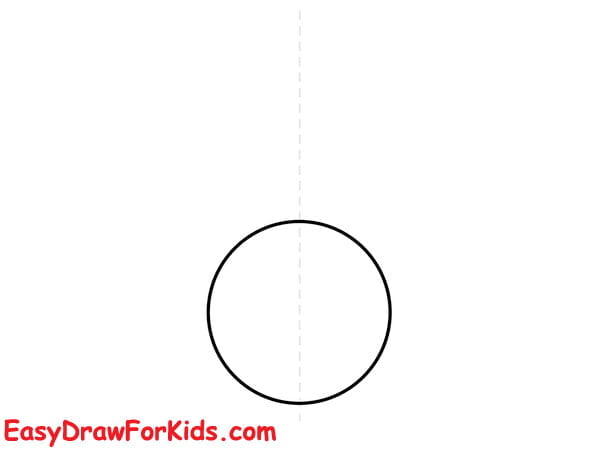
Step 1: Outline the round shape of the lollipop candy.
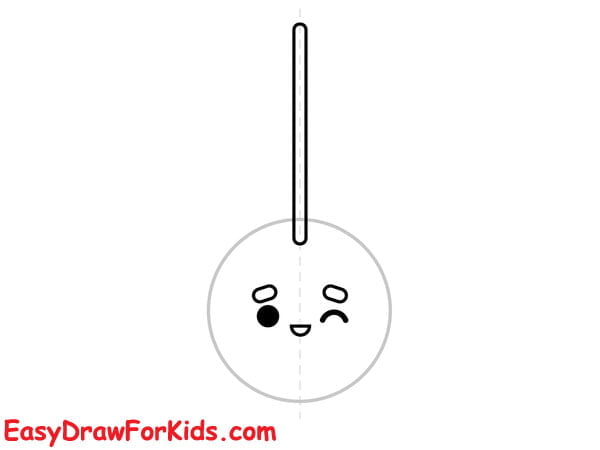
Step 2: Next, it’s time to draw a lollipop stick at the top of your lollipop.
Then, add a cute kawaii face to the lollipop.
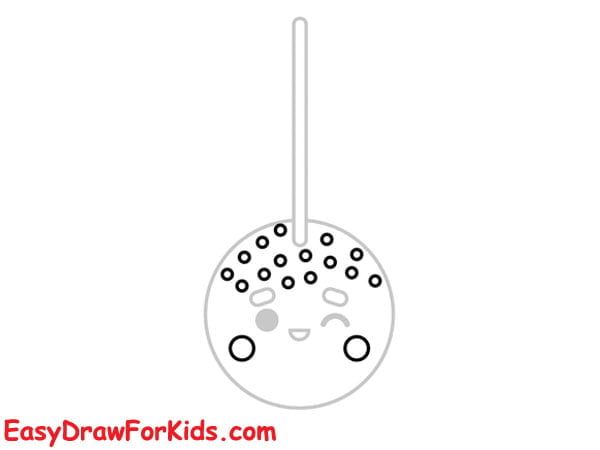
Step 3: Draw dots of varying widths across the lollipop’s surface, creating a bold and eye-catching pattern.
Step 4: Erase any unnecessary lines and refine the outline of the lollipop.
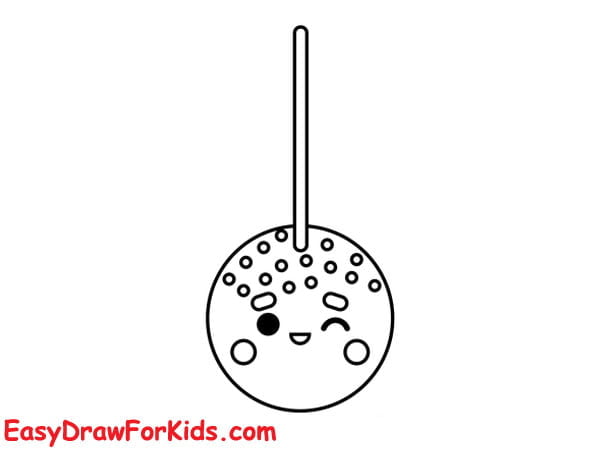
Step 5: Now you complete this method on how to draw a lollipop. It’s time to color kawaii lollipop using bright and fun colors
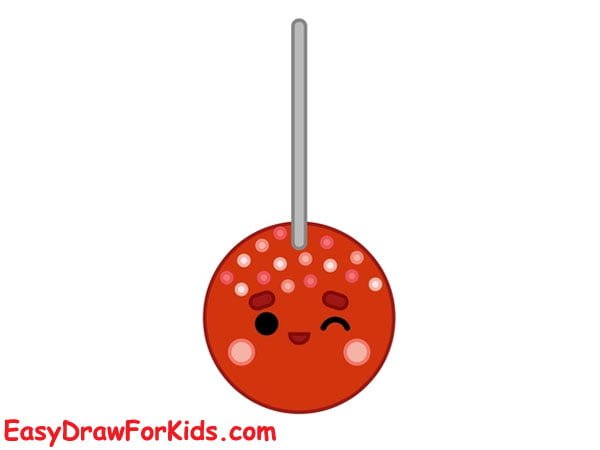
I hope you enjoyed this guide how to draw a lollipop step by step!
Feel free to get creative exploring your own lollipop variations.
