Have you ever wanted to capture the mouthwatering allure of a freshly baked pizza on paper?
Learning to draw a pizza allows you to do just that.
Here are four styles you can try when you learn how to draw a pizza step-by-step.
You can create a pizza that looks good enough to eat with a few simple steps.
How To Draw A Pizza – A Step by Step Guide
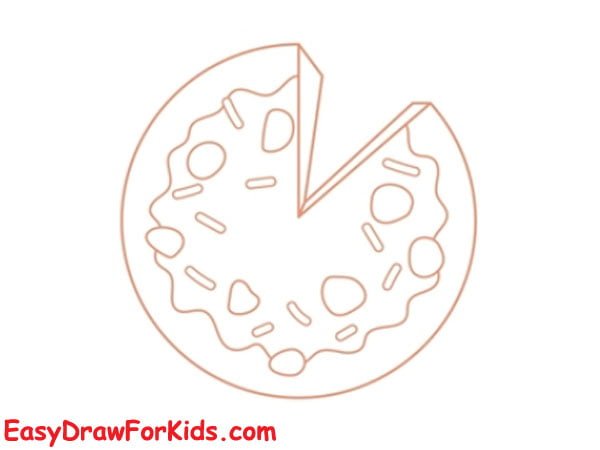
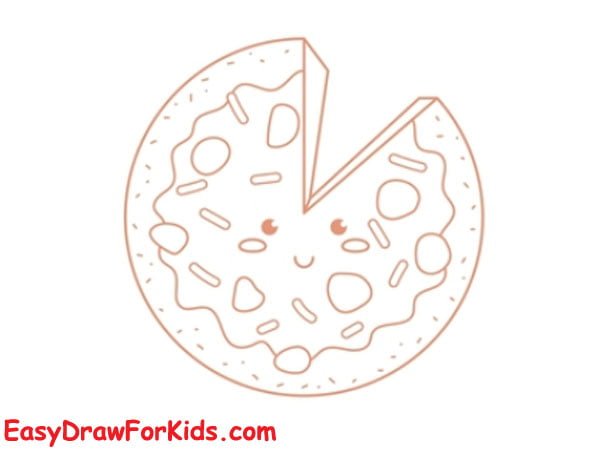
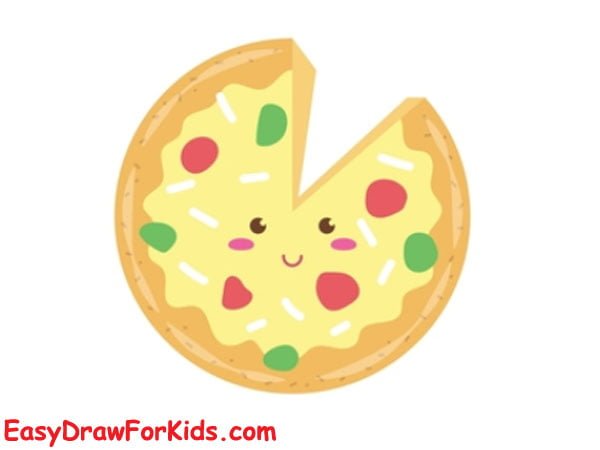
1. Cartoon Pizza Drawing
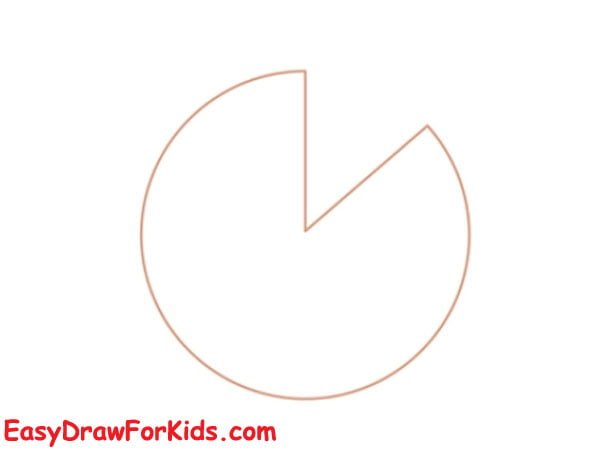
Step 1: Start by drawing a large circle for the base of your pizza; add a triangle for the missing piece of pizza.
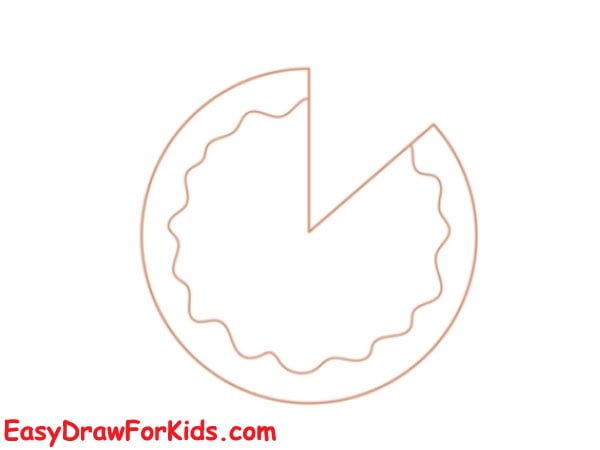
Step 2: Draw a wavy line around the edge to create the crust of the pizza.
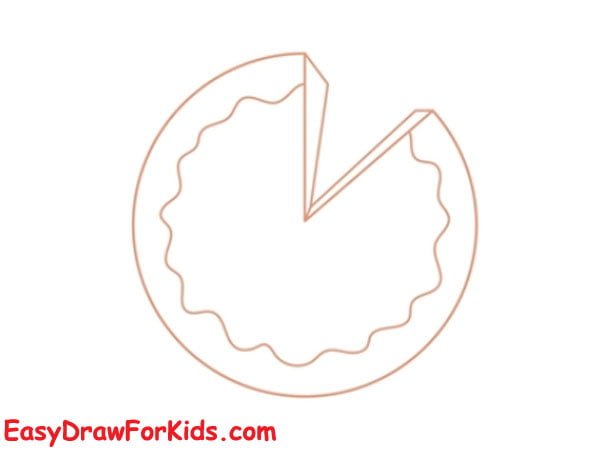
Step 3: Draw a triangle on the edge of the crust to represent the texture
Step 4: Get creative with your pizza toppings!
Step 5: Draw the smiling face on your cartoon pizza
Step 6: Get out your favorite coloring tools and bring your cartoon pizza to life.
2. Piece Of Pizza Drawing
Step 1: Draw an uneven and bumpy wavy line to create the pizza crust.

Step 2: Add a triangle below the crurst for the shape of the pizza slice.
Step 3: Draw various shapes and sizes to represent toppings
Step 4: Draw two circle for the eyes and a curved line for smiling mouth
Step 5: Color Your Pizza
3. Cute Pizza Drawing Easy
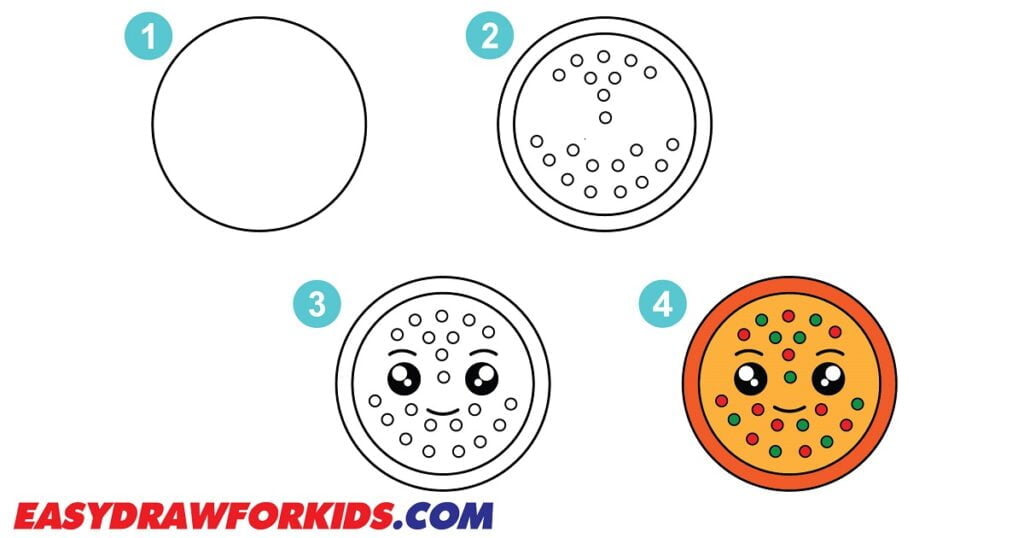
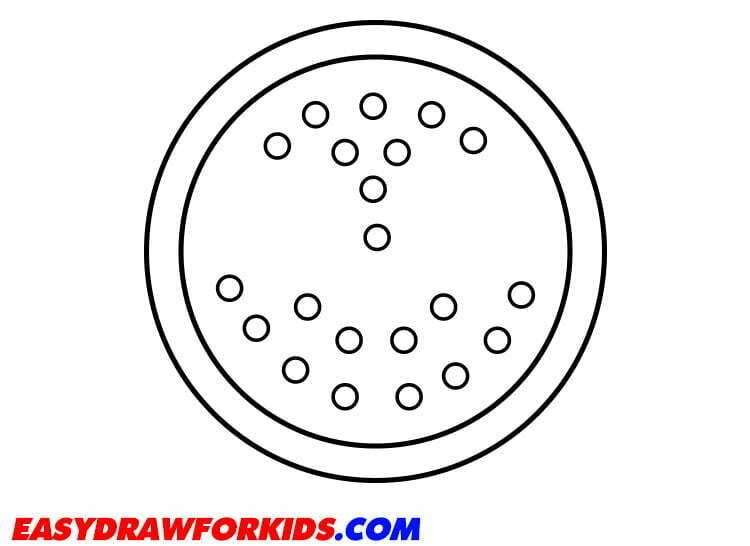
Step 1: Since the base of a pizza is a circle, start by lightly sketching a circular shape.

Step 2: Draw a smaller circle to form the crust, and add some small circles on the pizza for topping
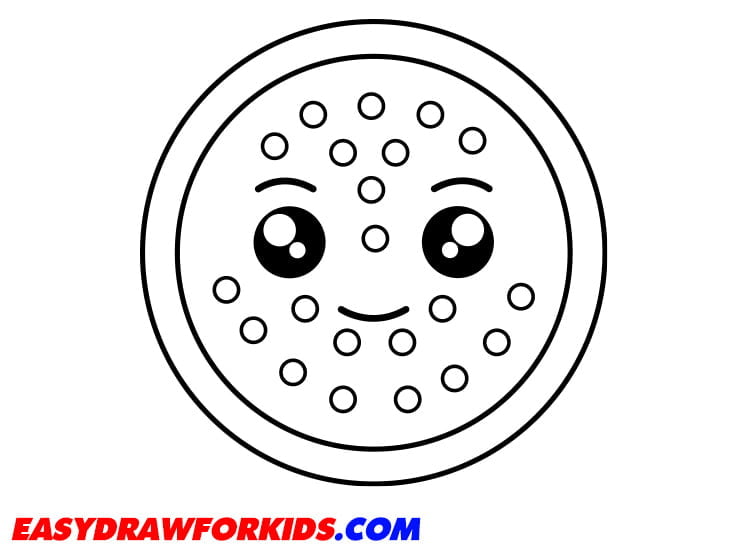
Step 3: Add the Facial
The third step of this guide on how to draw a pizza will focus on the facial of your cute pizza
Draw circles for the eye and small circles inside the eye for the pupils
Then draw the curved line for the smiling pizza’s mouth
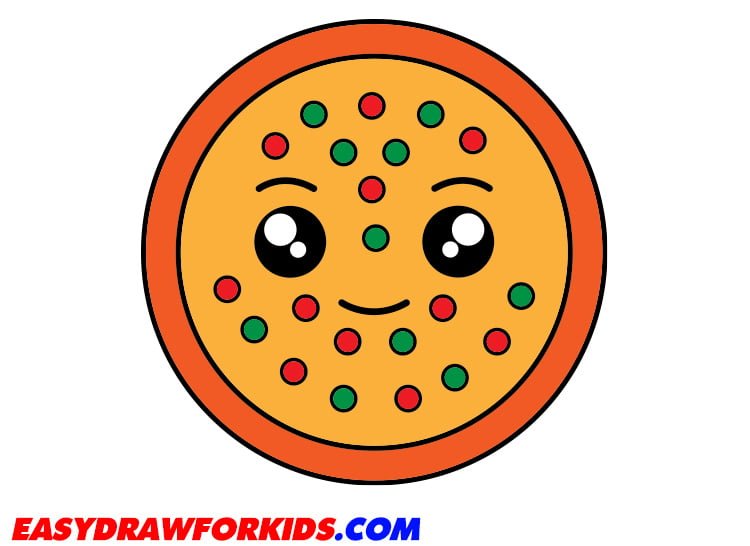
Step 4: Color the drawing
Use warm colors like red, orange, and yellow for the sauce and toppings.
Use blue and green for the veggies. Don’t forget to add some brown for the crust!
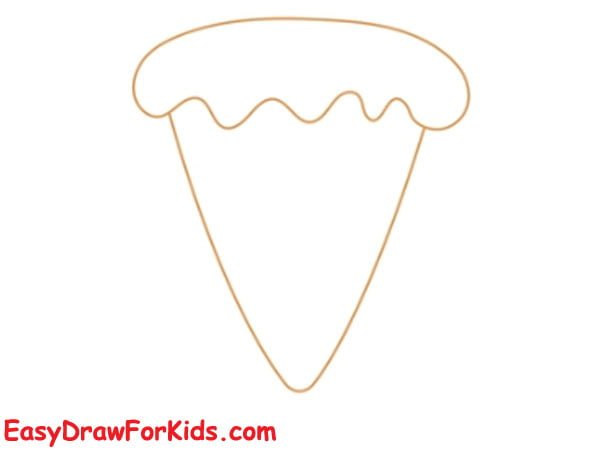
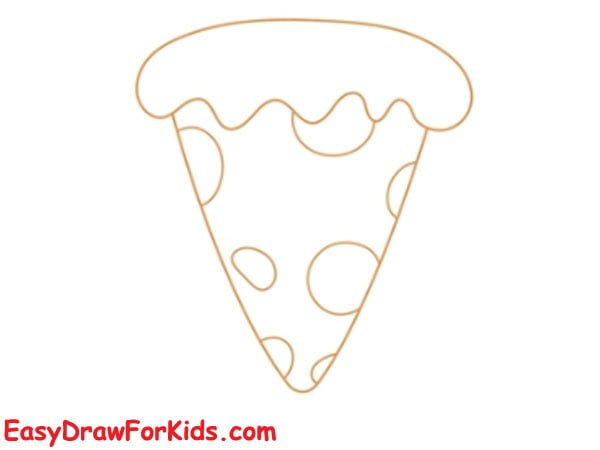
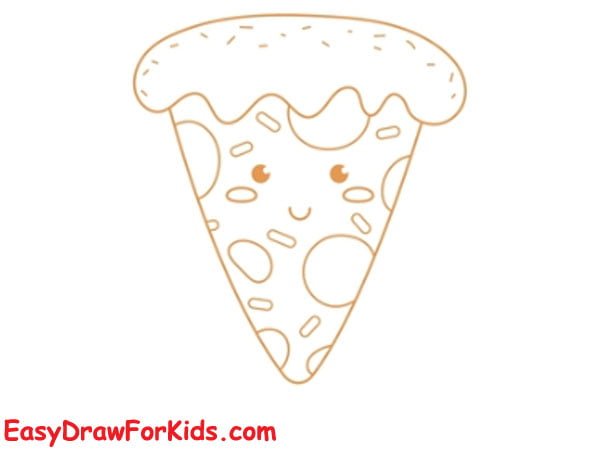
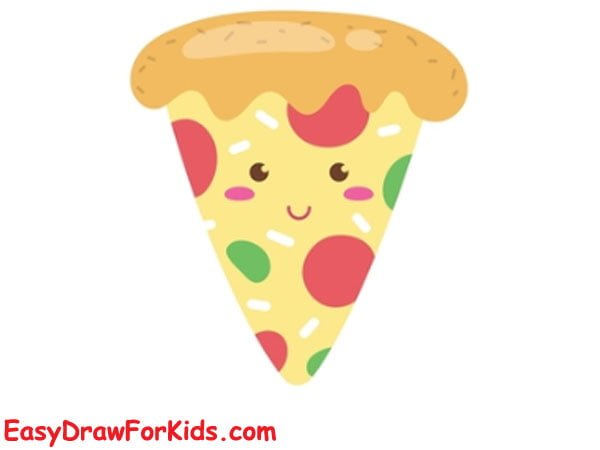
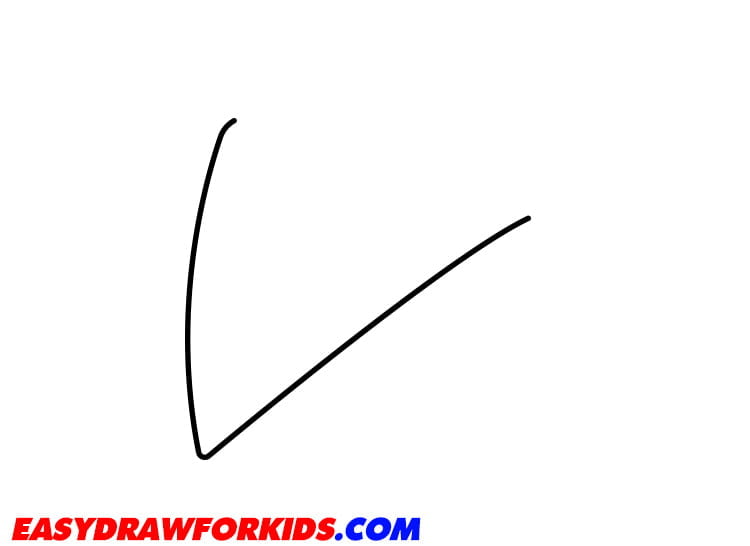
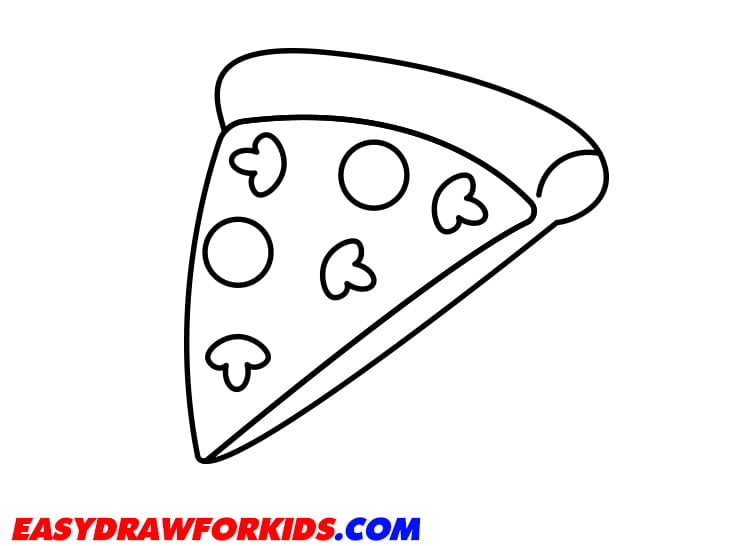
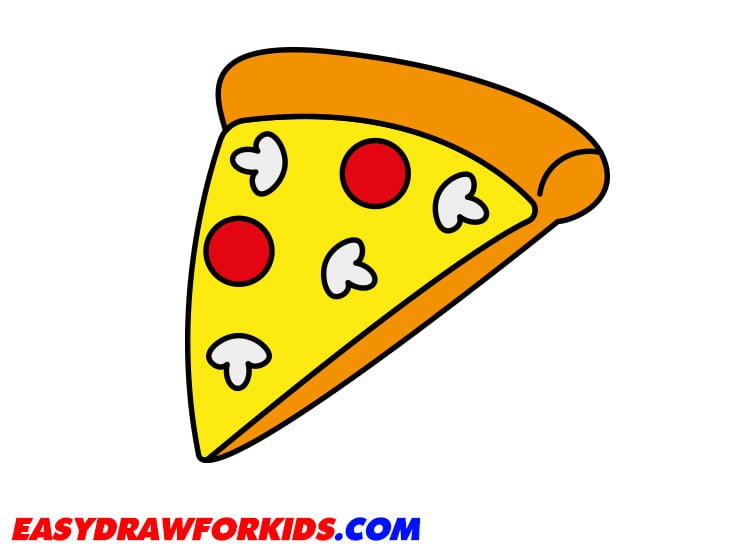
4. Pizza Slice Drawing
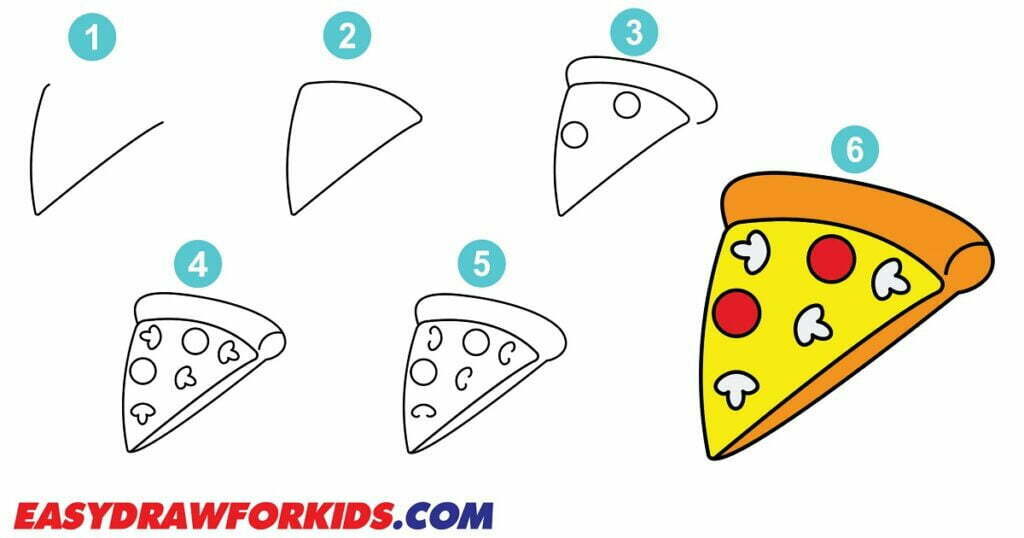
This tutorial on how to draw a pizza in 5 steps will help you quickly draw a pizza slice!
Step 1: Draw triangle for the pizza slice as shown the in picture
Step 2: Depict the top of Pizza Slice
To do this, connect the two ends of the previously drawn lines with one curved line.
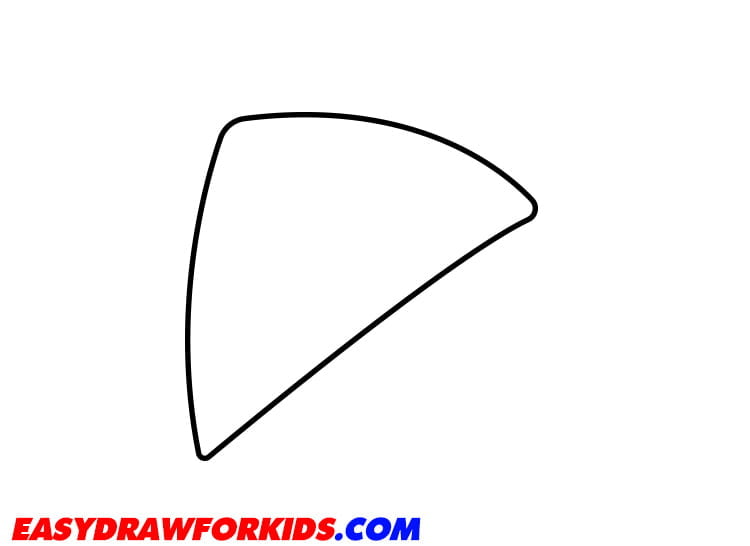
Step 3: Draw an oval shape for the crust, leave plenty of room around the slice.
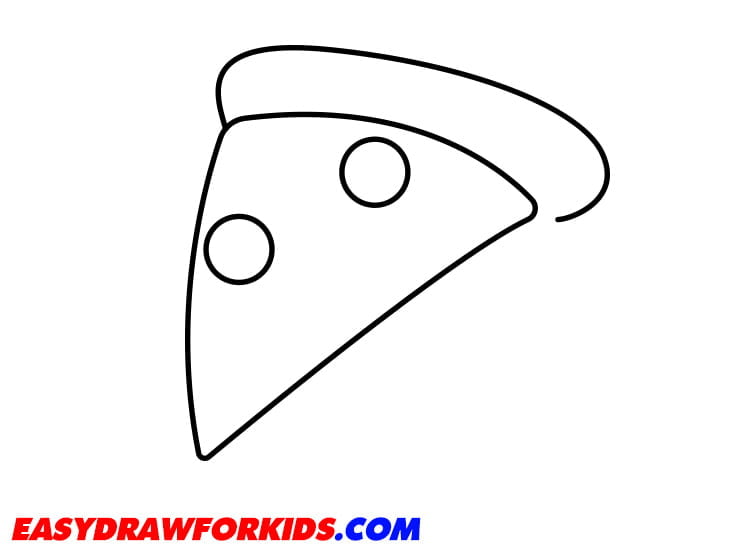
Step 4: Draw mushrooms using circles and ovals, leaving tiny gaps between them.
Step 5: Draw curved lines for the trunk of the mushrooms
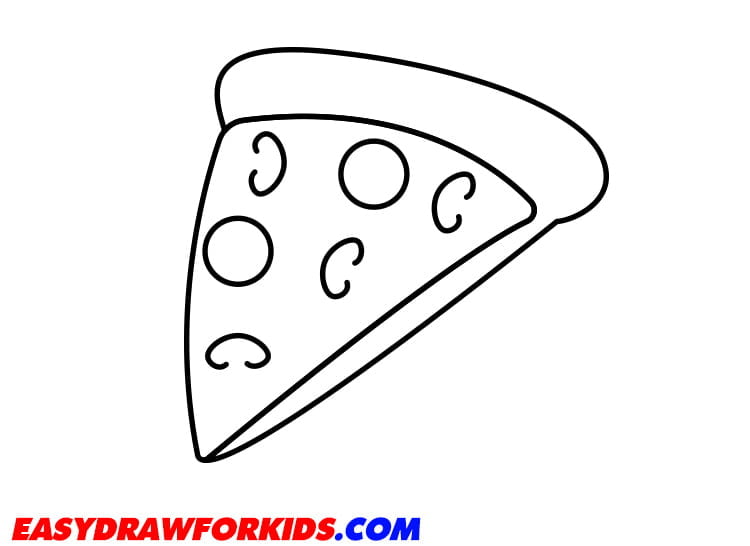
Step 6: You can get creative and color your pizza any way you like!
Learning how to draw a pizza is a fun way to express your love for this beloved food.
You can experiment with different toppings and crust styles.
When you complete your pizza drawing, share your artwork with others.