If you have ever wondered how to draw a rhinoceros, you have come to the right place.
In this guide, easydrawforkids.com will walk through the step-by-step process for drawing a realistic rhinoceros.
How To Draw A Rhinoceros – A Step by Step Guide
1. Easy Rhinoceros Drawing
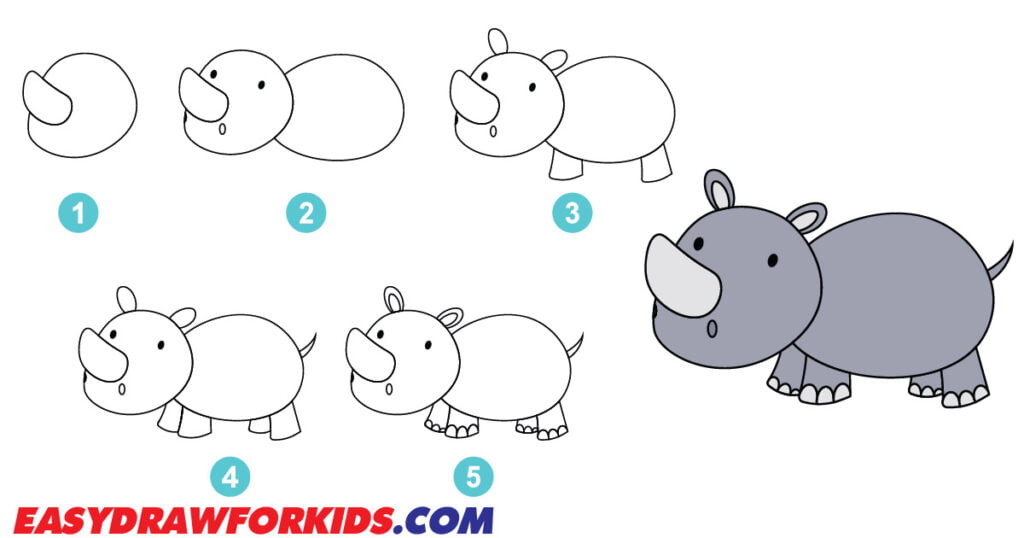
This guide on how to draw a rhinoceros in 6 steps will help you draw a rhinoceros quickly!
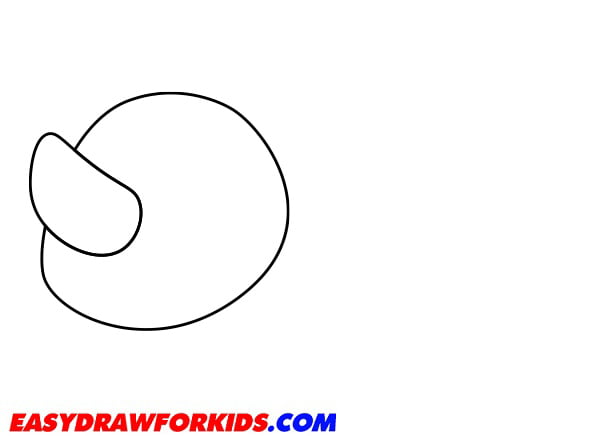
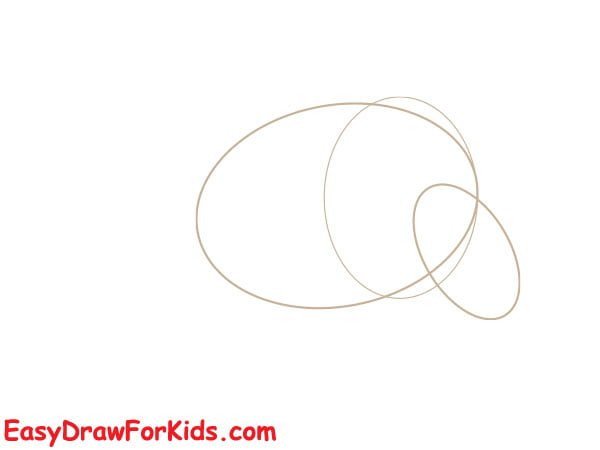
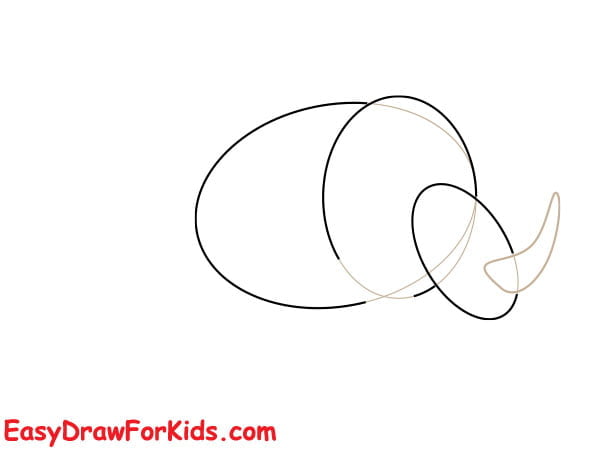
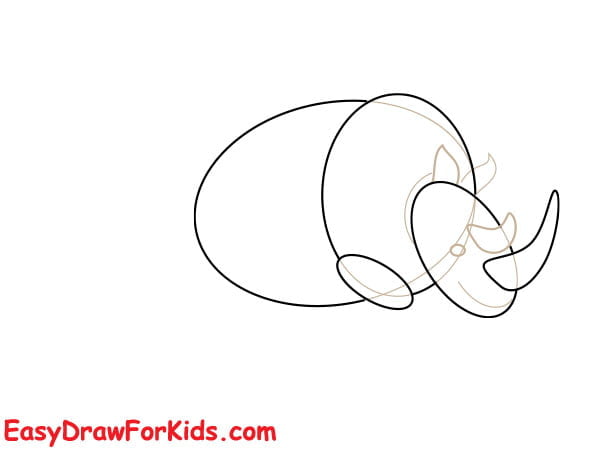
Step 1: Begin with an oval shape for the head; add a large, curved horn on the top of the rhinoceros’s head.
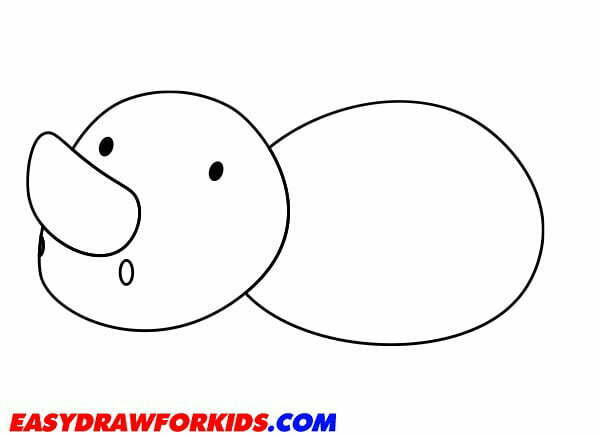
Step 2: Add the facial features
Draw two oval-shaped eyes above the snout.
At the end of the snout, draw a small, rounded shape for the rhinoceros’s nose.
Add two small, circular shapes on the top of the snout to represent the rhinoceros’s nostrils.
Draw a larger oval shape to form the body.
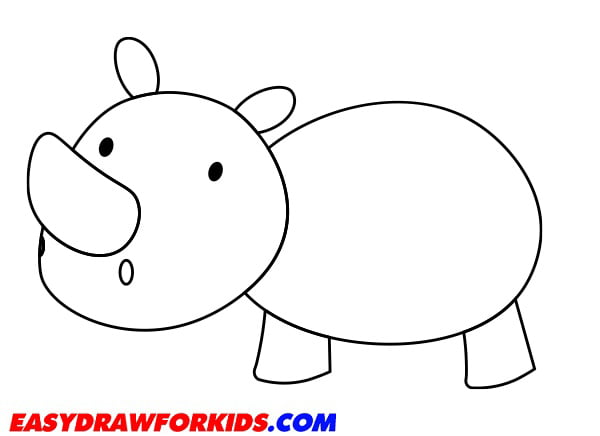
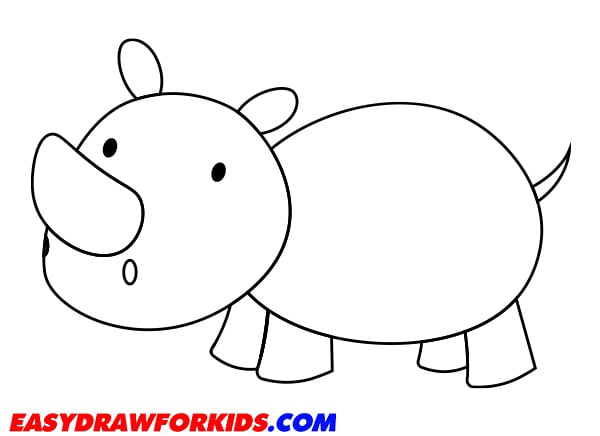
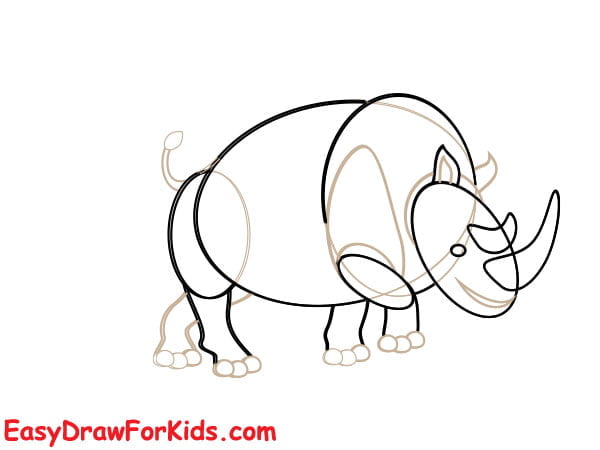
Step 3: Add small, rounded ears near the eyes on either side of the head.
Beneath the body, draw two short, thick legs extending downward from the body.
Step 4: For the tail, sketch a curved line extending from the back of the body.
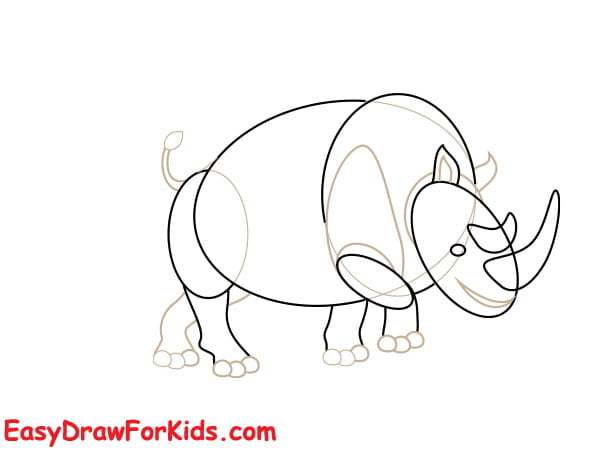
Step 5: At the bottom of each leg, draw a rounded shape to represent the rhinoceros’s hooves.
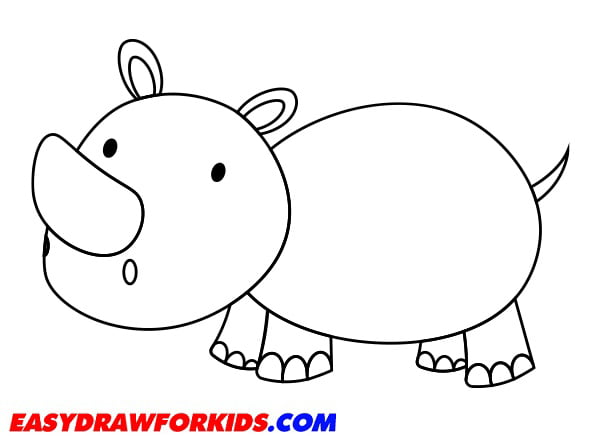
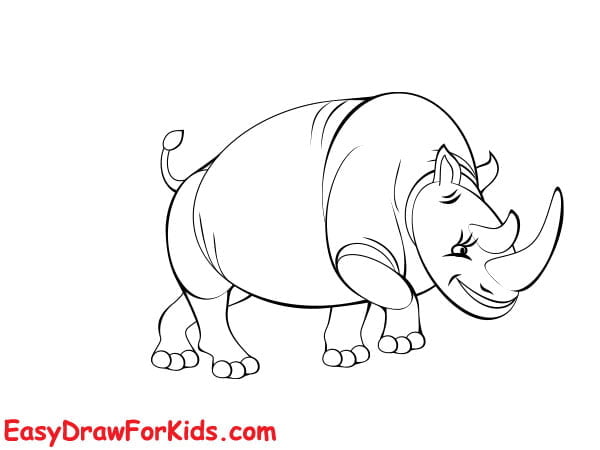
Step 6: Rhinoceroses are typically gray or brown, but you color your drawing by your style.

2. Realistic Rhinoceros Drawing
Step 1: Begin by sketching simple shapes to outline the body, head of the rhinoceros.
Step 2: The horn is one of the most recognizable features of a rhinoceros. Draw a horn protruding from the nose.
Step 3: Sketch the triangular for the rhinoceros’s ears on either side of the head.
Add details to the face by drawing two small circles near the top of the head for the eyes and a curved line for the mouth.
Step 4: Sketch the basic shapes of the rhinoceros’s legs
Step 5: Draw a curved line for the tail of a rhinoceros
Step 6: Add details to the rhinoceros’s body by lightly sketching the folds and wrinkles in their skin.
Step 7: Color your realistic rhinoceros drawing

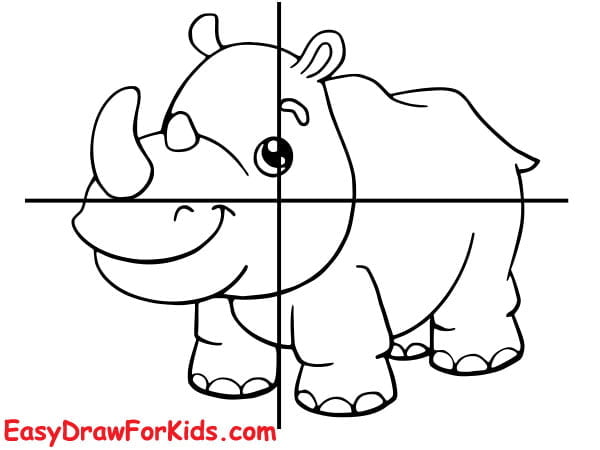
3. Cute Rhinoceros Drawing
Step 1: Start draw an ovalshape for the head of the rhinoceros.
In front of the head, draw a smaller oval shape for the snout.
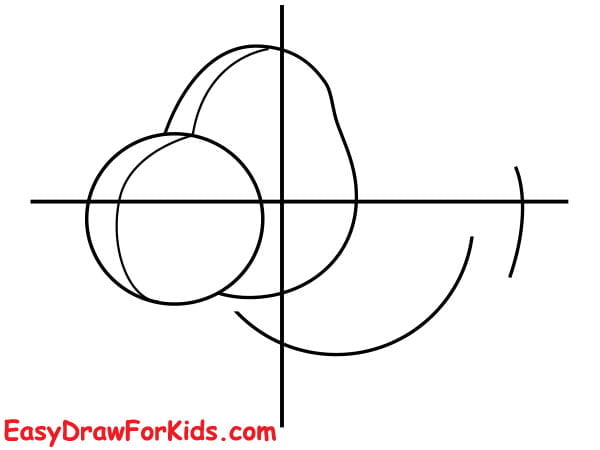
Step 2: Draw a curved line from the top of the head to the back of the body to create the rhinoceros’s back.
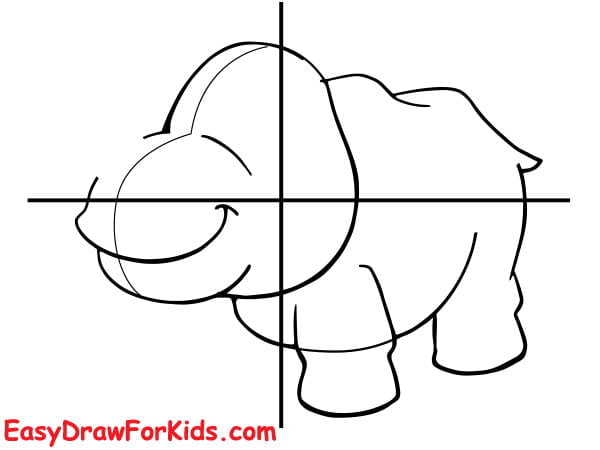
Step 3: Draw four short, angled lines for the legs.
Add a curved line from the top of the head for the rhinoceros’s horn.
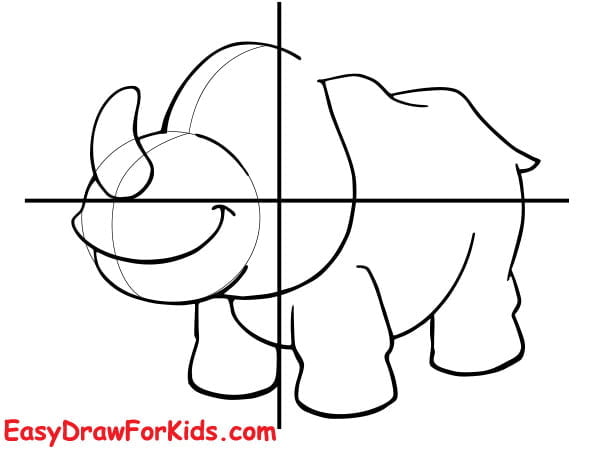
Step 4: Draw two circles for the eyes and smiling mouth.
Add two small, rounded ears on either side of the head, above the eyes.
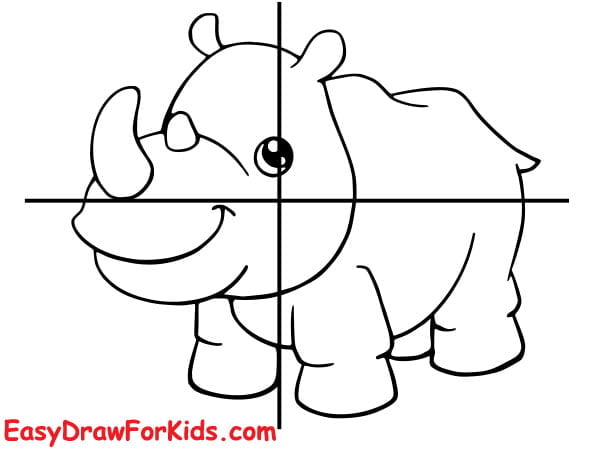
Step 5: Give the rhinoceros’s face some character by drawing small, rounded eyebrows above the eyes.
Step 6: Add some color to your drawing.

Following the step-by-step guide on how to draw a rhinoceros, you can bring the rhinoceros to life on paper.
Have fun with your cute and lovable artwork!


