Do you have a fascination for nature’s gentle creatures?
Are you looking to enhance your artistic skills.
You’ve come to the right place!
In this beginner’s guide, easydrawforkids.com will show you how to draw a snail with eight easy ways.
How To Draw A Snail – A Step By Step Guide
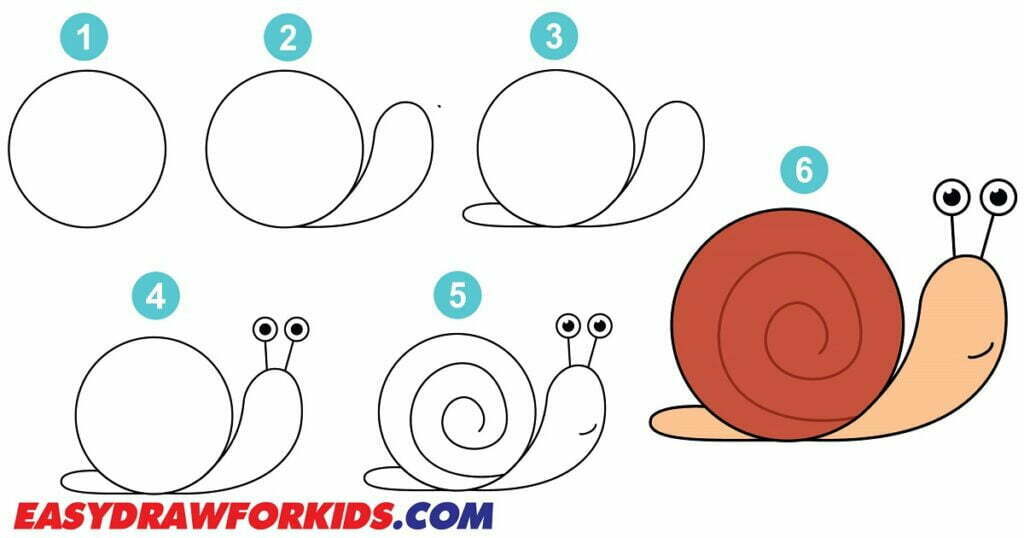
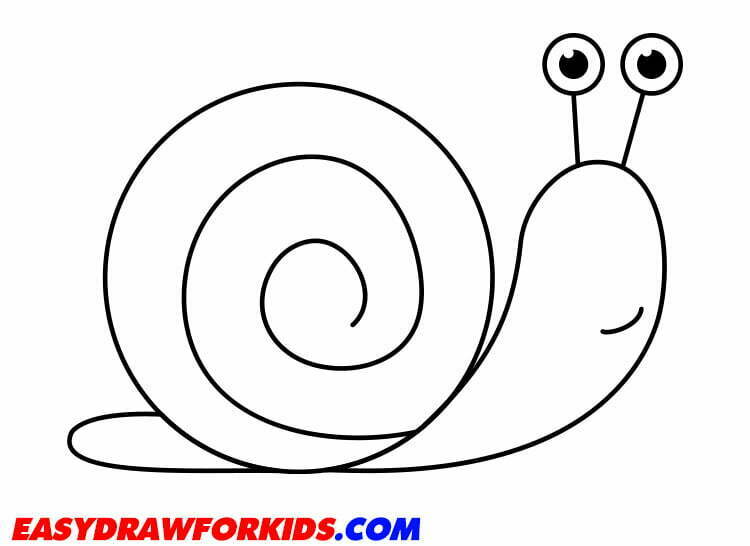
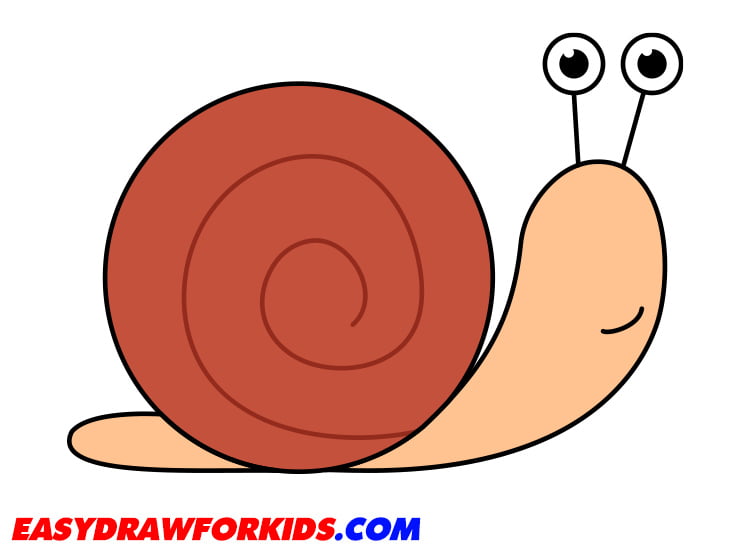
1. Cartoon Snail Drawing
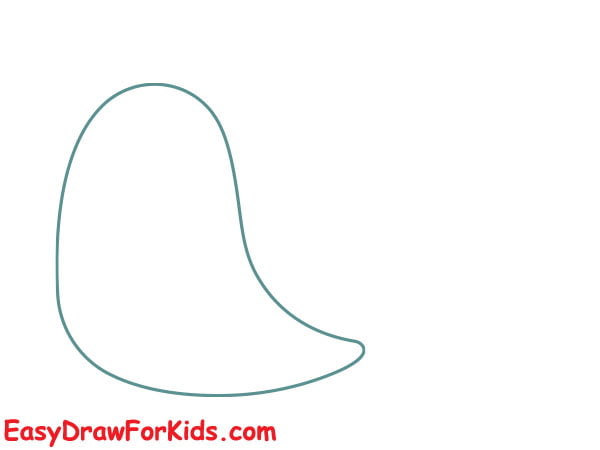
Step 1: Start, you draw a slightly curved vertical line to form the snail’s body.
Step 2: Now, draw a half circle on the back of the snail for the snail shell

Step 3: On the snail’s head, draw two small circles for the eyes.

Step 4: Extend a short curved line from the bottom of the snail’s body, creating its foot.

Step 5: Add additional details to the snail.
Step 6: Snails come in a variety of colors, so you can choose any combination you like for the shell and body.
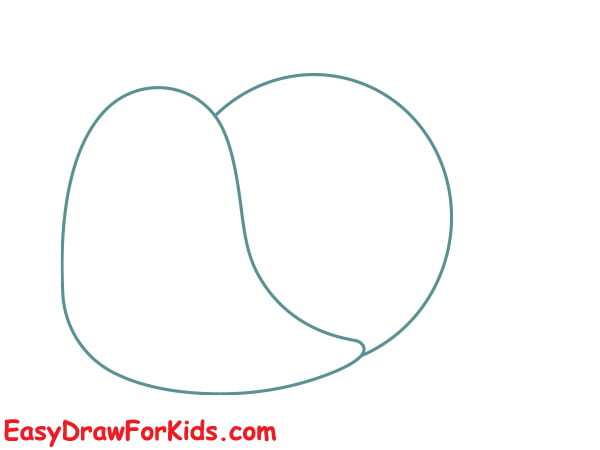
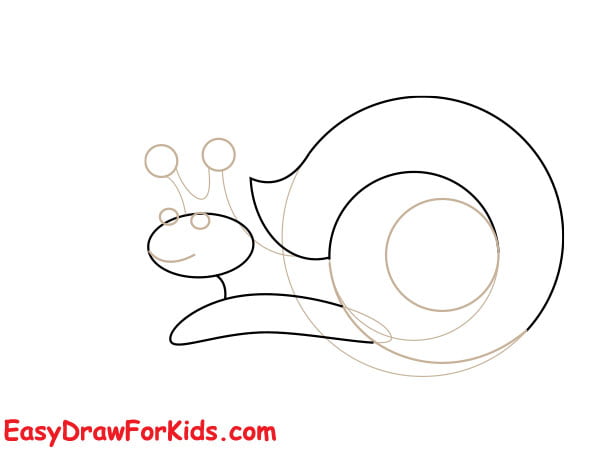
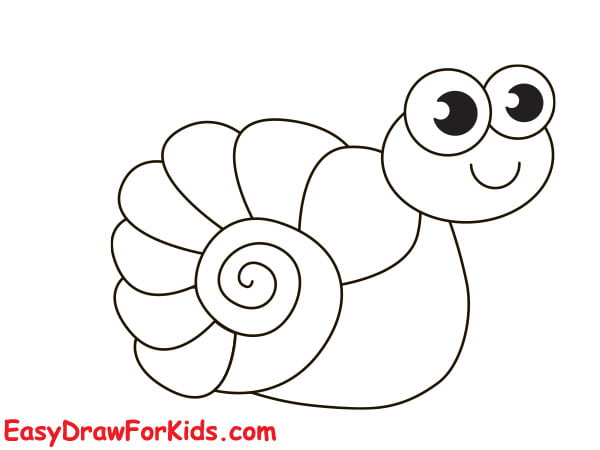
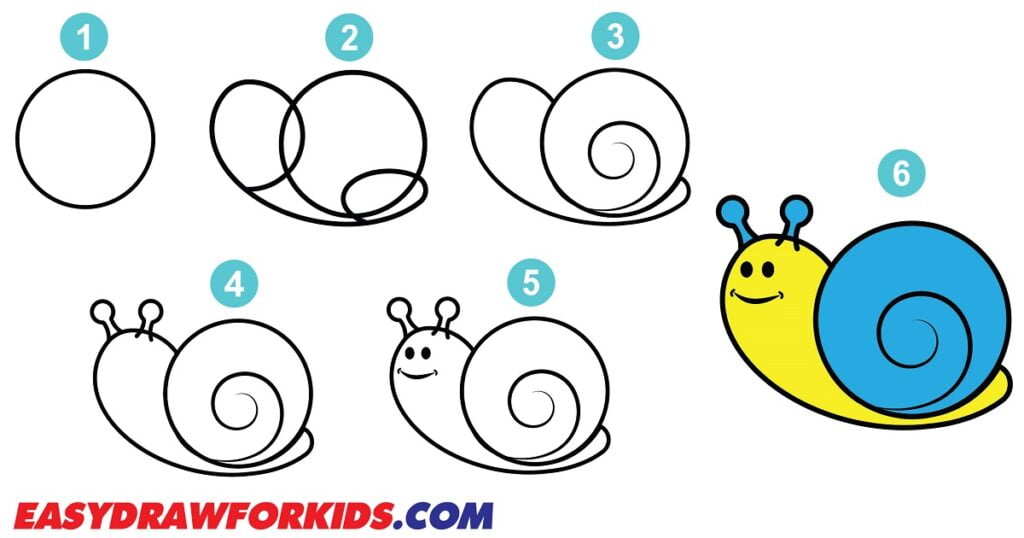
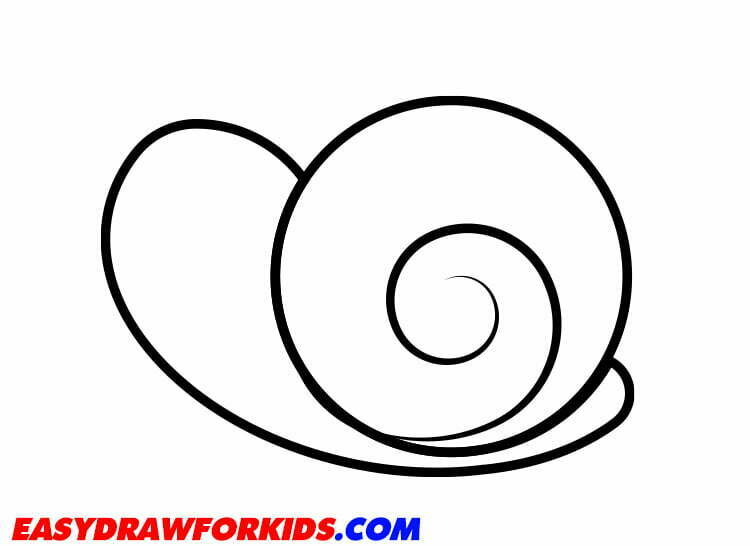
2. Cute Snail Drawing
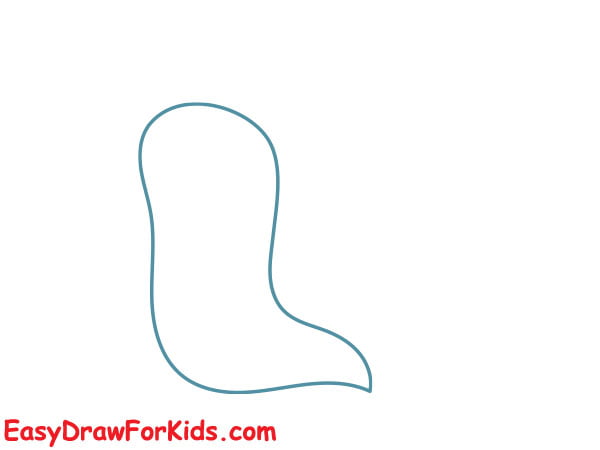
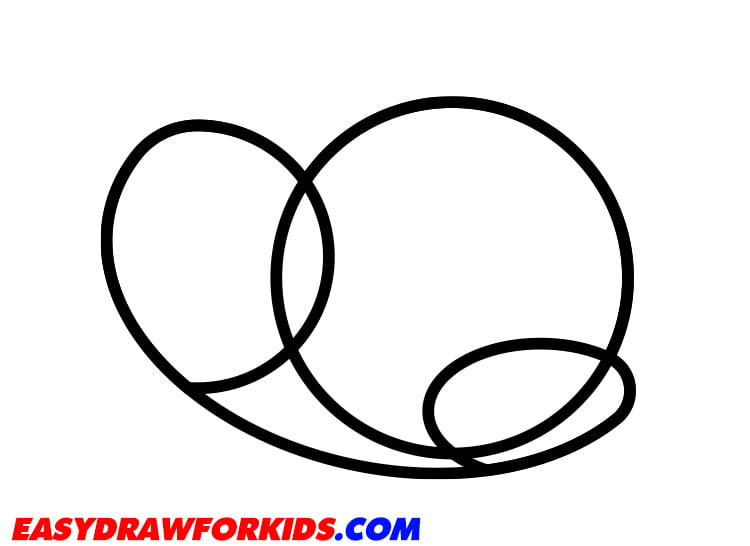
Step 1: Draw a larger, fatter oval below to form the snail’s body.
Step 2: Now, you draw a screw curve starting from the closest end of the screw body to the furthest point to create the shell shape.
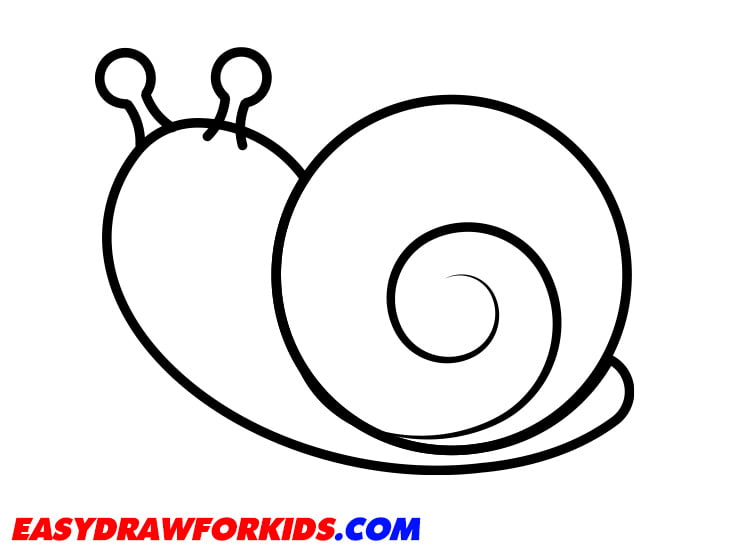
Step 3: Next, draw two more curved lines above the head to shape the soft horns, which will be where the snail’s eyes will be.
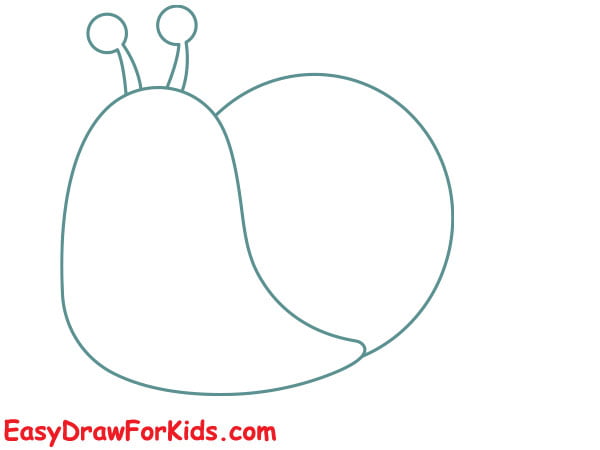
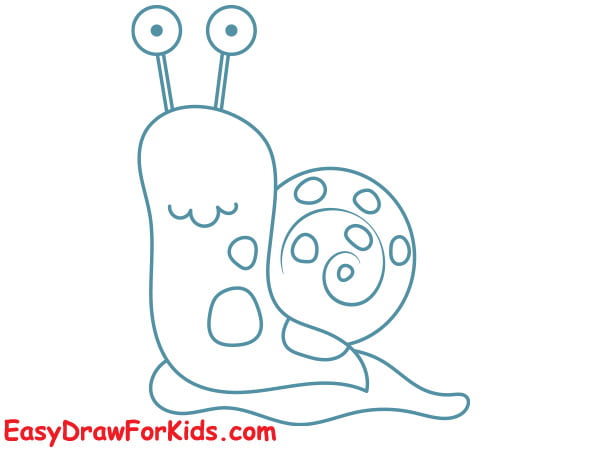
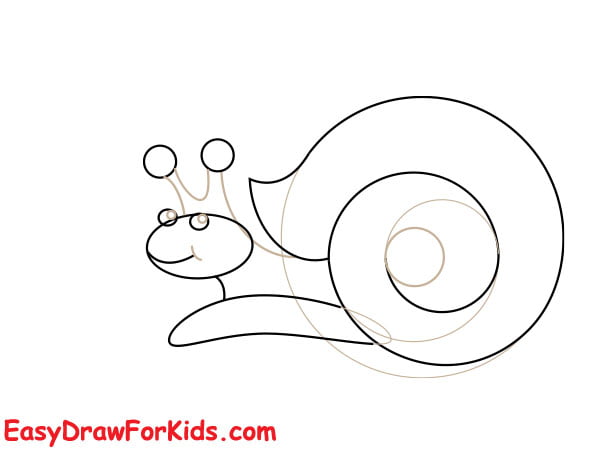
Step 4: Draw a circular spiral that gets wider and wider to create a unique snail shell shape.
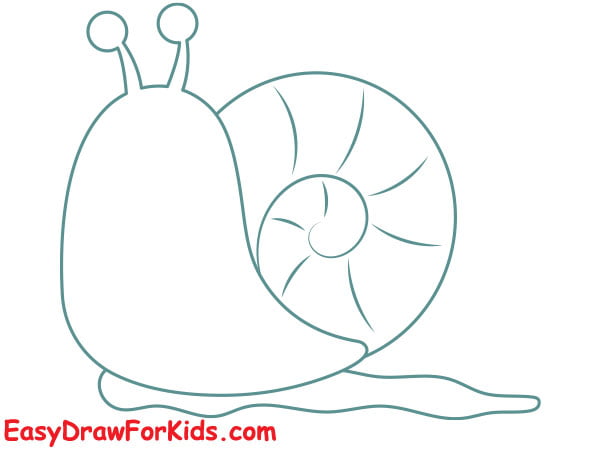
Step 5: Draw two large circles at the tip of each horn, which will be the eyes.
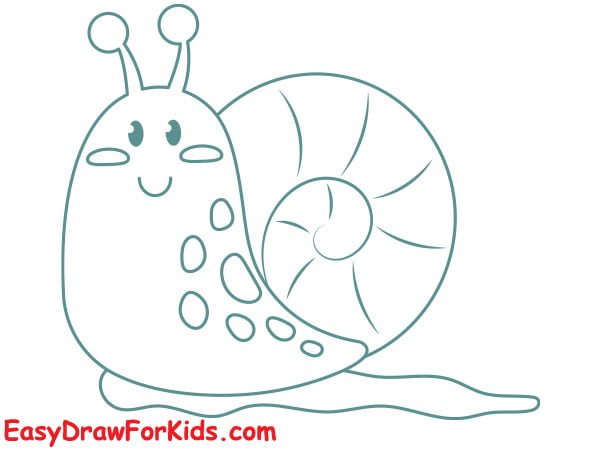
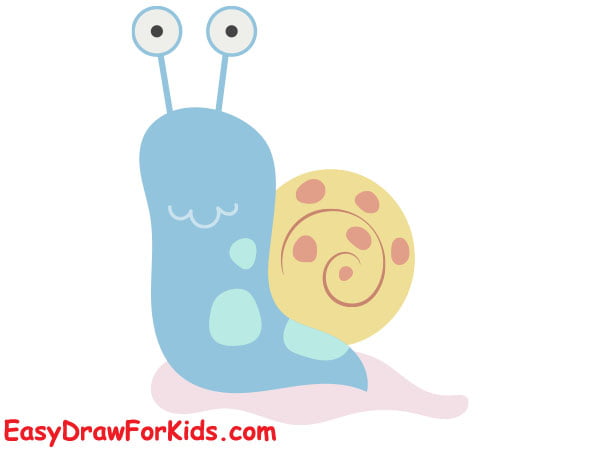
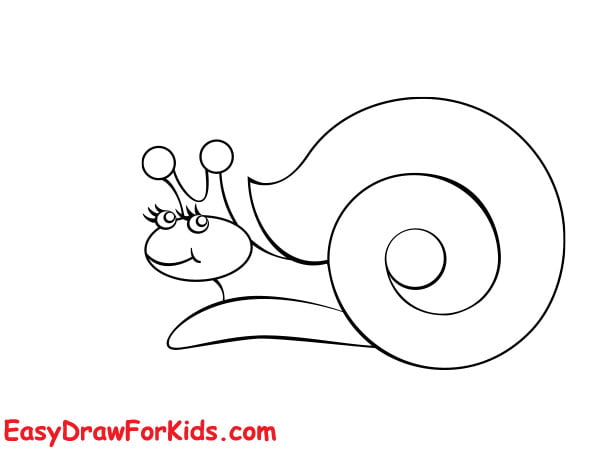
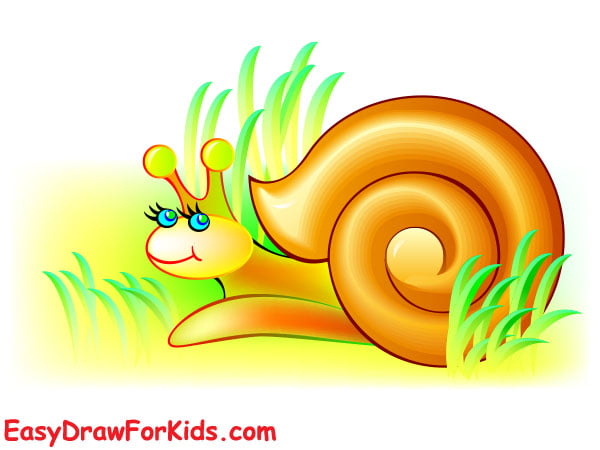
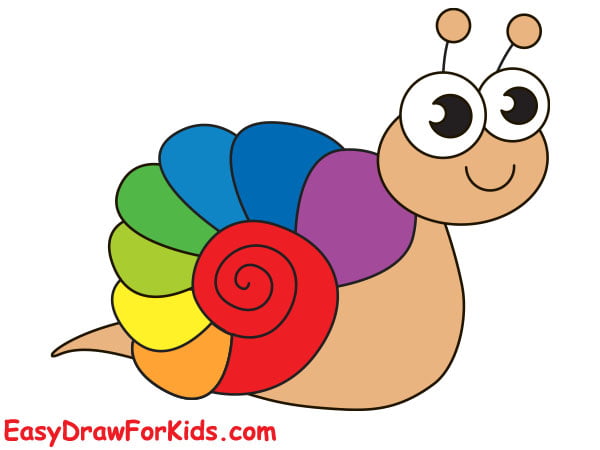
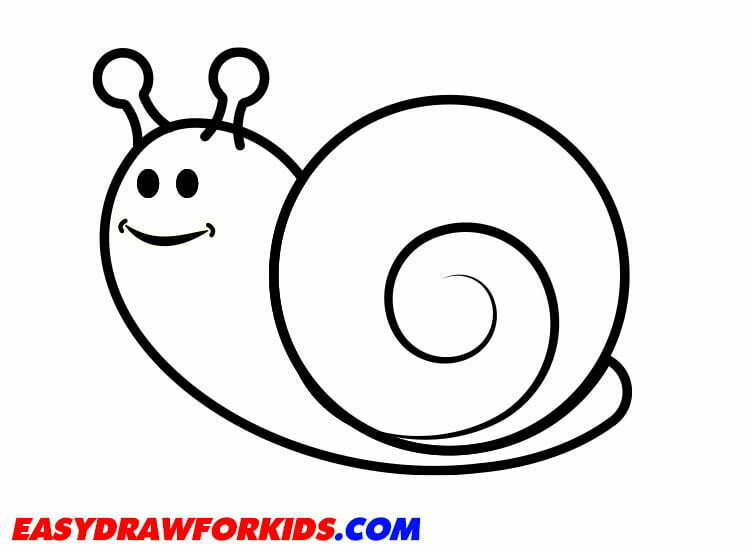
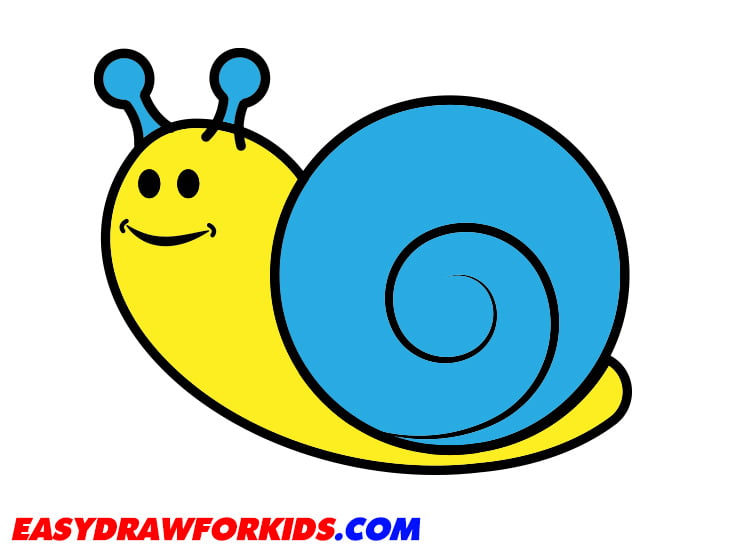
Step 6: After you finish drawing the sketch, you can start coloring your snail.
Use bright summer colors like blue, pink, and yellow to accentuate the cuteness.

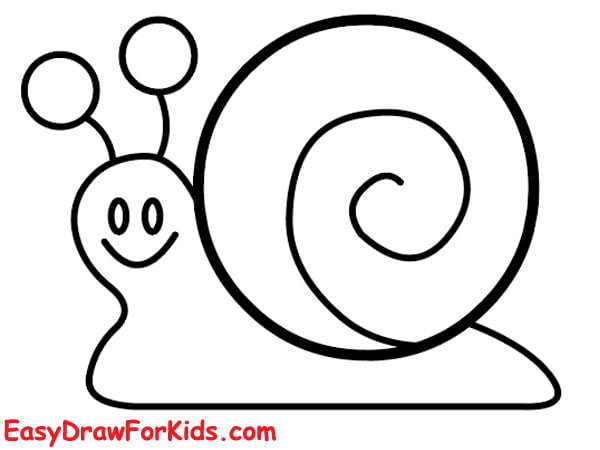
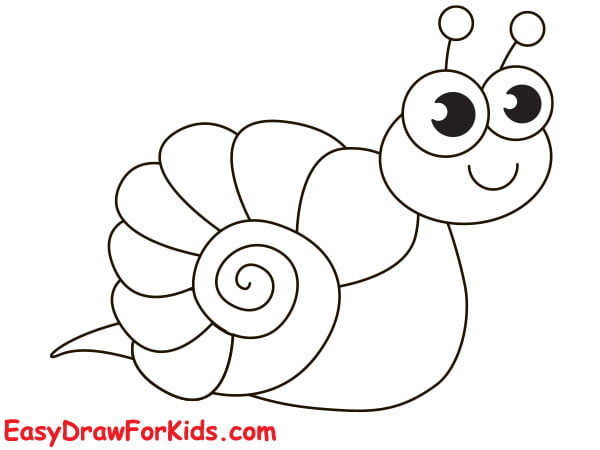
3. Easy Snail Drawing
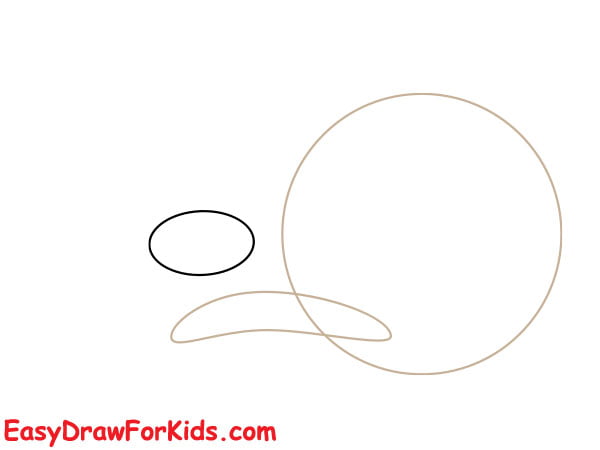
Step 1: First, you draw a circle for the shell
Step 2: Draw the body below the shell
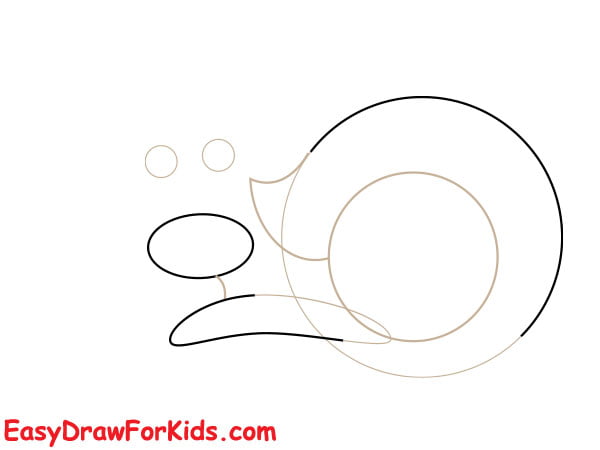
Step 3: On the snail’s head, draw two small circles for the eyes and a smiley mouth below the eyes by drawing a curved line.
Step 4: Adding the soft horns on the top of the head
Step 5: Creates the snail’s spiral-shaped shell.
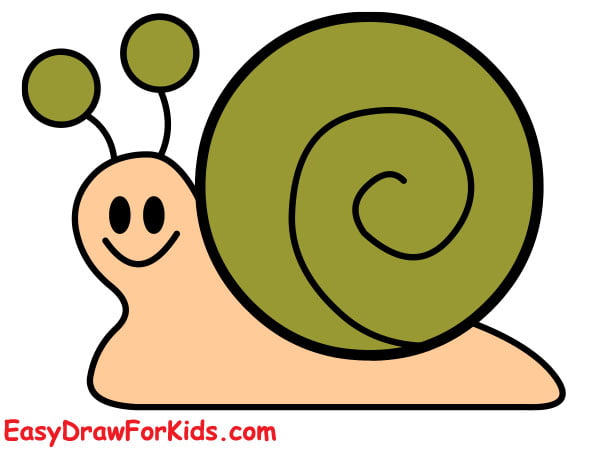
Step 6: Add color to your drawing.
4. Realistic Snail Drawing
Step 1: Sketching the basic shape of the snail
Step 2: Adding details to the shell
Step 3: Drawing the snail’s body and head
Step 4: Creating the snail’s eyes and tentacles
Step 5: Erase any unnecessary guidelines and refine the outline of the snail.
Step 6: Adding some natural elements, such as leaves or rocks, around the snail.
5. Simple Snail Drawing
Step 1: Begin, you draw a circle
Step 2: Next, draw a curved line that follow the spiral shape.
Step 3: Extend a soft curve from one side of the head down and back, creating the characteristic shape of the snail’s body.

Step 4: Draw two symmetrical shapes on the snail’s head to create the tentacles.
Step 5: Creating the snail’s facial

Step 6: Add additional details to the shell.

Step 7: Add details to the foot.

Step 8: Adding color to your simple snail drawing
6. Snail Color Drawing
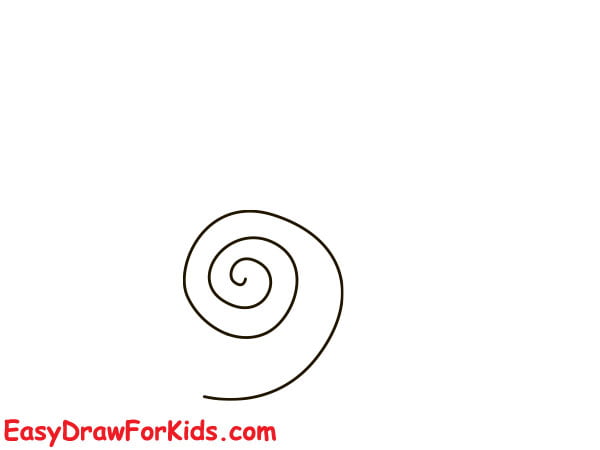
Step 1: Begin this method by drawing a spiral, as shown in the picture
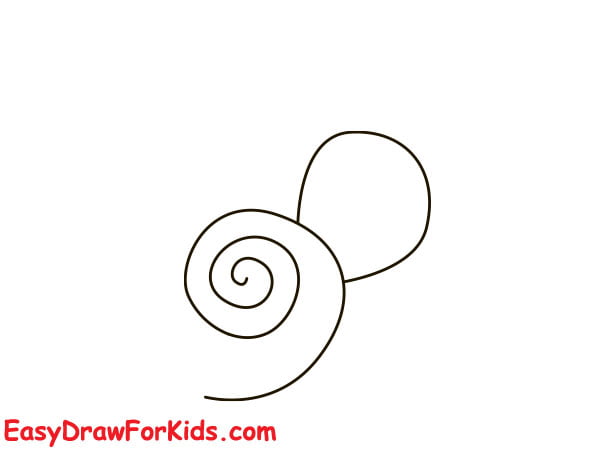
Step 2: Draw a curved line on the top of the spiral
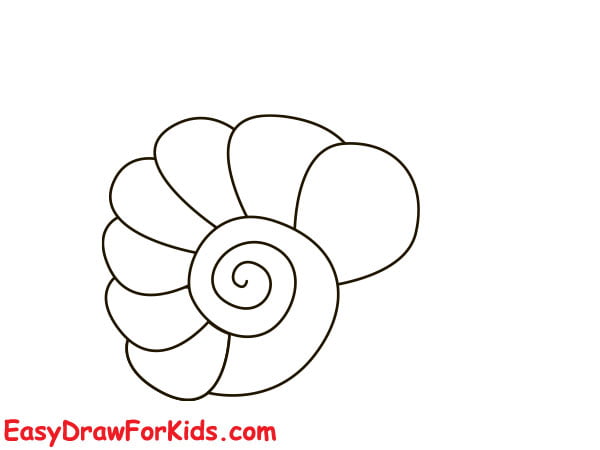
Step 3: Draw a series curved lines overlap each other to complete the snail’s shell.
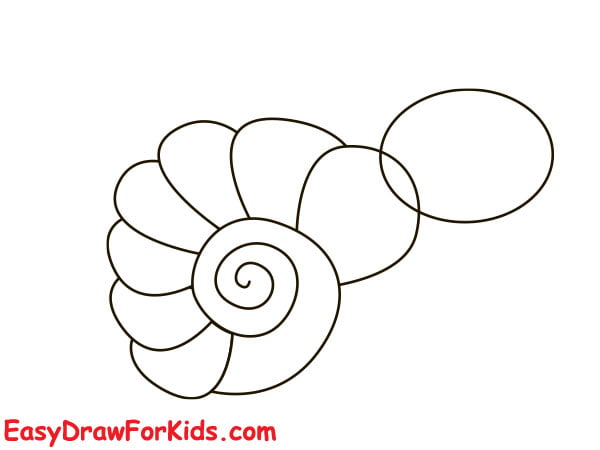
Step 4: Now, draw an oval shape as shown in the picture for the head
Step 5: Creating the snail’s face
Step 6: Drawing the snail’s body and tail

Step 7: Creating the snail’s tentacles
Step 8: Coloring
7. Another Cartoon Snail Drawing
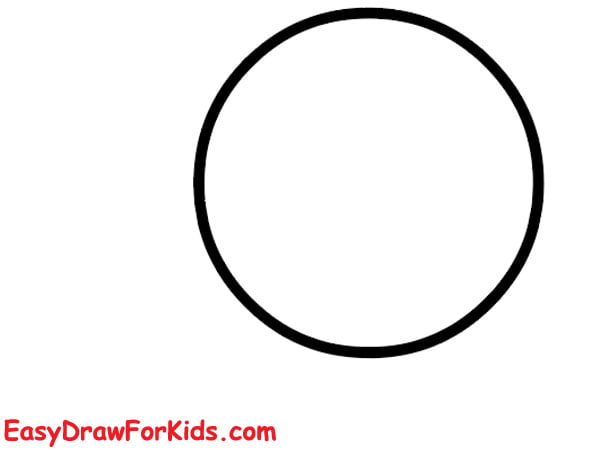
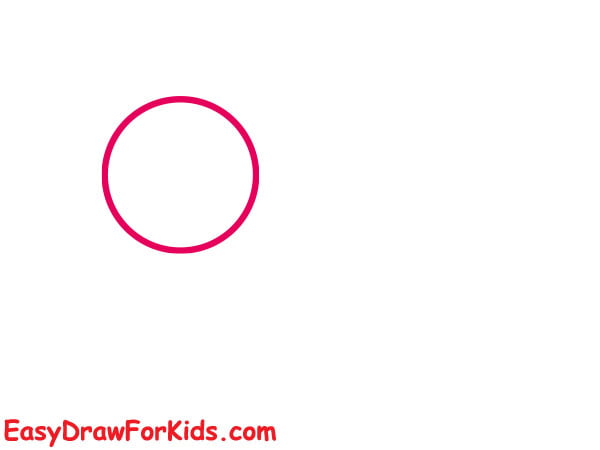
Step 1: In this first step in this guide on how to draw a snail is drawing a large circle.
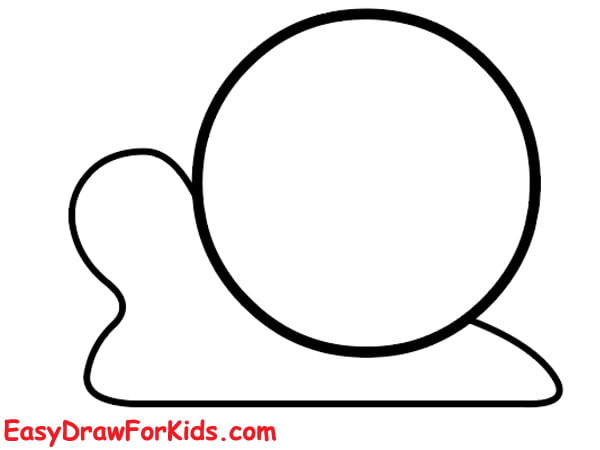
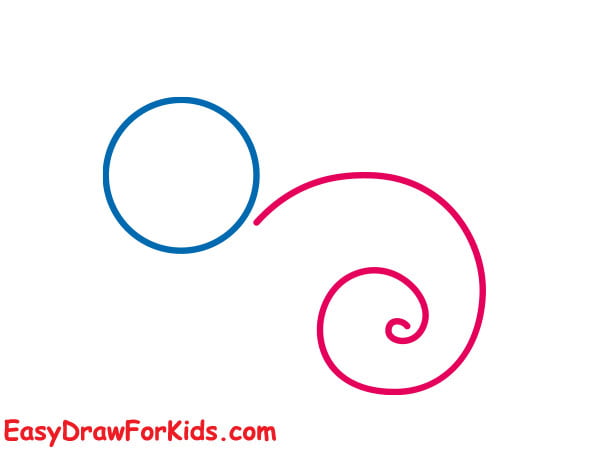
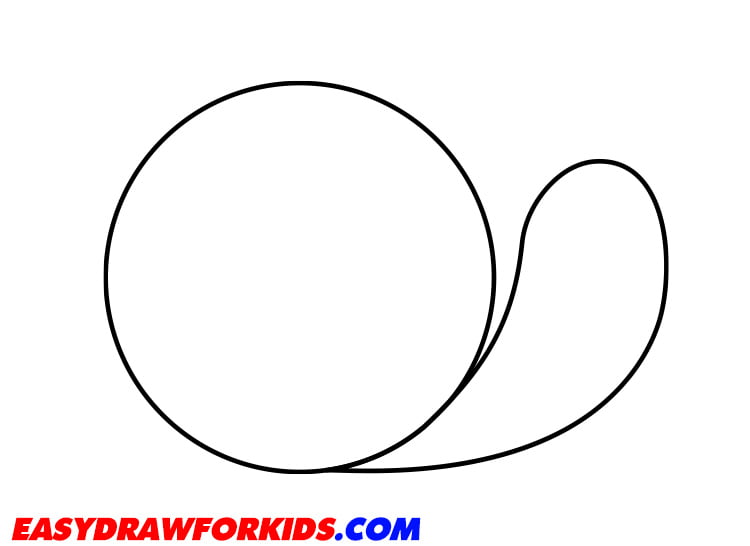
Step 2: Draw the snail head by using one rounded line, as shown in the picture.
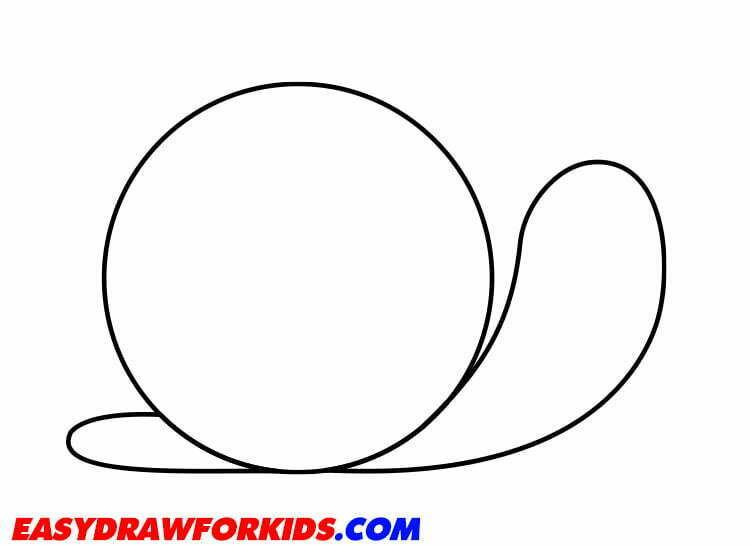
Step 3: Sketch out the lower body of the snail
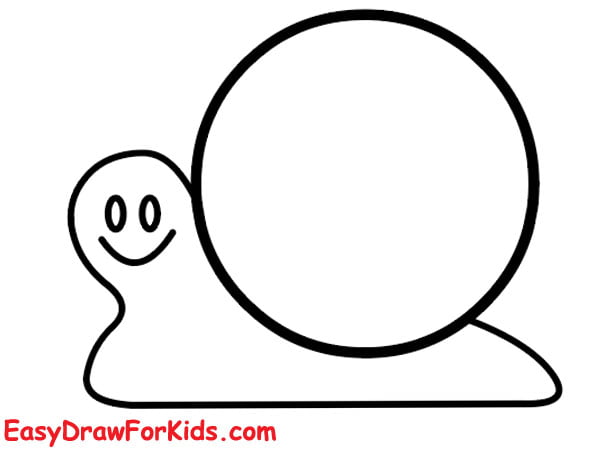
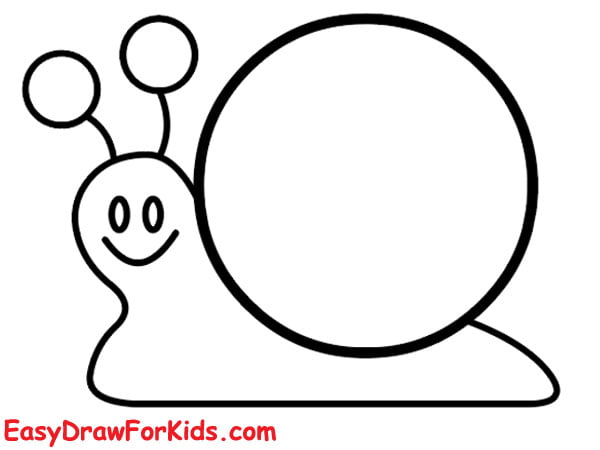
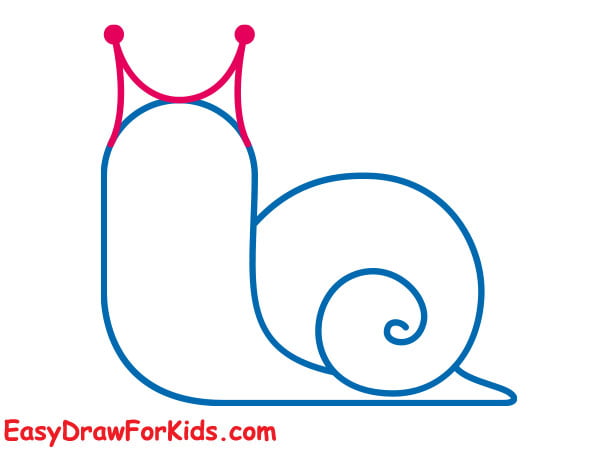
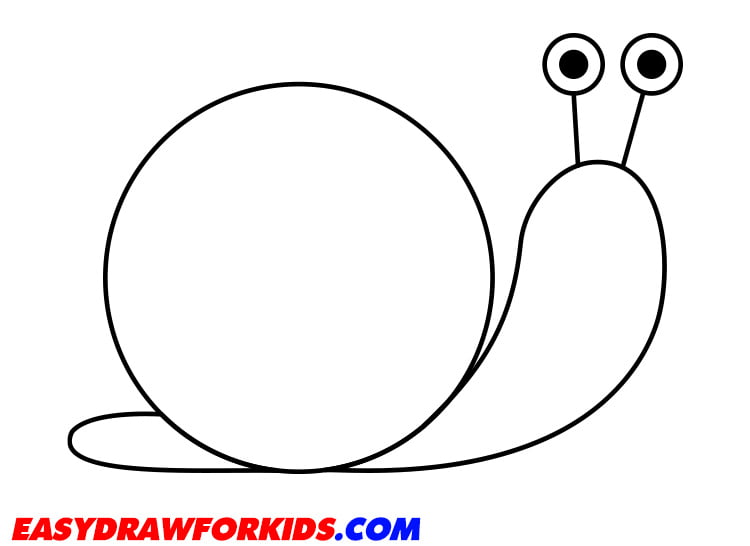
Step 4: Adding Tentacles and Eyes
Carefully draw these tentacles protruding from the snail’s head, ensuring they curve gracefully.
Place small dots at the end of the upper tentacles to depict the eyes.
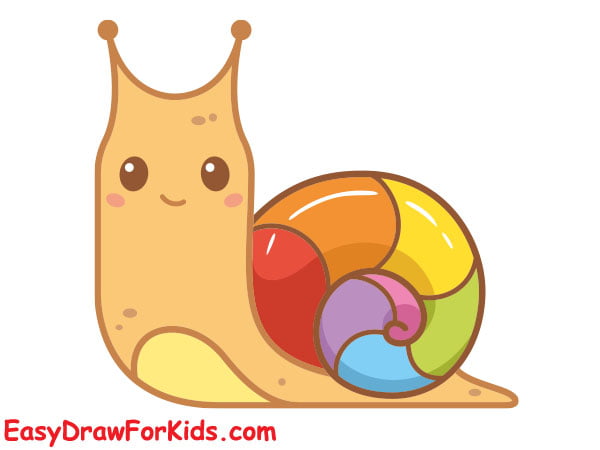
Step 5: Add spiral lines that radiate outwards and follow the contour of the shell, gradually increasing in size as they approach the outer edge.
Step 6: Color your snail drawing
8. Basic Snail Drawing Easy
Step 1: Draw a large circle at the center of the paper for the snail’s shell

Step 2: Depict the Snail’s Body
Step 3: Sketch out the inside of the Snail’s Shell
Step 4: Depict the Horns of the Snail
Step 5: Draw two small dots for the eyes and a curve line for the smiling mouth
Step 6: Color the Picture
The last step of the lesson about how to draw a snail is coloring your drawing.
You can coloring as shown the picture or by your style
Congratulations! You successfully learned how to draw a snail from scratch.
Keep drawing, exploring, and expressing yourself through art!


