Do you need help with drawing a realistic strawberry?
Fear not—this tutorial will provide you with a comprehensive guide on how to draw a strawberry.
You can create a beautiful, lifelike strawberry drawing by following five ways.
How To Draw A Strawberry – A Step By Step Guide
1. Easy Strawberry Drawing
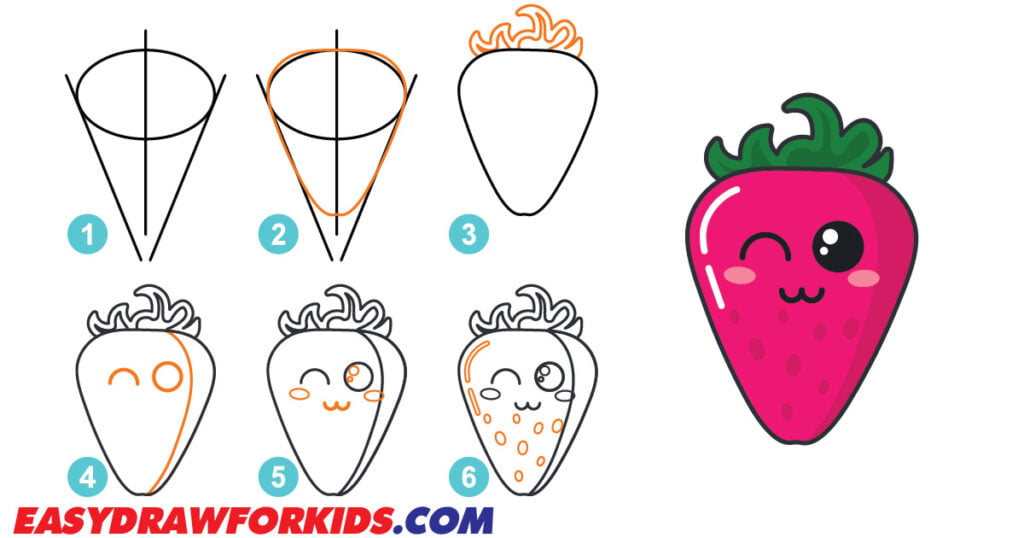
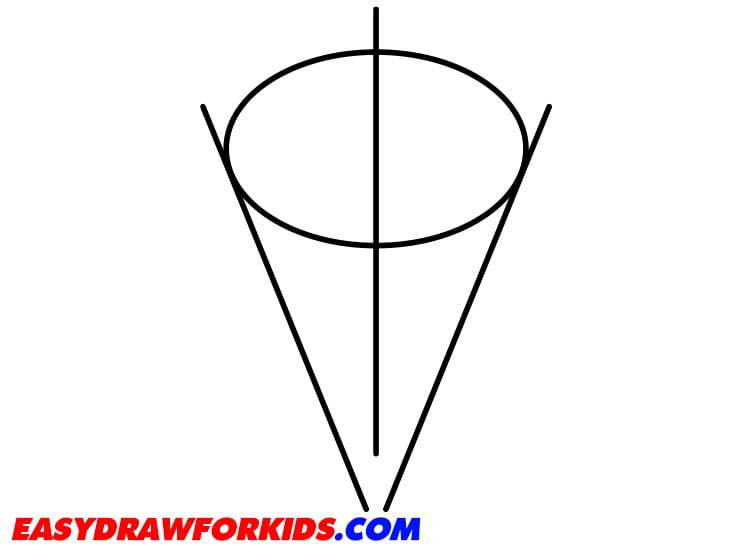
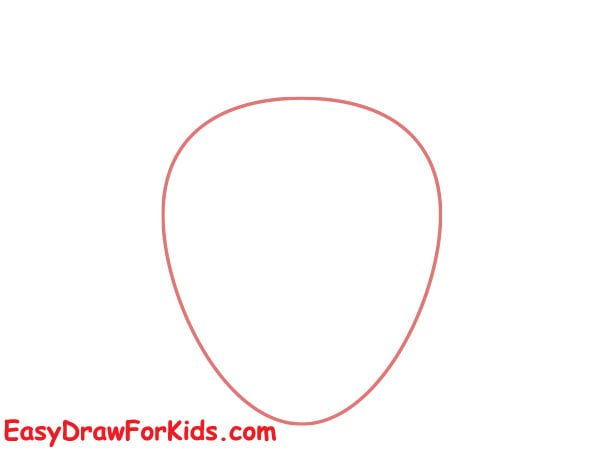
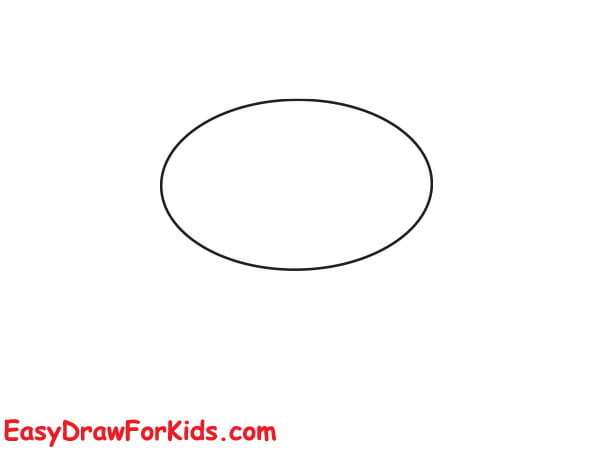
Step 1: Draw a line of symmetry
Lightly sketch an oval shape to outline the basic form of the strawberry.
Then draw a vertical line to establish the center.
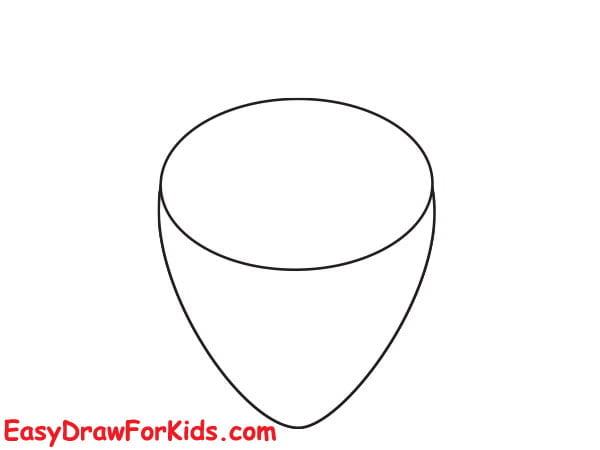
From the side of oval shape, draw two diagonal lines that extend outward and downward as shown the picture
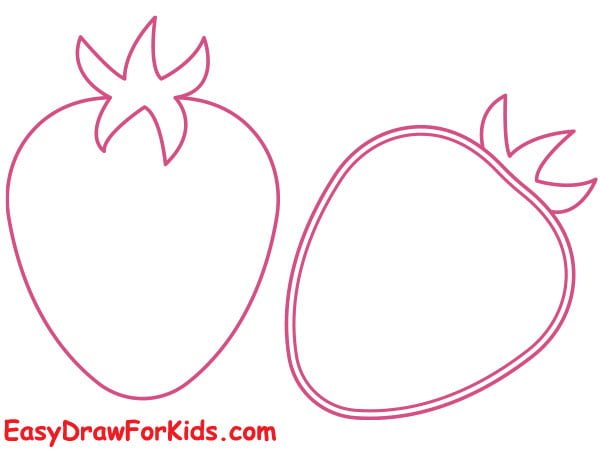
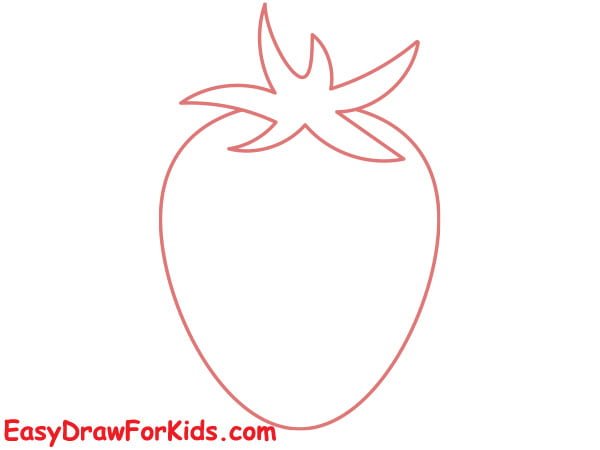
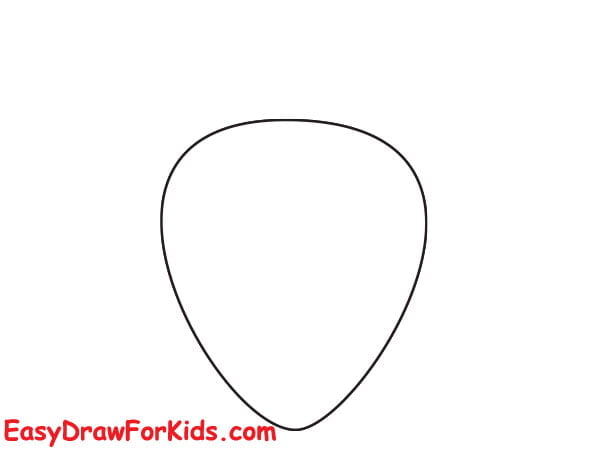
Step 3: Draw a large teardrop shape for the strawberry’s basic shape. Outline the shape, then erase guidelines as needed.
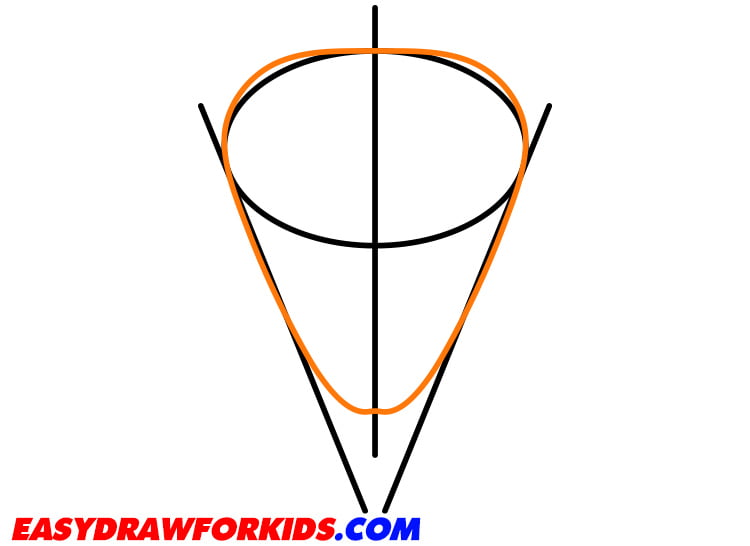
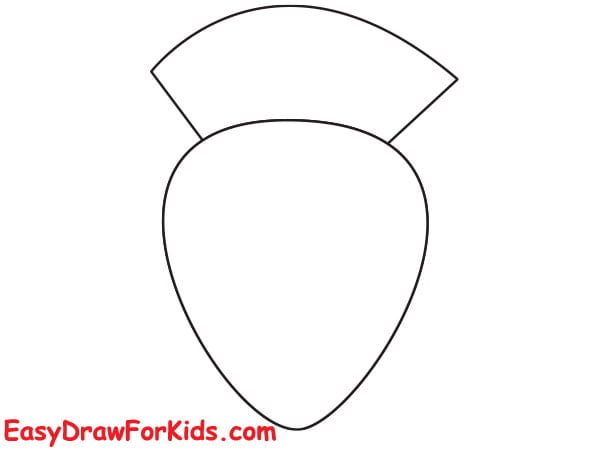
Step 3: Use longer strokes for the larger leaves and shorter strokes for the smaller ones to capture their intricate details.

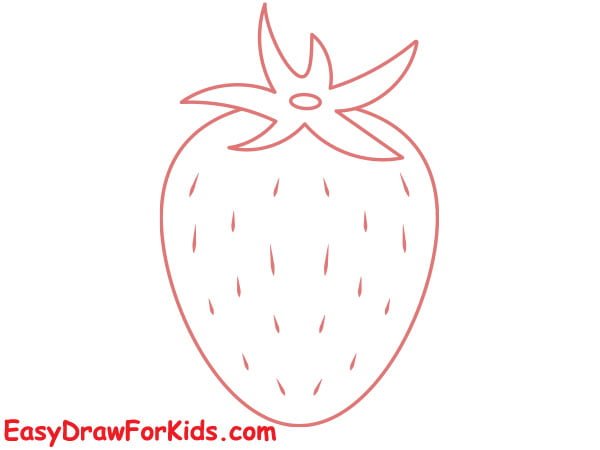
Step 4: Defining the contours
With the basic shape in place, it’s time to add more details and define the contours of the strawberry.
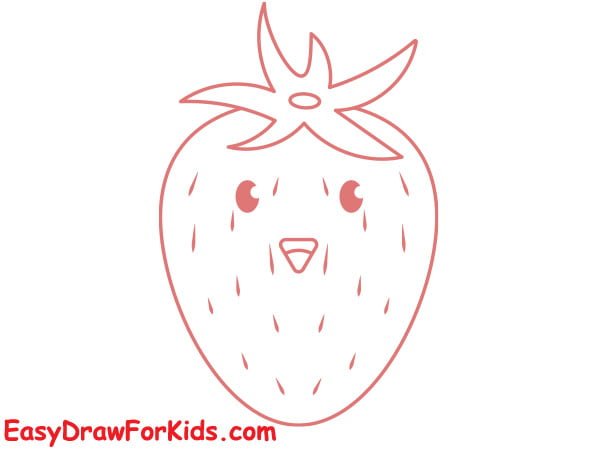
Draw a circle and half-circle below the leaf for the eyes.

Step 5: Add the facial features
Draw two small circle inside the eye for the pupil
Underneath each eye, draw two oval shapes to give it rosy cheeks.
Then add an upside-down m-shaped for the smiling mouth

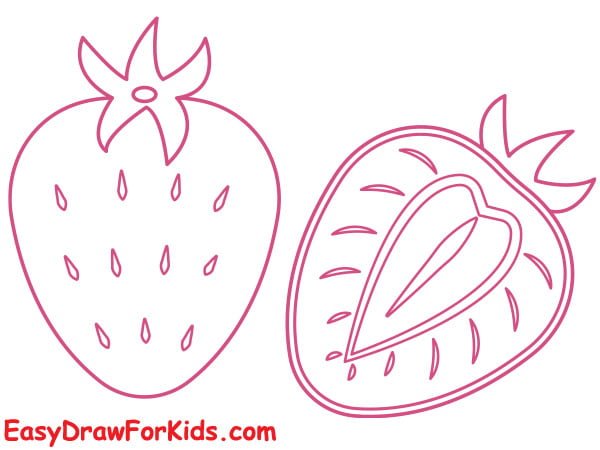
Step 6: Inside the strawberry, draw small, curved lines that extend from the top to the bottom to represent the seed.

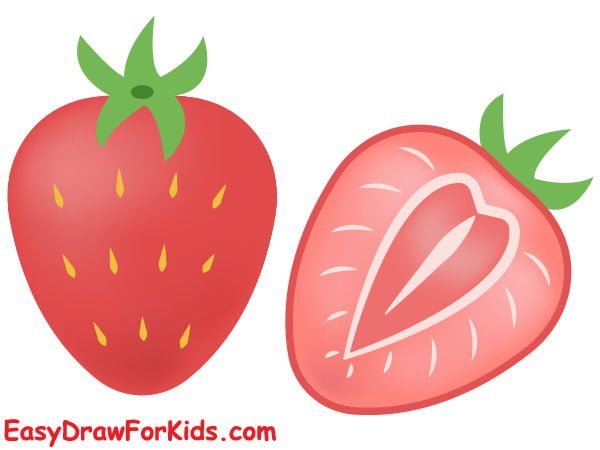
Step 7: The last step of the lesson about how to draw a strawberry is coloring your drawing.

2. Strawberry Slices Drawing
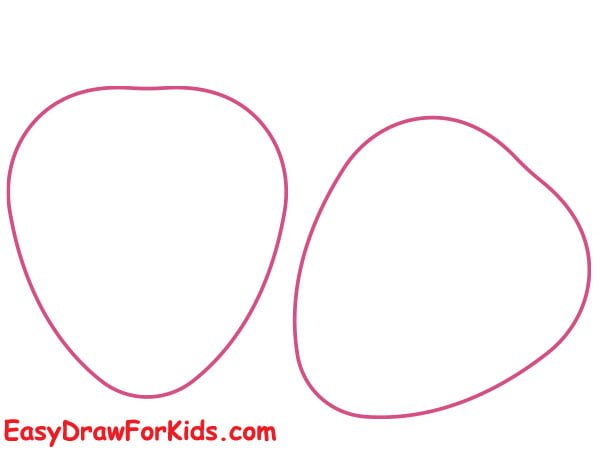
Step 1: Draw two elongated oval shapes.
Step 2: Draw a smaller oval shape inside it to form the outline of the strawberry slice.

Step 3: Add a few small, curved lines at the top to create the calyx
Step 4: Add texture to the strawberry slice by drawing curved line across its surface.
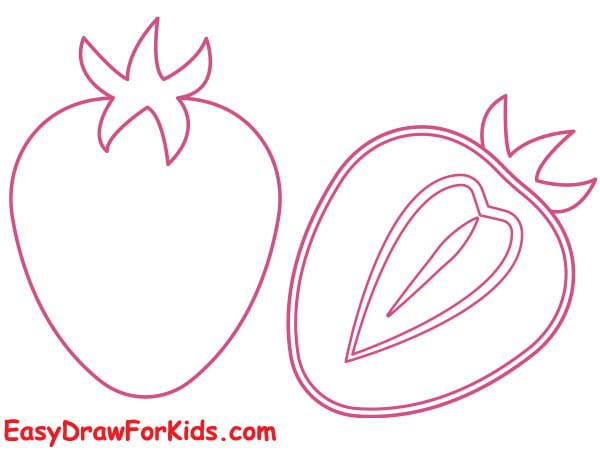
Step 5: Draw small, curved lines near the cut section of the slice to represent the seeds.
Step 6: Add shading or color to your drawing.
3. Cartoon Strawberry Drawing
Step 1: Draw a slightly elongated oval shape for the main body of the strawberry.
Step 2: Add a couple of small, curved lines near the top of the strawberry to create the leafy part.
Step 3: Add small, curved lines across the body to form the seeds.
Step 4: Draw the face to the cartoon strawberry drawing
Step 5: Strawberries are typically red, so you can use a vibrant red color for the body.

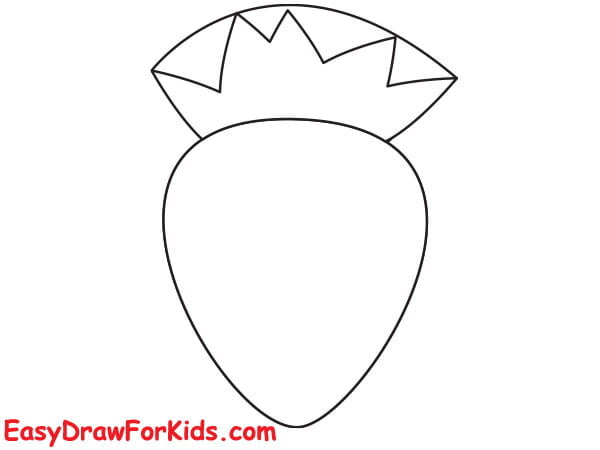
4. Simple Strawberry Drawing
Step 1: Draw a horizontal oval shape
Step 2: Draw an elongated curved line below the oval shape
Step 3: Erase any unnecessary lines to complete the main body of the strawberry.
Step 4: On the top, outline an oval shape
Step 5: Inside the oval shape, add small, curved lines to form the leafy part
Step 6: Erase any unnecessary lines
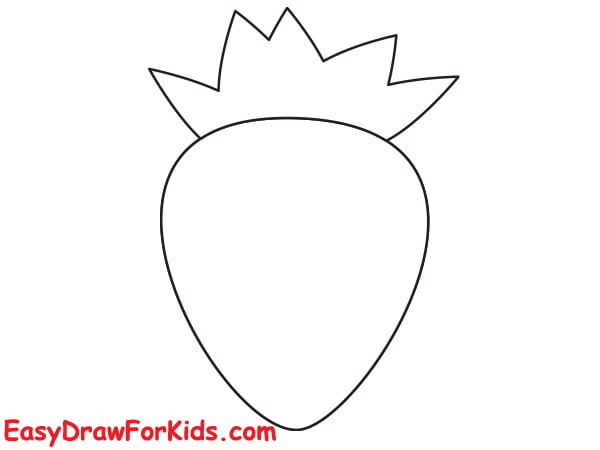
Step 7: Draw small oval shapes across the body of the strawberry to create the seeds.
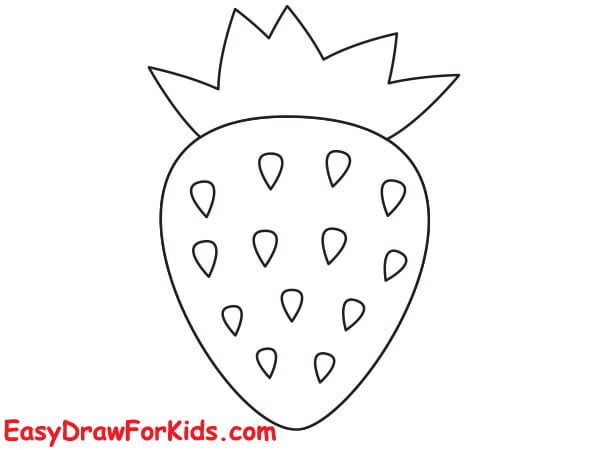
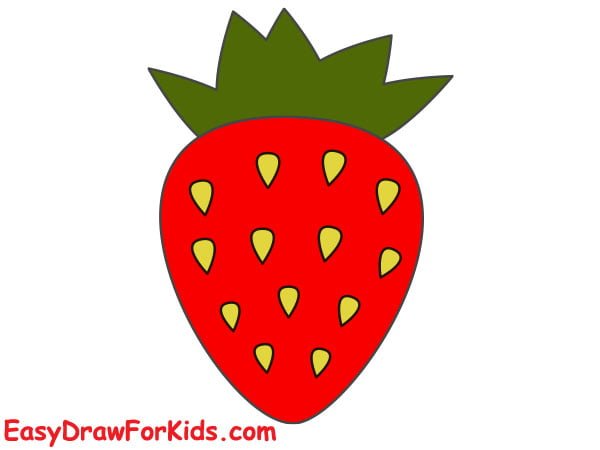
Step 8: Now you complete this guide how to draw a strawberry, it’s time to color it!
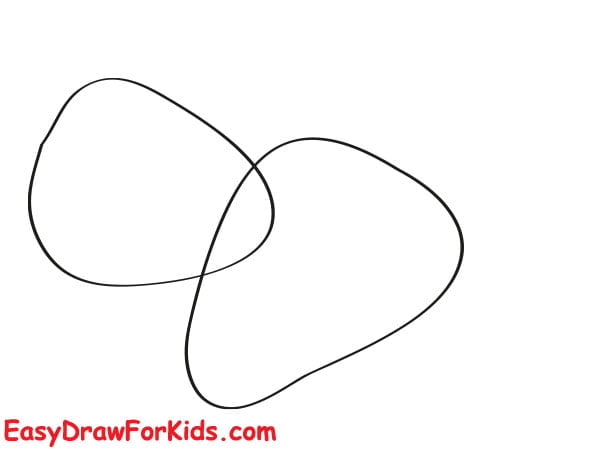
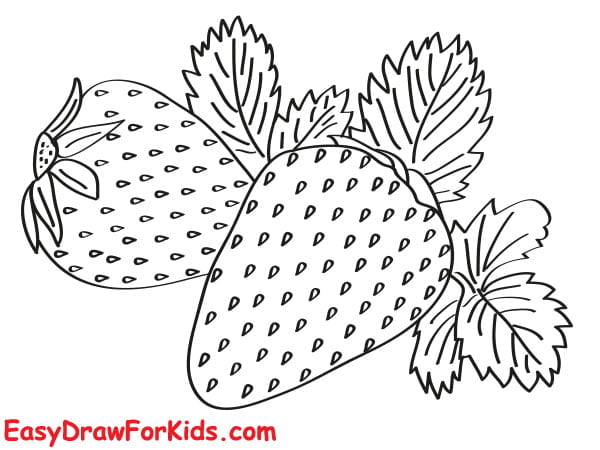
5. Realistic Strawberry Drawing
Step 1: Draw two slightly elongated oval shape.
Step 2: Outlining the leaf on the top of the strawberry
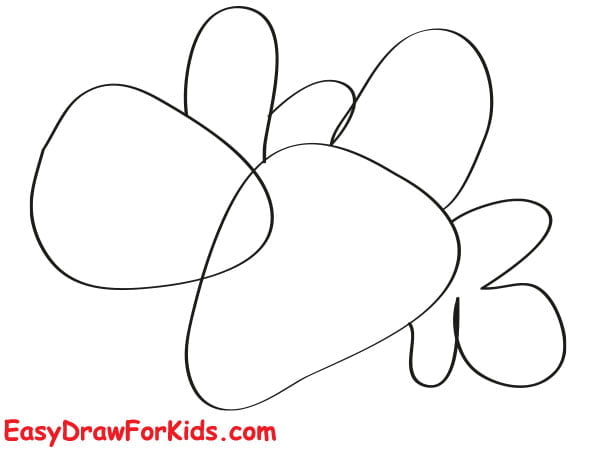
Step 3: Draw some wavy line on the top to form the leaf
Step 4: Add a small, curved stem at the top of the strawberry.
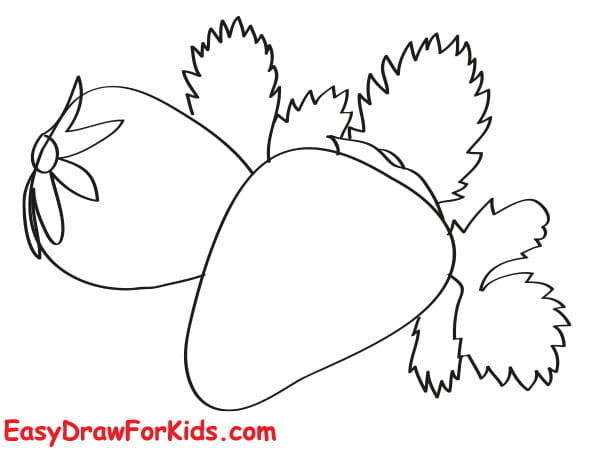
Step 5: Add texture to the strawberry by drawing tiny, irregular shapes all over the body.
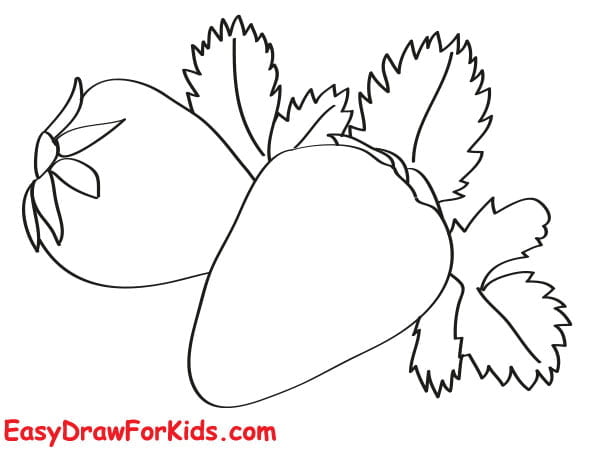
Now you know how to draw a strawberry!
Start with the basics, add fine details, and enjoy watching your strawberry drawing skills progress.
Before long, you’ll naturally draw strawberries that look good enough to eat!


