Are you looking to express your unique style and create personalized t-shirts?
In this beginner’s guide, easydrawforkids.com will show you how to draw a t-shirt in easy steps with two styles.
How To Draw A T-Shirt – A Step By Step Guide
1. Easy T-shirt Drawing
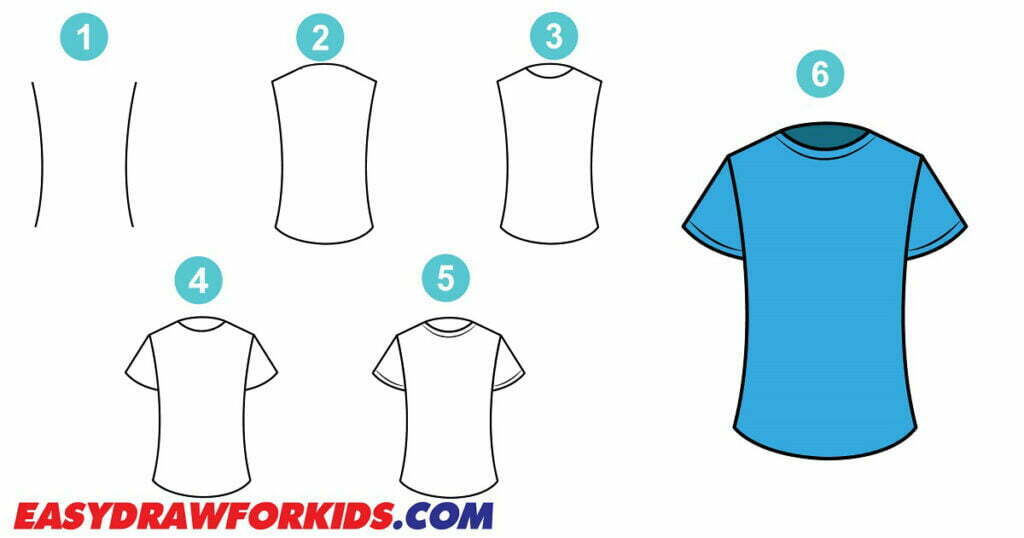
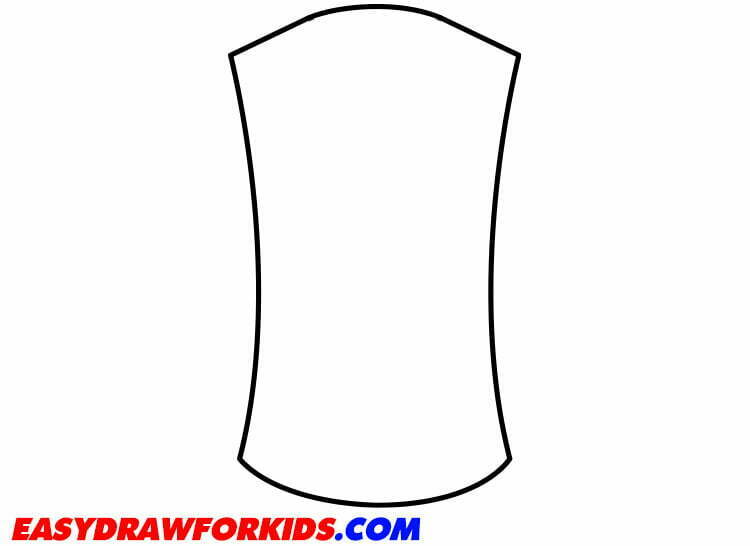
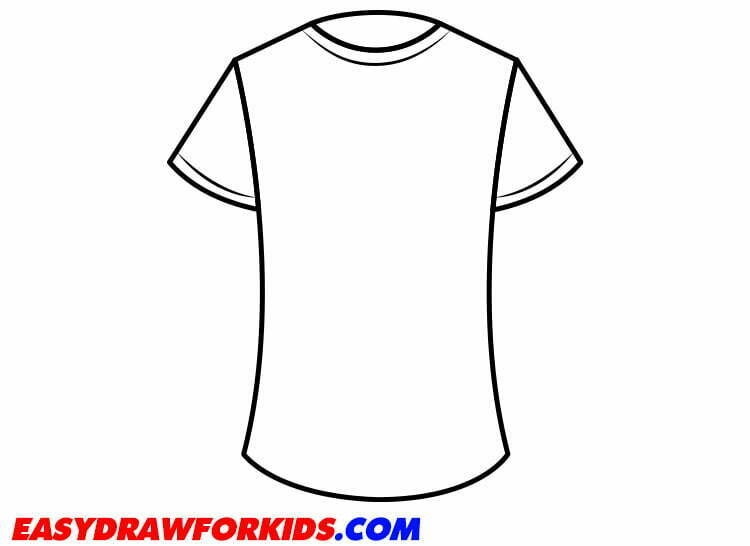
Step 1: Begin by outlining the main body of the t-shirt.
Using two smooth parallel curves starting with two sides.

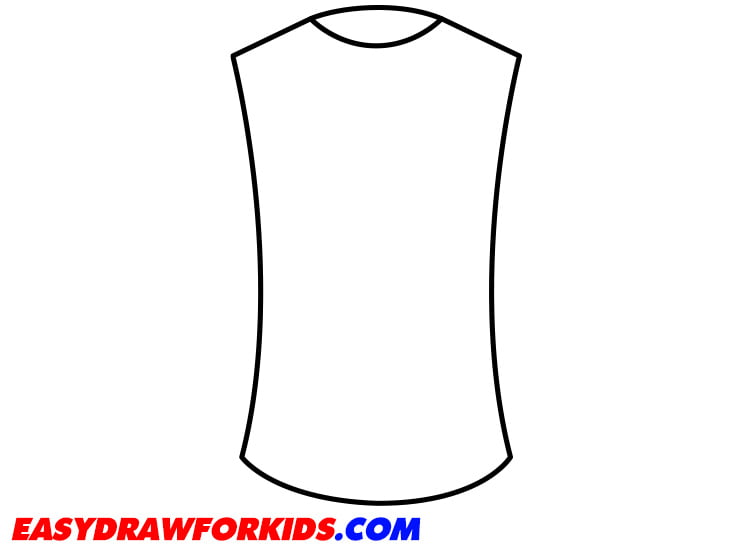
Step 2: Now, you draw a curve line for the shoulders and neck.
At the bottom, draw a horizontal line connecting them to complete the bottom of the t-shirt.
Step 3: Depict the Collar of T-shirt
The third step of this guide on how to draw a t-shirt will forcus the collar of t-shirt
On the top part of the horizontal line, draw a curved line on each side to create the neck opening of the t-shirt.
These lines should curve inward slightly towards the center.
Step 4: From the outer corners of the neck opening, draw two short vertical lines downward to form the edges of the t-shirt’s sleeves.
Connect the bottom ends of the vertical lines to the curved lines of the t-shirt’s sides using slightly curved lines.

Step 5: Finally, draw the inner sides of the sleeves and collar with very light curves.
Step 6: The sixth step of this guide on how to draw a t-shirt will color the t-shirt
The t-shirt will be mainly blue with a few dark blue a long the neck.

2. Simple T-shirt Drawing

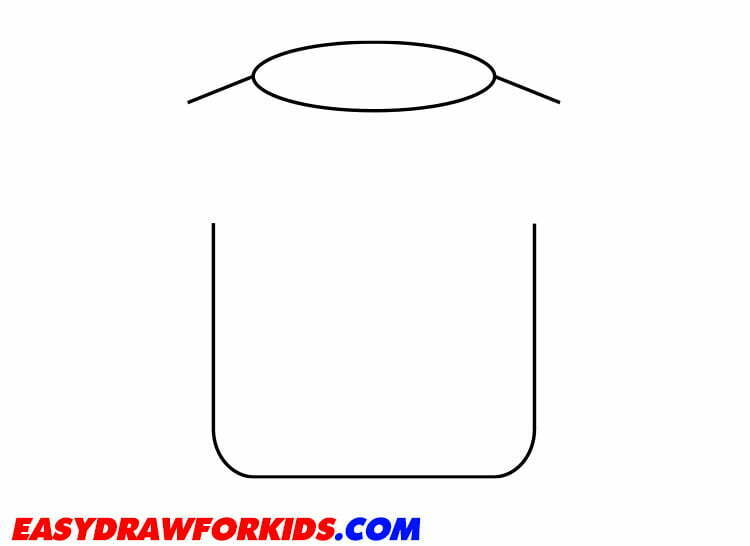
Step 1: Draw an oval shape as shown in the picture for collar of T-shirt

Step 2: Draw a large “u” shape for the bottom of the T-shirt.

Step 3: From the corner of the collar, draw two lines for shoulder
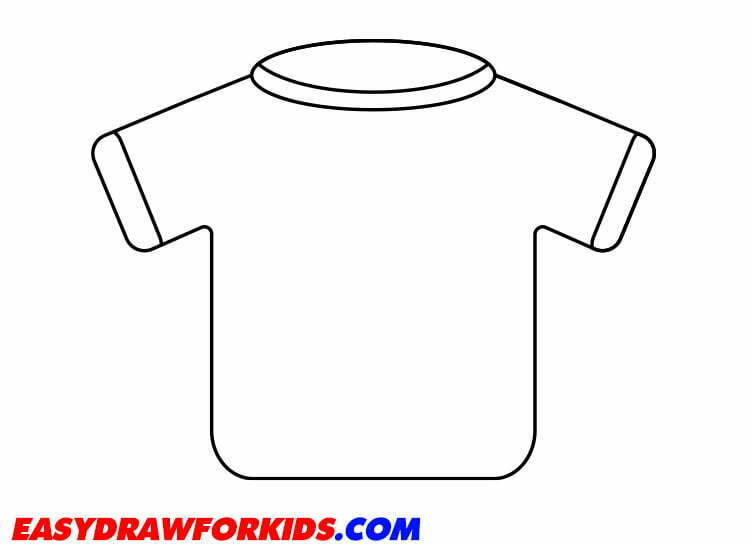
Step 4: Sketch two Sleeves
On each side of the T-shirt, draw a curved line that starts from the top and ends a short distance below the neckline to represent the T-shirt’s shoulder seams.
To add sleeves, draw two curved lines extending outward from the shoulder seams.

Step 5: You can draw a pocket, buttons, or any other design elements you like.
Step 6: Select your desired colors and fill them in to bring your T-shirt to life.

Learning how to draw a t-shirt opens up a world of creativity and self expression.
By following the steps outlined in this article, you can create one of a kind designs that showcase your personality and style.
So, what are you waiting for?
Start designing your t-shirts today!