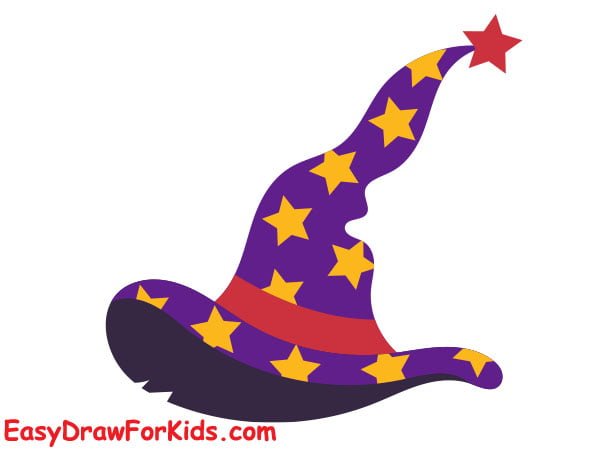
A witch hat is the symbol of Halloween and magic.
If you want to learn how to draw a witch hat, you’ve come to the right place!
In this guide, easydrawforkids.com will walk you through how to draw a witch hat step-by-step.
How To Draw A Witch Hat – A Step By Step Guide
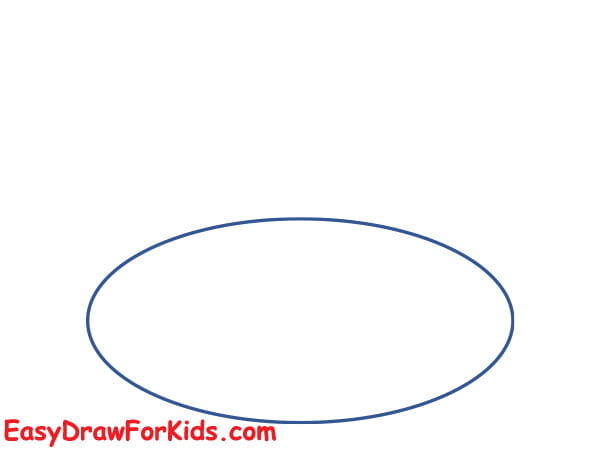
1. Cartoon Witch Hat Drawing
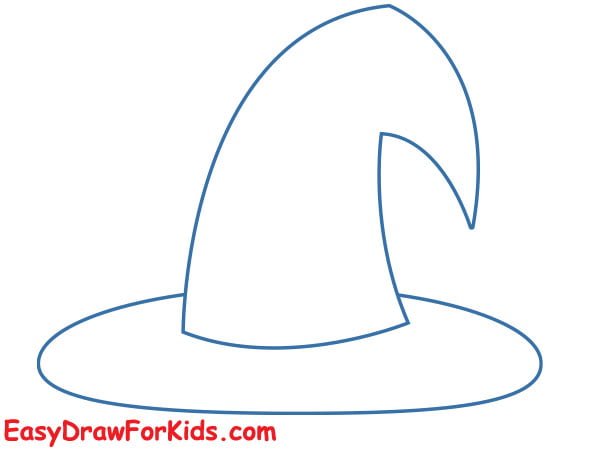
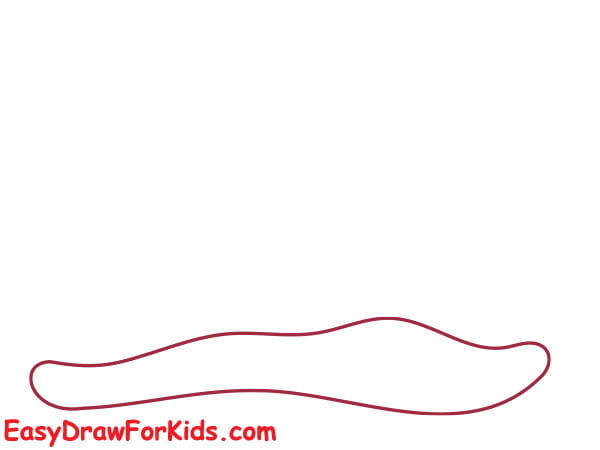
Step 1: Draw a wide, horizontal oval shape to form the brim of the hat.
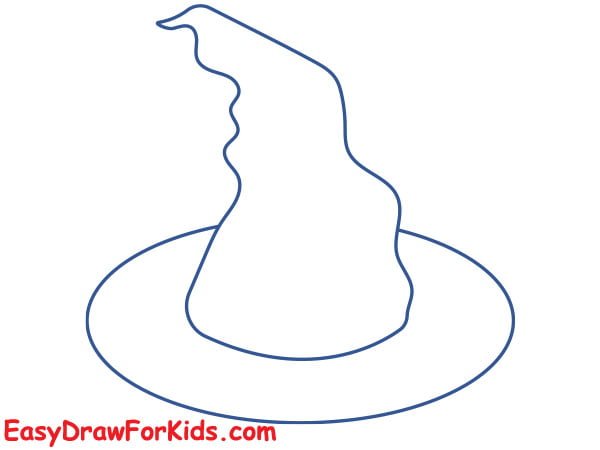
Step 2: Draw a small, curved triangle to create the cone shape of the hat.
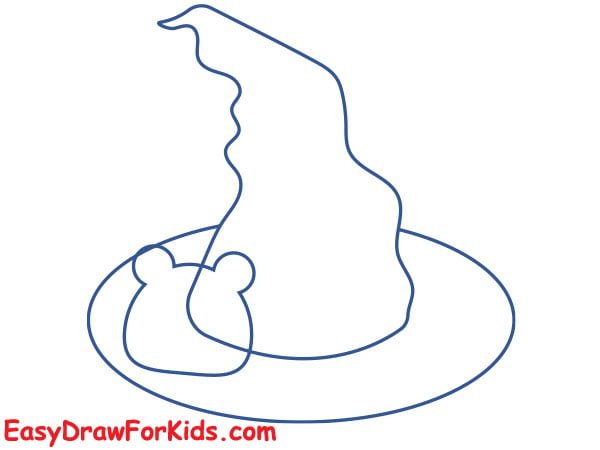
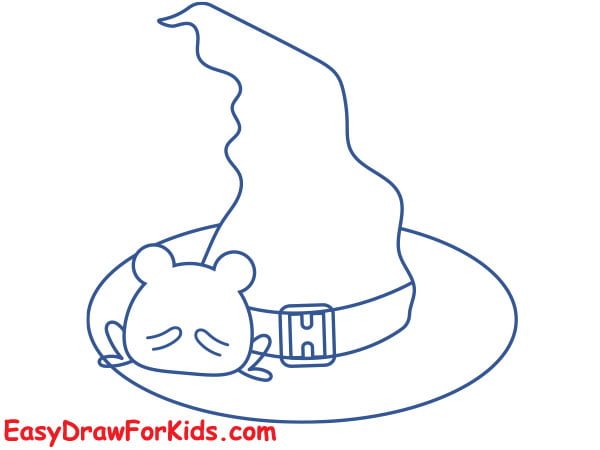
Step 3: Sketch the body of frog sitting on the brim of the hat
You can go over a few ideas by how to draw a frog of us.
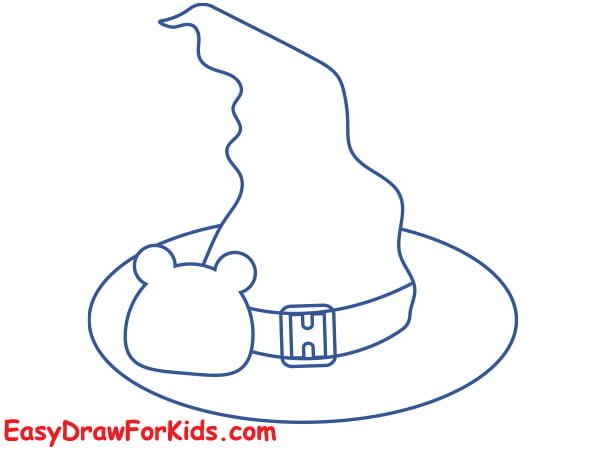
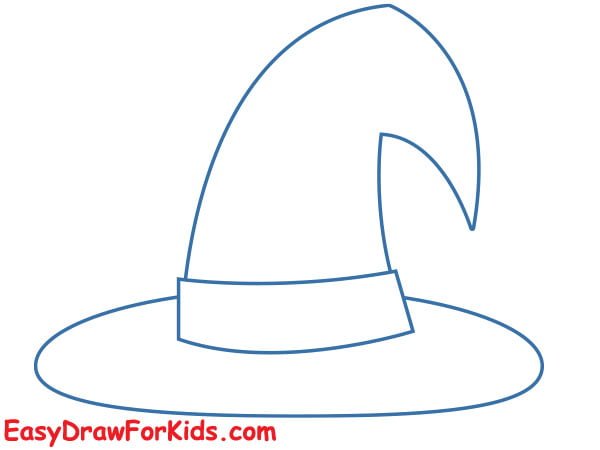
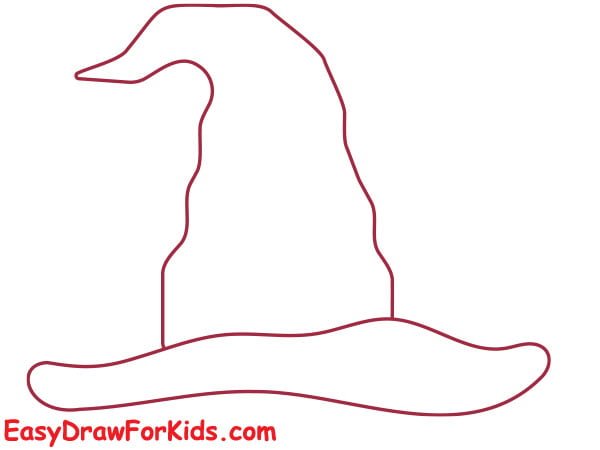
Step 4: Draw a broad, curved line around the hat’s base.
Add a buckle to the band by drawing a small rectangular shape in the center.
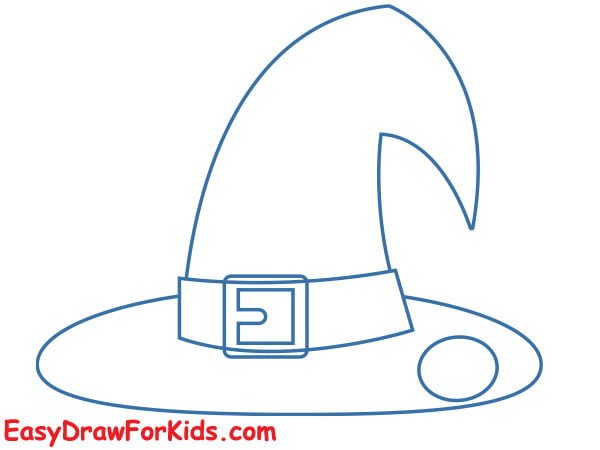
Step 5: Draw the legs to the frog
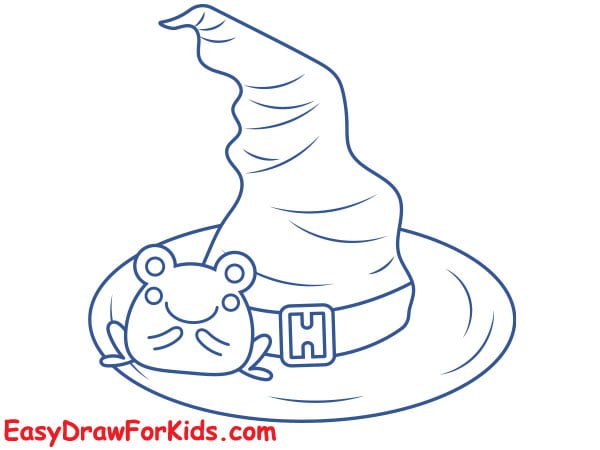
Step 6: Add details to the hat and facial features of the frog.
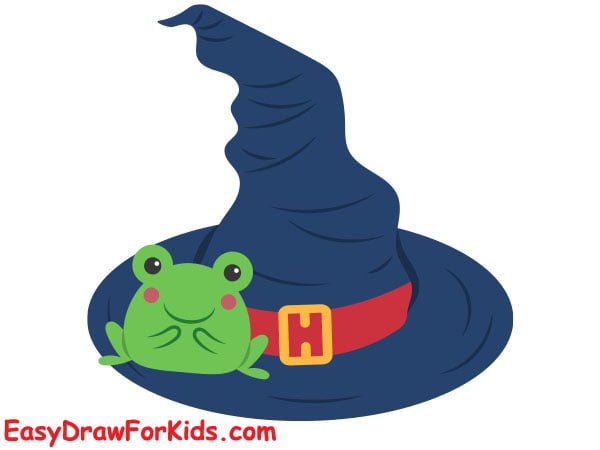
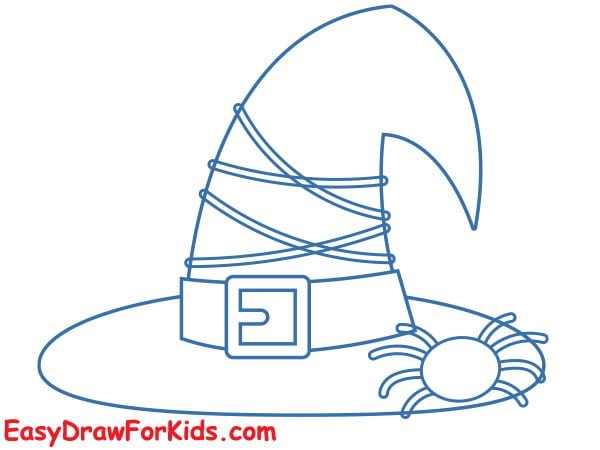
Step 7: Add color to your drawing.
2. Classic Pointed Witch Hat Drawing
This guide on how to draw a witch hat in 7 steps to help you drawing a witch hat with ease!
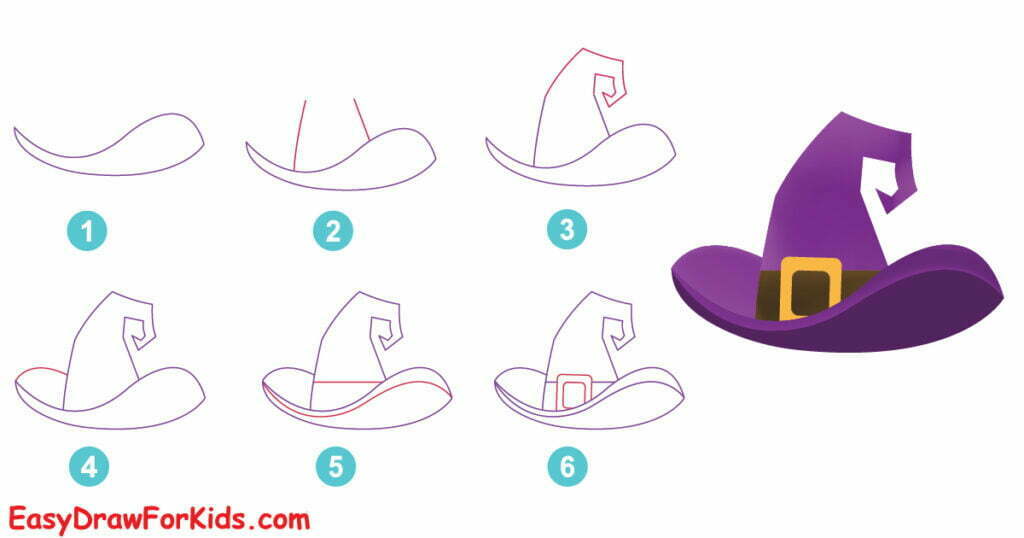
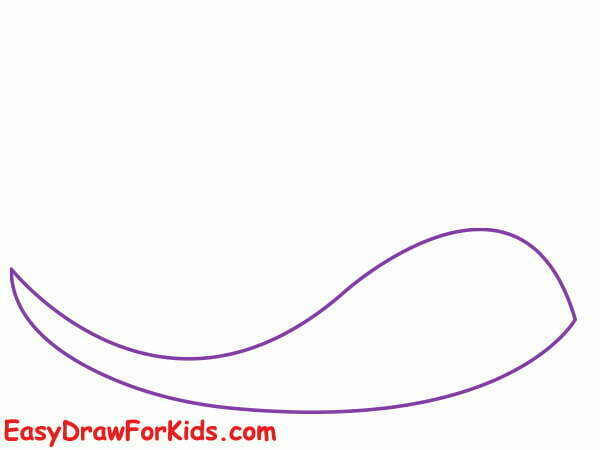
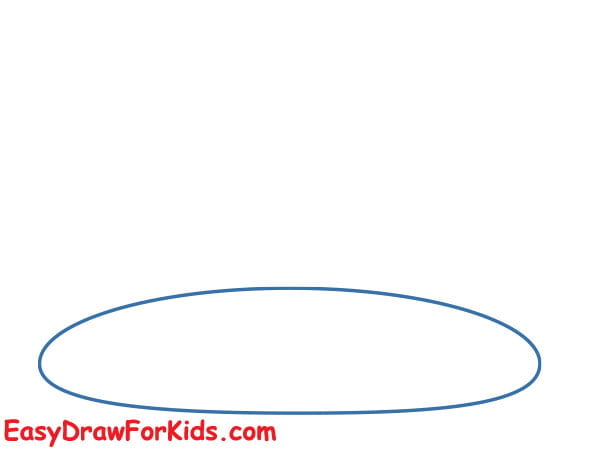
Step 1: Draw the base of Witch Hat
Draw a slightly curved, horizontal line for the base of the witch hat.
Draw a short, curved line that slopes upward and to the right to form the brim of the hat.
Step 2: From the top of the brim, draw two diagonal lines to form the sides of the hat.
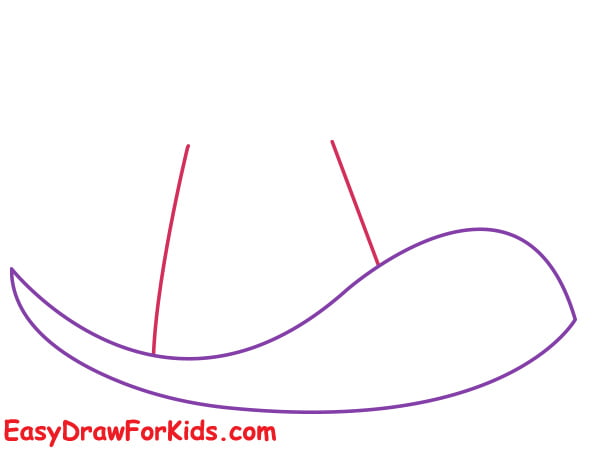
Step 3: Draw a angled line partway down the tip of the hat to make it look folded down.
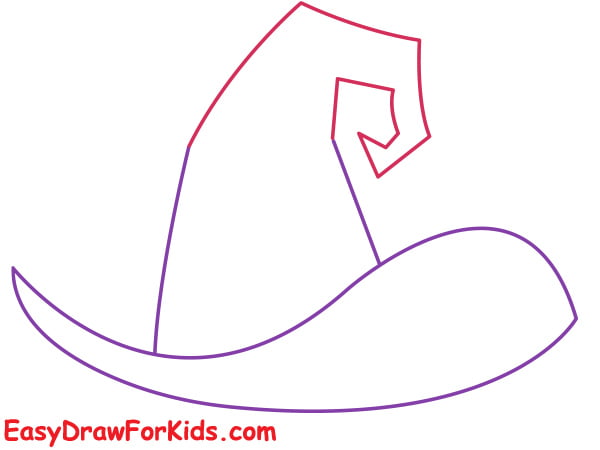
Step 4: Draw the outline of the Brim
Step 5: Draw horizontal lines across the brim to represent the folds.
Add a band around the base of the witch’s hat.
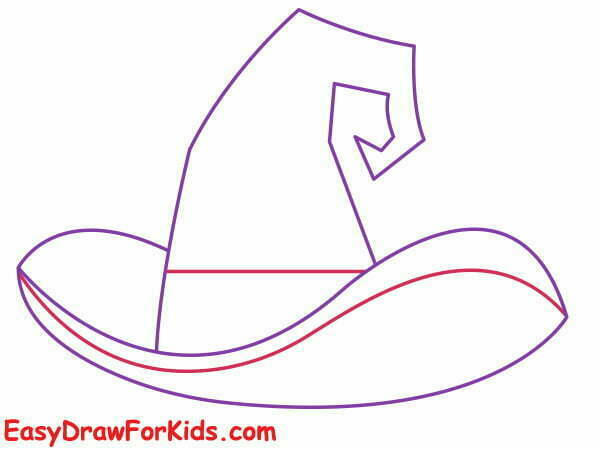
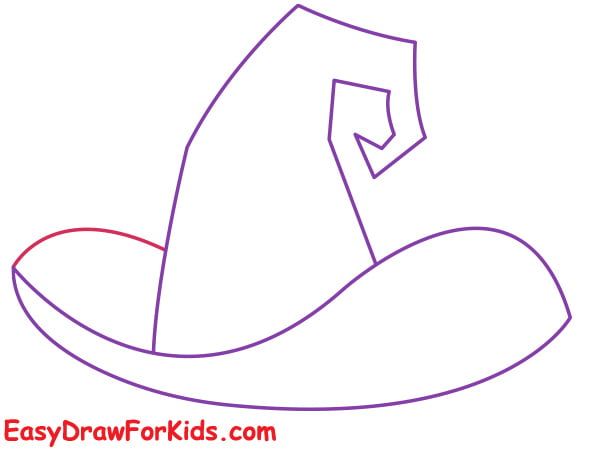
Step 6: Draw a small rectangular buckle in the center of the hat’s base.
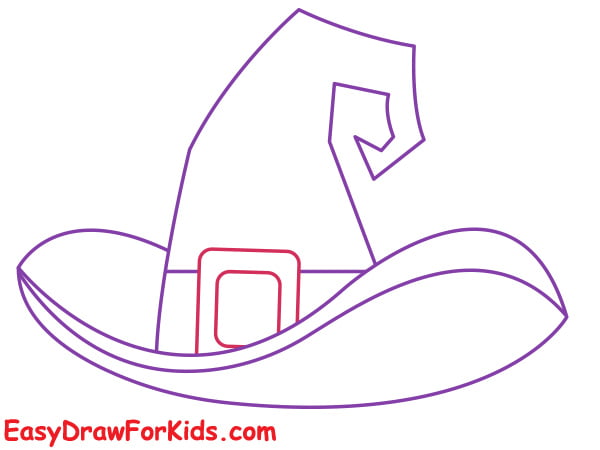
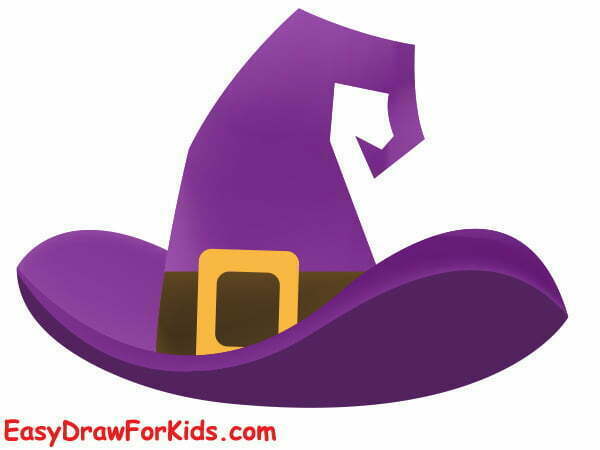
Step 7: It’s time to bring your witch hat art to life with color!
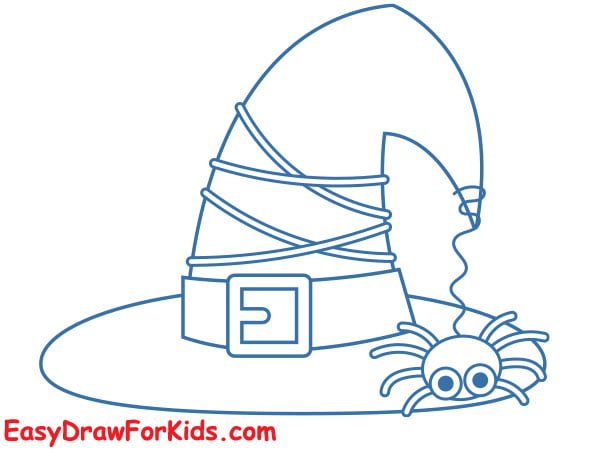
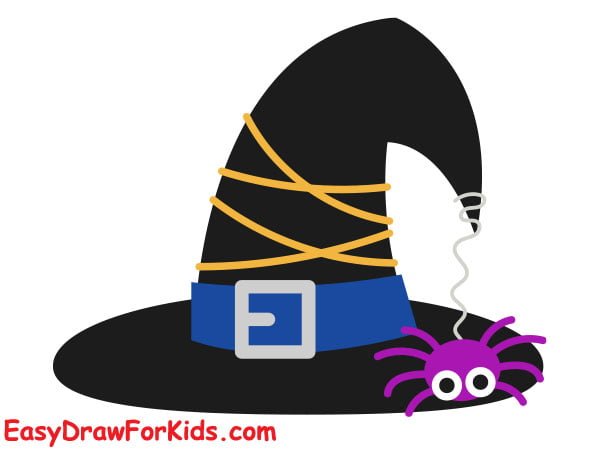
3. Cute Witch Hat Drawing
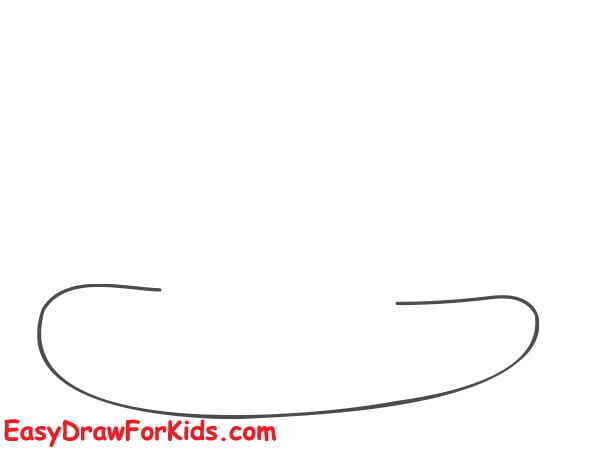
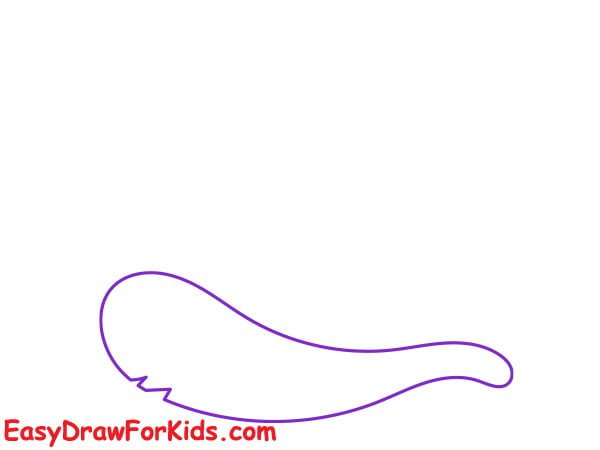
Step 1: Draw a long horizontal oval shape
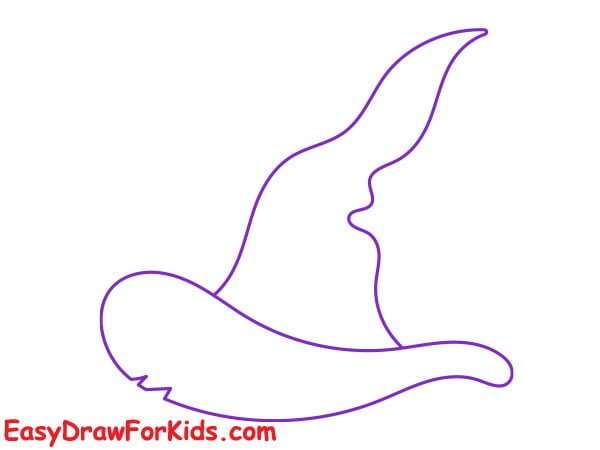
Step 2: Draw the cone, make it look folded down.
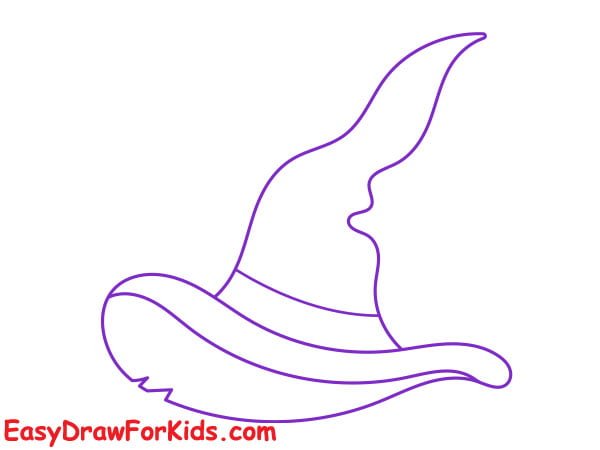
Step 3: Sketch a line around the hat’s base.
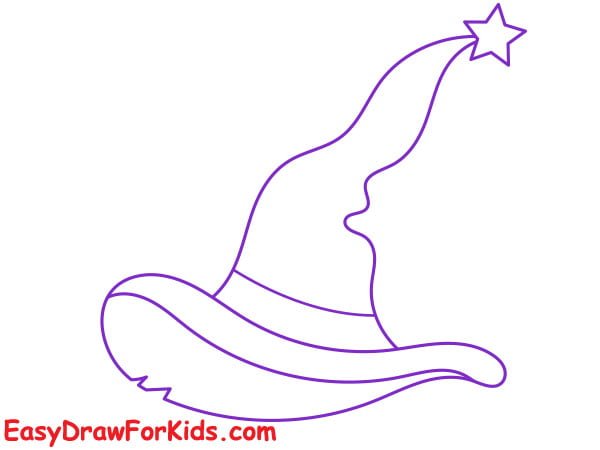
Step 4: Sketch the buckle shape
Step 5: Draw a spider on the brim
You can go over a few ideas by how to draw a spider of me.
Step 6: Adding eyes and web of the spider
Step 7: Color your cute witch hat
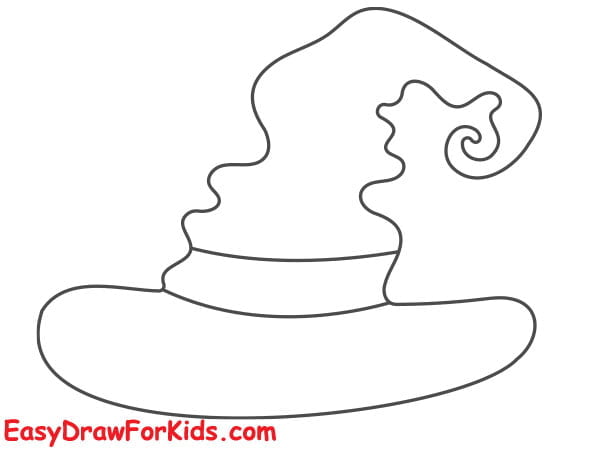
4. Easy Witch Hat Drawing
Step 1: Draw a curved line as shown in the picture to form the brim
Step 2: Draw the cone bent over
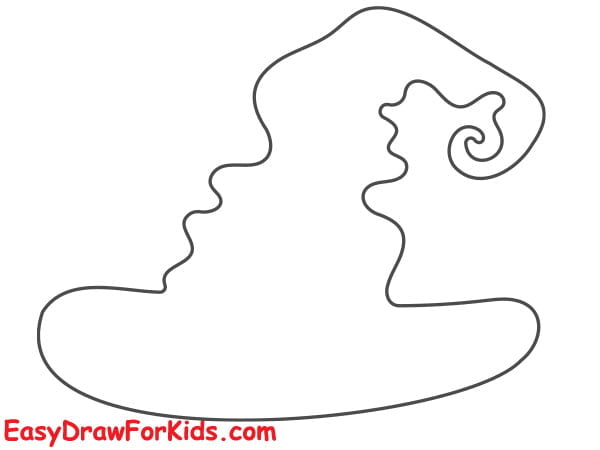
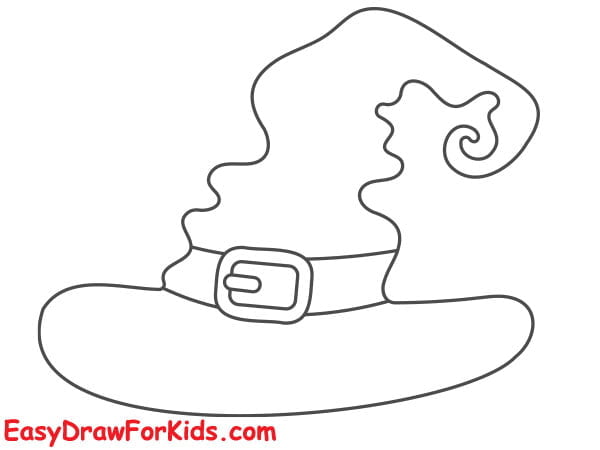
Step 3: Draw a shape around the hat’s base.
Step 4: Add a buckle to the front of the hat.
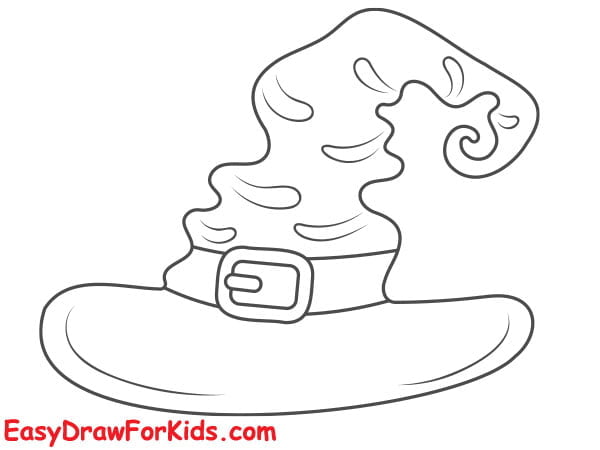
Step 5: Add details to the hat by drawing wavy lines along the brim.
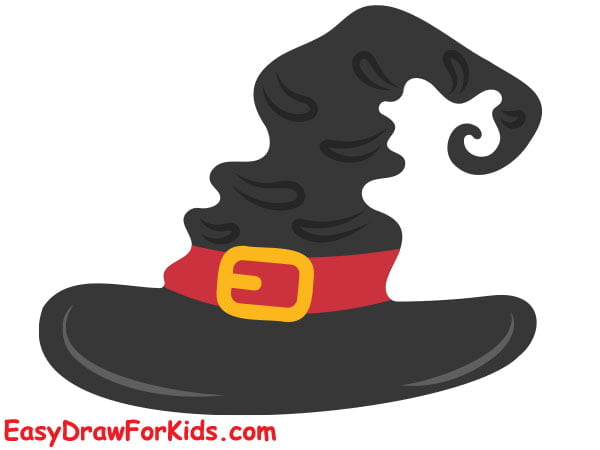
Step 6: Color your witch hat drawing
5. Moon And Star Witch Hat Drawing
Step 1: Draw a slightly curved line that slants downward to the right for the brim of the witch hat.
Step 2: Draw the cone of the hat.
Step 3: Drawing the brim
Step 4: Draw star on the top of the hat
Step 5: It’s time to add the star to your witch hat.

Step 6: Coloring
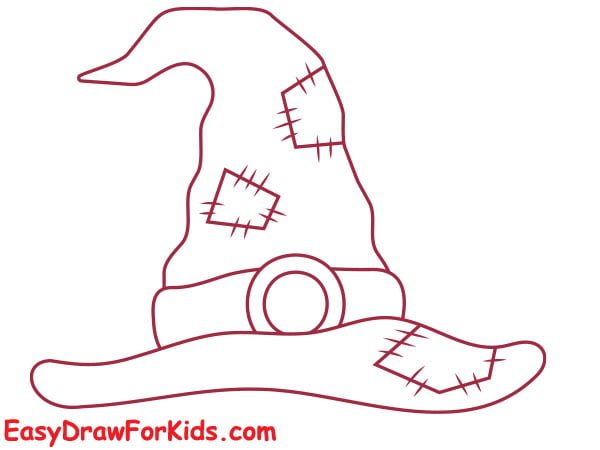
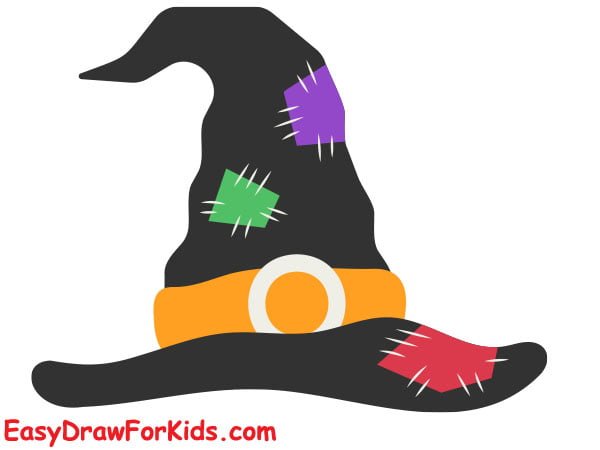
6. Patchwork Witch Hat Drawing
Step 1: Draw the brim patchwork witch hat
Step 2: Sketch the cone bent over
Step 3: Add a band around the base witch a rectangular buckle.

Step 4: Draw several irregular shapes mimicking the patchwork design.
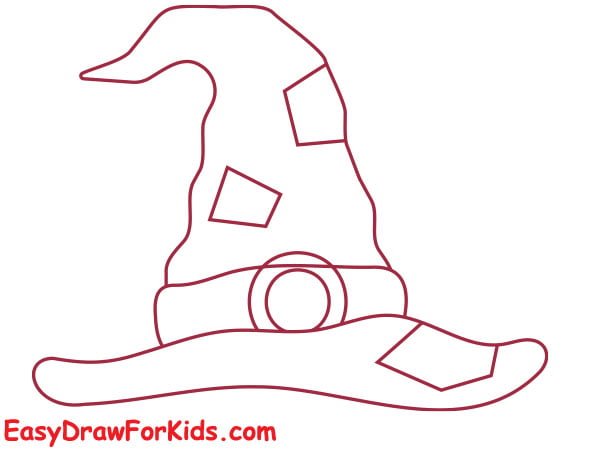
Step 5: Within each patchwork section, draw cross-hatching to create a seam.
Step 6: Coloring the Witch Hat
And that’s it – you now have an awesome homemade witch hat drawing to celebrate Halloween!
Try drawing a whole witch or a host of hats for more fun.
I hope this guide on how to draw a witch hat inspired you.


