Acorns are among the simple shapes to draw.
In this tutorial, easydrawforkids.com will help you learn how to draw an acorn in 3 ways.
With just a few simple shapes, you can create a realistic-looking acorn in no time.
Ready to give it a try? Let’s get started!
How To Draw An Acorn – A Step By Step Guide
1. Simple Acorn Drawing

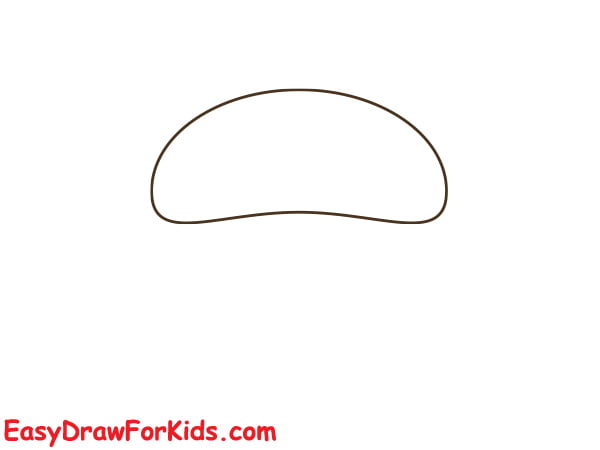
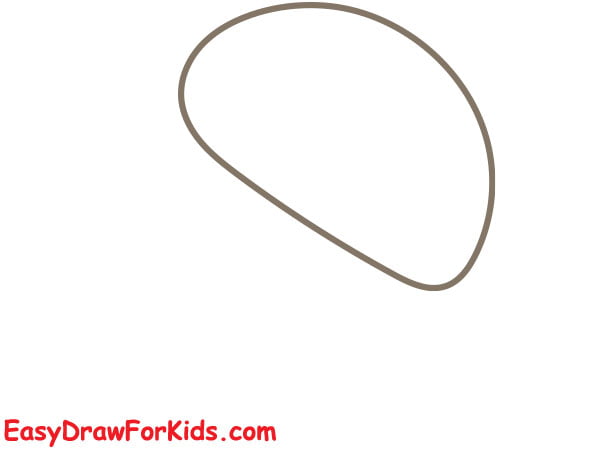
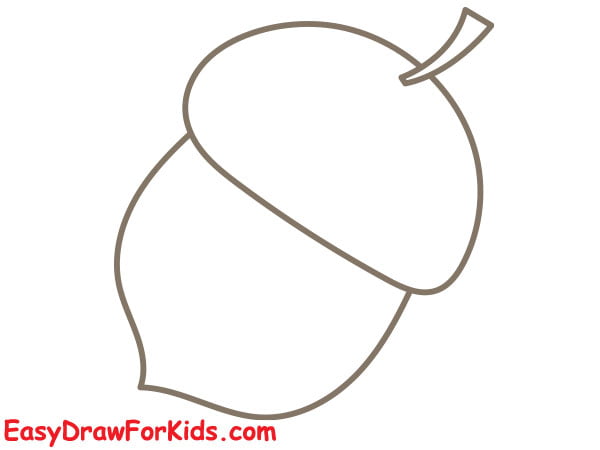
Step 1: Draw the Top of the Acorn
The top of the acorn, known as the cap, draw an oval shape that forms it.
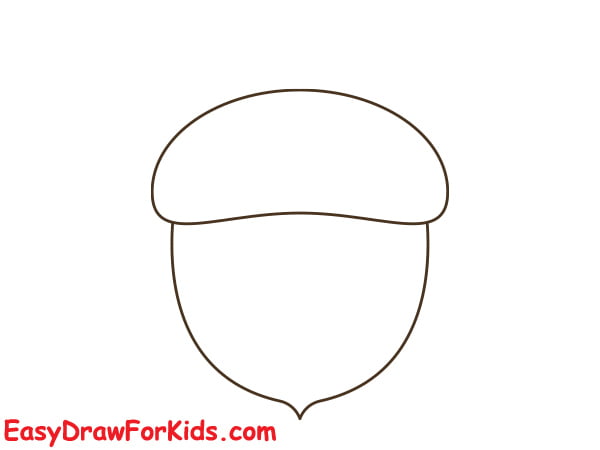
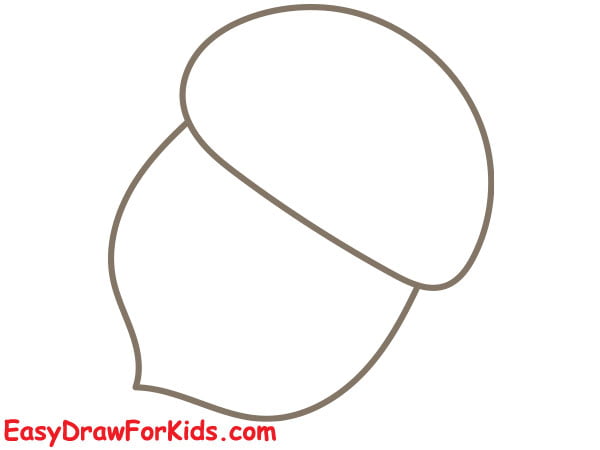
Step 2: The second step is to guide how to draw an acorn by drawing an oval below the acorn cap for the acorn body, making it wider at the top and rounded, then narrow toward the base.
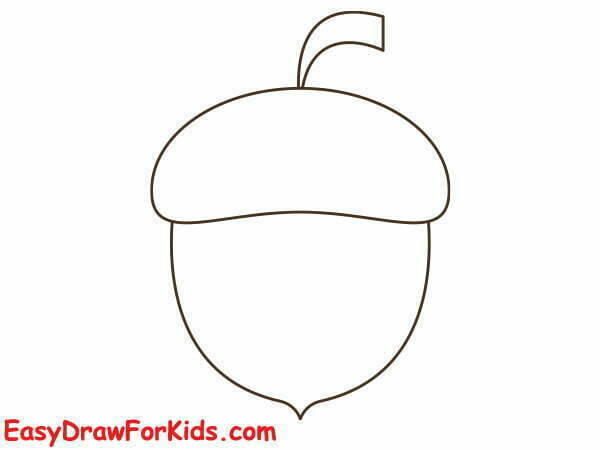
Step 3: Draw a narrow, vertical shape extending down from the tapered base of the acorn for the stem.
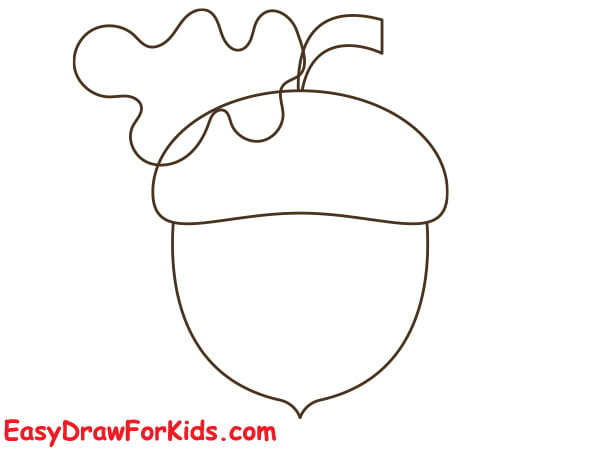
Step 4: Sketch out the leaf
Draw a curved line that follows the general shape of the leaf.
Add wavy edges to the leaf by drawing small, irregularly spaced triangular shapes along the outer edge.
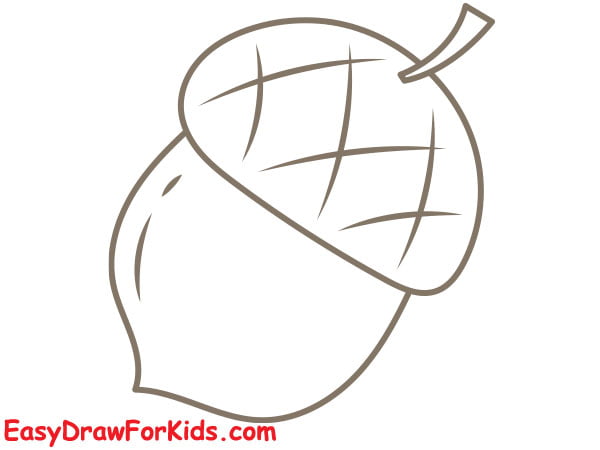
Step 5: Draw a series of random oval shapes all over the surface of the acorn cap and body. Overlap the ovals to mimic the acorn’s scales.
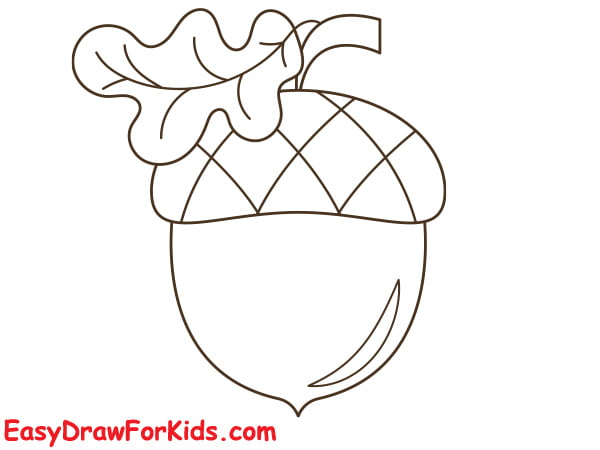
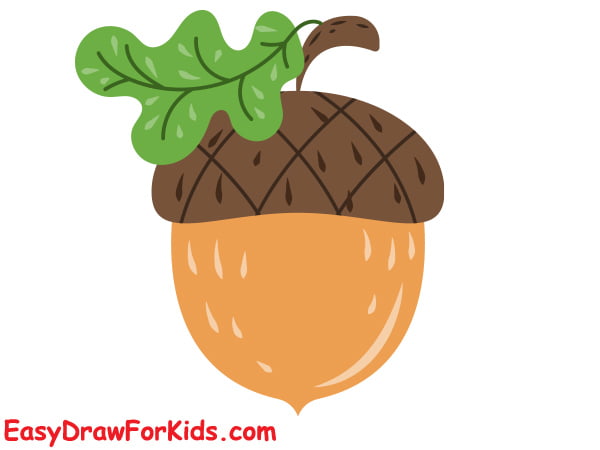
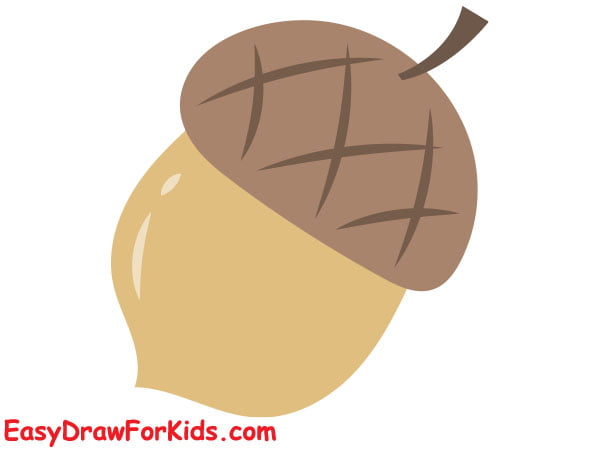
Step 6: Color the drawing
Now that you successfully this guide on how to draw an acorn, it’s time for the most exciting part.
Acorns typically have a brown colour. Begin by using a light brown shade to colour the entire acorn.
Use a slightly darker shade of brown to add shading to the acorn.
2. Cute Acorn Drawing
Step 1: Draw an oval shape for the cap
Step 2: Draw an oval shape below the cap for the body
Step 3: Draw the stem for acorn
Step 4: Add Texture to your cute acorn
Step 5: Color your cute acorn drawing
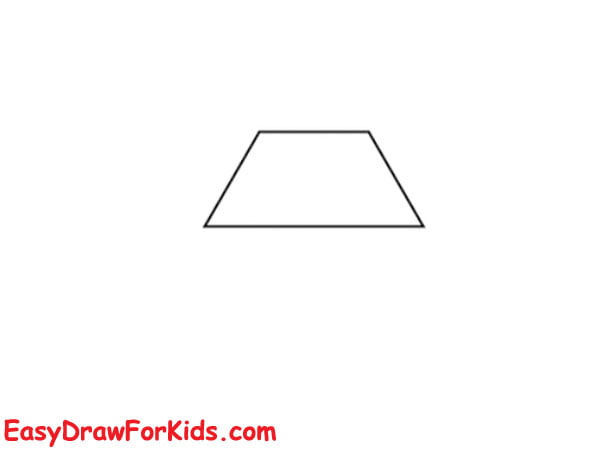
3. Cartoon Acorn Drawing
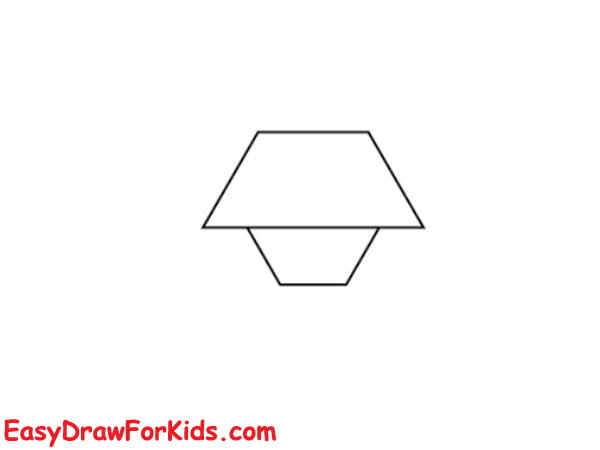
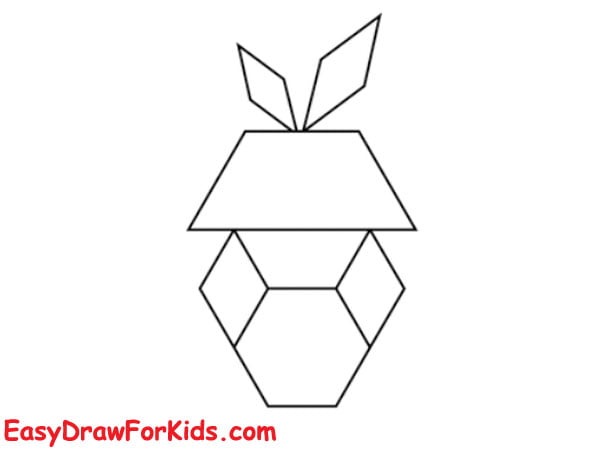
Step 1: Draw an isosceles trapezoid to form the cap of a cartoon acorn.
Step 2: Draw a smaller upside-down trapezoid below the cap
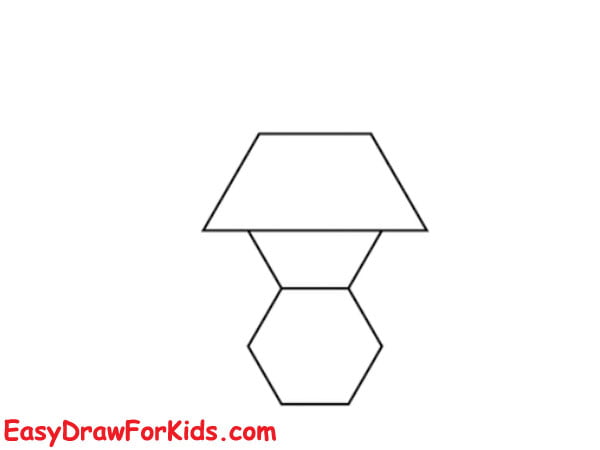
Step 3: Draw a hexagon shape to form the bottom of the acorn body
Step 4: Draw a triangle shape on the left of the acorn body
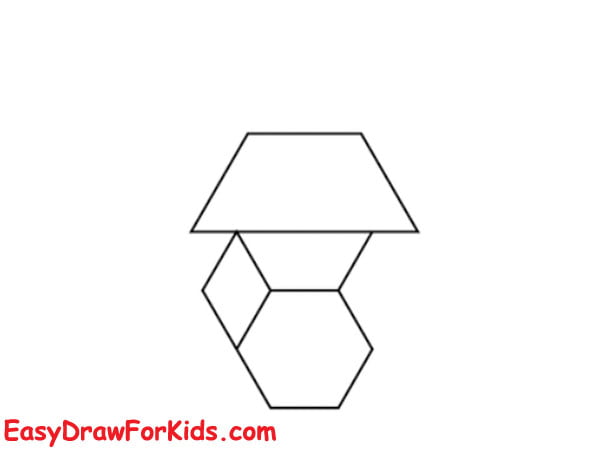
Step 5: Draw a triangle shape to complete the acorn body

Step 6: On the top of the cap, draw a rhombus shape to form the first leaf.
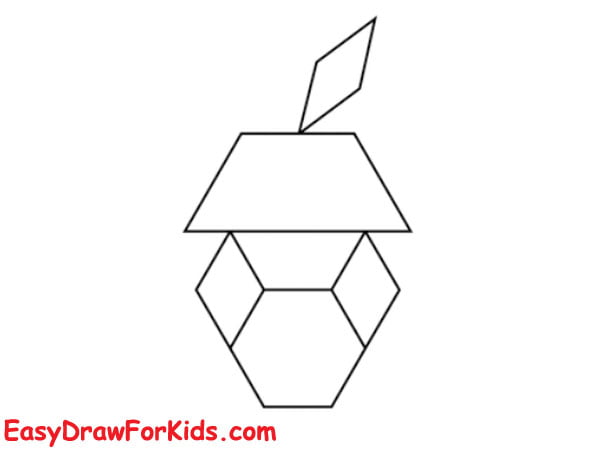
Step 7: Draw a smaller rhombus shape for the second leaf.
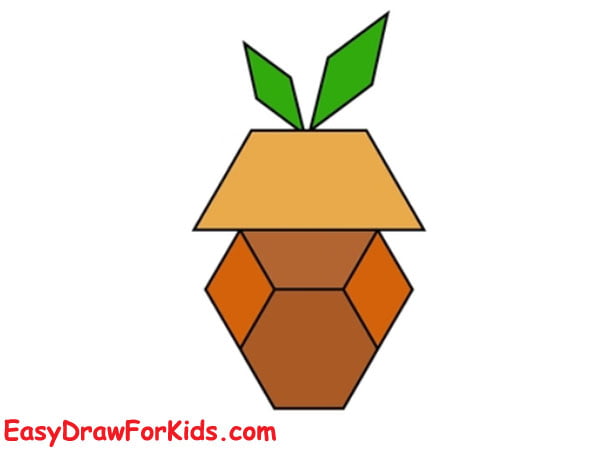
Step 8: Color your cartoon acorn
Well done on completing your acorn drawing!
By following the step-by-step guide on how to draw an acorn, you will draw a unique acorn in no time.


