Are you ready to bring a touch of angel beauty to your artwork?
In this tutorial, you’ll learn how to draw an angel step-by-step from start to finish.
How To Draw An Angel – Step By Step Guide
1. Beautiful Angel Drawing
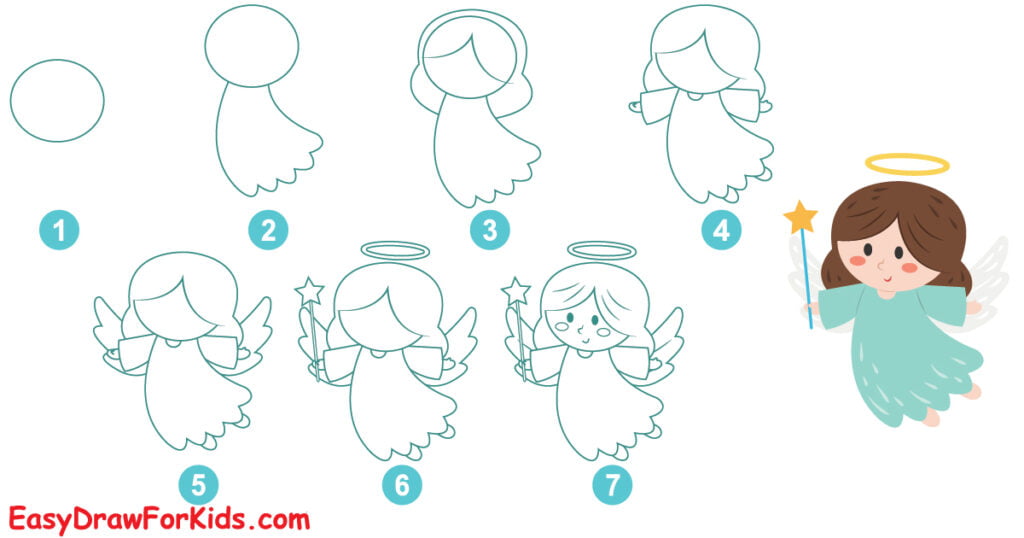
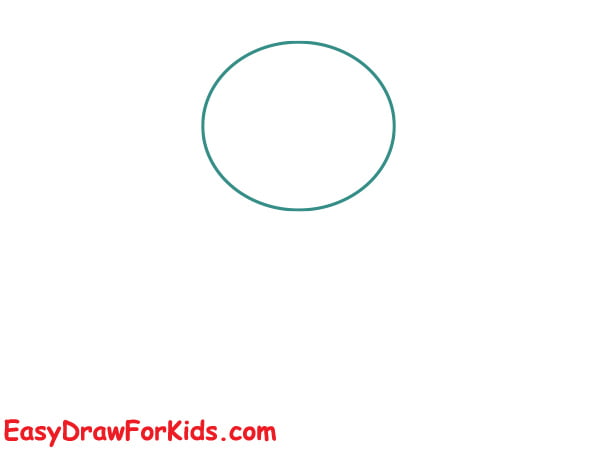
Step 1: Start by draw an oval shape for the head
Step 2: From the bottom of the head, draw two curved lines downwards to create the angel a graceful posture.

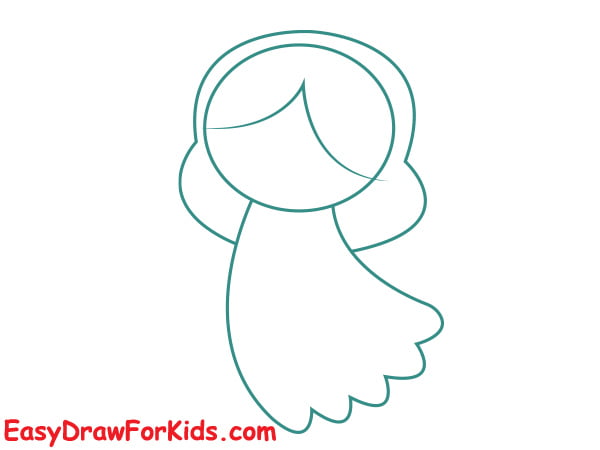
Step 3: Above the angel’s head, sketch the hair. Add some wavy lines to make the hair look more natural and soft.
Step 4: Sketch the Arms and Legs
Starting from the sides of the body, draw two curved lines to represent the angel’s arms.
At the end of each arm, draw small circles for the hands.
Draw two curved lines from the torso down to the legs.

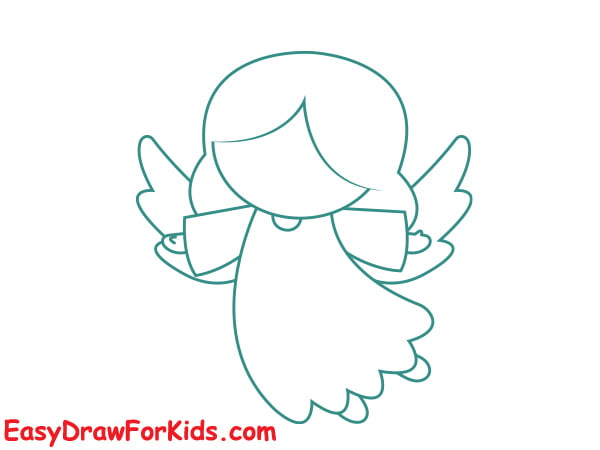
Step 5: Adding Wings
Sketch two curved lines extending from the upper back, one on each side.
To form the wing feathers, draw a series of long curved lines radiating outward from the upper curve, as shown in the picture.
Step 6: Adding Halo and Star
In this step on guide how to draw an angel will focus on the halo and star.
Draw a tilted oval for the halo, resting it on top of the head.
Draw a star shape in the hand of the angel.

Step 7: Adding details to the face
Draw large eyes with oval irises. Add curved lines above for eyebrows.
Sketch a small, straight nose in the centre of the face.
Add an open mouth with gently curving lips.

Step 8: Traditionally, angels are depicted in color such as yellow, gold, and white. However, you can use any color you love to create a unique angel.

2. Simple Angel Drawing
Step 1: Draw a circle for the head, and draw two verticle lines downward to form the body.

Step 2: Draw the hair and a star in the centre of the body.

Step 3: In this step on guide how to draw an angel will focus on the angel wings, draw two curved lines extend out the upper back for the wings.

Step 4: Draw two hands holding a star

Step 5: Add the facial details and halo to your angel

Step 6: Color your angel drawing by your style

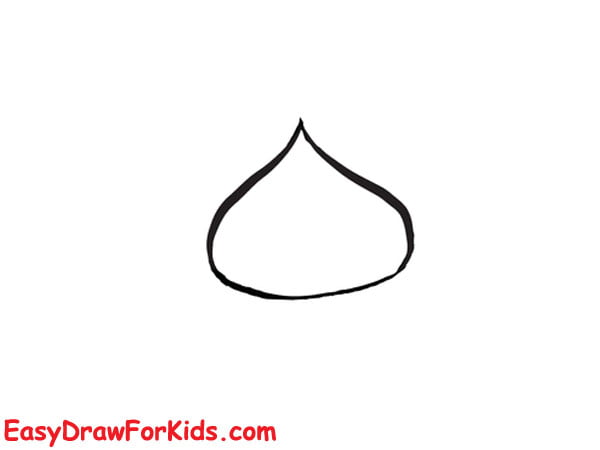
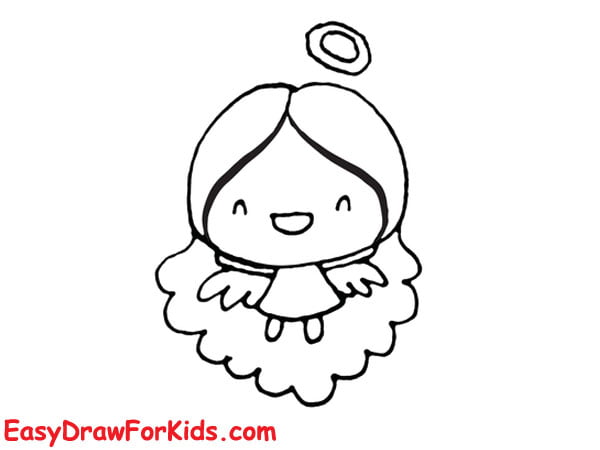
3. Cartoon Angel Drawing
Step 1: Draw a droplets shape to form the angel face
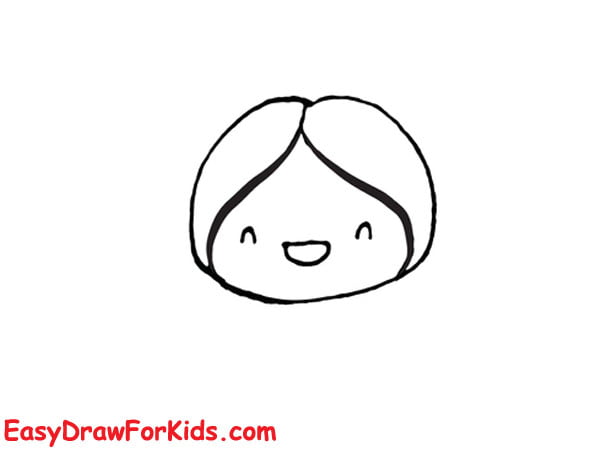
Step 2: Draw two curved lines from the top of the face and extend down to the bottom to form the hair; draw two half-circles for the eyes and a large oval for the smiling mouth.
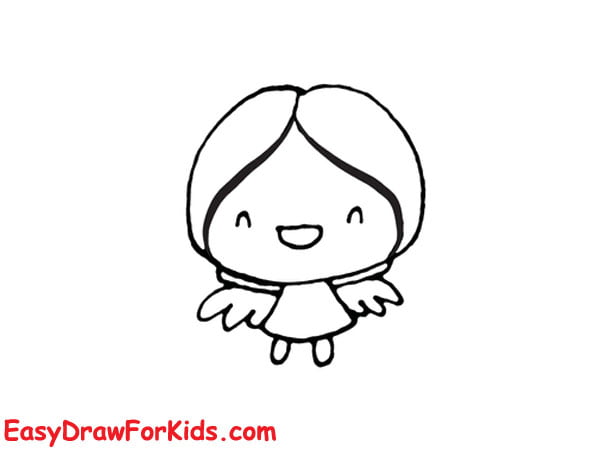
Step 3: Draw the body
Below the head, draw a shape for the body, extend four curved lines for the arms and legs

Step 4: The fourth step on guide how to draw an angel by draw the angel wings on the upper back
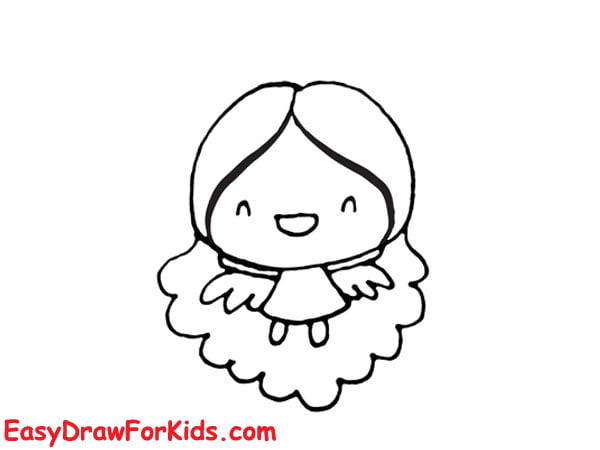
Step 5: Draw wavy lines below around your cartoon angel for the clouds
You can go over a few ideas by how to draw clouds of us
Step 6: Draw two oval shape on the top of the head for the halo.
Drawing angels may seem like an advanced skill, but as you seen, it just takes following a few simple steps; you can create a beautiful angel.


