Do you enjoy creating cute and delicious treats on paper?
This tutorial, easydrawforkids.com will walk you through how to draw an ice cream cone with 5 easy ways.
Now, let’s get started!
How To Draw An Ice Cream – A Step by Step Guide
1. Bunny Ice Cream Drawing
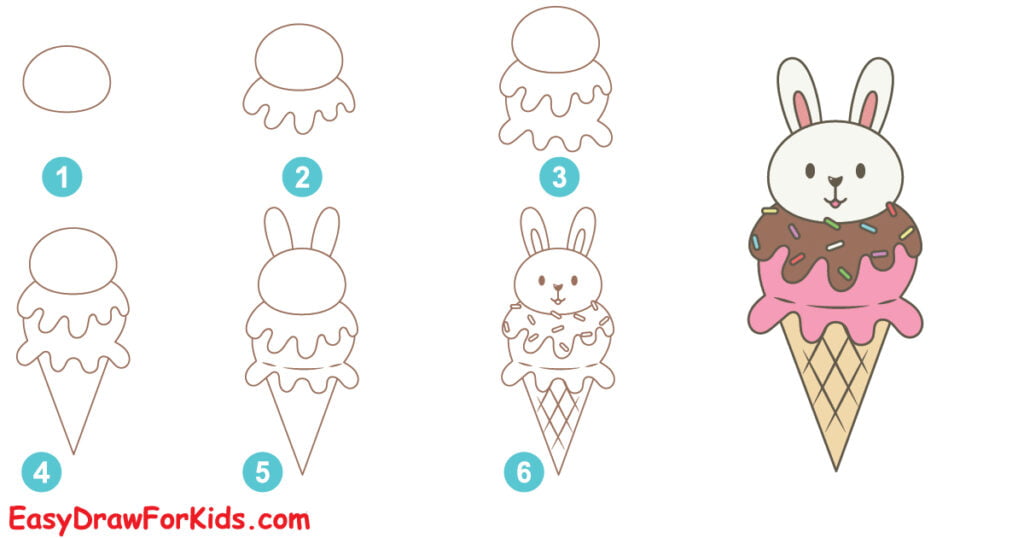
Step 1: Draw an elongated oval shape for the bunny’s head
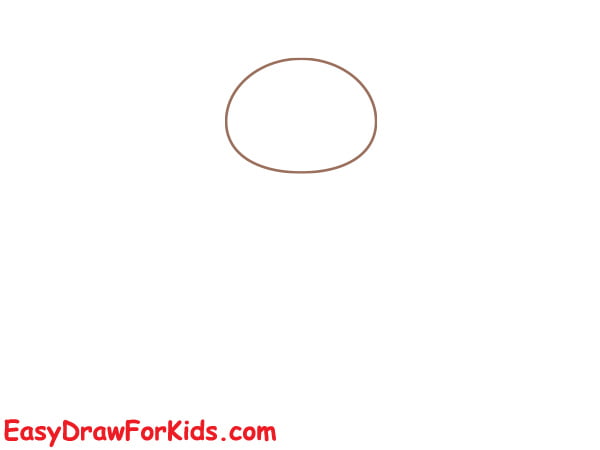
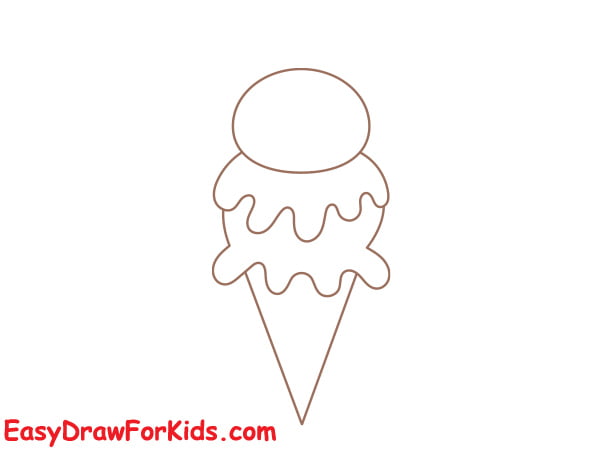
Step 2: Draw a large oval shape below the bunny head for a scoop of ice cream melting down.
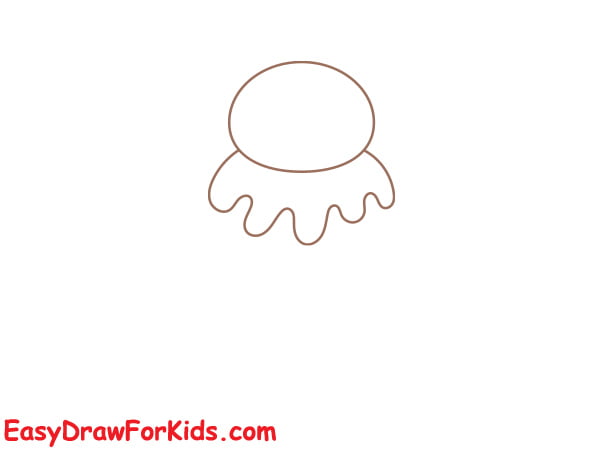
Step 3: The third step on guide how to draw an ice cream, add more layers to your bunny ice cream
Step 4: Draw an upside-down triangle shape for the cone below the scoop of ice cream
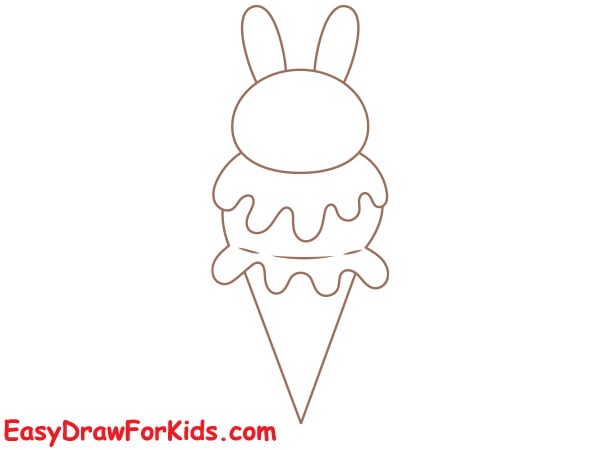
Step 5: Draw two small, rounded shapes on top of the bunny to represent the bunny’s ears.
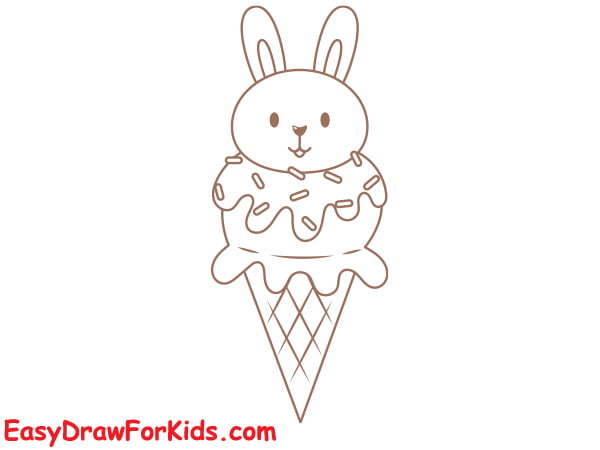
Step 6: Add a cute face to your bunny ice cream!
Add diagonal lines across the surface of the cone.
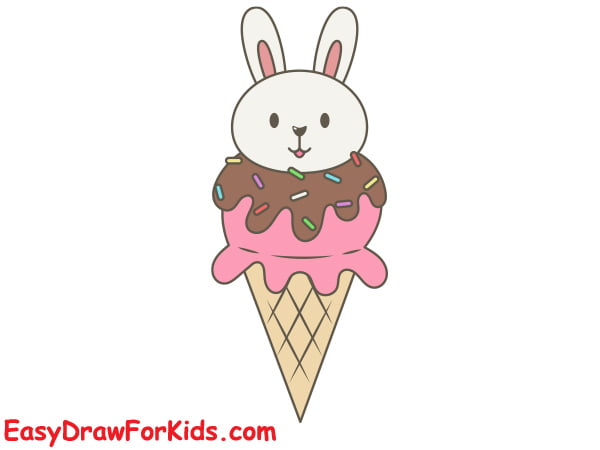
Step 7: Color in bunny ice cream cone with your choice of color.
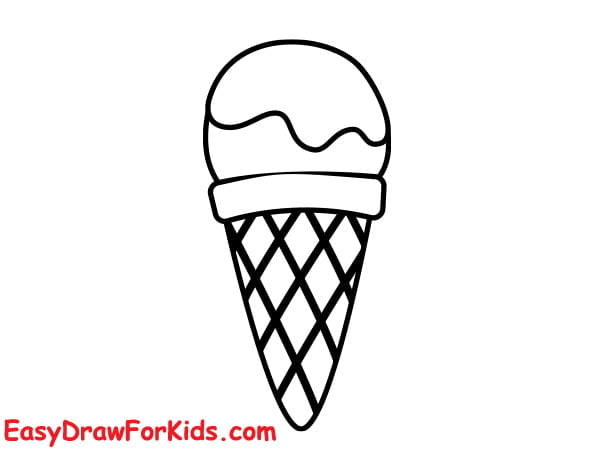
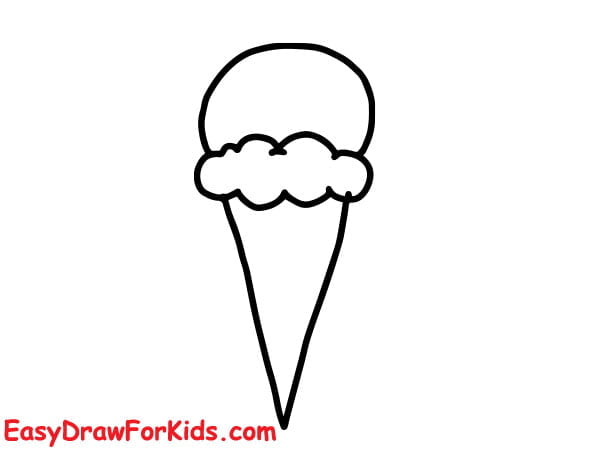
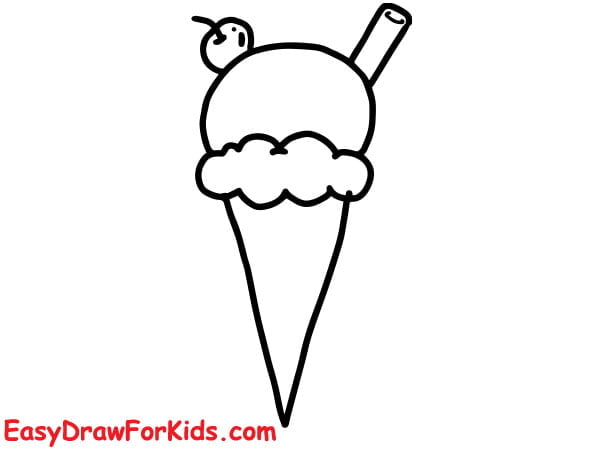
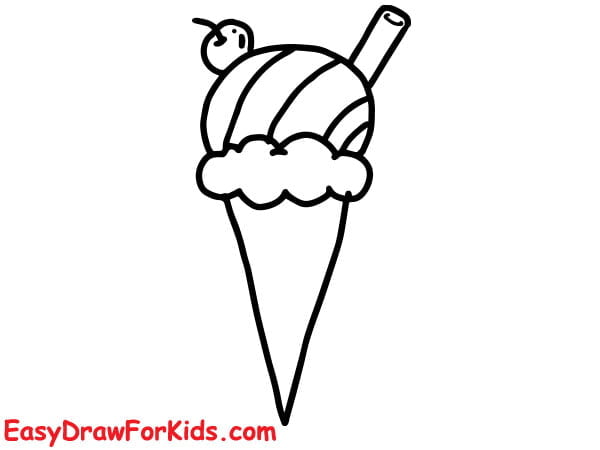
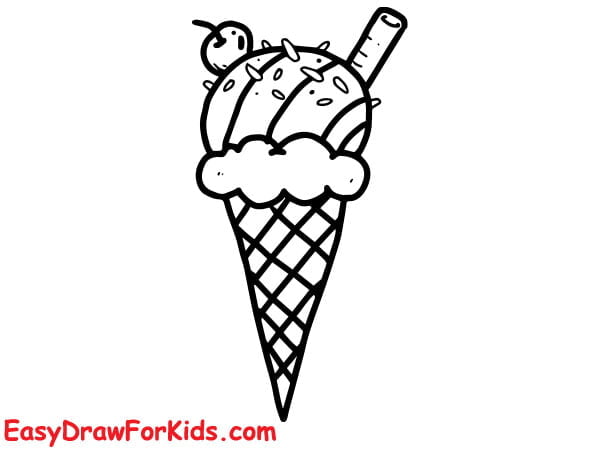
2. Ice Cream Cone Drawing
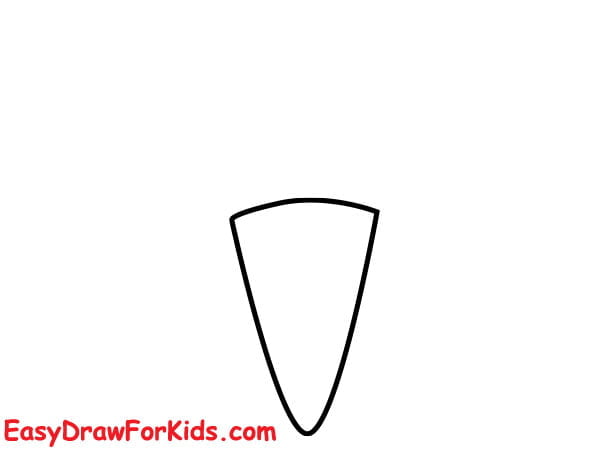
Step 1: The first step on guide how to draw an ice cream, you draw a triangel shape for the ice cream cone.
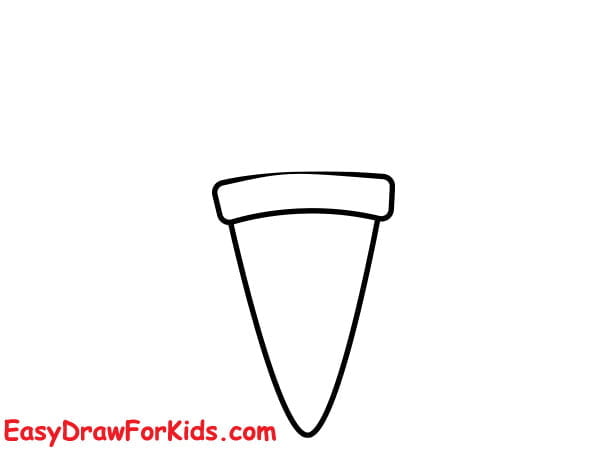
Step 2: Draw a rectangular shape to complete the cone.
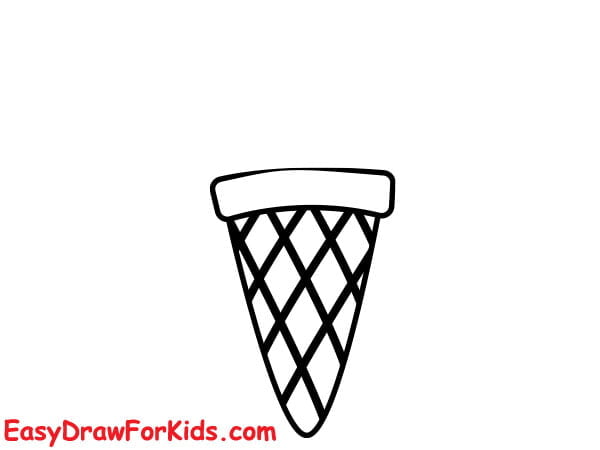
Step 3: Now, draw the texture of the cone by drawing diagonal lines.
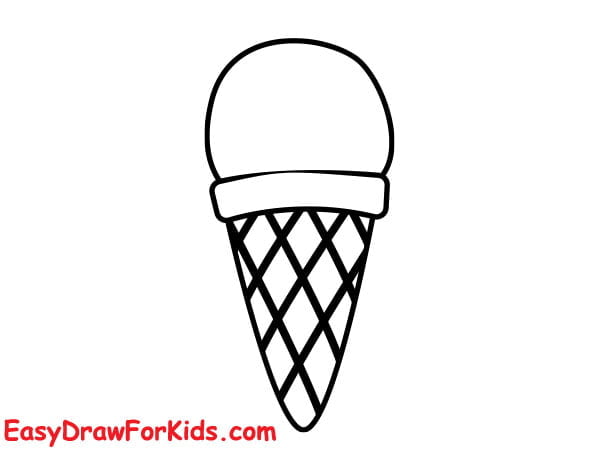
Step 4: Draw a wavy line on the top of the cone for the scoop of the ice cream.
Step 5: Draw syrup on the ice cream scoops
Step 6: Adding a cherry on the top of your ice cream
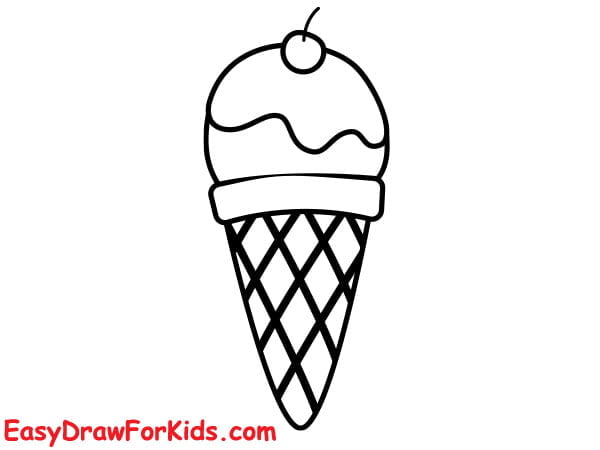
Step 7: Add color to your drawing, use imagination to make it look delicious!

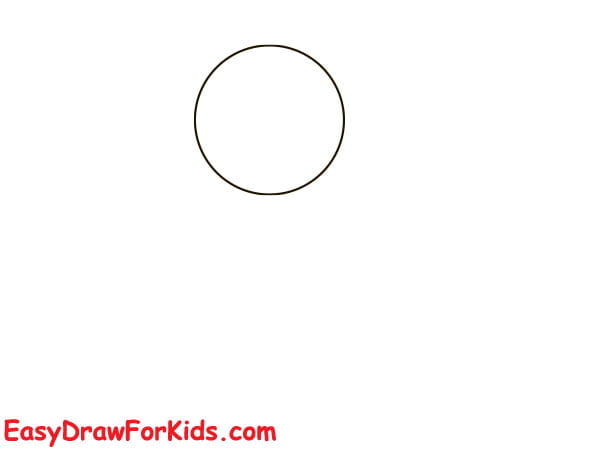
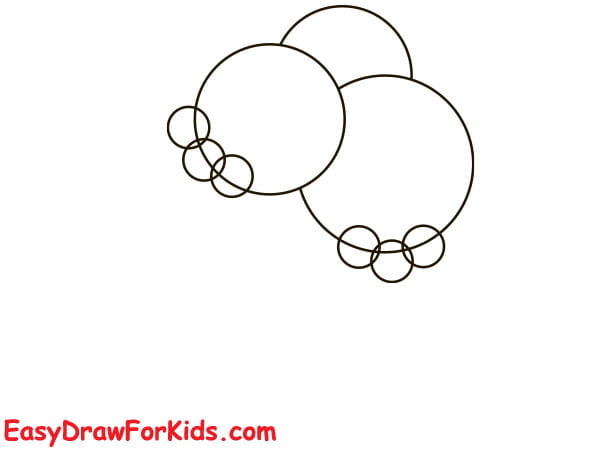
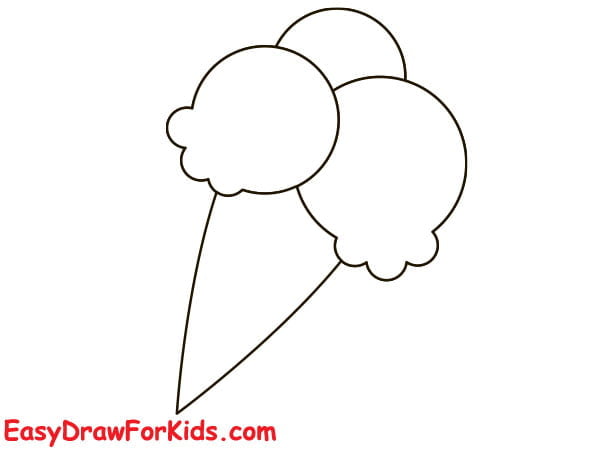
3. Easy Icecream Drawing
Step 1: Draw a circle for the first scoop
Step 2: Adding more scoops overlap each other

Step 3: Adding small series circle below the scoops
Step 4: Erase any unnecessary guidelines

Step 5: From the bottom of the scoop, draw two slightly curved lines extending downward to form the cone.
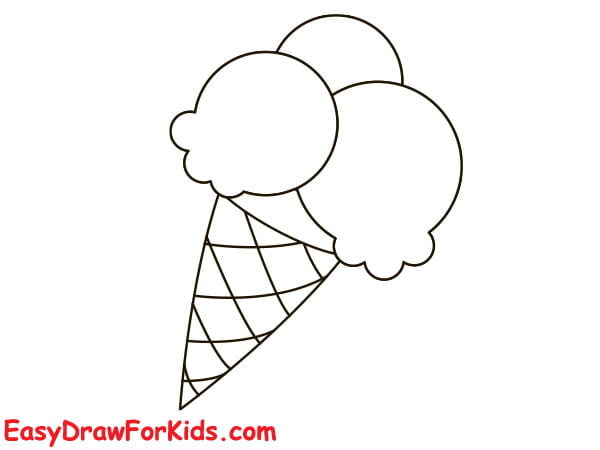
Step 6: Add texture to the cone by drawing diagonal lines across it
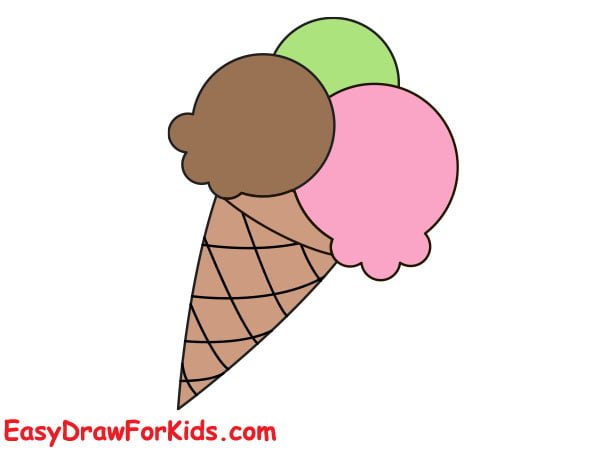
Step 7: You can choose any colors you like for the ice cream scoops and the cone.
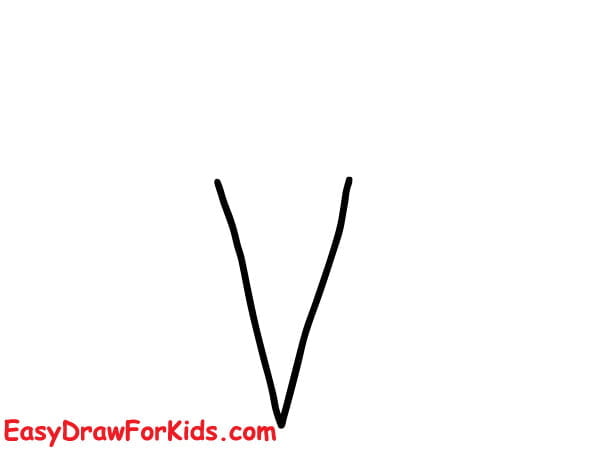
4. Ice Cream Drawing From Letter V
Step 1: Start by drawing a capital letter “V” for the base shape of the ice cream cone.
Step 2: Next, you draw a wavy to form the outline of the ice cream scoop.

Step 3: Draw an oval shape on the top as shown in the picture
Step 4: Draw a small, circular shape on top of the scoop to represent a cherry
Step 5: Inside the scoop, draw small, wavy lines to represent the texture and swirls of the ice cream.
Step 6: Decorating with sprinkles on top of the cream
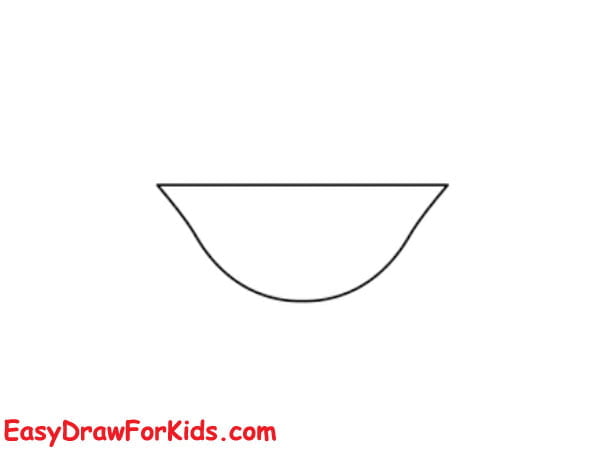
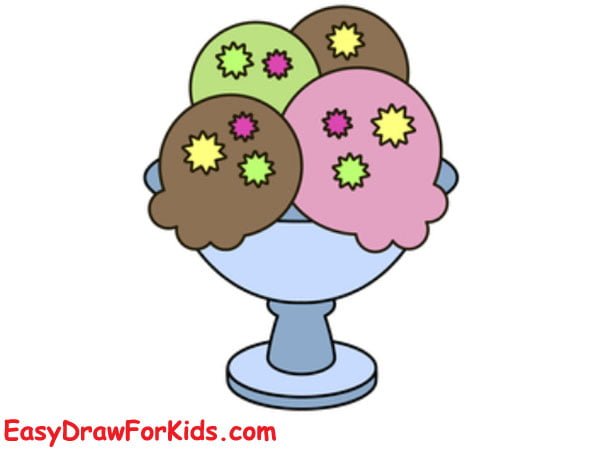
5. Ice Cream Sundae Drawing
Step 1: Draw the bowl by drawing a U-shape with pointed edges.
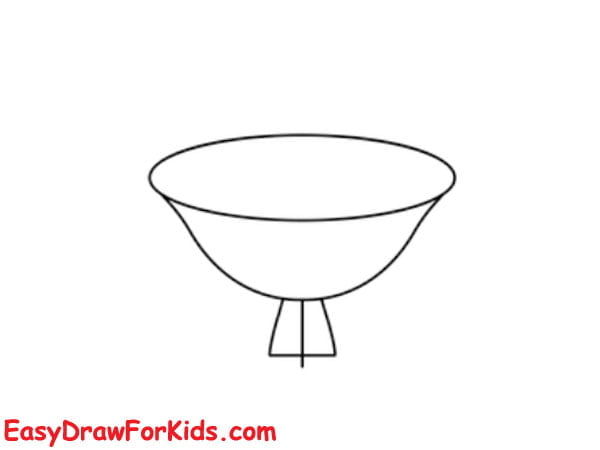
Step 2: Attach two curved lines below the bowl.
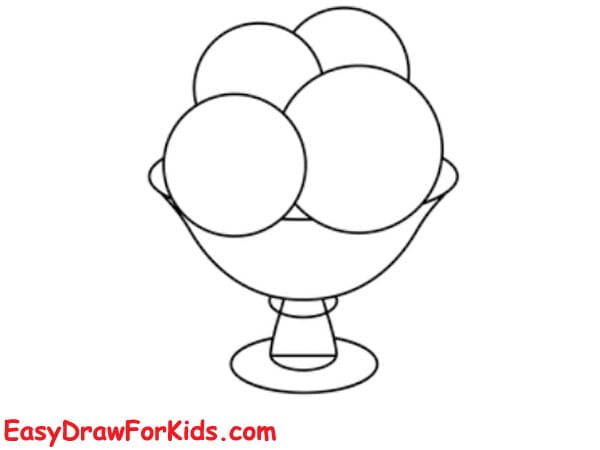
Step 3: Add four scoop of ice cream by drawing four circles overlap each other.
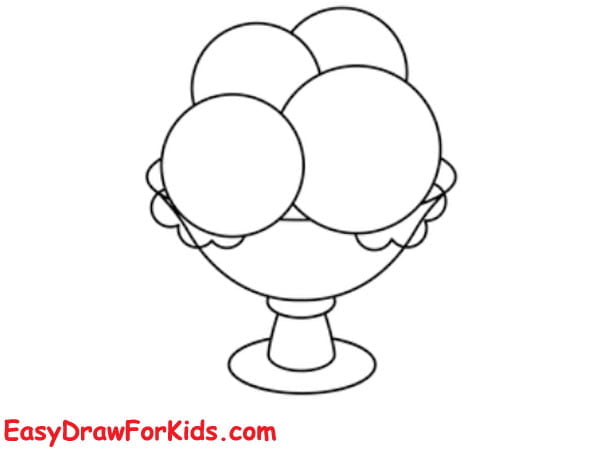
Step 4: Draw wavy lines on the ice cream scoops to form syrup.
Step 5: Sketching the sprinkle pattern on top of the cream

Step 6: Choose a variety of colors, such as red, green, yellow, and blue, to color your ice cream.
Learning how to draw an ice cream is an enjoyable way to explore and unleash your creativity.
Happy drawing!


