Many people think bunnies are one of the most accessible animals to draw.
However, this is not always the case, as some bunnies can have very intricate fur patterns.
In this guide, easydrawforkids.com will help you learn how to draw a bunny in eight ways.
Now, let’s get started!
How To Draw A Bunny – A Step By Step Guide
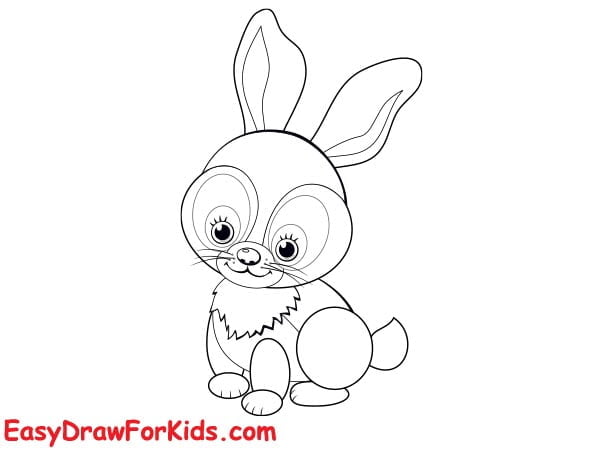
1. Bunny And Carrot Drawing
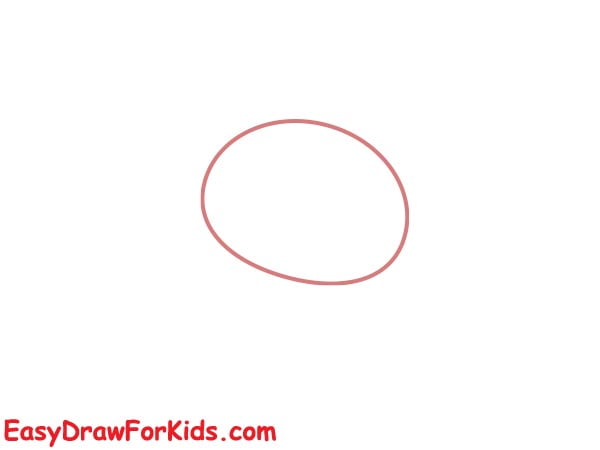
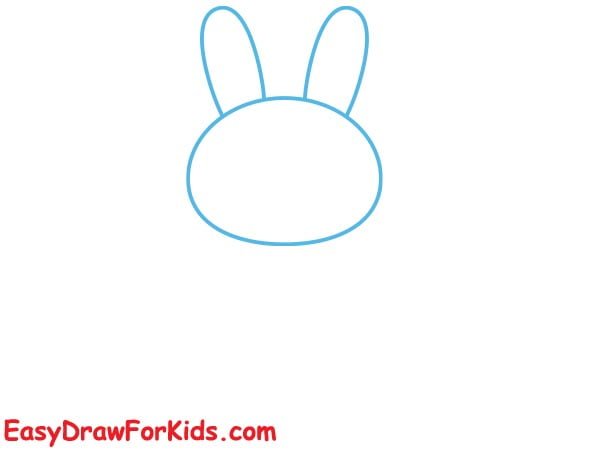
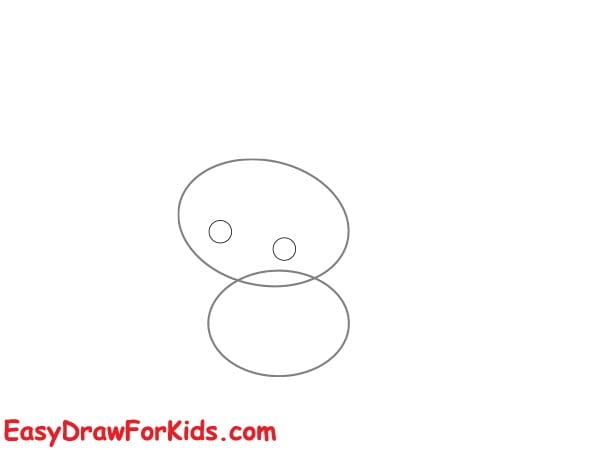
Step 1: Draw a slightly tilted oval for the bunny’s head
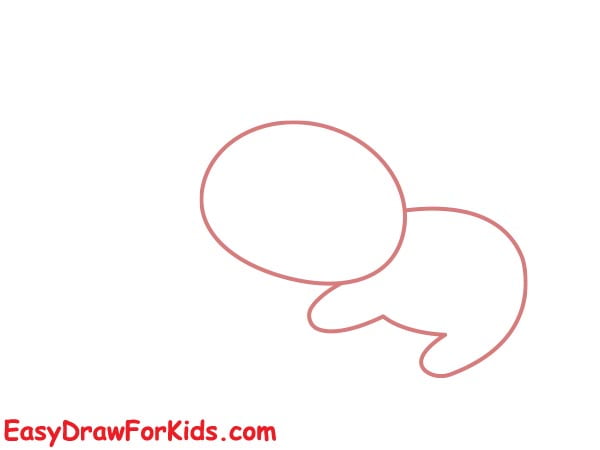
Step 2: Below the head, draw a larger, slightly slanted oval for the body and legs, as shown in the picture.
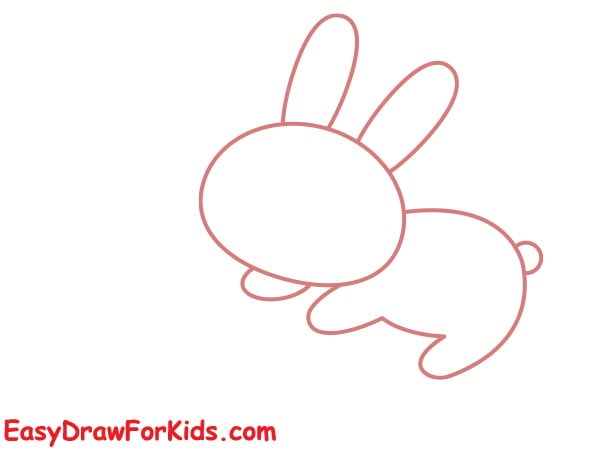
Step 3: On top of the head, draw two long, slightly curved lines for the ears, ending them with round tips.
On the backside of the body, draw a small fluffy circle for the tail.
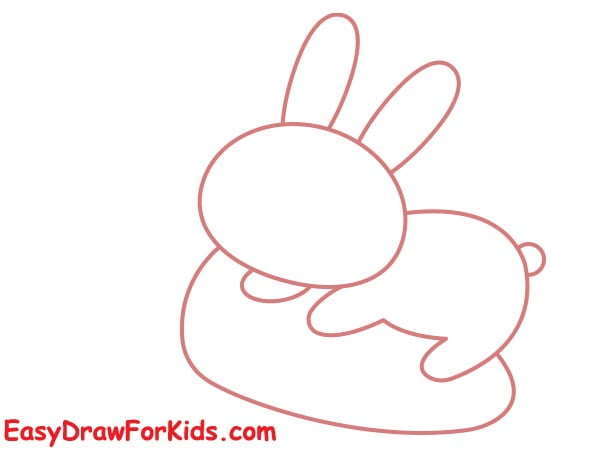
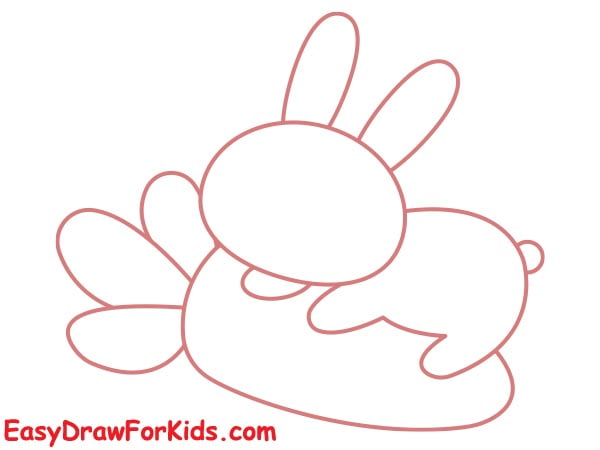
Step 4: Below the bunny, draw an elongated triangle with a rounded bottom for the body of the carrot.
Step 5: At the top of the carrot, add some curved lines to form the leaves.
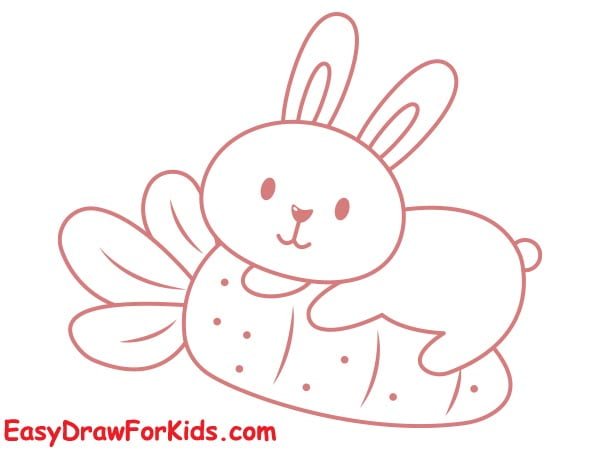
Step 6: Draw two small circles for the eyes, a triangle for the nose, and add a tiny line below the nose for the mouth.
Add a few curved lines running the length of the carrot to give it texture.
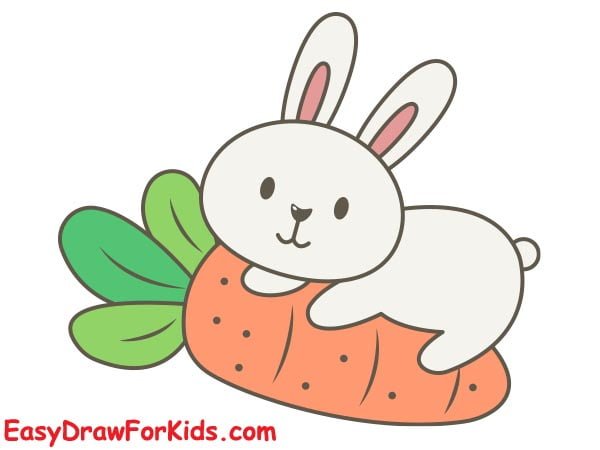
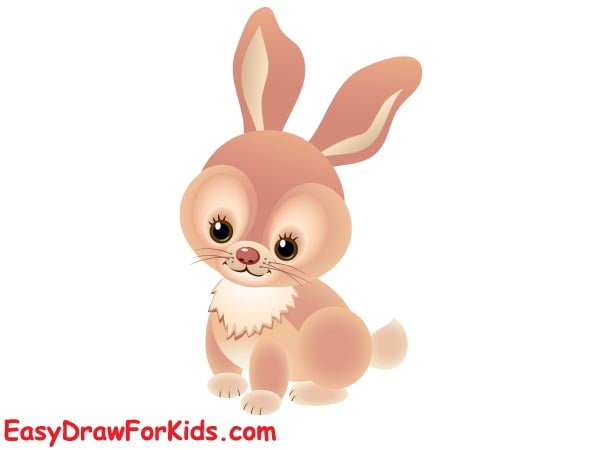
Step 7: Using soft, warm tones for the bunny and vibrant orange for the carrot.
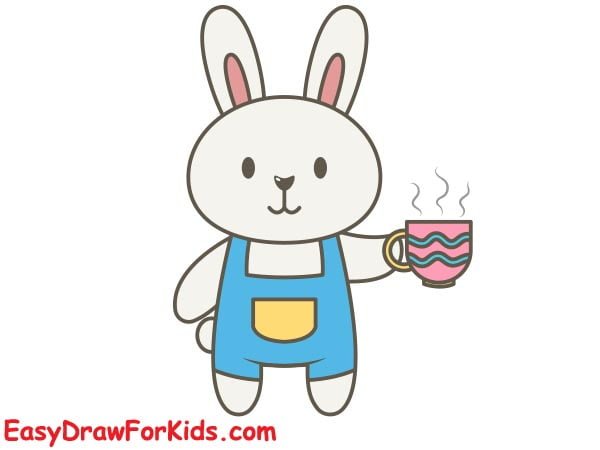
2. Bunny And Coffee Drawing
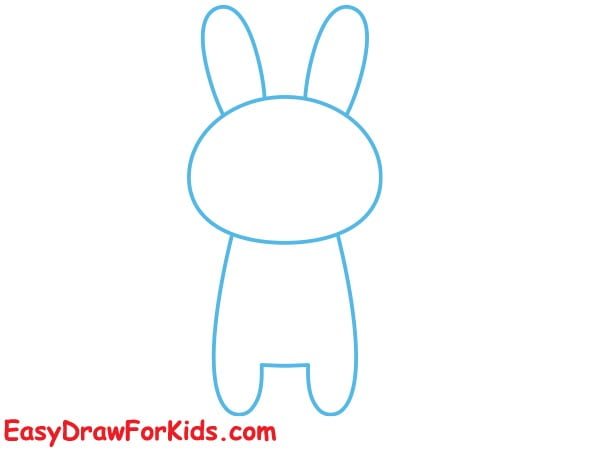
Step 1: Begin by sketching a large, rounded shape for the bunny’s head. Add two large, elongated ovals at the top for the ears.
Step 2: Draw a larger oval for the body, extend two ovals at the bottom of the body for the legs.
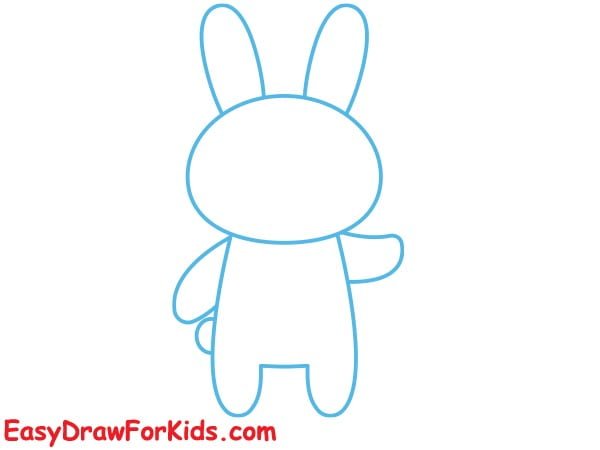
Step 3: For the first arm, sketch one oval horizontal where you want the bunny to hold the cup.
Extend an oval shape for the second arm and round tail at the back of the body.
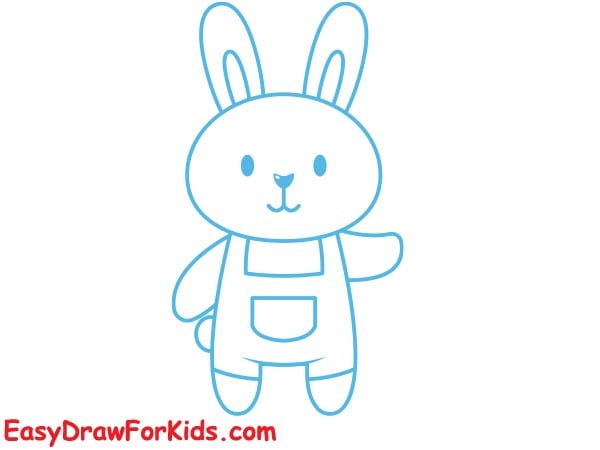
Step 4: Sketch the bunny’s eyes, nose, mouth and add a cute apron.
Step 5: On the other hand, draw a rectangle with rounded corners for the cup’s body.
Draw a C-shape on one side of the cup for the handle the bunny will hold.
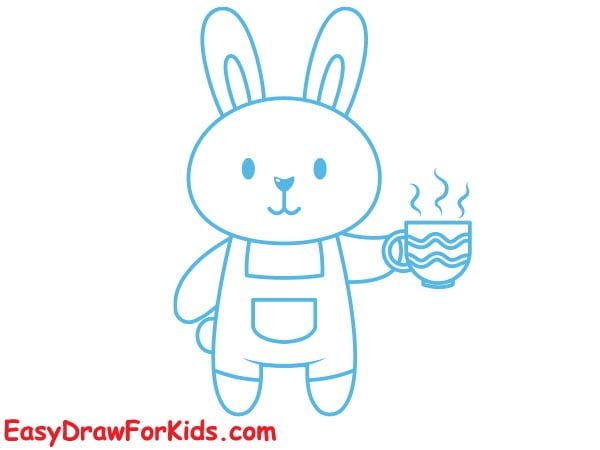
Step 6: Color in your bunny and the cup.
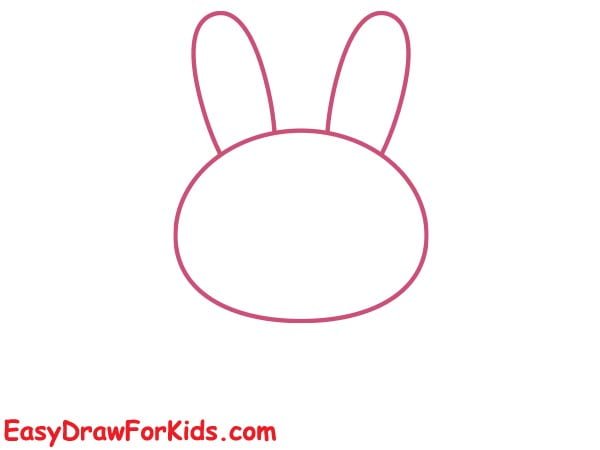
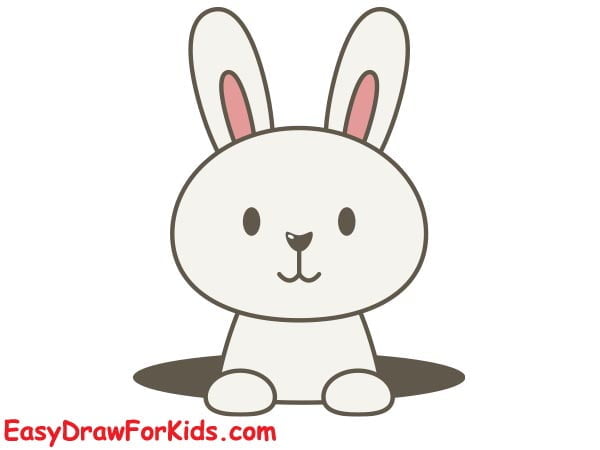
3. Bunny In Hole Drawing
Step 1: At first, you draw the bunny’s head and ears.
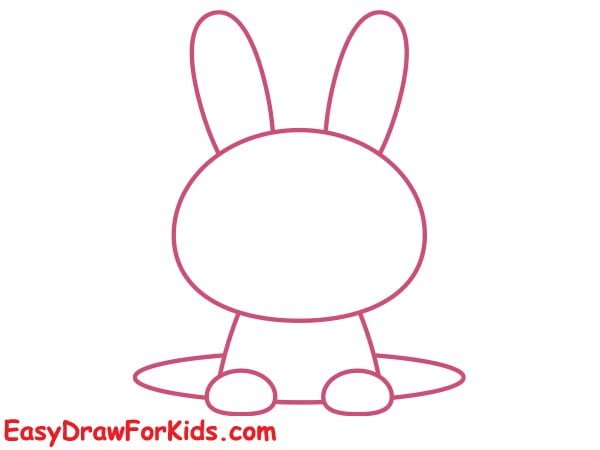
Step 2: Below the head, extend two curved lines, which end up with a horizontal line to form the body

Step 3: Draw two oval shape below the body to form the paws

Step 4: The fourth step on guide how to draw a bunny, draw an oval to represent the hole from which the bunny is peeking out.
Step 5: Draw two small circles for eyes and a small triangle for the nose.
Connect the nose to the bottom of the head with a slight “W” shape for the mouth.
Add a few whiskers on each side of the nose.
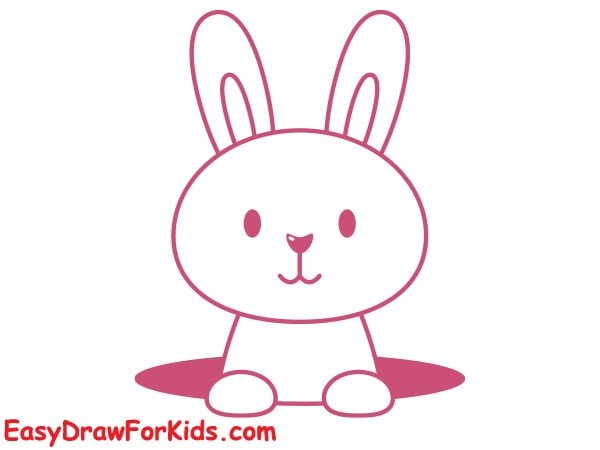
Step 6: You can choose to color your bunny in any color you like!
Shade lightly around the bunny’s paws and the inner edge of the hole to create depth. This makes it look like the bunny is actually inside the hole.
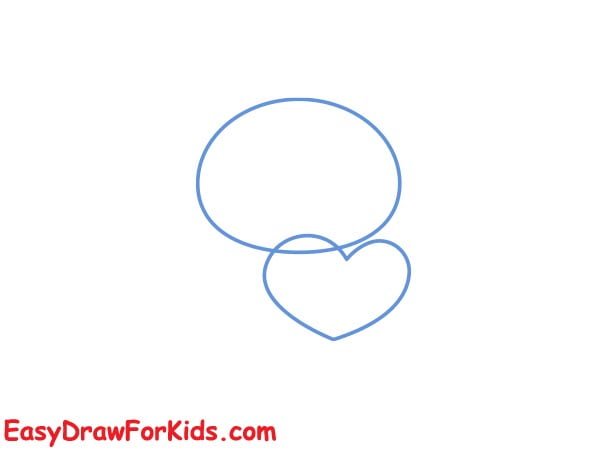
4. Bunny In Love Drawing
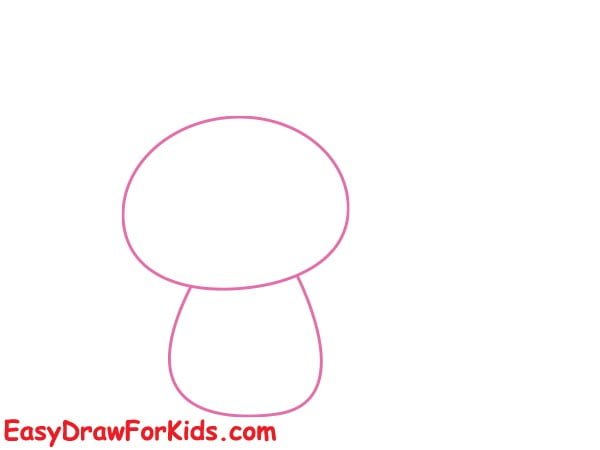
Step 1: Begin this guide how to draw a bunny by sketching a large, rounded shape for the bunny’s head, then draw a heart shape below the head, as shown in the picture.
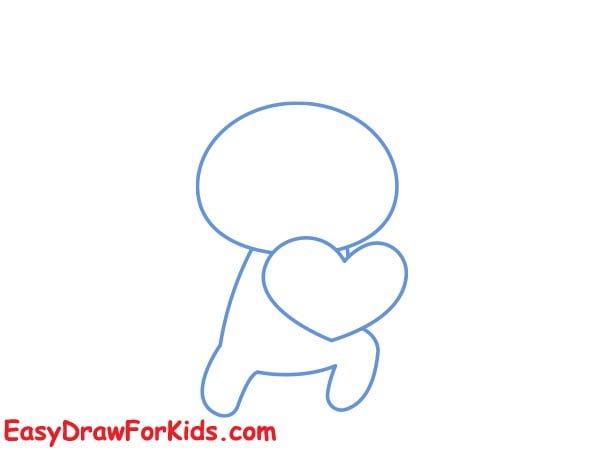
Step 2: Below the head, draw a larger oval shape for the body. Add the bunny’s short, stubby legs by sketching two simple cylinder shapes coming down from the body.
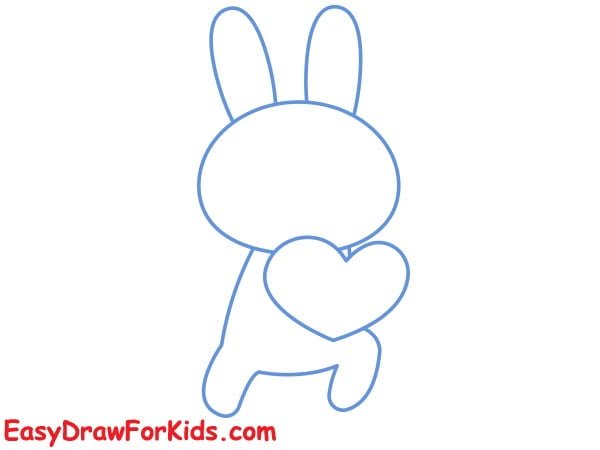
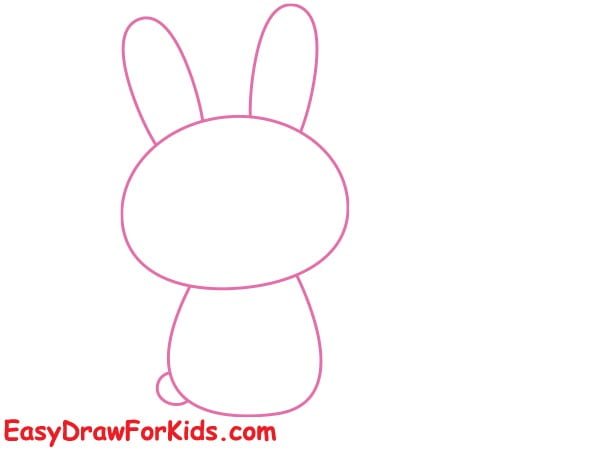
Step 3: Add the bunny’s ears by drawing two tall, round triangles on top of the head.
Step 4: Draw two front legs holding a heart and a round shape for the tail
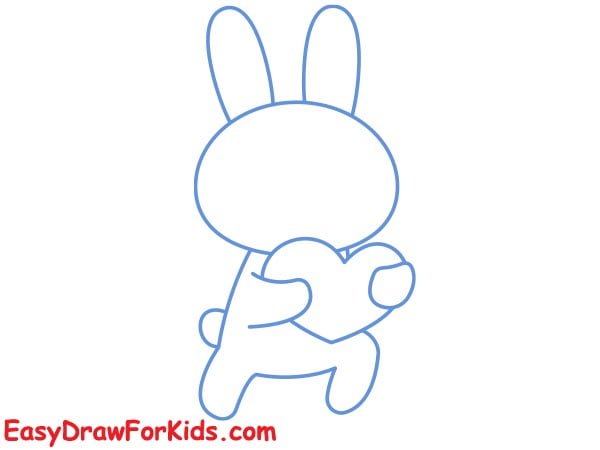
Step 5: On the head, draw a tiny triangle for the nose, and a line to represent the mouth. Placing the eyes a bit lower on the head and close together can enhance the cuteness.

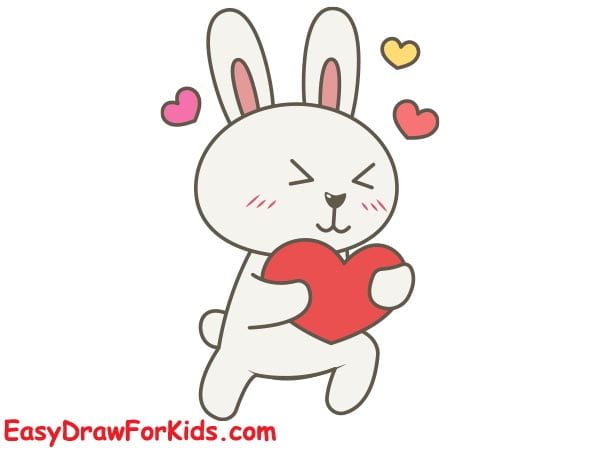
Step 6: Color your bunny with shades of white, gray, or brown—whatever you prefer!
Make the heart a vibrant color like red or pink to stand out.
5. Bunny With Candy Floss Drawing
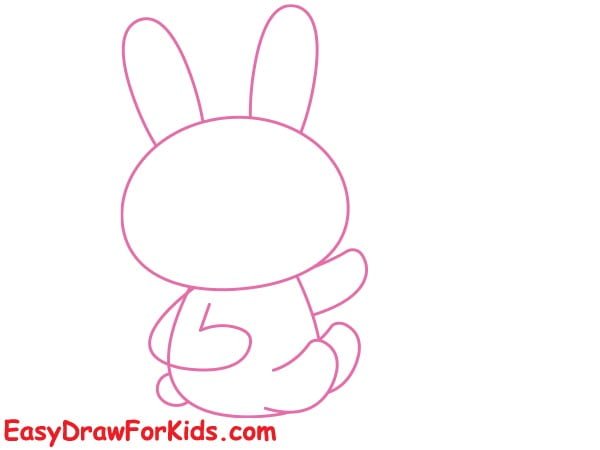
Step 1: Draw two stacked ovals for the bunny’s head and body.
Step 2: Please adding a tail and ears for your bunny
Step 3: Draw four short, cylindrical legs with rounded paws at the ends.
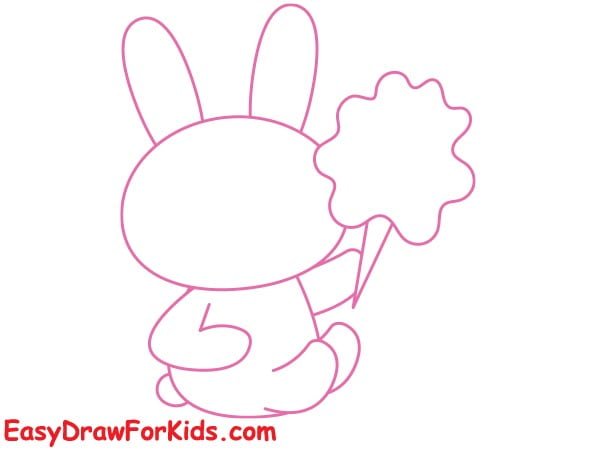
Step 4: In front of the bunny, draw a large, fluffy cloud-like shape to represent the candy floss.
Position the bunny so that it appears to be holding the cotton candy with its front paw.
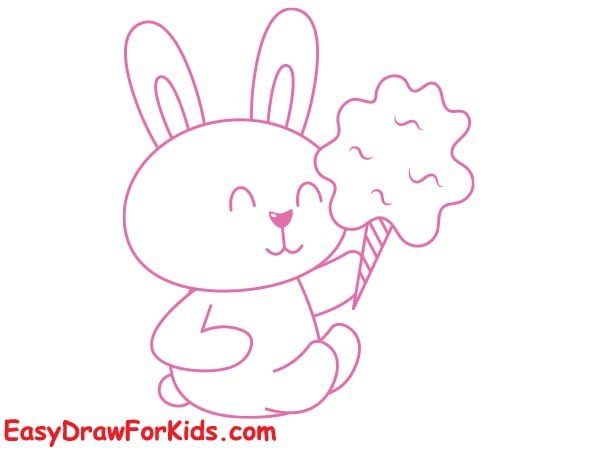
Step 5: Add two half circles for smiling close eyes, a tiny triangle for the nose, and a smile line below it.
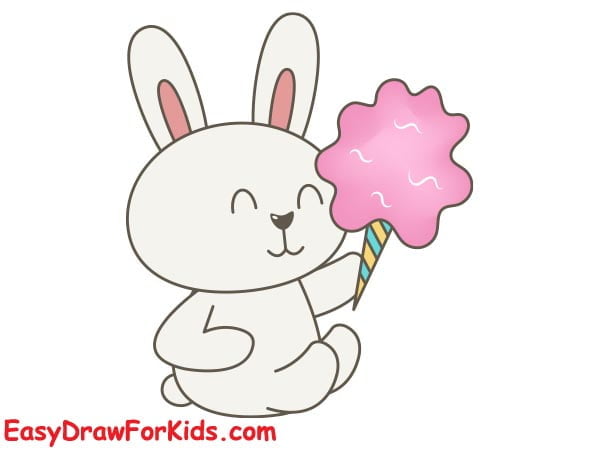
Step 6: Color your bunny any color you like!
Give the candy floss a vibrant color – pink, blue, purple, etc., to make it stand out.
6. Realistic Bunny Drawing
Step 1: Start this guide how to draw a bunny by sketching the basic shape of the bunny with two circles inside the head for the eyes.
Step 2: Draw two tall, narrow triangles extending from the top of the head, angling them slightly outwards for the bunny’s ears.
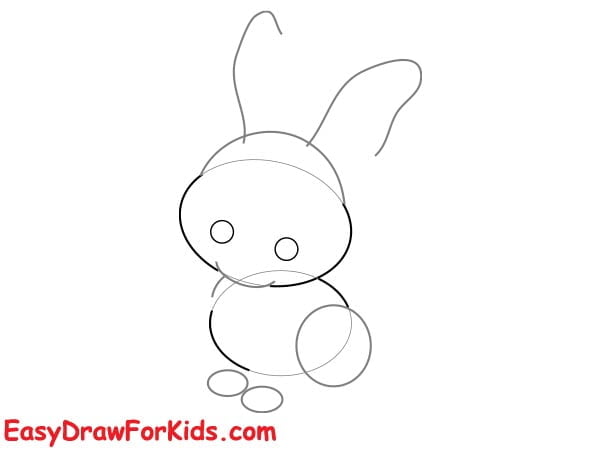
Step 3: Sketch the front legs using slender ovals.
Add the hind legs with larger, round shapes for the thighs and narrower shapes for the lower legs.
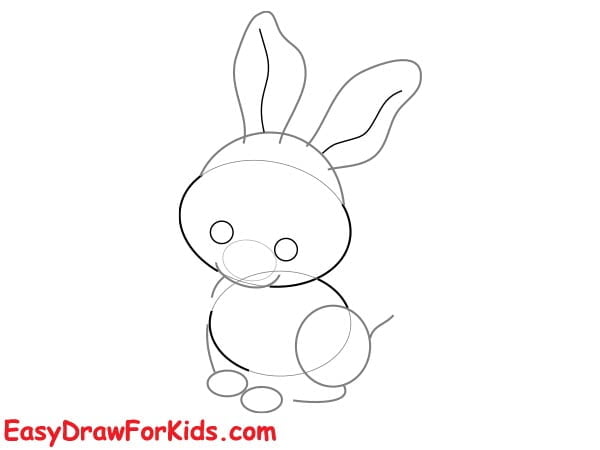
Step 4: Adding the eyes with a round pupil.
For the nose, draw a small triangle and extend lines downwards for the mouth.
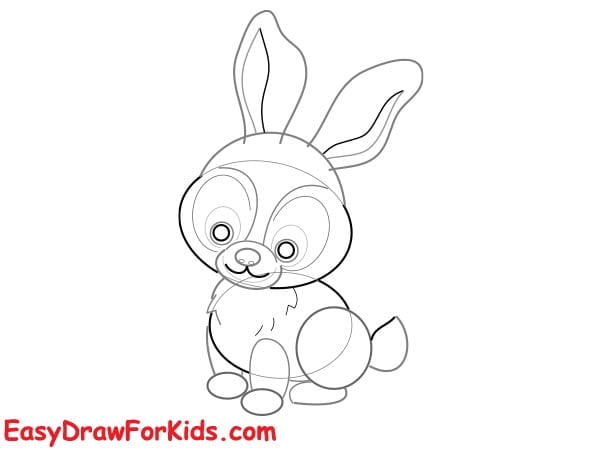
Step 5: Add finer details such as the claws, deeper fur textures, and more defined ear details.
Add whisker dots on either side of the nose.
Step 6: Coloring
7. Cute Bunny Drawing
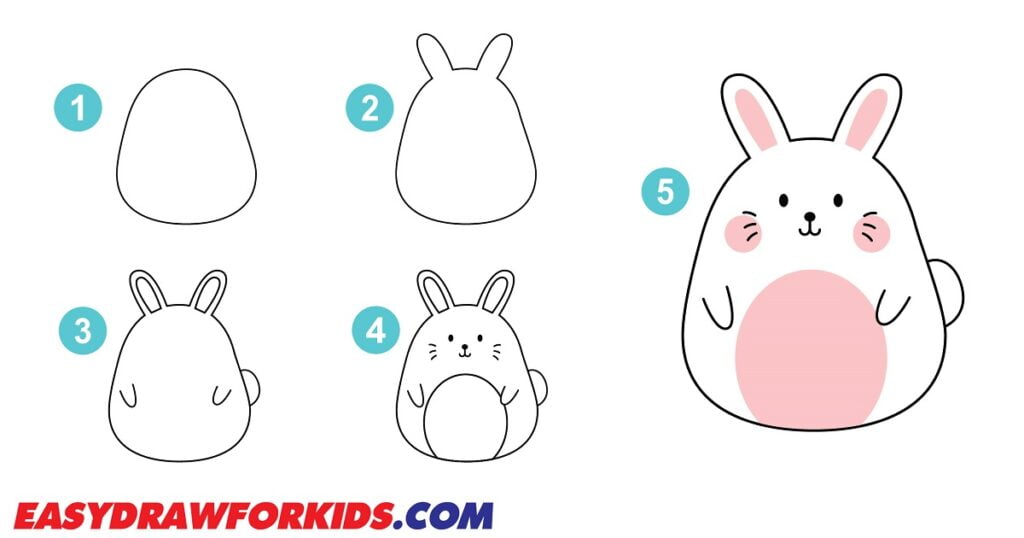
Step 1: First sketch out the head and body of our bunny like egg

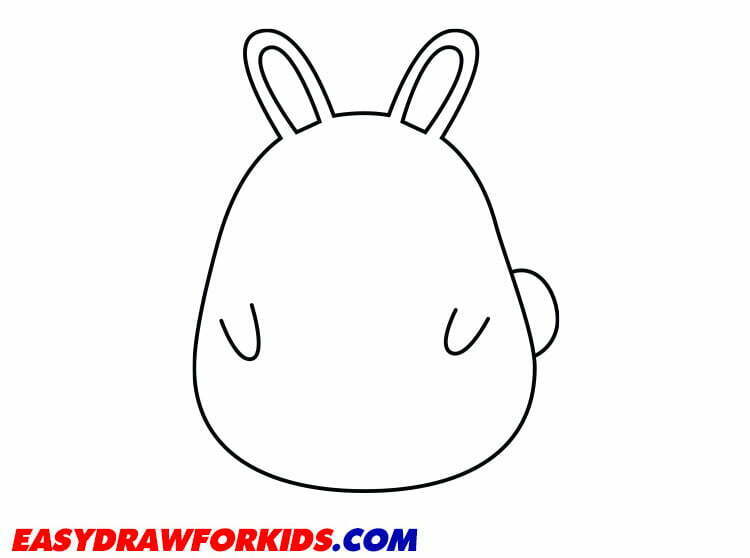
Step 2: Draw the ear by using two oval shapes that sit on top of the head

Step 3: Use some smooth, rounded shapes to represent the bunny’s tail and hands.
Step 4: Depict the eyes, nose, whiskers and mouth of our bunny and some fur details around the body.

Step 5: Your bunny drawing is now complete! You can add color if you like or as shown the picture, or leave it as a black and white sketch.
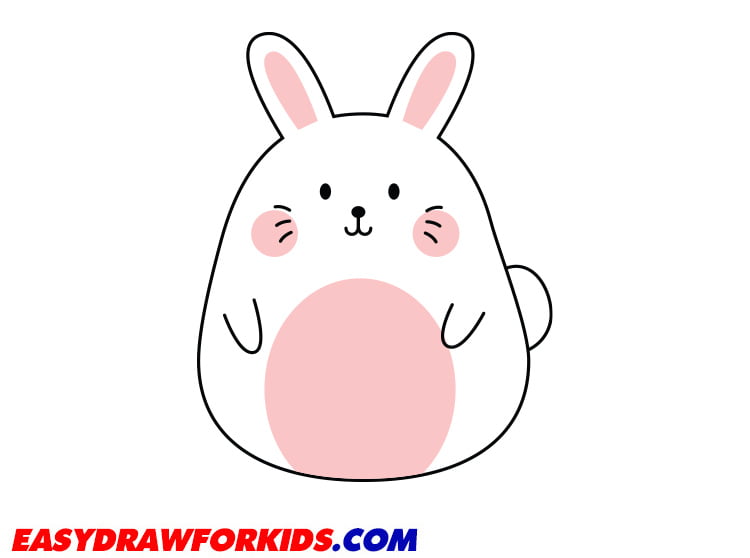
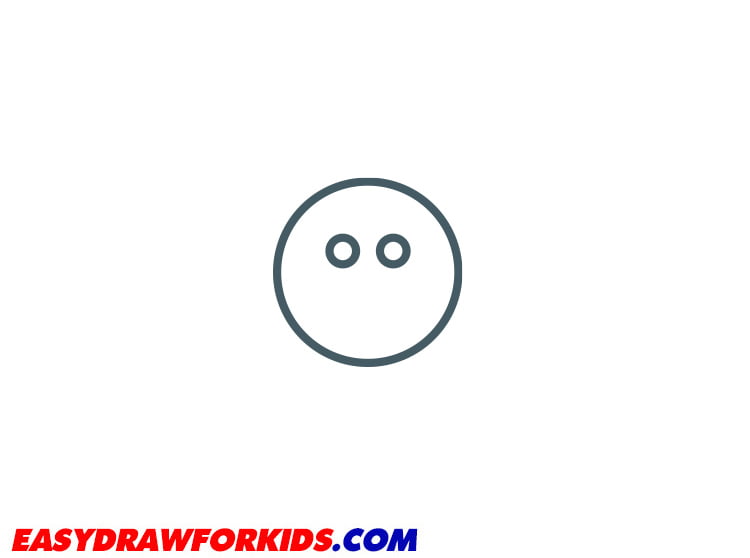
8. Easy Bunny Drawing

Step 1: Begin by drawing a large circle for the bunny’s head. Add two smaller oval shapes for the eyes
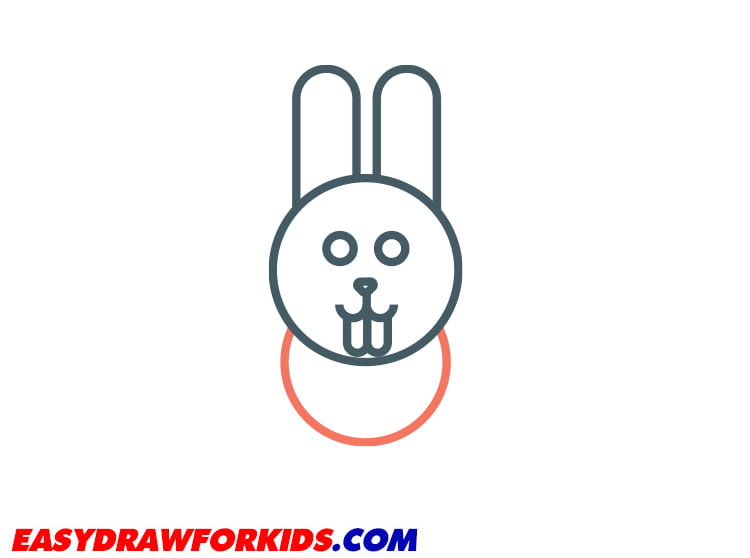
Step 2: Draw a triangle for the bunny’s nose.
Add a line for the bunny’s mouth and two curve line below the mouth for teeths

Step 3: Draw two ears on either side of the head.

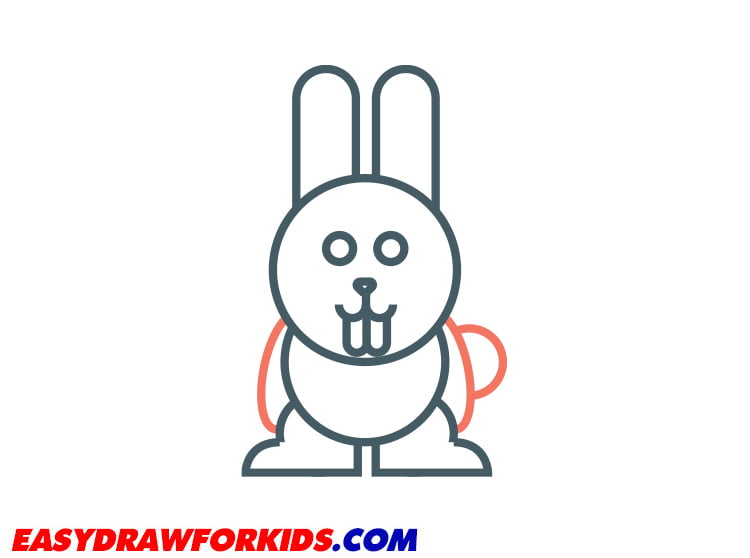
Step 4: Use the curve line for the torso, place it vertical as in my reference
Step 5: Draw two back legs by extending two curved lines down from the body. Make the legs thicker at the bottom to form the bunny’s paws.

Step 6: Draw two front legs by extending two curved lines down from the body.
Add a fluffy tail by drawing a curved line off the back end of the bunny’s body.
Step 7: Now that you know how to draw a bunny, why not try adding some color? Bunnies come in all sorts of colors and patterns, so have fun experimenting!

Now that you know how to draw a bunny, why not try drawing a whole family? Or, for a real challenge, try drawing a bunny with Easter eggs!
Easydrawforkids.com hopes you enjoyed this tutorial. If you want to learn how to draw other animals, check out our other tutorials.