Do you want to learn how to draw a boy but don’t know where to begin?
This tutorial provides a basic introduction to drawing a boy, offering step-by-step instructions for beginners.
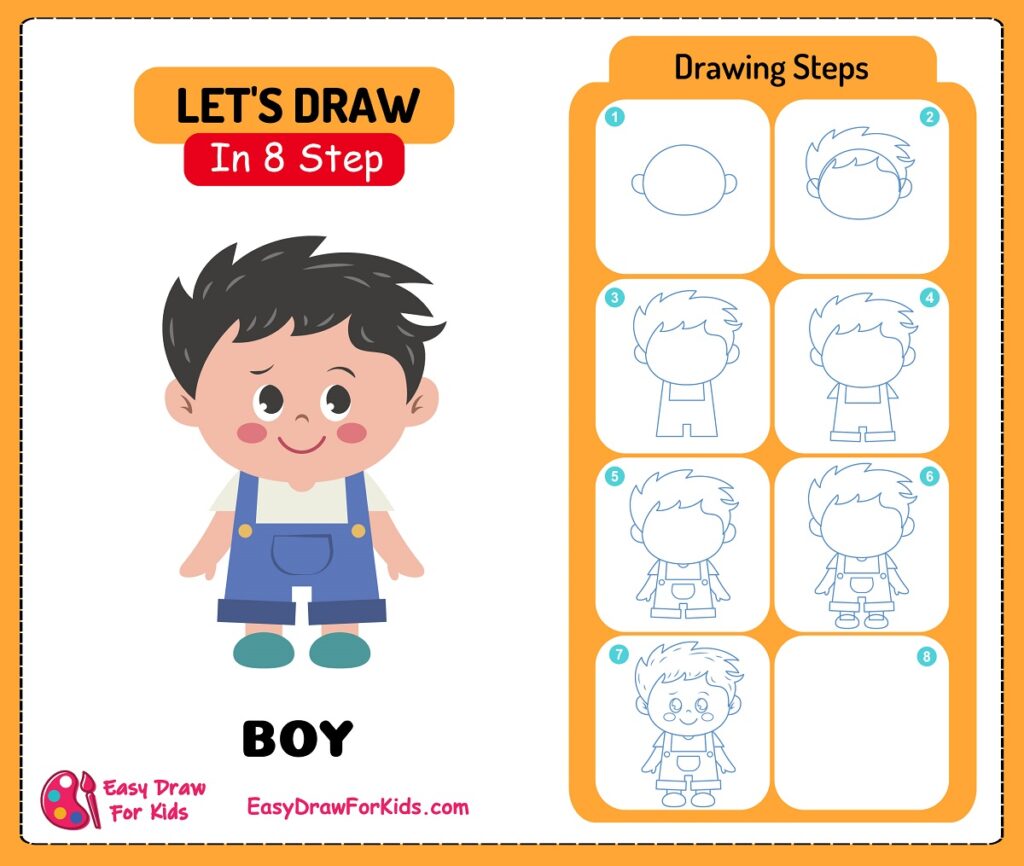
How To Draw A Boy – Step By Step Guide
1. Cute Boy Drawing
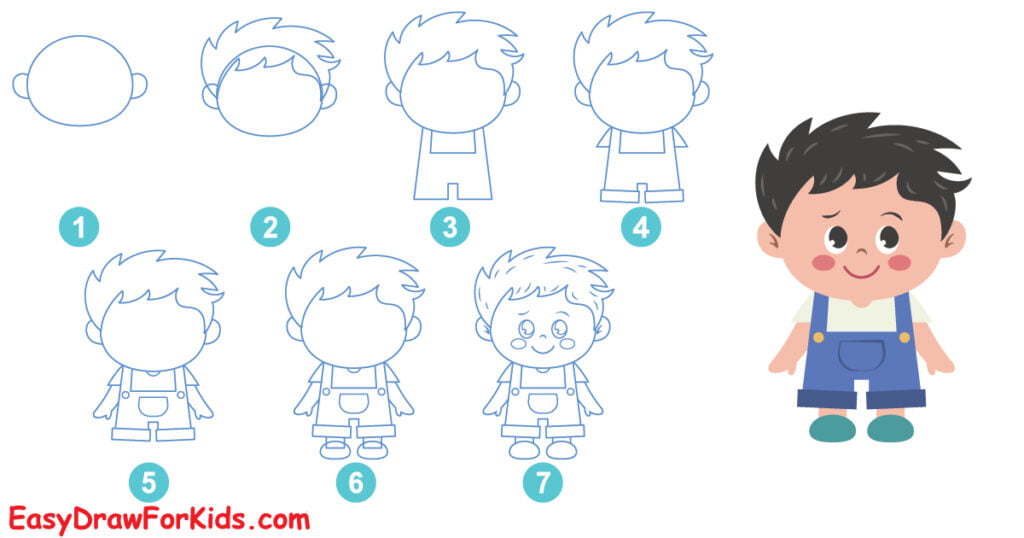
In this article on how to draw a boy in 8 steps to help you drawing a boy with ease!
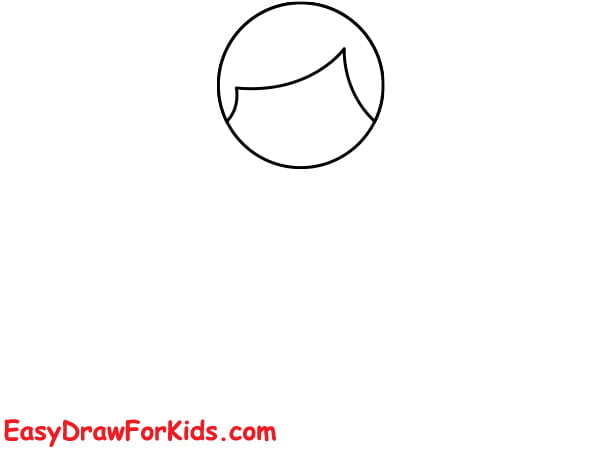
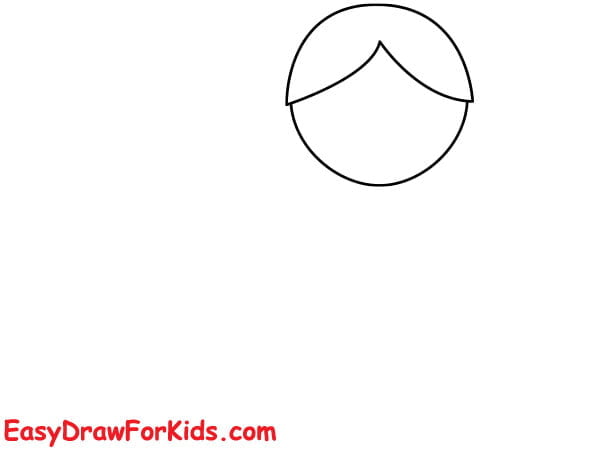
Step 1: Draw an oval shape for the head, and small C-shapes on each side of the head to add simple ears.

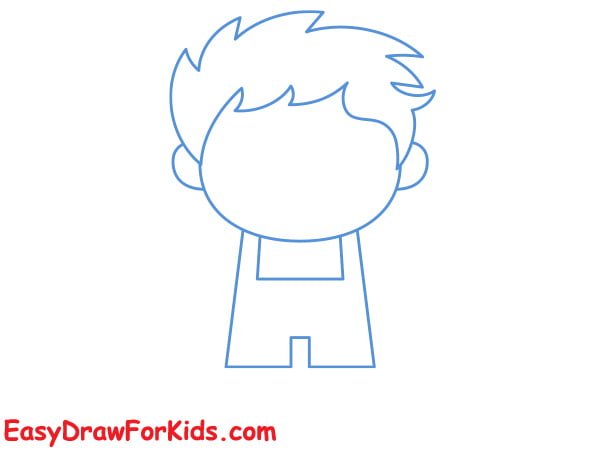
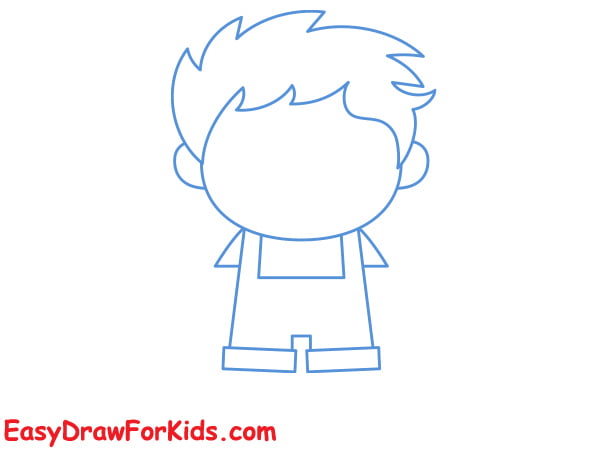
Step 2: Add the boy’s hair by drawing short, jagged lines around the top and sides of the head.

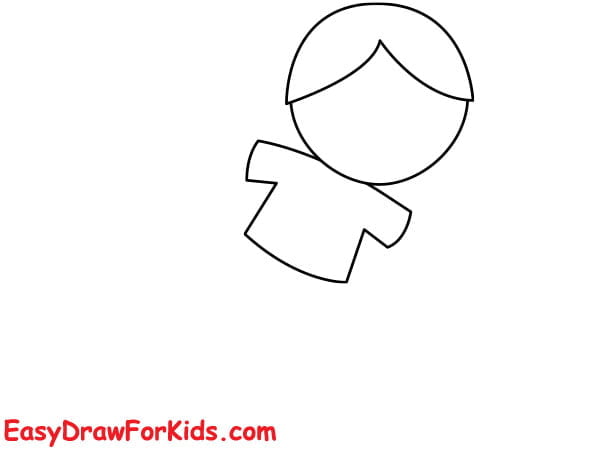
Step 3: Draw the body and clothing
Briefly sketch guidelines for the shoulders, waist and hips to refine the torso shape.
Add a vertical line in the torso to indicate a shirt.
Draw parallel vertical lines on the legs to show pants.
Step 4: Sketch light clothing folds and wrinkles to make the outfit look more natural.
Step 5: Sketch out the arms
Draw two slightly curved lines extending from the shoulders towards the sides of the torso to represent the boy’s arms.
Draw ovals for the boy’s hands at the ends of the arms.

Step 6: Sketch out the legs
Draw two long lines downward from the bottom of the torso to form the boy’s legs.
Draw two small ovals for the shoes at the end of the legs.
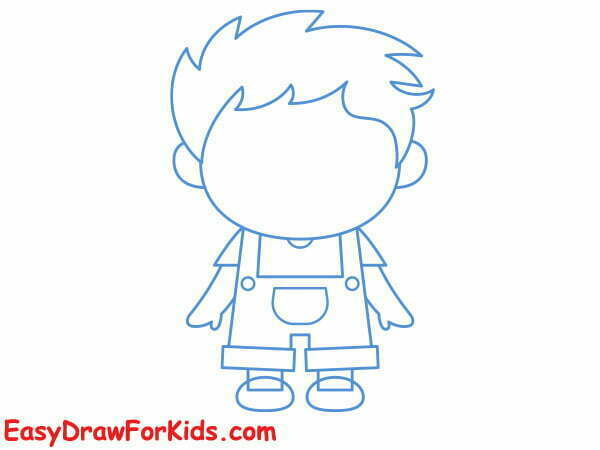
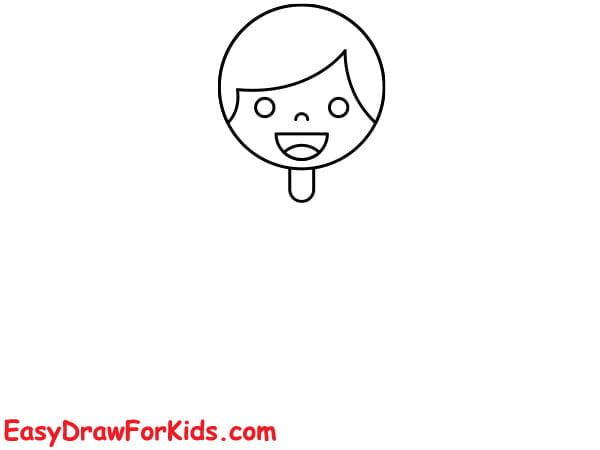
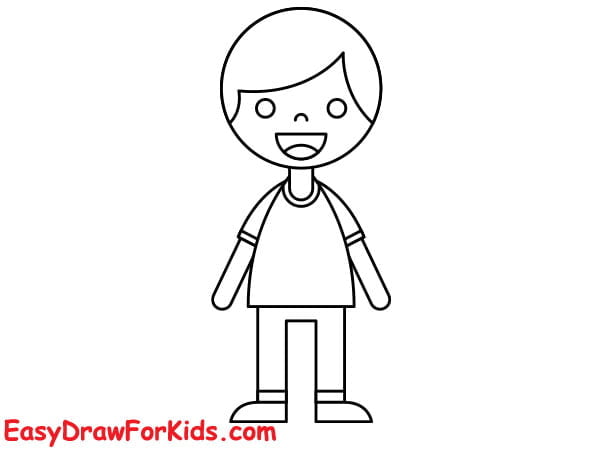
Step 7: Adding details and features to the Boy’s Face
Draw two large oval shape for the eyes, add the pupils and eyelids.
Draw a round button nose and a curved line for the smiling mouth.

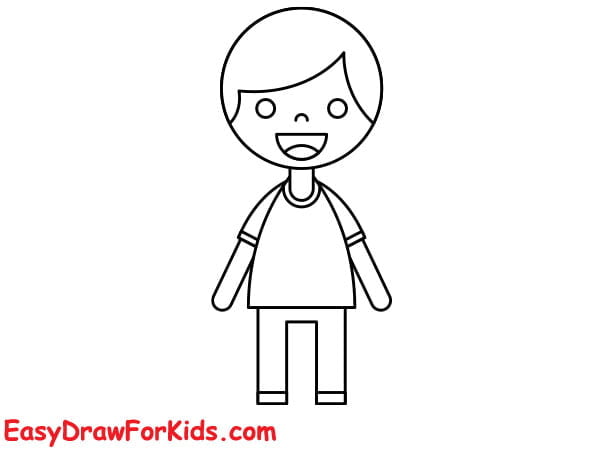
Step 8: Color your cute boy drawing

2. Easy Boy Drawing
Step 1: Draw the head and hair for the boy
Step 2: Add facial features to the head, draw two lines below the head to form the neck.
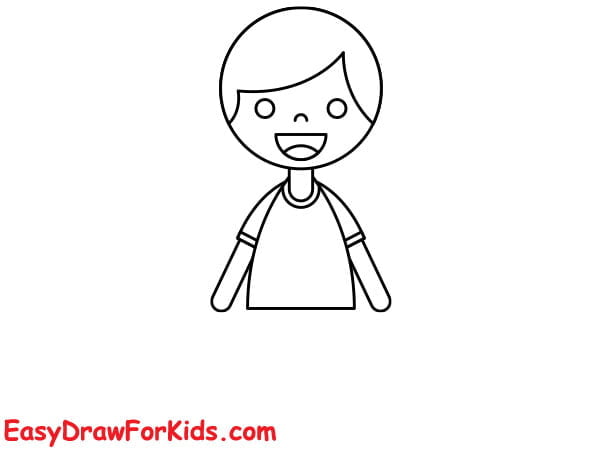
Step 3: Draw the shirt to your boy drawing.

Step 4: Above the torso, draw two lines extend outward to create the boy’s arms.
Step 5: From the bottom of the torso, draw two lines that curve outward to create the boy’s legs.
Step 6: At the end of each leg, draw a smaller oval shape for the boy’s sneaker.
Step 7: Use vibrant colors to bring energy and life to your boy drawing.

3. Boy Playing Soccer Drawing
Step 1: Start by drawing a slightly tilted oval shape for the head of the running boy, add the hair according to your desired style.
Step 2: Below the head, draw t-shirt on the body.
Step 3: The third step on guide how to draw a boy by adding the shorts below the t-shirt
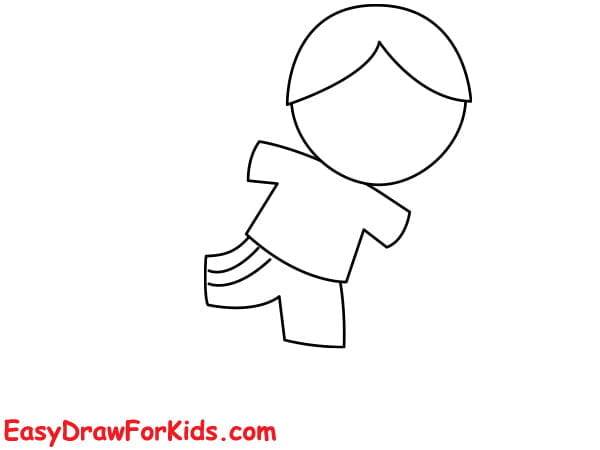
Step 4: Extend two lines diagonally outward to create the arms.

Step 5: For the legs, draw lines diagonally downward to create the upper legs, adding sneakers to complete the look.
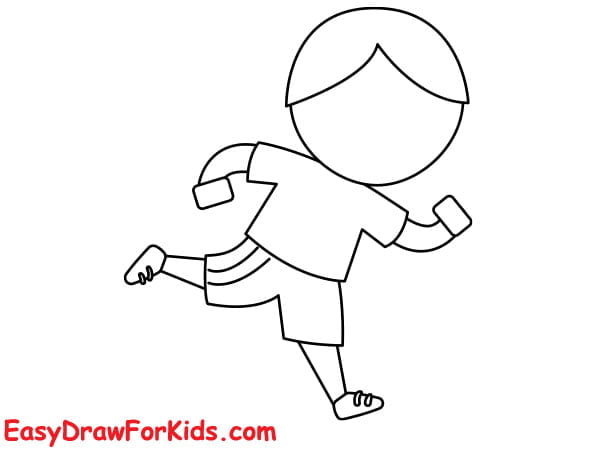
Step 6: Don’t forget to draw eyes, nose and mouth for him
Draw a round circle to present the soccer ball.
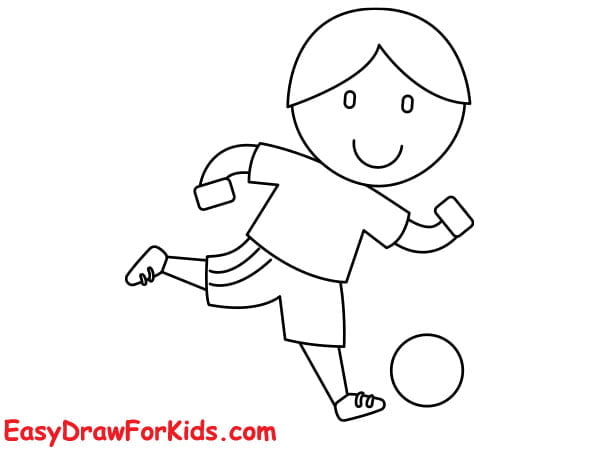
Congratulations! You have successfully drawn a boy step by step.
Remember, practice makes perfect!
The tutorial on how to draw a boy will help you complete the picture beautifully.