Hello, welcome to easydrawforkids.com
In this tutorial, I will show you how to draw a butterfly step-by-step.
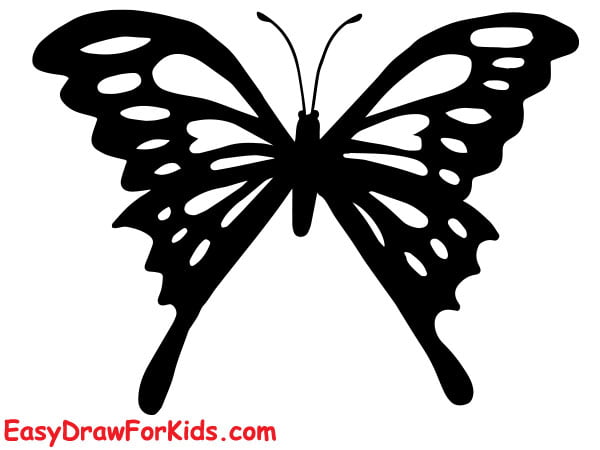
How To Draw A Butterfly – A Step By Step Guide
1. Kawaii Butterfly Drawing

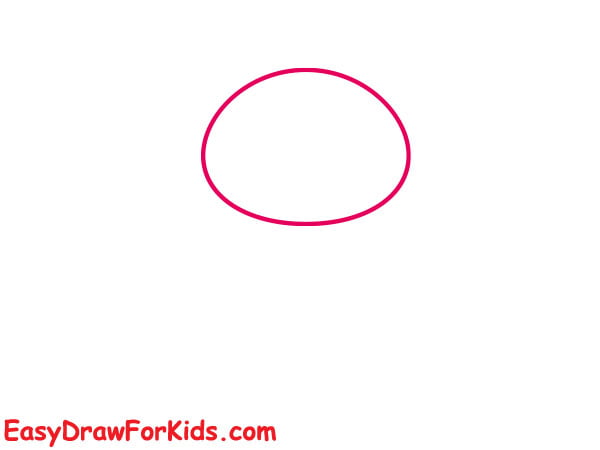
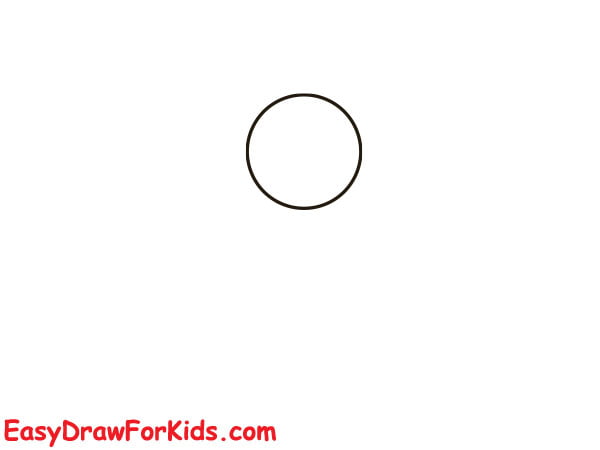
Step 1: Draw a circle for the butterfly’s head section.

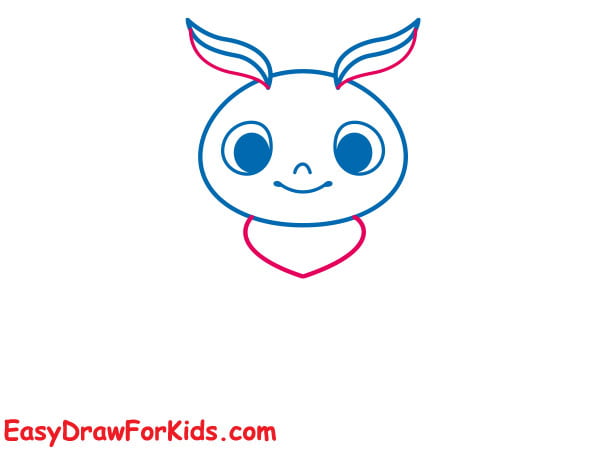
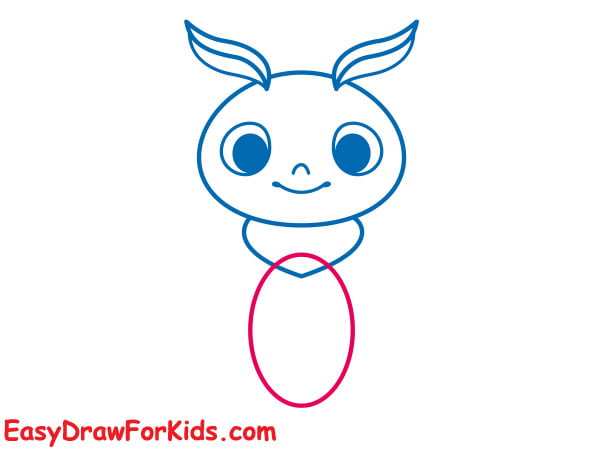
Step 2: Below the head, draw an oval shape that’s a little longer for the butterfly’s abdomen.

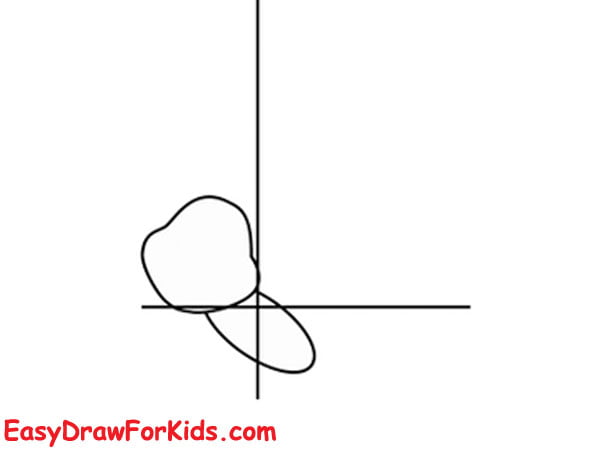
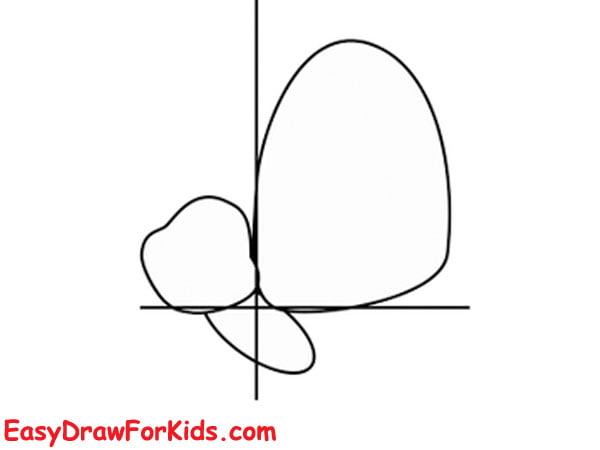
Step 3: Sketch the top wing of the butterfly

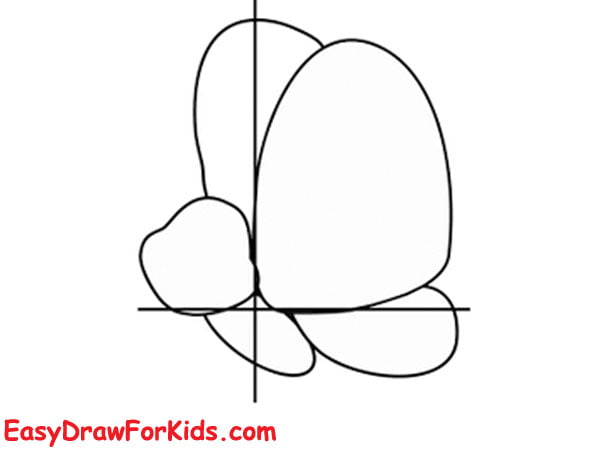
Step 4: Sketch out the bottom wings.

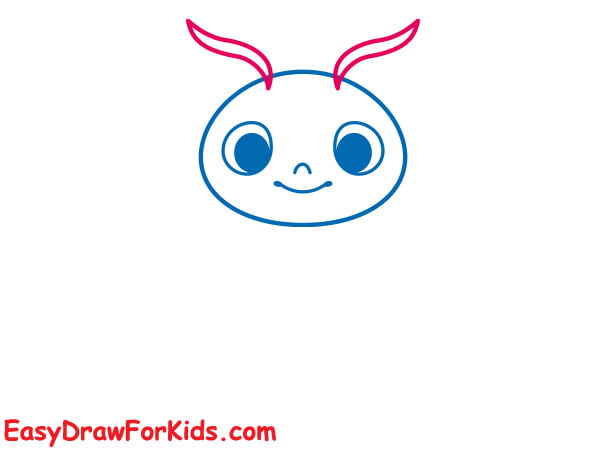
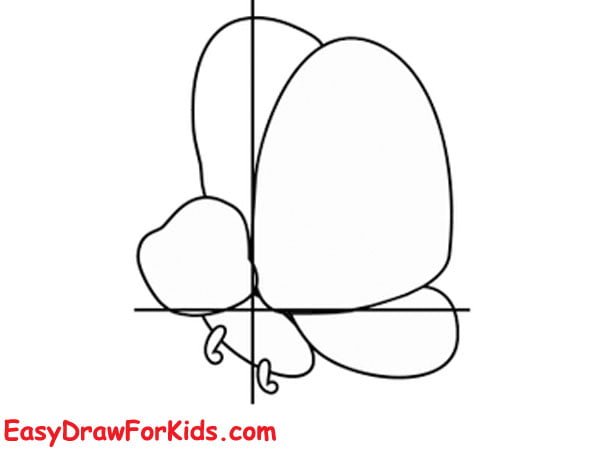
Step 5: The fifth step in a guide on how to draw a butterfly will be drawing the antennae of your butterfly.

Step 6: Add the final details to your butterfly

Step 7: Color your butterfly drawing

>>>Read more: How To Draw A Grasshopper
2. Cute Butterfly Drawing
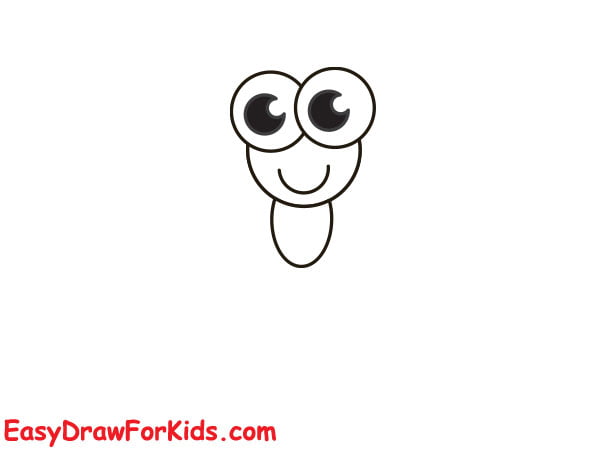
Step 1: Draw a circle for the head.
Step 2: Add two large, round eyes to the head

Step 3: Add a sweet smile

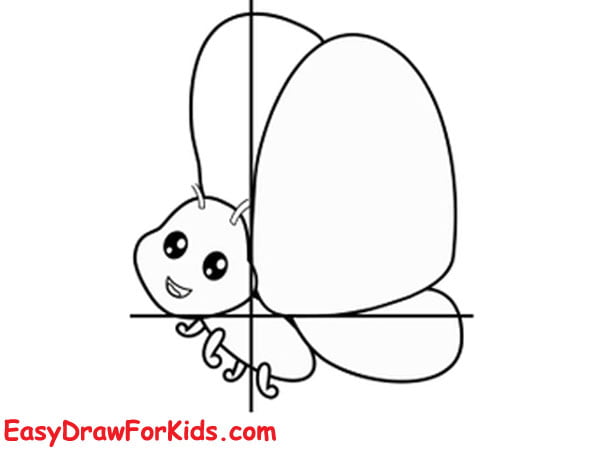
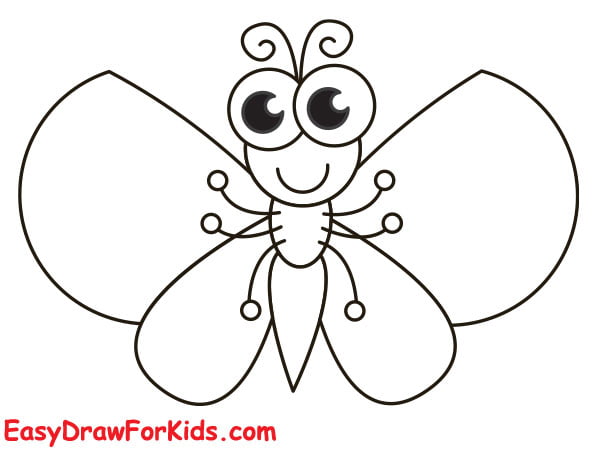
Step 4: From the top of the head, draw two curvy lines for antennae.
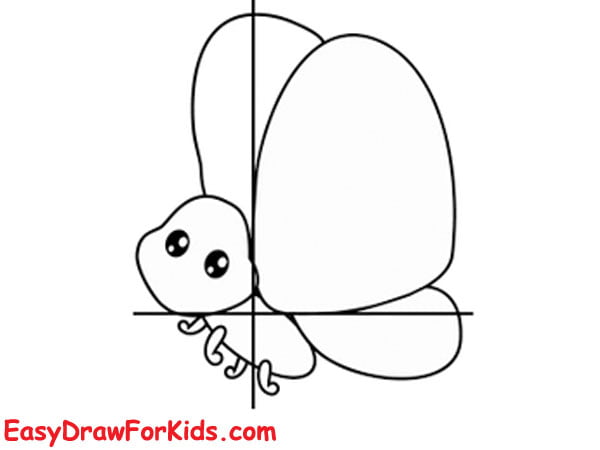
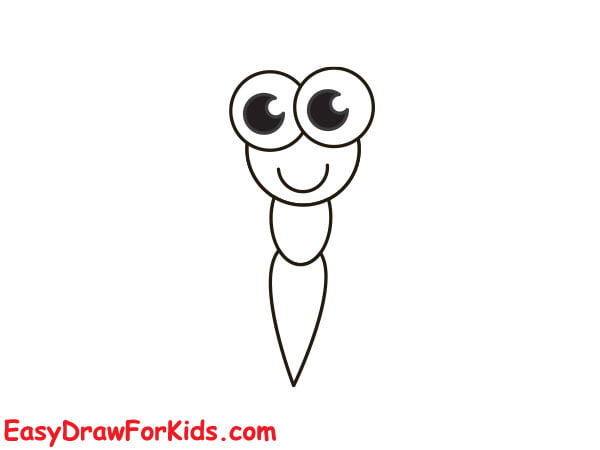
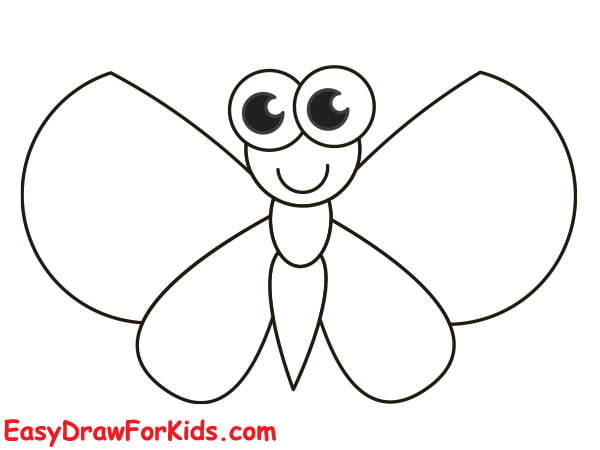
Step 5: Below the head, draw a gentle curve for the butterfly’s thorax.
Step 6: Below the thorax, draw an oval shape that’s a little wider for the abdomen.
Step 7: Draw wavy lines spanning the width of the abdomen
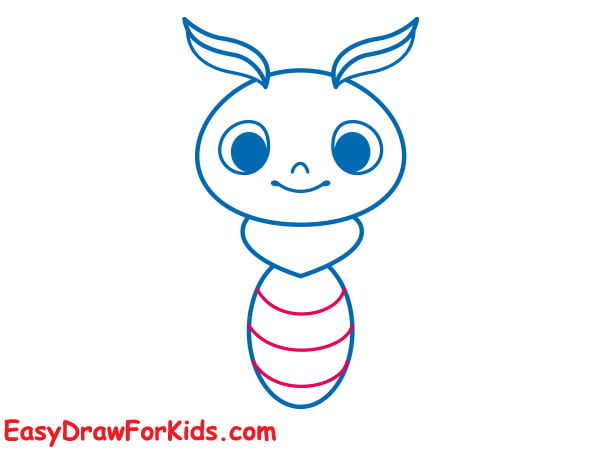
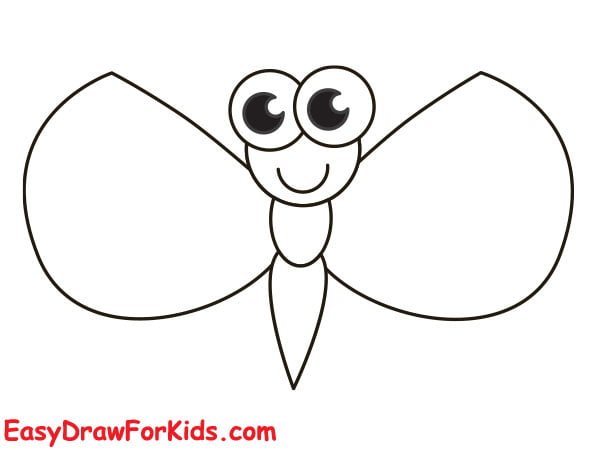
Step 8: Draw two large top wings, below each top wing, draw a smaller loop for the bottom wings.

Step 9: Draw six thin, relatively short lines to form the butterfly’s legs

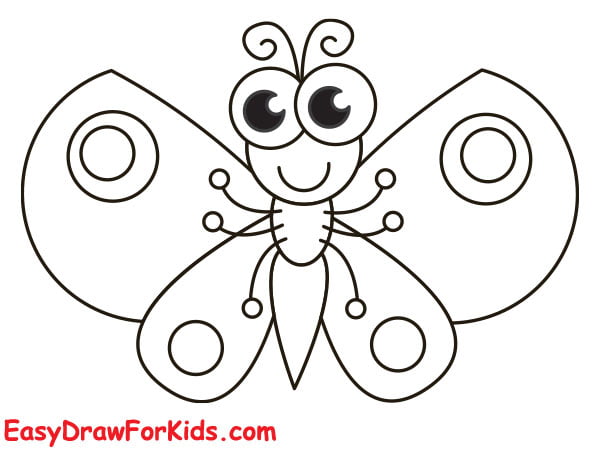
Step 10: Inside each wing, draw patterns.
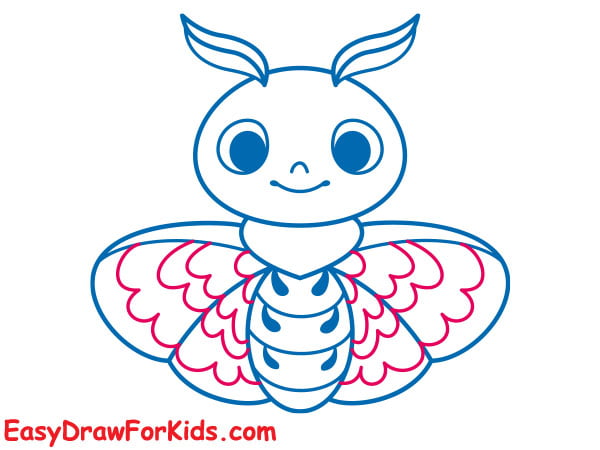
Step 11: Add small lines along the body
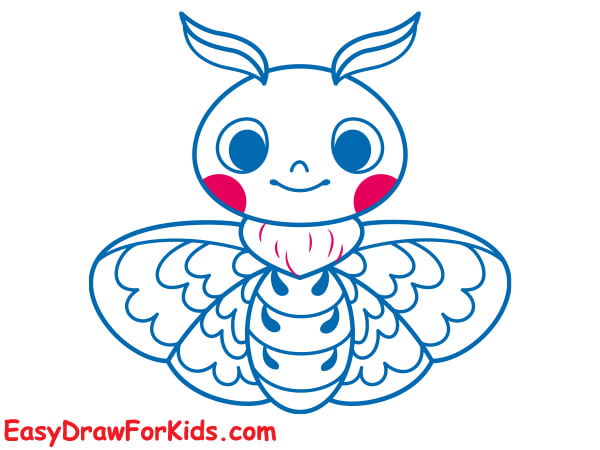
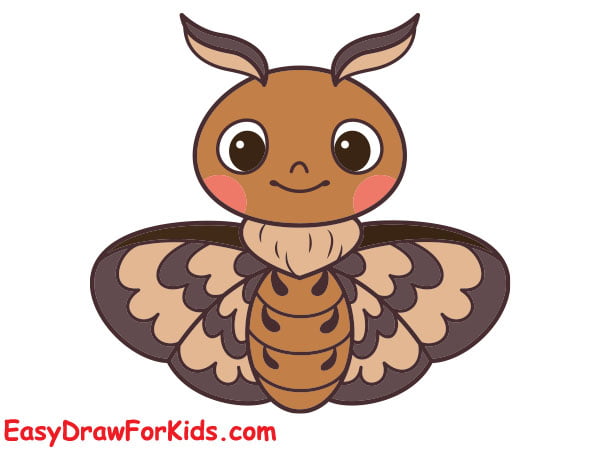
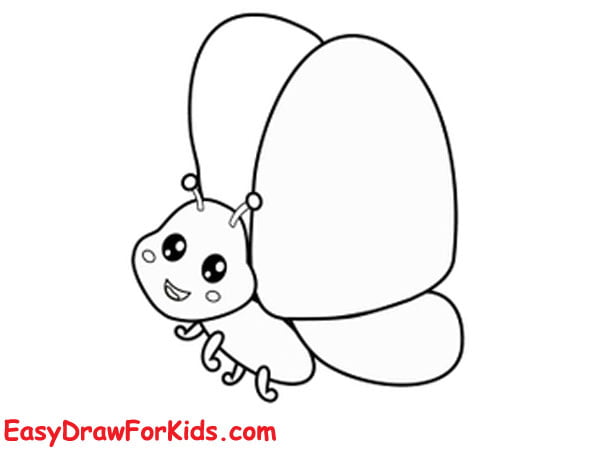
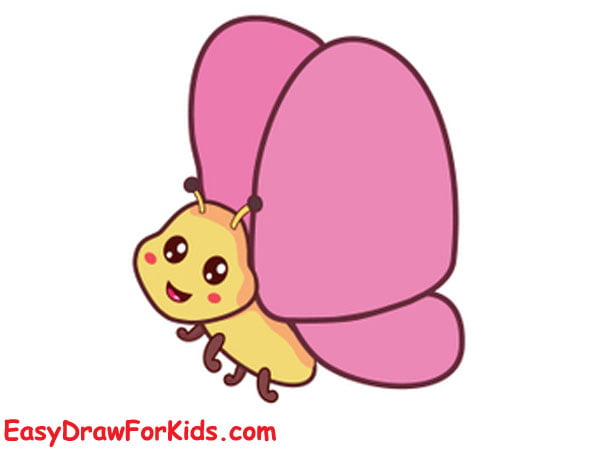
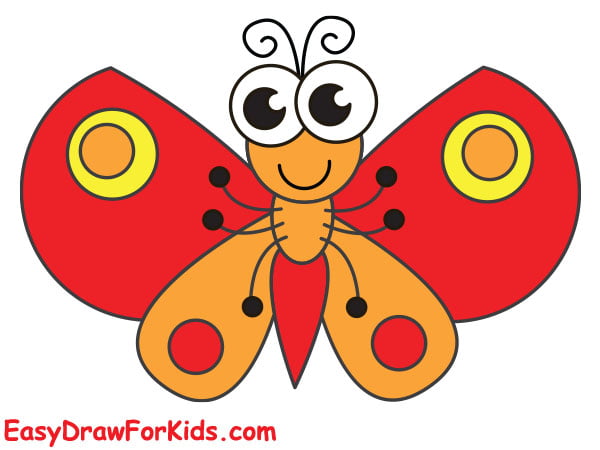
Step 12: For a cute look, choose bright and soft colors to color your butterfly.
3. Cartoon Butterfly Drawing
Step 1: Sketch the basic shape of the butterfly’s body and head
Step 2: Draw the first top wing
Step 3: Draw the second top wing and lower wing
Step 4: Adding four legs for your butterfly
Step 5: Draw two circle on the head for the butterfly’s eyes
Step 6: Adding smiling mouth and antennae
Step 7: Erase and re-draw any parts lopsided.
Step 8: Choose colors that mimic those found in nature for your butterfly
4. Simple Butterfly Drawing
Step 1: Draw a small circle for the head of the butterfly.
Step 2: Add a smiley face on the head of the butterfly for a cute touch.

Step 3: Draw a thorax below the head
Step 4: Add a tear drop shape for the body of the butterfly.
Step 5: Draw two large and symmetrical wings on either side of the body.
Step 6: Adding two lower wings below the top wings
Step 7: Draw six legs and antennae
Step 8: Add simple patterns or designs on the wings.
Step 9: Coloring to complete your butterfly drawing
5. Butterfly Drawing From Letter X
Step 1: Start by drawing a large and bold letter “X” in the center of your paper.

Step 2: Extend the top of the “X” to create the butterfly’s upper wings.
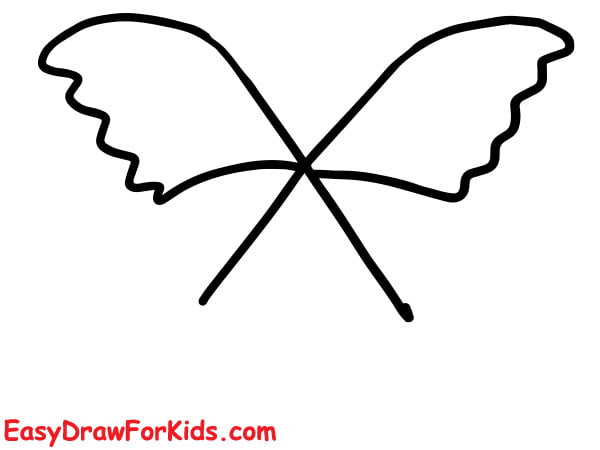
Step 3: Continue this step with lower wings
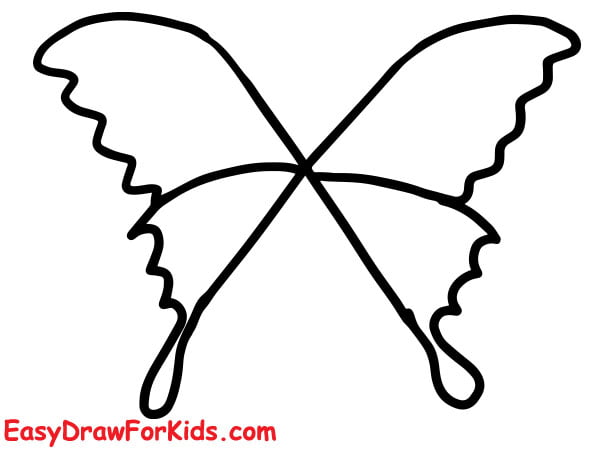
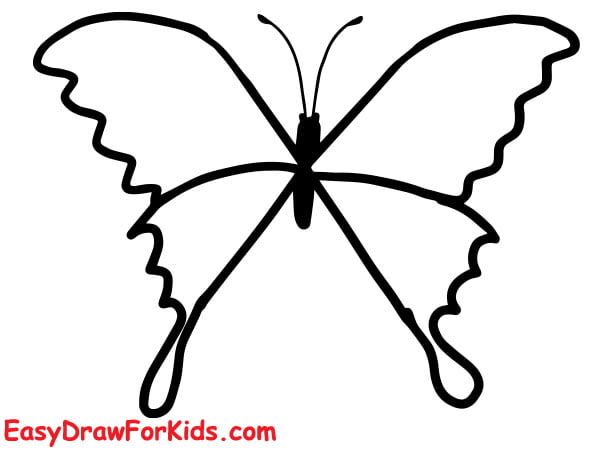
Step 4: Divide the top and bottom sections of the letter “X” to create the butterfly’s body.
Step 5: Enhance the wings by adding patterns
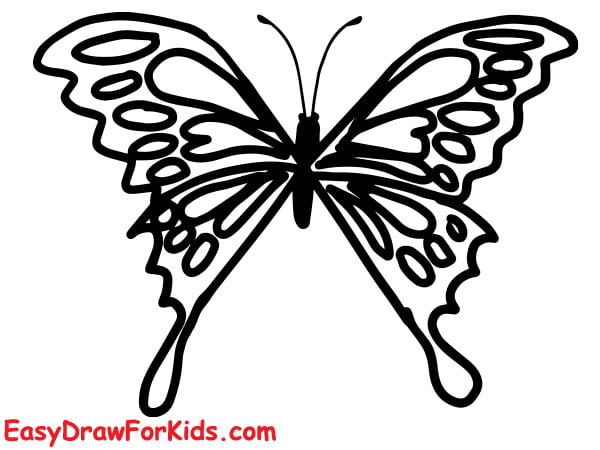
Step 6: Color your butterfly drawing
With five ways on the blog easydrawforkids.com, even children can learn how to draw a butterfly.
If you follow along, you’ll create your gorgeous butterflies quickly!

You may also acquire the skill of drawing a butterfly by watching our instructional video:


