Camels easy to know by long legs, necks and humped backs.
This tutorial is designed for beginners who want to learn step-by-step how to draw a camel.
How To Draw A Camel – A Step By Step Guide
1. Cute Camel Drawing
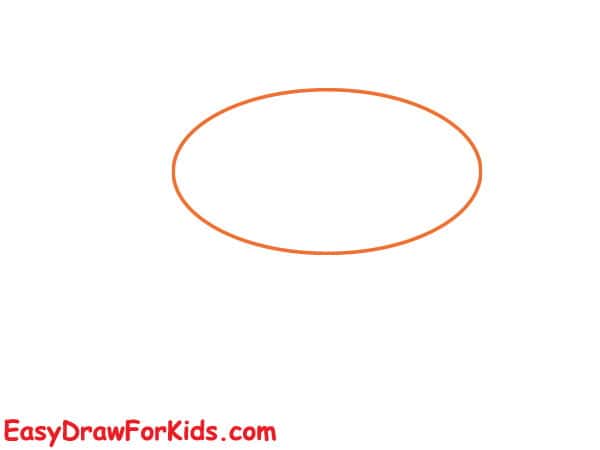
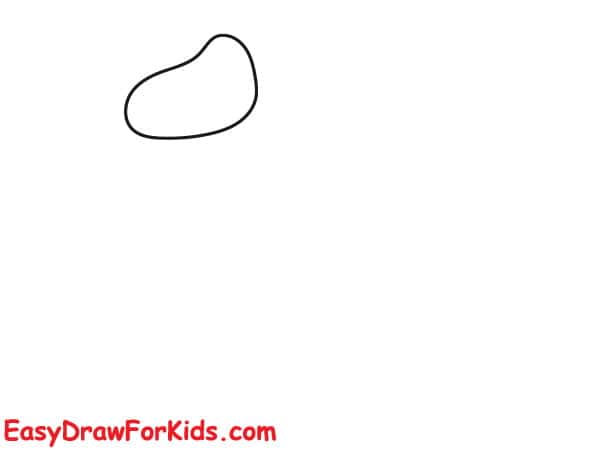
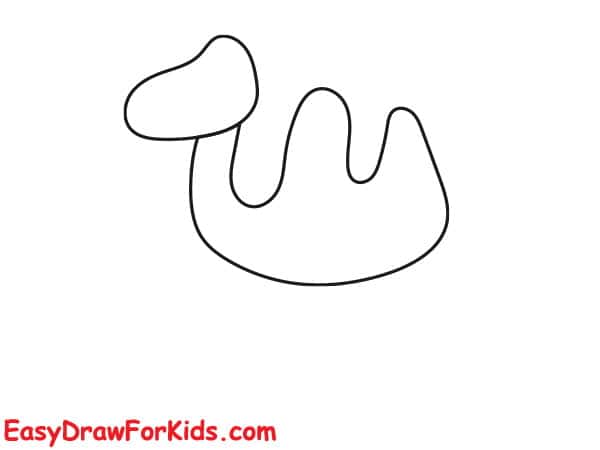
Step 1: Start by drawing a large oval shape for the camel’s body.
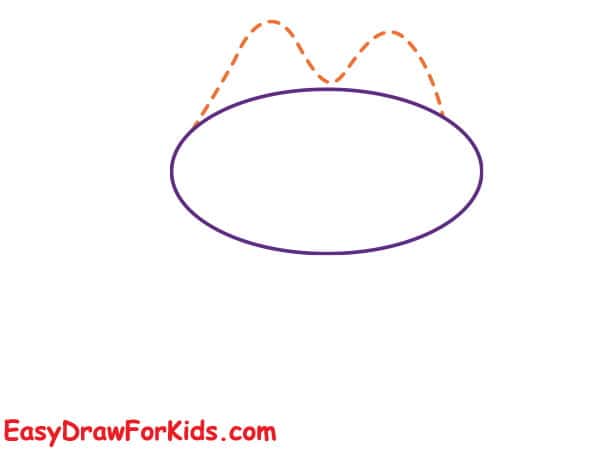
Step 2: The second step of this guide on how to draw a camel, draw two curved lines at the top of body for the humps, as shown the picture.
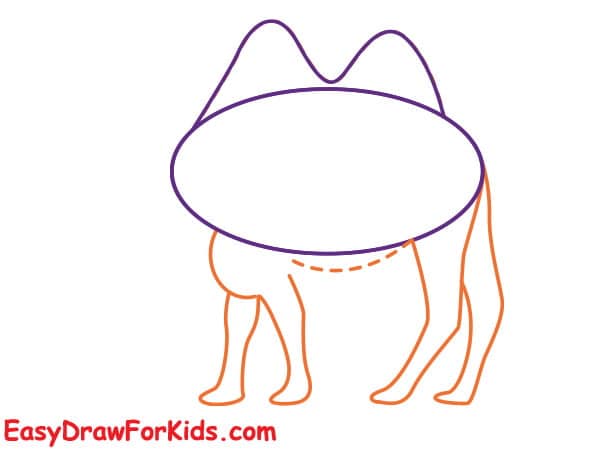
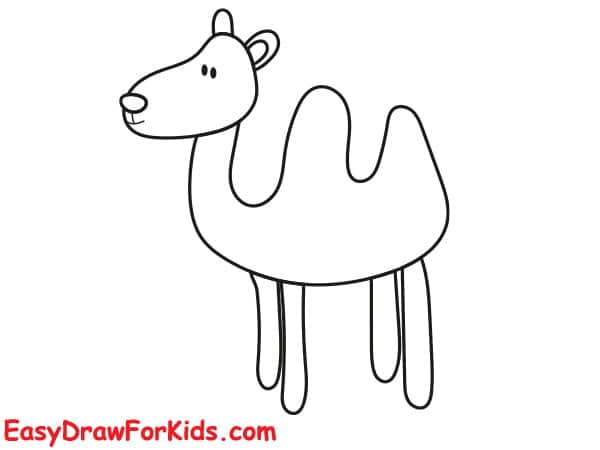
Step 3: Add a curved line below the back to form the camel’s belly.
Draw two sets of legs extending from the bottom of the body. Each leg should consist of two long, curved lines.
Add a smaller oval shape at the end of each leg for the camel’s hooves.
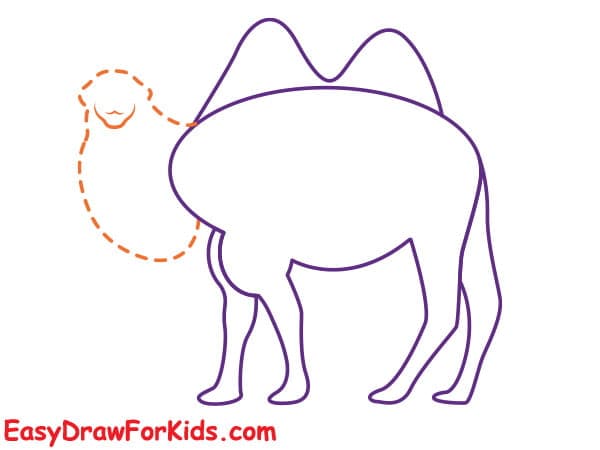
Step 4: Add a smaller oval shape on top of the first one for the head.
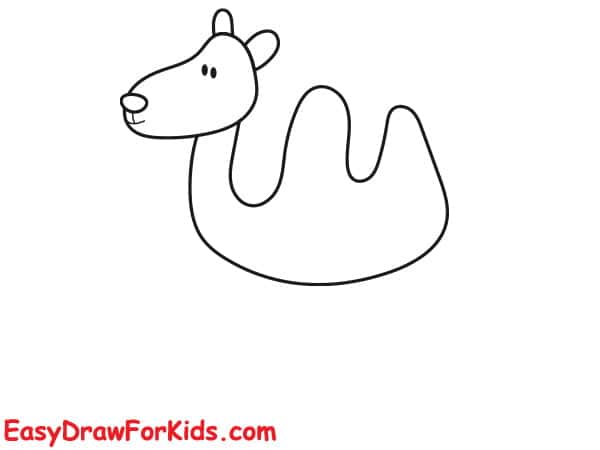
Draw two long, curved lines extending from the head to the camel’s neck.
Sketch a smaller oval shape at the end of the neck for the hump.
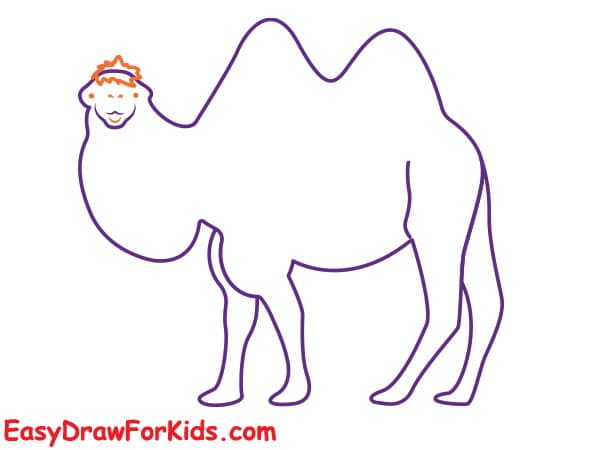
Step 5: Add details to the camel’s face, such as the eyes, nose, and mouth. Draw small ears on top of the head.
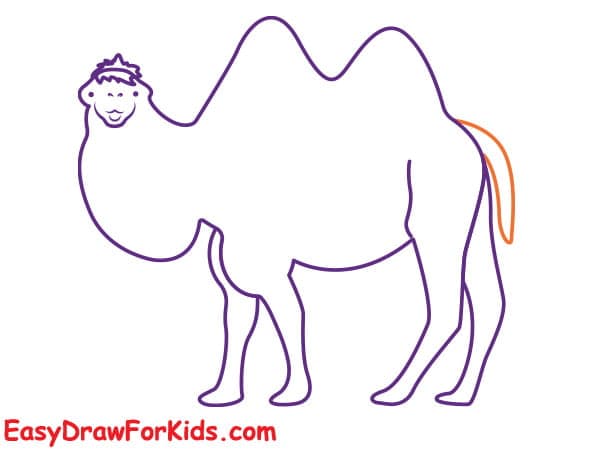
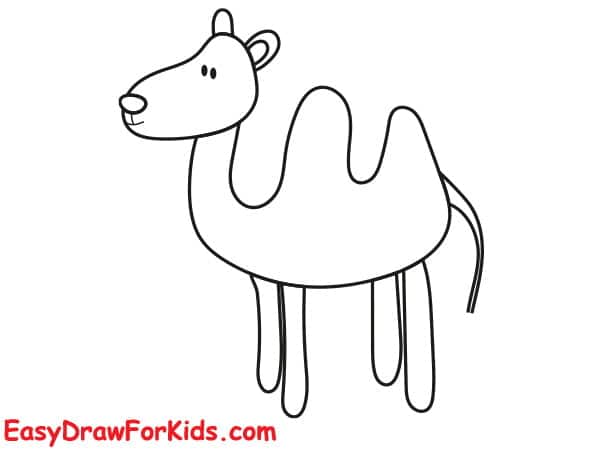
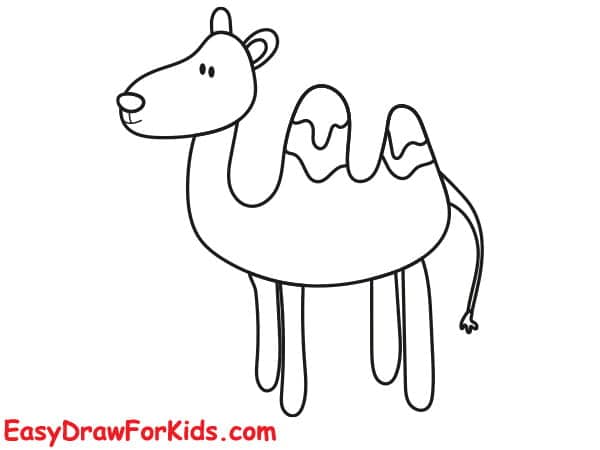
Step 6: Sketch the camel’s tail by drawing a long, curved line extending from the back of the body.
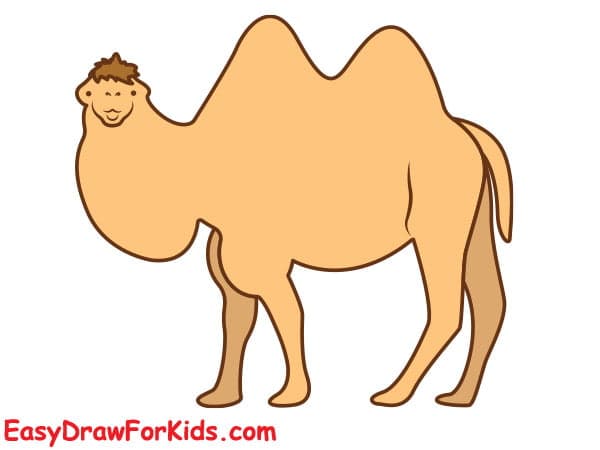
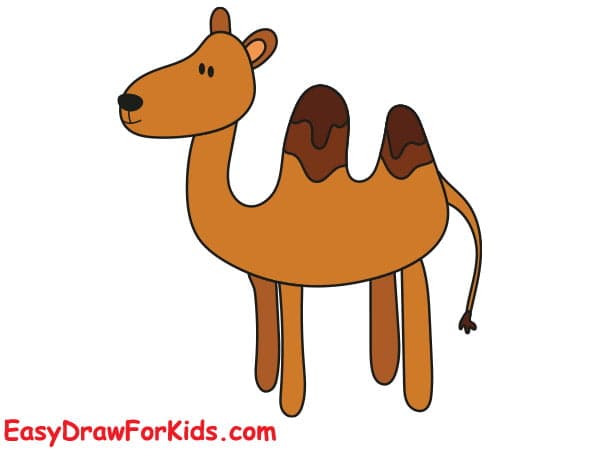
Step 7: Color your camel drawing by your style or as shown the picture.
2. Easy Camel Drawing
Step 1: Draw an oval shape for the head. It should be elongated, wider at the bottom, and more narrow at the top
Step 2: Draw a large oval shape leaning to the right for the body.
Refine the body shape using straight and curved lines to form the humpbacked.
Extend angled lines from the head oval to the body for the neck shape.
Draw lines for fur, mane, muscles, and folds on the neck.
Step 3: Draw two circle on the head for the eyes, add small dots in the eyes for pupils.
Draw two ovals for the nostrils, having them dip down near the mouth.
Step 4: On the lower of the body, sketch angles parallel lines for the front and back legs.
Draw “C” shapes for the ears, having them bent inwards slightly.
Step 5: In this step in this guide on how to draw a camel, extend a curving line from the rump to draw the tail shape.
Step 6: Draw an oval or teardrop shape for the first hump, draw a larger oval shape for the second hump behind the first one.
Step 7: Use black and brown to draw your camel drawing.
Congratulations! You have successfully learned step-by-step how to draw a camel.
You can take what you learned and explore drawing camels in other poses and environments.


