Have you ever seen a beautiful dog drawing and thought: “I wish I could do that”?
In this article, easydrawforkids.com will guide you in learning how to draw a dog, helping you create stunning canine masterpieces.
So grab your pencil, and let’s get started!
How To Draw A Dog – A Step By Step Guide
1. Cute Dog Drawing
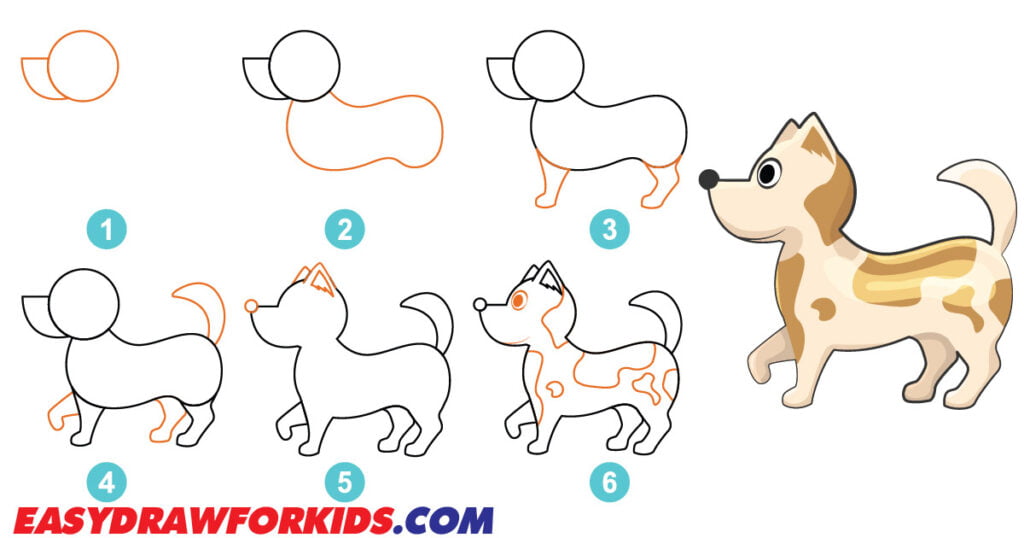
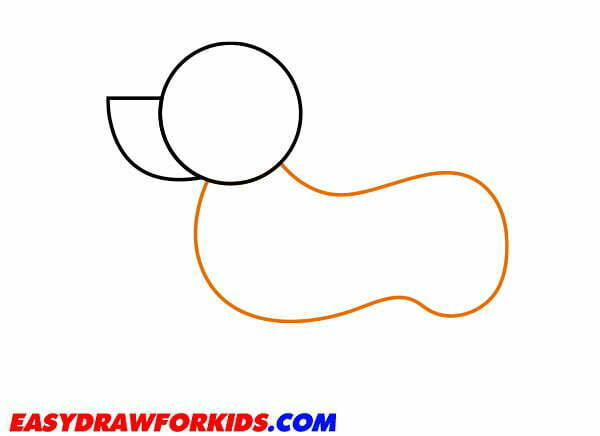
Step 1: Draw a circle to form the dog’s head.
From the bottom of the head, extend a curved line downward and then slightly curve it back up to create the dog’s snout.

Step 2: From the bottom of the head, extend two large curved lines to form the back, chest of the dog.
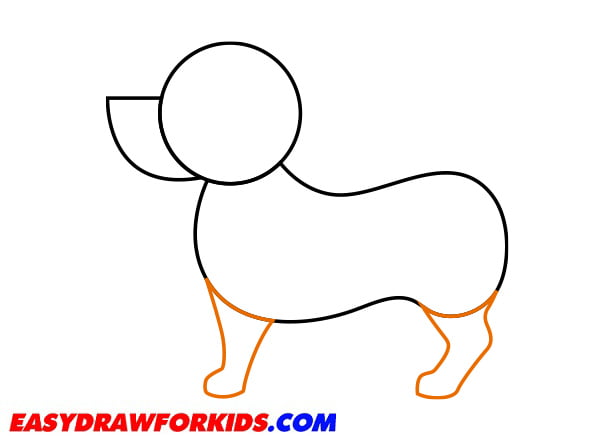
Step 3: The third step of this guide on how to draw a dog, you draw first front and back leg.
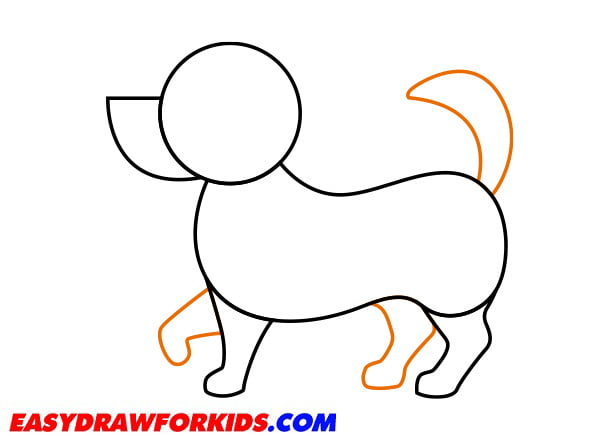
Step 4: Repeat the previous step to draw the other side’s second front and hind leg.
Draw a curved line that extends from the back, behind the dog, to represent the tail.
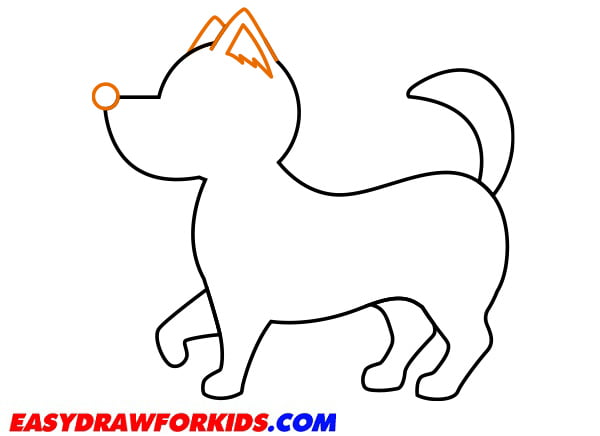
Step 5: Add a slight oval shape at the end of the snout for the dog’s nose.
Draw two curves sweeping up from the top of the head for the ears.
Step 6: Position the eyes with the bottom of the eye above the middle of the muzzle. Draw a curved line for the mouth.
Use quick, short strokes to mimic the direction and texture of the dog’s fur.
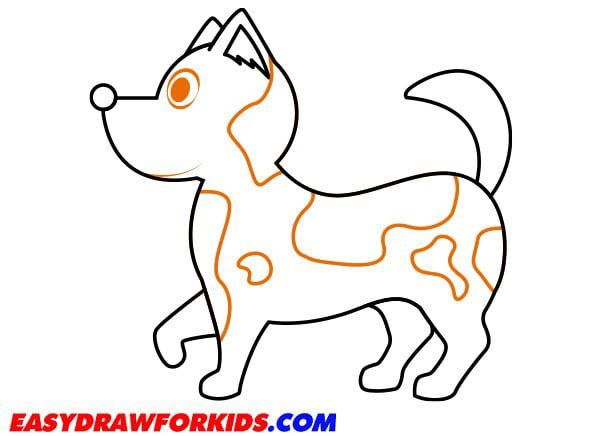
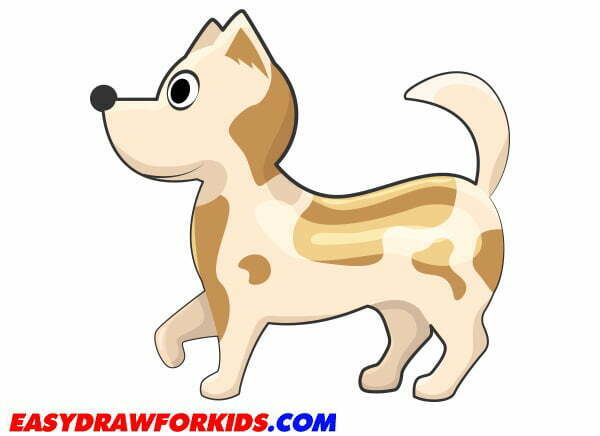
Step 7: Dogs come in various colors and patterns, so feel free to use different coat patterns.
2. Corgi Drawing
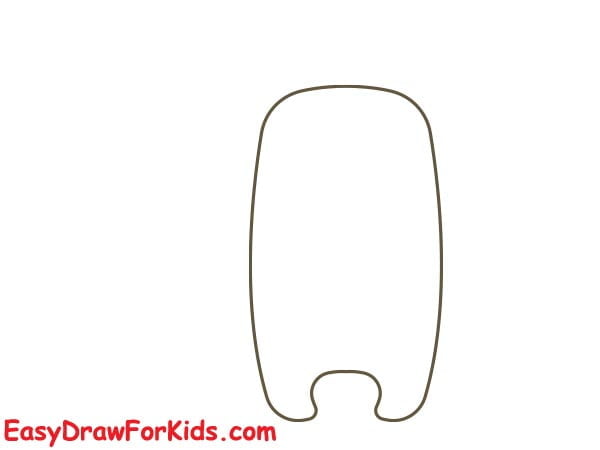
Step 1: Draw a rounded, slightly elongated form with three short lines going out for the fur, as shown in the picture.

Step 2: Draw two short, triangular shapes extending from the top of the head for the corgi’s ears.
For the body, sketch a longer, horizontally oriented oval beneath the head; make sure it’s slightly overlapping.

Step 3: Since the corgi is sitting, draw part of the leg and the oval-like paw tucked below the body.

Step 4: For the front legs, draw two elongated ovals extending down from the lower part of the body oval.
Draw a long, fluffy shape curving up from the back of the body for the corgi’s tail.

Step 5: Draw the corgi’s eyes with small, circular pupils.
Place a smaller oval at the lower end of the face for the nose.
Add nostrils and a small, curved mouth.
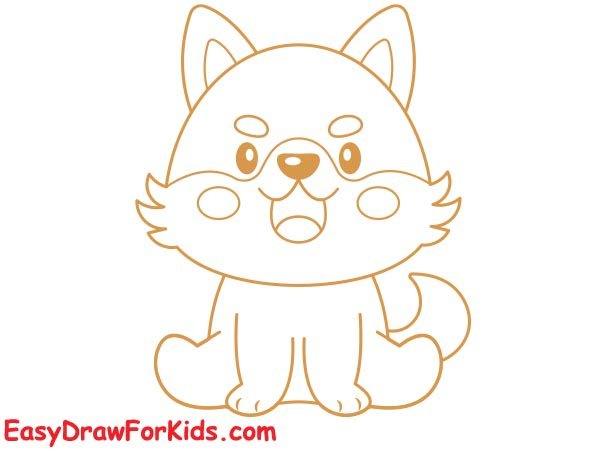
Step 6: Use short, fluffy strokes to add fur texture to the corgi’s coat.
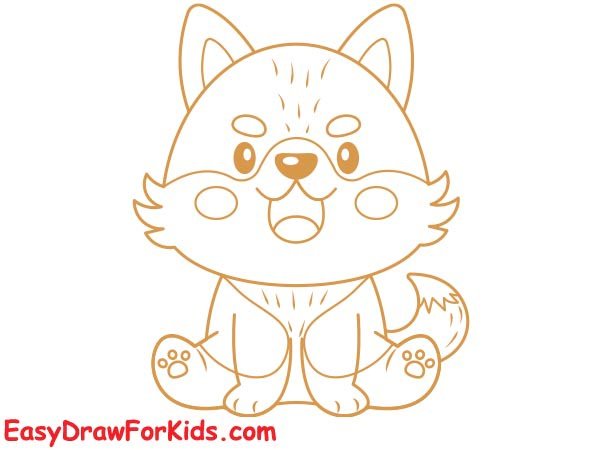
Step 7: Color your corgi drawing

3. Dog Holding A Bone Drawing
Step 1: Draw a cylinder with two legs underneath, like in the picture.
Step 2: Draw two floppy ears on top of the head and a long, fluffy tail curving up from the back of the body.
Add two straight or slightly bent lines downward for the front legs.

Step 3: In the dog’s front legs, sketch a simple bone shape that looks like the dog is holding it.

Step 4: Adding a bow on the ear and a scarf on the neck.

Step 5: Please adding the dog’s facial features.

Step 6: Draw the dog’s tray full of food.

Step 7: Color to complete the dog picture

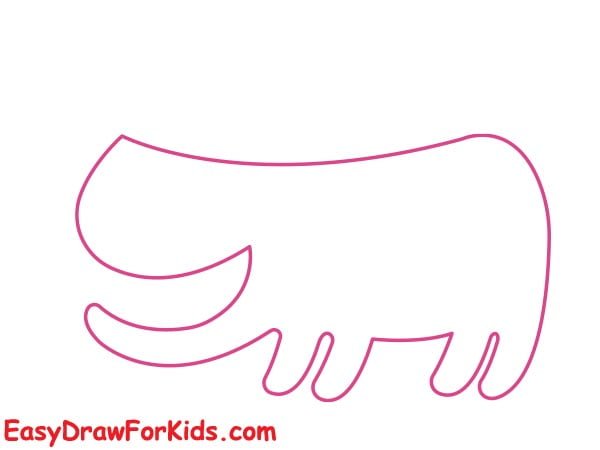
4. Dog Sticking Out Tongue Drawing
Step 1: Draw a curved line for the back and butt of the dog
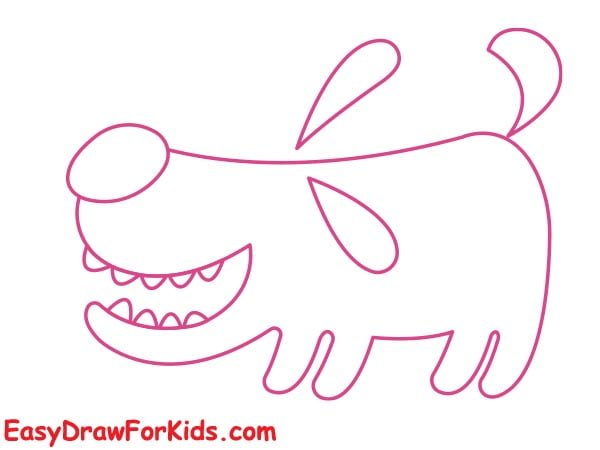
Step 2: Draw the dog’s head with its mouth open.
Step 3: Add four slightly curved lines down from the body for the legs.
Step 4: Please draw the dog’s ears and tail.

Step 5: Draw a round nose and even teeth for the dog.
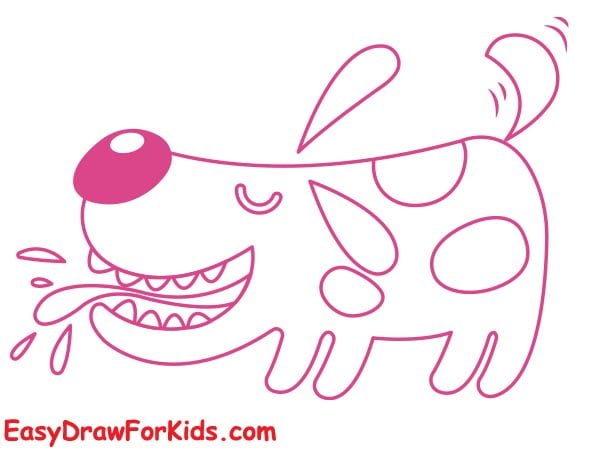
Step 6: Inside the mouth, draw a slightly curved tongue hanging out, then draw a smiling eye.
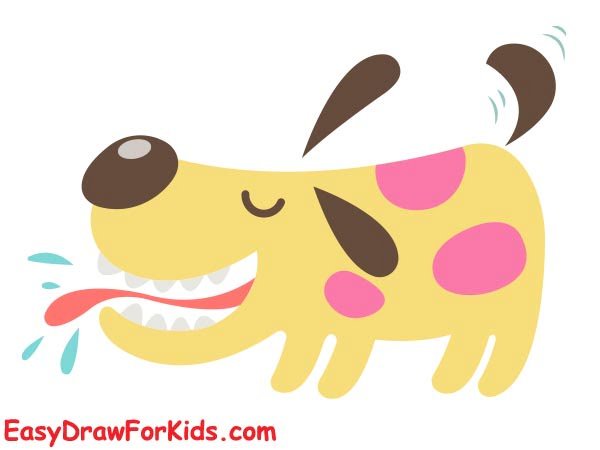
Step 7: Color the dog
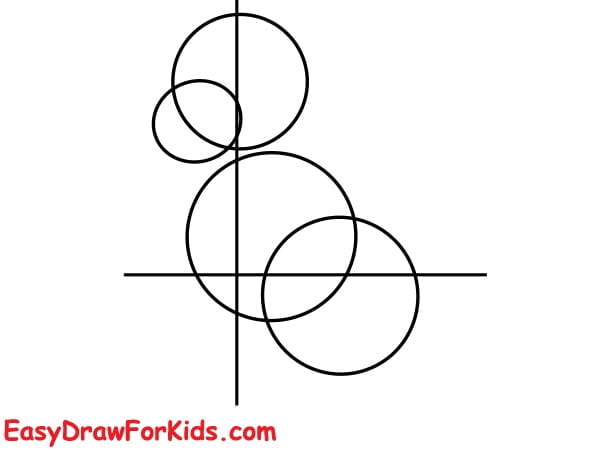
5. English Cocker Spaniel Drawing
Step 1: Draw four overlapping circles for a basic outline of the Cocker Spaniel.
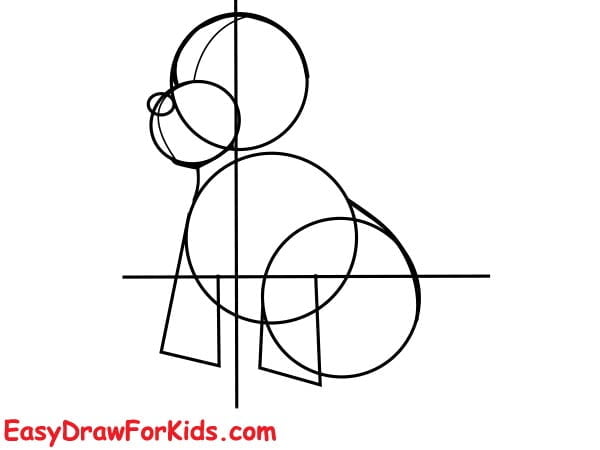
Step 2: Sketch two rectangular for the front legs.
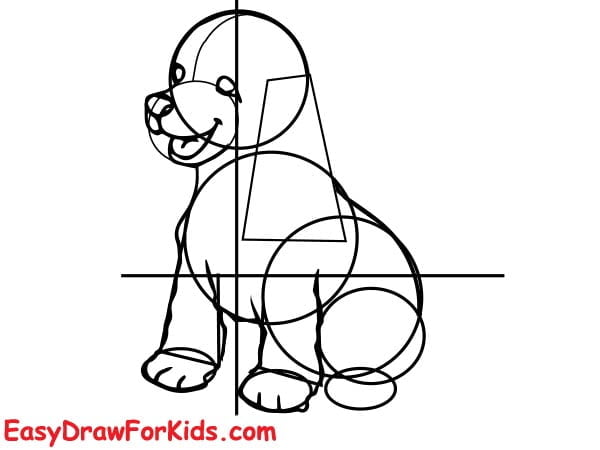
Step 3: Sketch the facial, tail, and paws of an English Cocker Spaniel
Step 4: Draw the hind leg and refine the ears
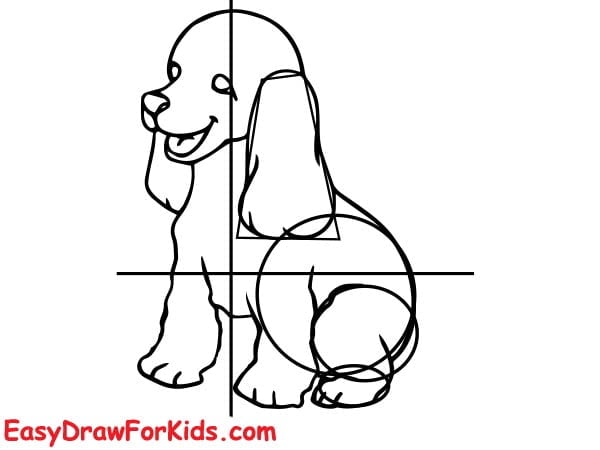
Step 5: Add a medium-length tail at the rear end of the body.
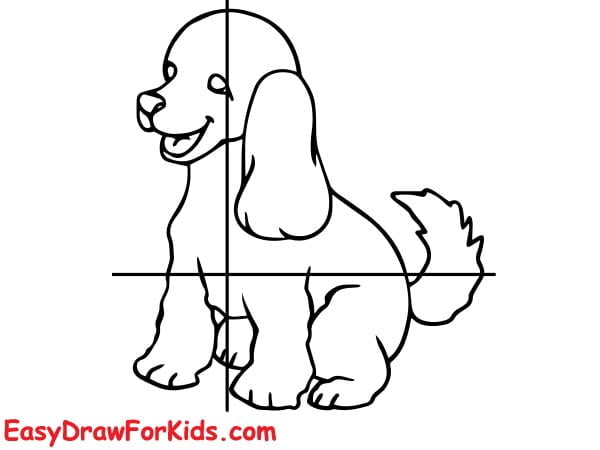
Step 6: Use lines and wavy shapes to add the fur to your drawing.
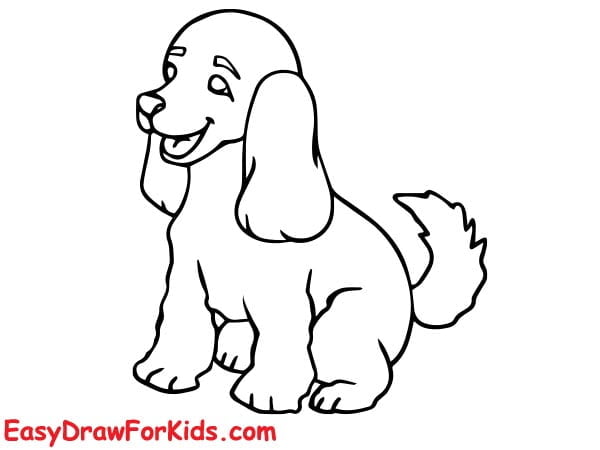
Step 7: Color to complete the English Cocker Spaniel

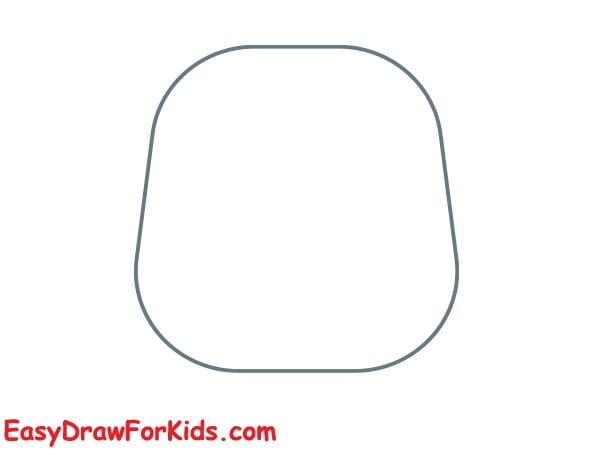
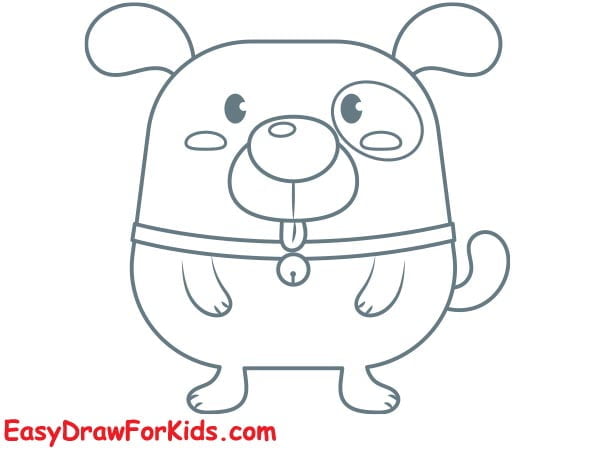
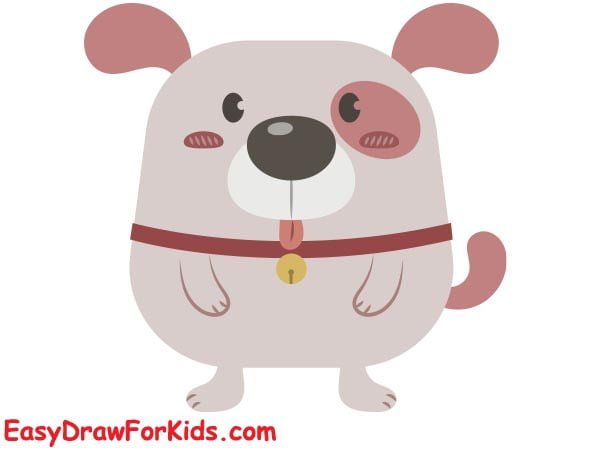
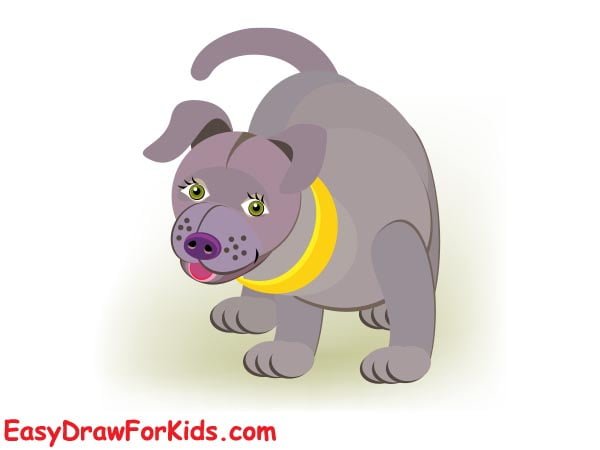
6. Fat Dog Drawing
Step 1: Draw the head and body of the fat dog
Step 2: Please adding the fat dog’s tail and ears

Step 3: Draw the legs for the fat dog

Step 4: Add facial details for the fat dog

Step 5: Draw a rattle collar for the fat dog.
Step 6: Coloring
7. Funny Dog Drawing
Step 1: Draw an oversized head to give it a cartoonish, funny look.

Step 2: Below the head, draw a small body and thin, spindly legs to contrast with the oversized head and enhance the funny look.

Step 3: Please draw a floppy ears and flimsy tail

Step 4: Draw a tongue sticking out of the mouth to one side and a big, round nose at the tip.

Step 5: Draw a shirt for your dog

Step 6: Draw a big, round eyes to make the dog look more expressive.

Step 7: Color funny dogs with bright colors; adding polka dots, exaggerated spots, or stripes can also add a comedic element.

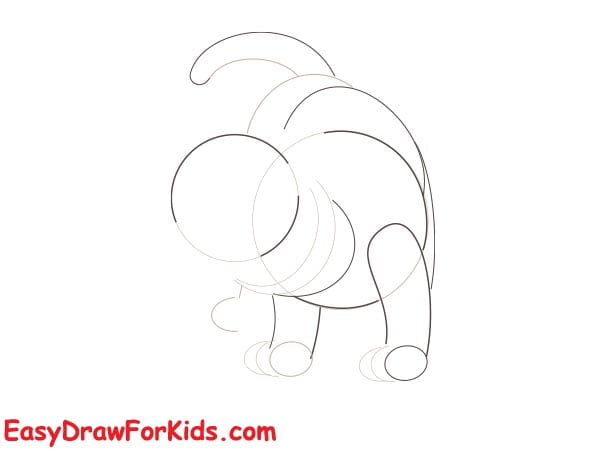
8. Realistic Dog Drawing
Step 1: Draw a circle for the head, an oval for the chest.

Step 2: Add a larger one for the hindquarters, and simple lines to represent the position of legs and tail.
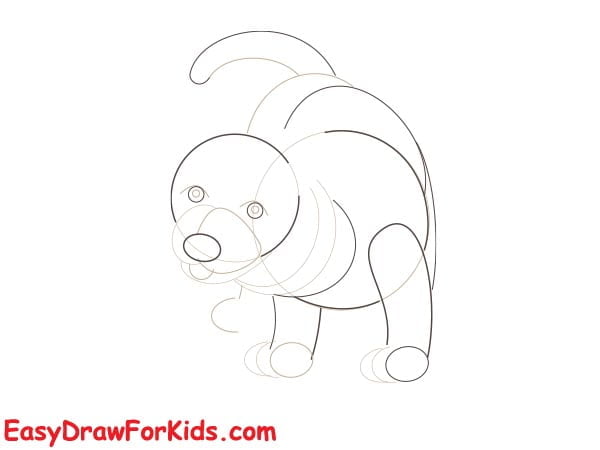
Step 3: Draw the eyes, nose, snout and mouth
Step 4: Sketch the floppy ears and neck of the realistic dog
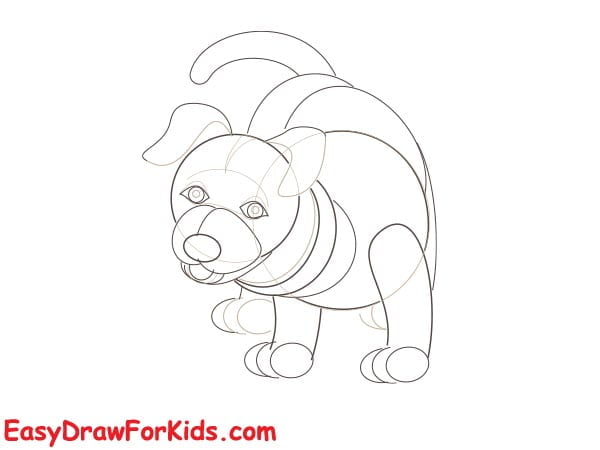
Step 5: Refine the eyes, nose, and other facial features.

Step 6: Color realistic dog drawing
Congratulations on learning how to draw a dog.
Eight approaches have their charm, so choose the one that suits your artistic style!


