Pugs are known for their distinctive features, such as their wrinkled faces, bulging eyes, and curly tails.
If you want to learn how to draw a pug, you’re in the right place.
In this tutorial, easydrawforkids.com will guide you in learning how to draw a pug in 2 easy ways.

How to draw a Pug – A Step by Step Guide
1. Simple Pug drawing
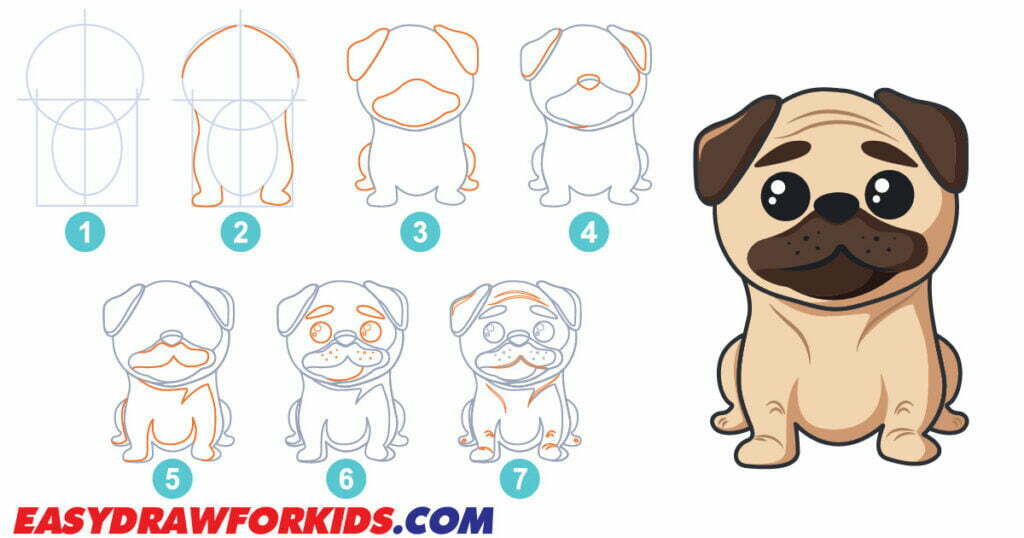
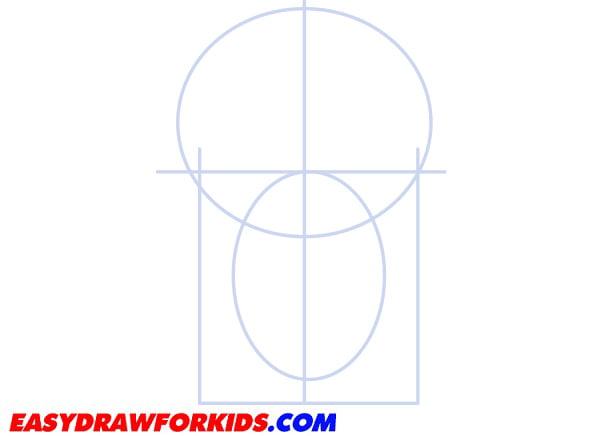
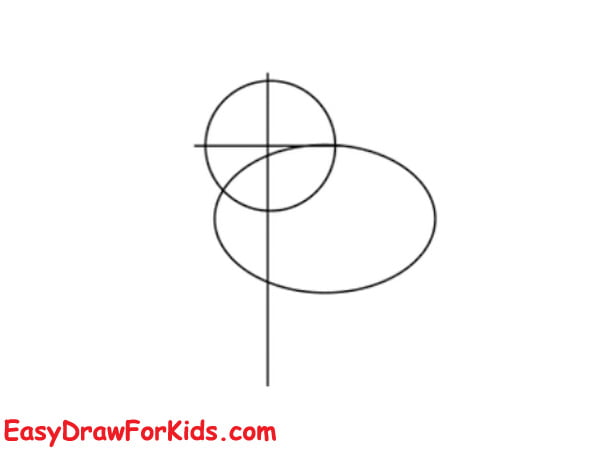
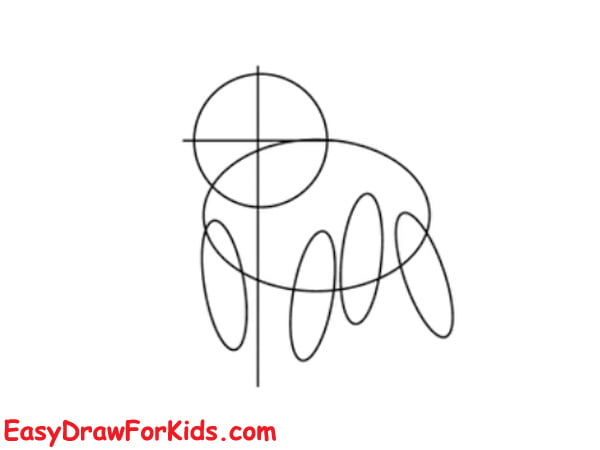
Step 1: Sketch a basic shape
Start by drawing a circle for the head, then draw a smaller oval shape below the head for the body.
Drawing two guidline lines inside the oval, one horizontal and one vertical, as shown in the picture.
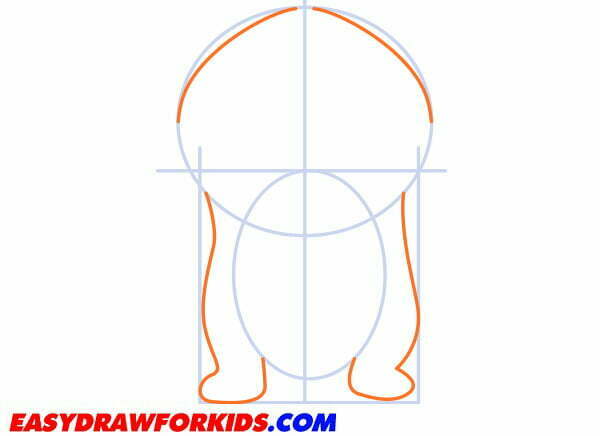
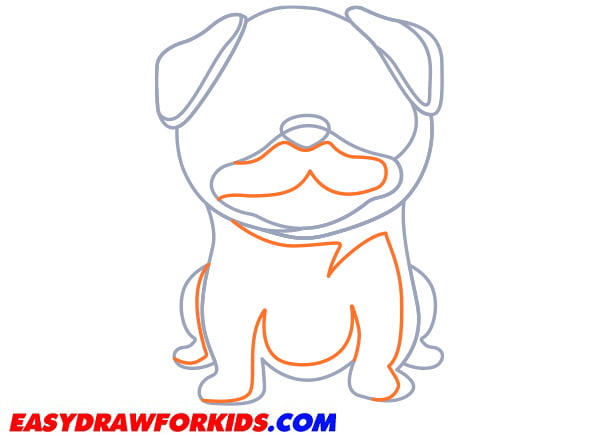
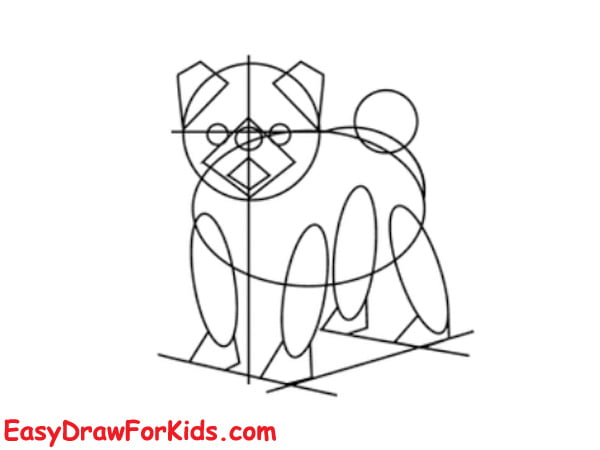
Step 2: Refine the body
Below the head, draw two curved lines that slope slightly outward to form the pug’s chest.
Connect the chest with a curved line to create the pug’s body.
Add short, stubby legs to the body by drawing small curved lines with rounded shapes at the ends.
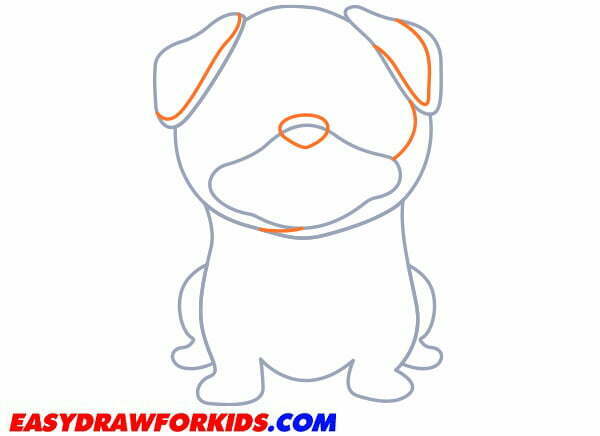
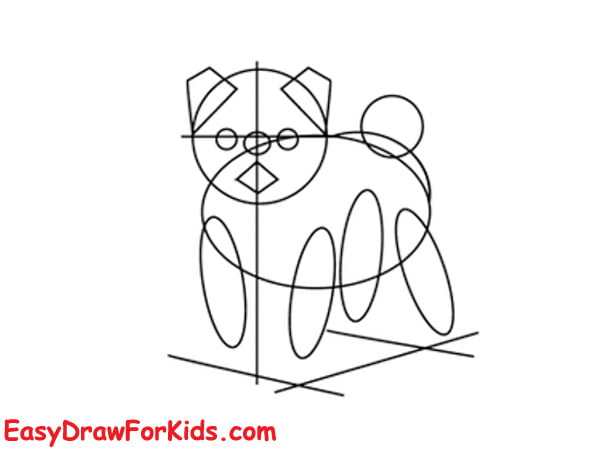
Step 3: Sketch out the ears, hind legs and snout
On the sides of the head, draw two small, rounded triangle shapes for the pug’s ears.
From the bottom of the head, extend a slightly curved horizontal line to create the pug’s snout.
Draw curved lines that extend out to form the hind legs.

Step 4: Add a small, rounded shape on the snout for the pug’s nose.
Step 5: Use short, gentle strokes to create wrinkled skin around the neck and chest area.
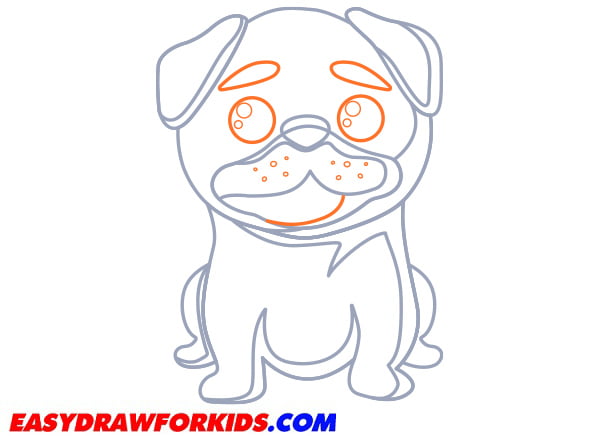
Step 6: Draw the Pug’s Eyes
Just above the snout, draw two large, round eyes.
Within each eye, draw a smaller circle for the pupils.
Above the eyes, draw two curved lines to depict the pug’s eyebrows.
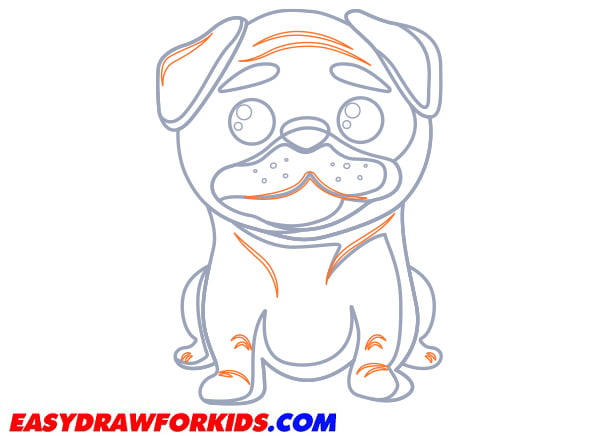
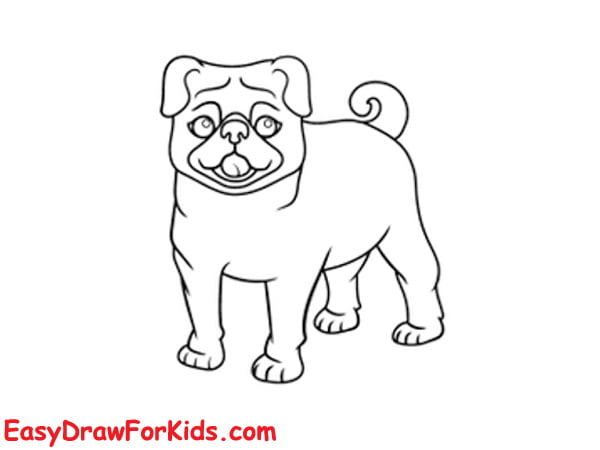
Step 7: Add the wrinkles and folds on the forehead, cheeks, and neck to capture the pug’s characteristic features.
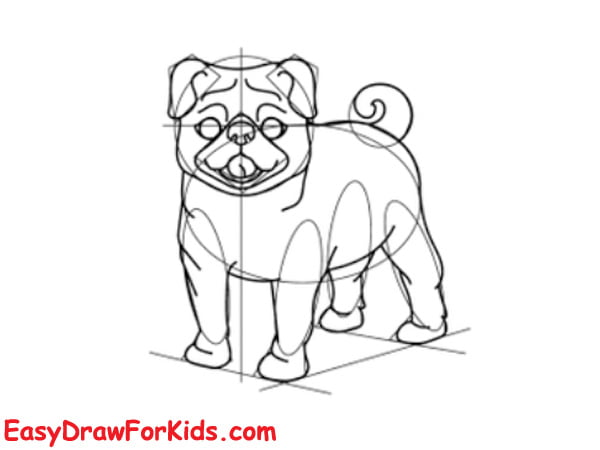
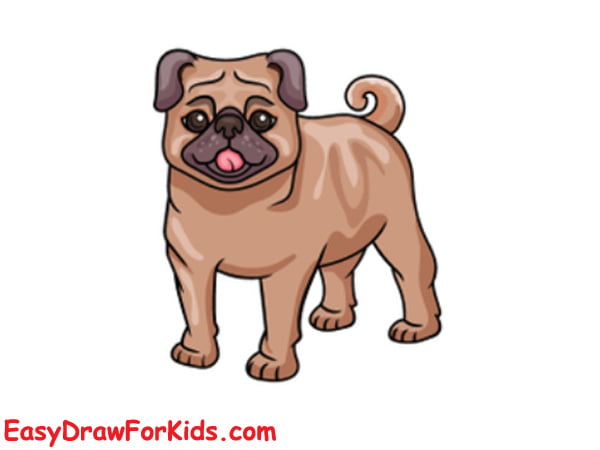
Step 8: Coloring your Pug drawing
Now that you successfully this guide on how to draw a pug, it’s time to colour it!
Pugs come in a variety of colours, such as fawn, black, and silver. Choose whatever colour you like in your drawing to make it pop.

2. Cartoon Pug Drawing
Step 1: Sketching the Basic Shape
Draw an oval shape for the pug’s head.
Next, sketch a slightly curved shape for the body, attached to the bottom of the head.
Step 2: Sketch four cylindrical shapes extending from the body to form the legs.
Step 3:
Step 4: Use lightly strokes to outline the facial details, tail and paws
Step 5: Refining the overall proportions of your pug drawing.
Step 6: Erase any pencil lines that you don’t want to be seen in the final drawing.
Step 7: Adding Color
If you want to add colour to your pug drawing, start with the base colours of the pug’s fur, and then add shading and highlights to your drawing.
Tips for Pugs drawing
Study images of pugs from different angles.
The characteristic facial folds are essential for capturing a pug’s personality.
Draw the eyes protruding and the nose strongly receding to accentuate the pushed-in pug face.
Learning how to draw a pug allows you to combine your love for art and these adorable dogs.
Keep practising and have fun with the process!


