Are you fascinated by the elegance and beauty of lotus flowers?
Do you want to learn how to draw a lotus flower with finesse and precision?
In this guide, easydrawforkids.com will walk you through the process of drawing a beautiful lotus flower.
How To Draw A Lotus Flower – A Step by Step Guide
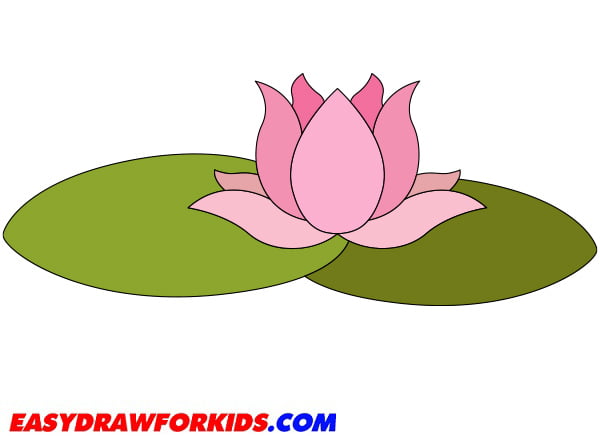
1. Simple Lotus Flower Drawing
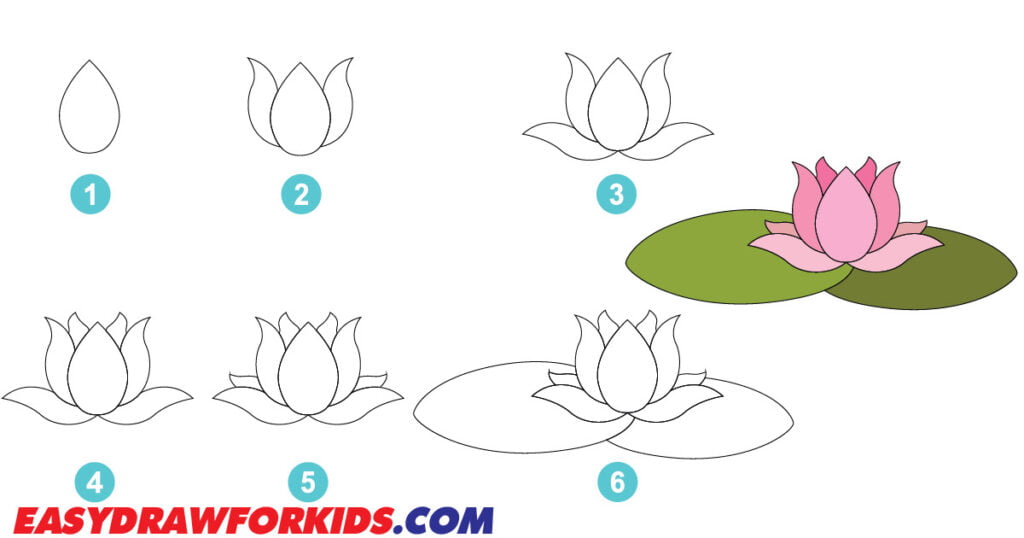
This guide on how to draw a lotus flower in 7 steps to help you drawing a beautiful lotus flowers with ease!
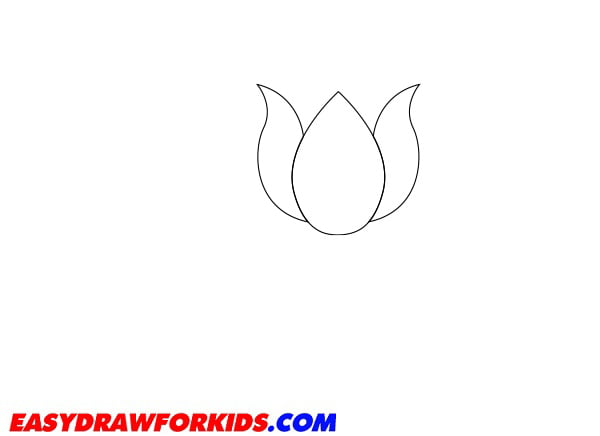
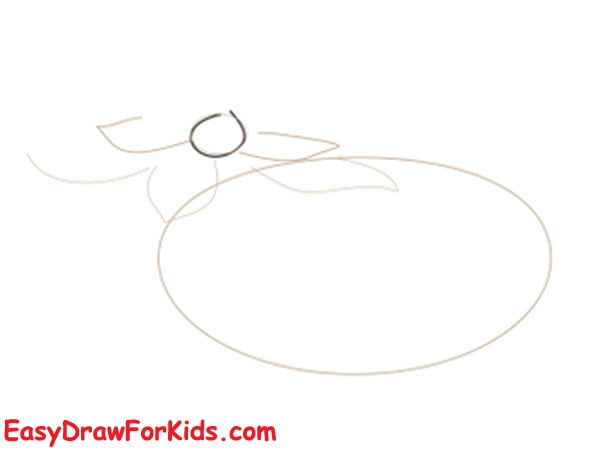
Step 1: Begin by lightly sketching an oval shape like water droplet to form the first petal of lotus flower.

Step 2: Adding Petals
From the top of the first petals, draw a curving line extends outward and slightly downward for the second petal.
Repeat the previous step to draw a third petal. The petals should overlap slightly at the base.
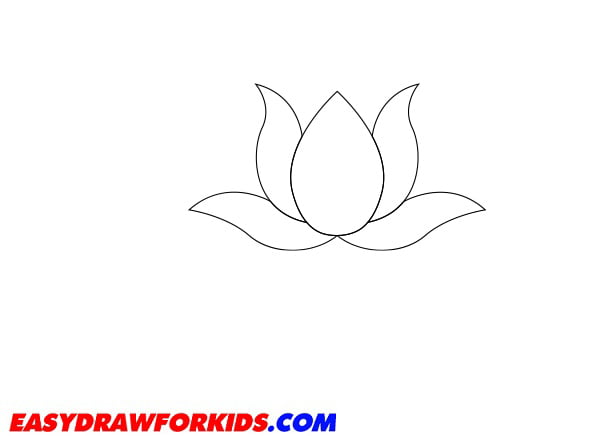
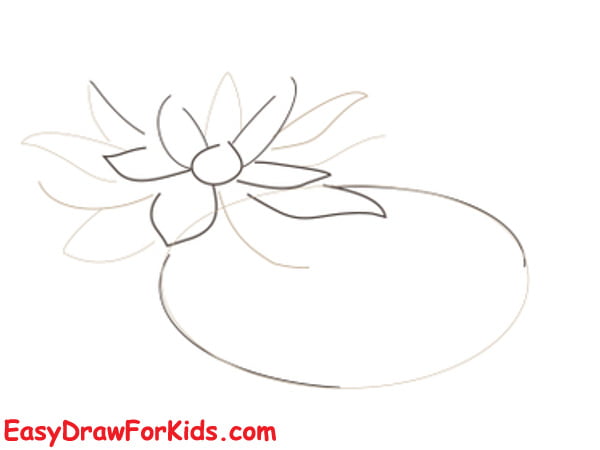
Step 3: Continue drawing additional petals; lotus flowers have multiple layers, so you can add as many petals as you like.
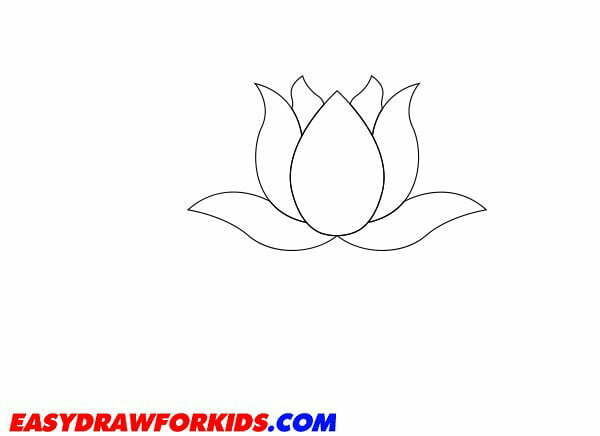
Step 4: Once you have drawn the outer layer of petals, start adding a second layer of smaller petals inside.
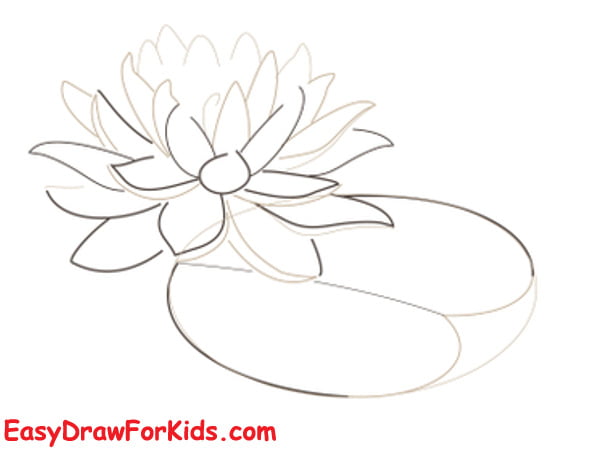
Step 5: Draw curving lines from the base of each petal towards the outer edge for the veins

Step 6: Draw two large oval shapes, one on each side, for the leaves. Add a minor vein pattern in each leaf.

Step 7: Color your lotus drawing by your style or as shown the picture
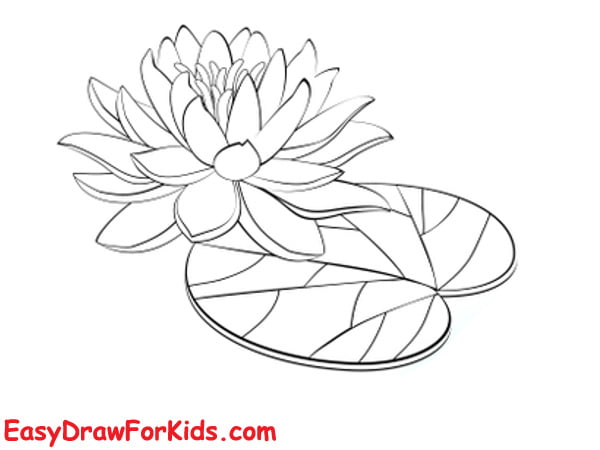
2. Realistic Lotus Flower Drawing
Step 1: Draw a curved line for the first petal of the lotus flower.
Step 2: Add more layers of petals, each layer should have slightly larger and broader petals compared to the previous layer.
Step 3: Draw the outermost layer of petals, which are usually larger and more open.
Step 4: From the center, draw small curved lines extending outward to form the stamen of the lotus flower.

Step 5: Next, draw the sepals at the base of the lotus flower, add the veins for the sepals and petals
Step 6: You can add watercolors to bring vibrant color to your lotus flower artwork.
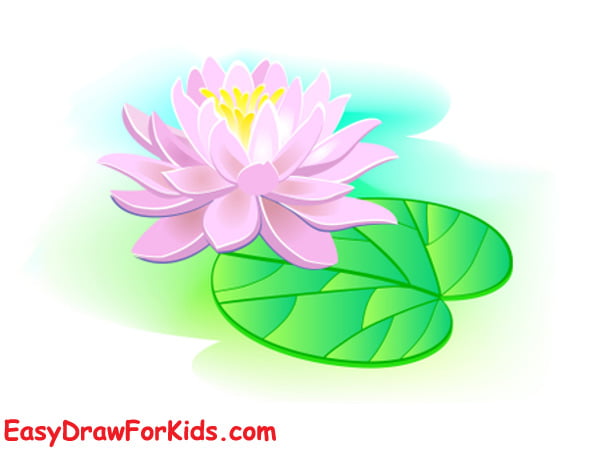
Drawing a lotus flower is a rewarding artistic experience.
By following the step-by-step in this guide, you can create a beautiful lotus flower that showcases its grace and elegance.