If you want to draw a mosquito, this guide is here to help.
In this tutorial, easydrawforkids.com will help you learn how to draw a mosquito step by step.
How To Draw A Mosquito – A Step By Step Guide
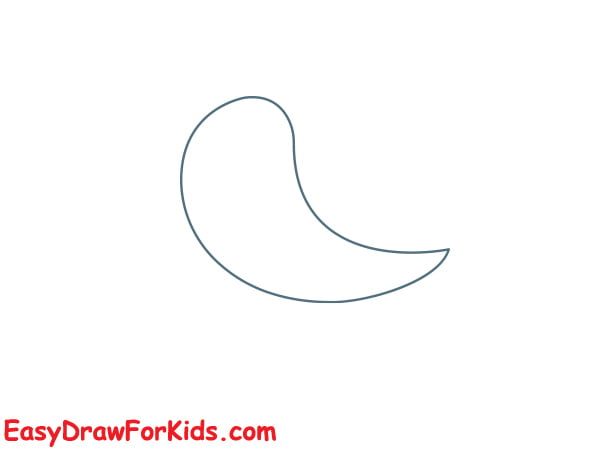
1. A Cartoon Mosquito
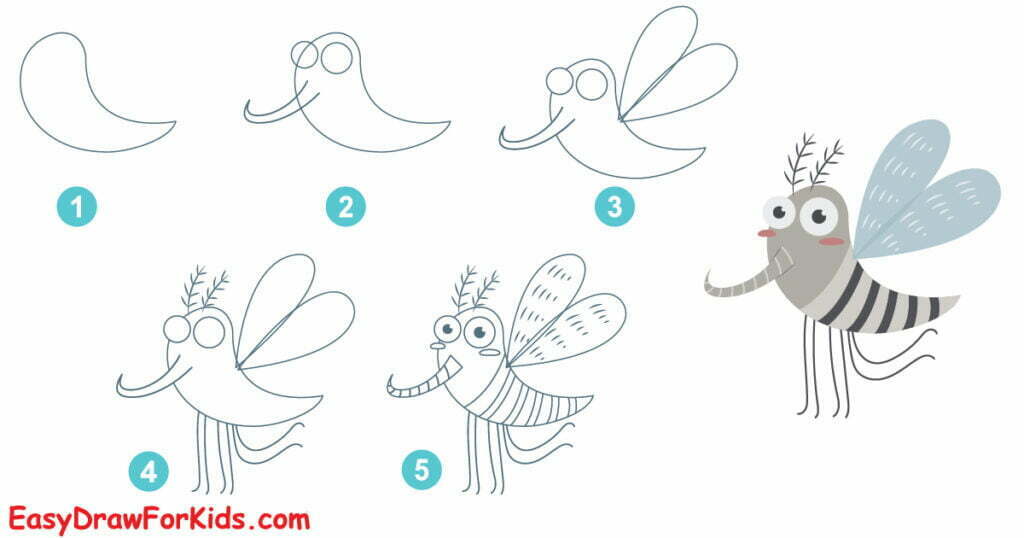
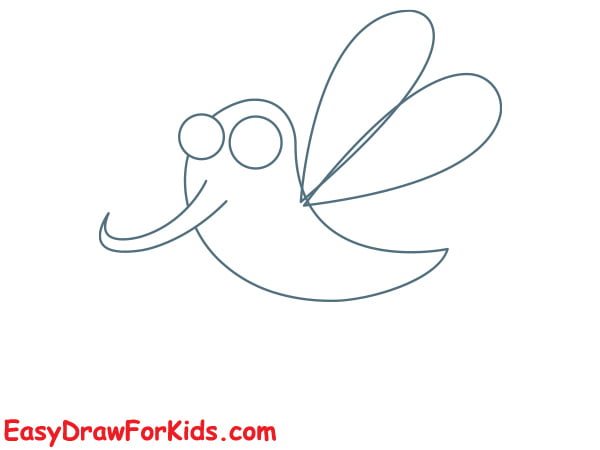
Step 1: Draw a long, narrow oval to form the head, thorax, and abdomen.
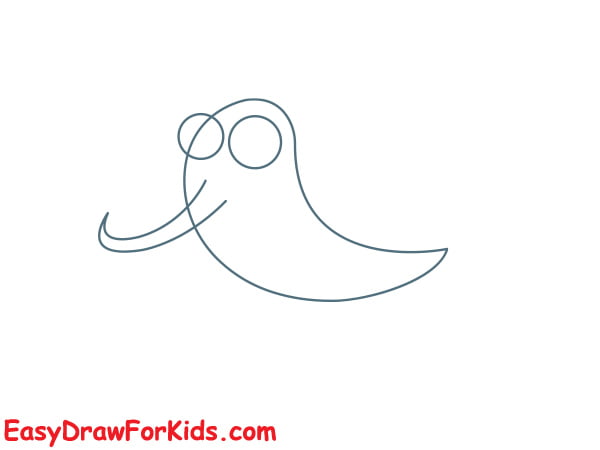
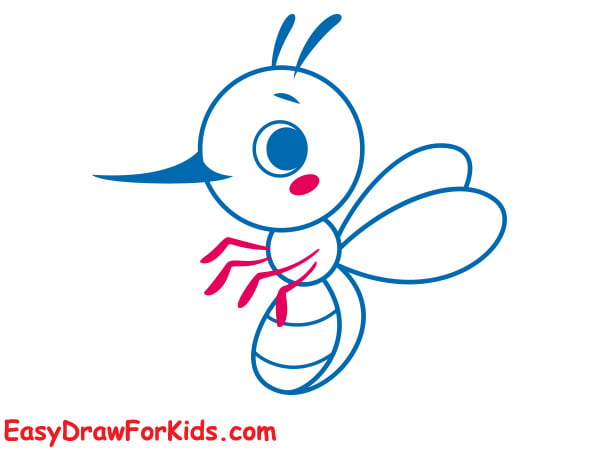
Step 2: Sketch the Eyes and Proboscis
Draw the mosquito’s large compound eyes on either side of the head
Under the eye, sketch a C-shaped line that extends forward to make the mosquito’s proboscis.
Step 3: Draw two oval shapes extend out from the thorax at roughly a 45 degree angle for the wings
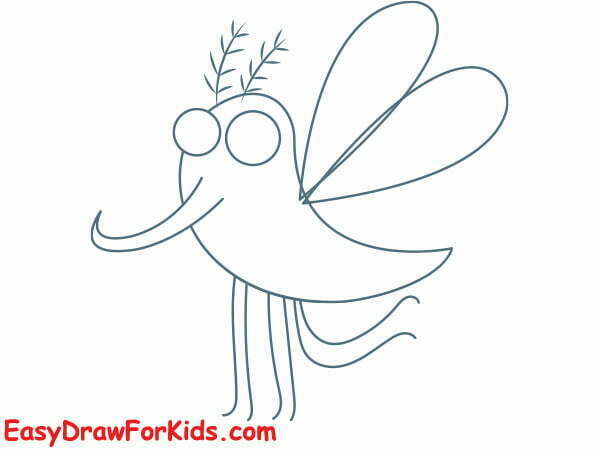
Step 4: Sketch the legs and antennae
Mosquitoes have six very long, slender legs attached to their thorax.
Up between the eyes, lightly draw two long, thin antennae sticking up from the head.
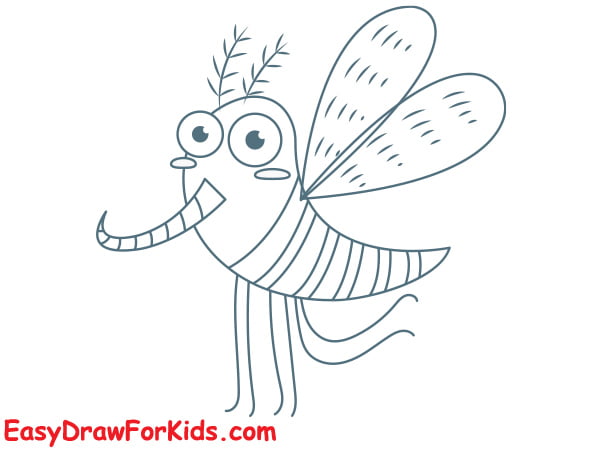
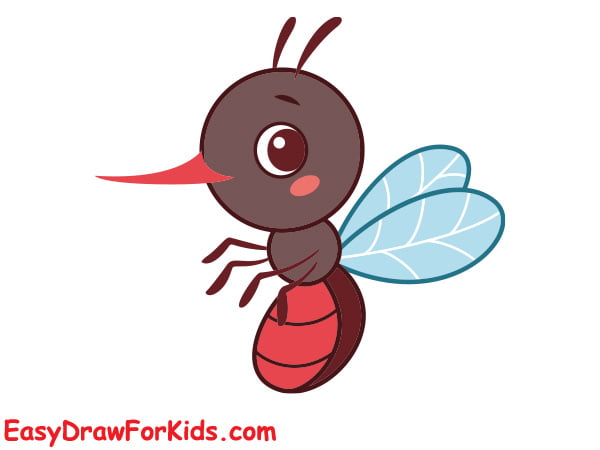
Step 5: Add details and textures to your mosquito.
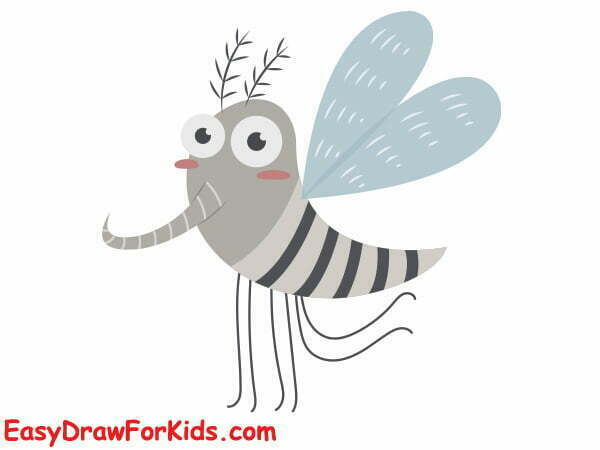
Step 6: Mosquitoes are typically gray or brown in color, but you can choose any color you like for your drawing.
>>>Read more: How To Draw A Fly – 4 Ways (With Pictures)
2. A Simple Mosquito
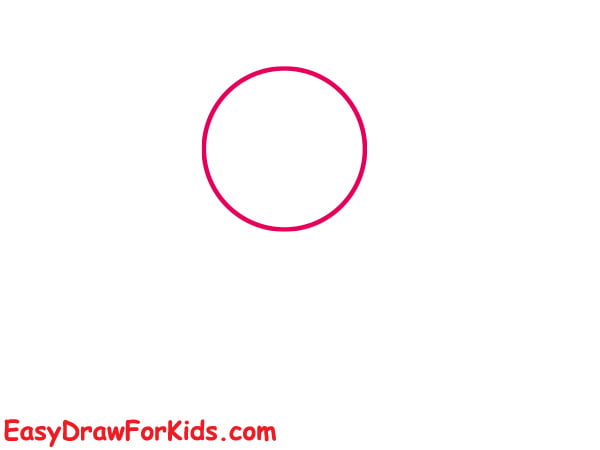
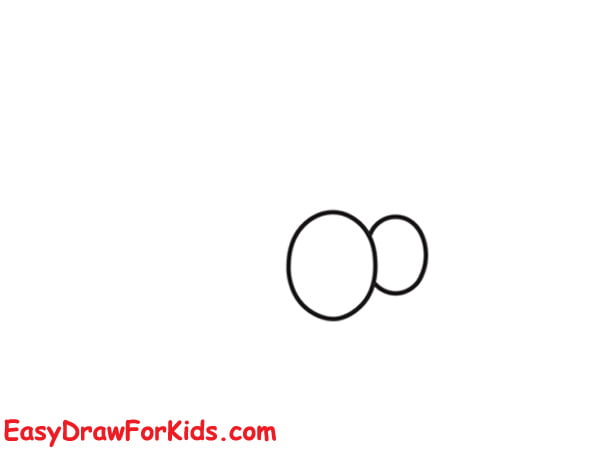
Step 1: Draw a circle for the head
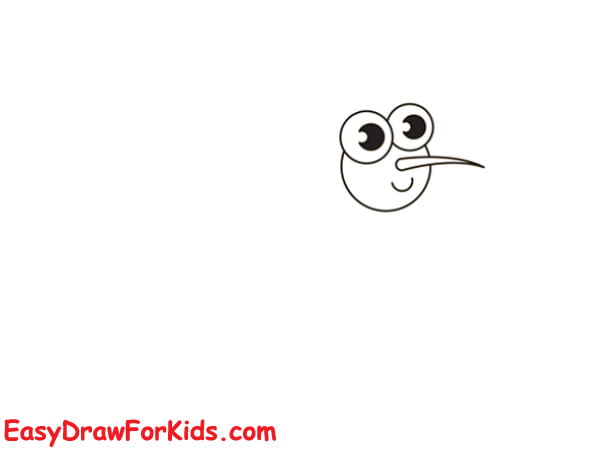
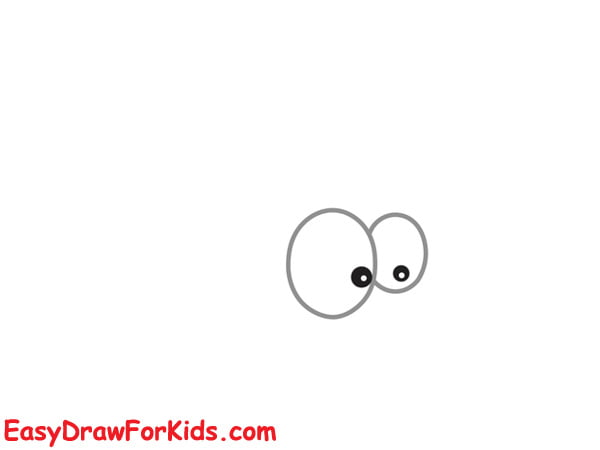
Step 2: Draw two large circle for the eyes, small curved lines for the mouth

Step 3: Sketching the proboscis
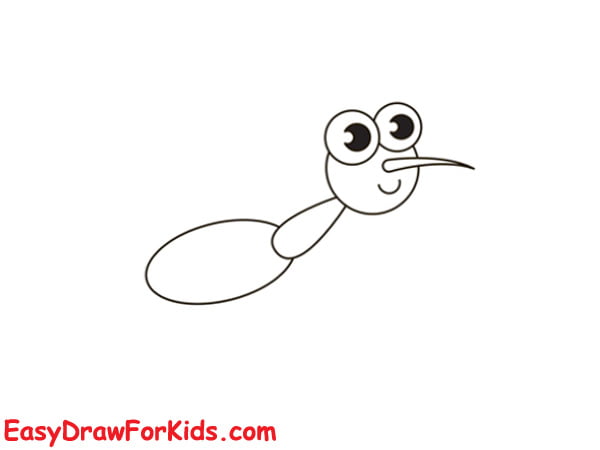
Step 4: Draw two oval shape for the thorax and belly
Step 5: Draw the first wing
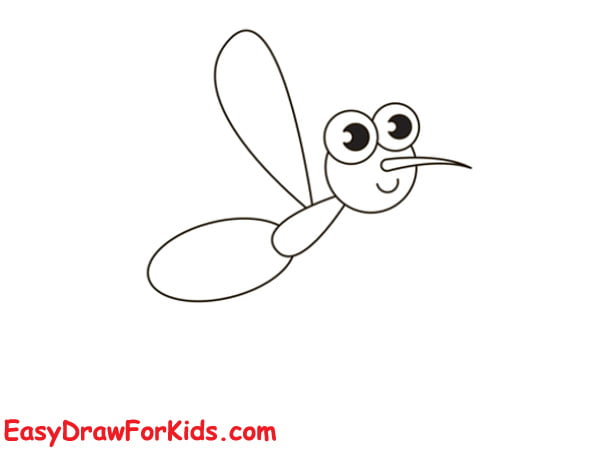
Step 6: In this step on guide how to draw a mosquito by draw other wing
Step 7: Draw the long, thin legs
Step 8: Coloring your mosquito drawing
3. An Easy Mosquito
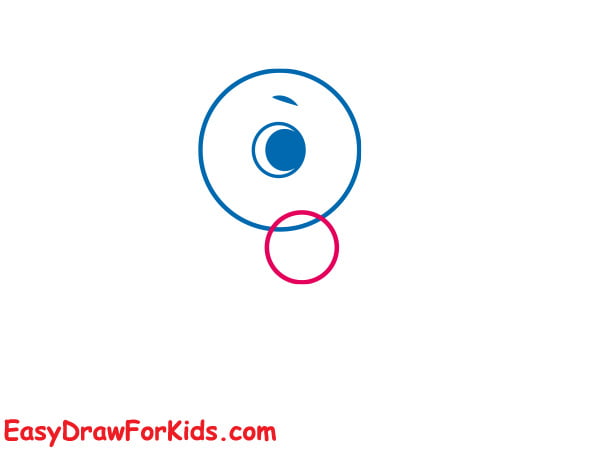
Step 1: The first step on guide how to draw a mosquito by drawing a head
Step 2: Inside the head, draw a large circle for the eye

Step 3: Draw the thorax below the head
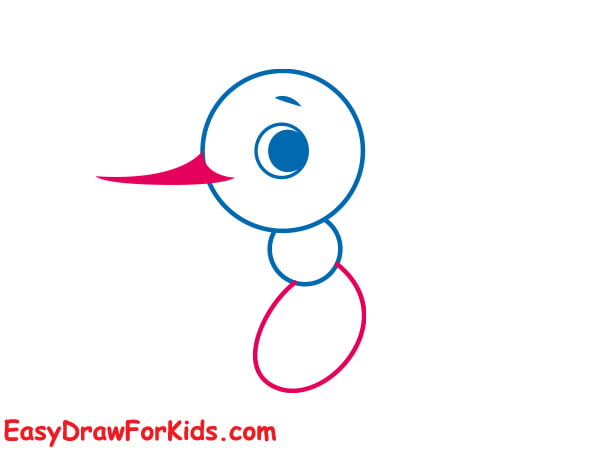
Step 4: Draw the proboscis on the head and belly below the thorax.
Step 5: Draw two antennas extend out from the head and the first wing on the thorax
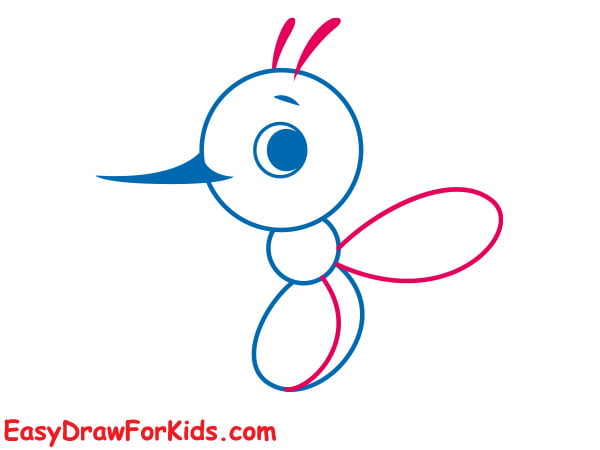
Step 6: Draw other wing
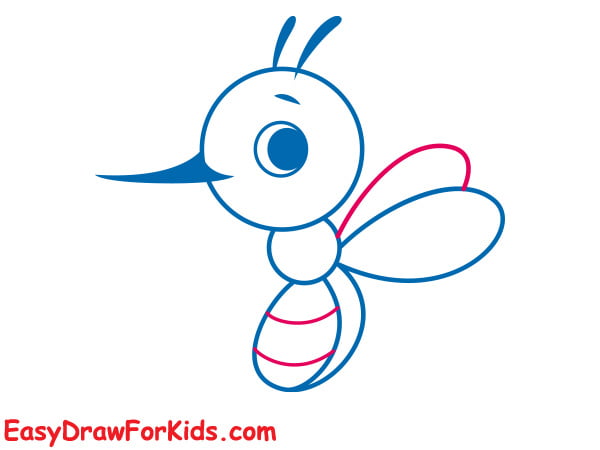
Step 7: Draw four legs by using long lines extend out from the thorax
Step 8: Color your mosquito drawing by your style
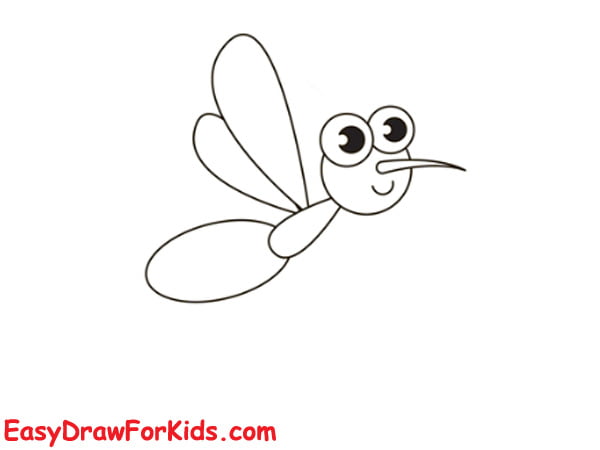
4. A Cute Mosquito
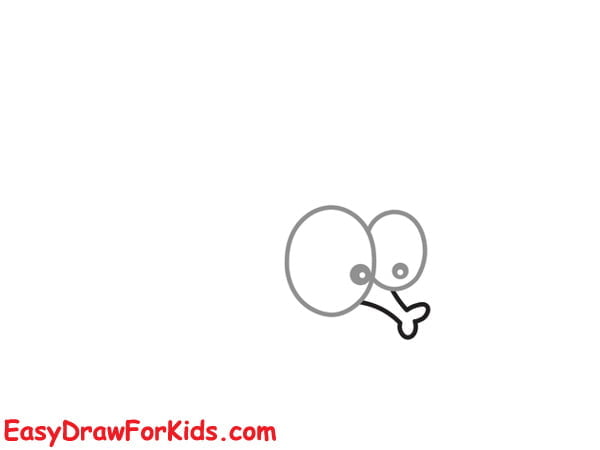
Step 1: Sketching two large oval shapes for the eyes
Step 2: Draw two small dot on each eyes for the pupils
Step 3: Draw a curved line to form the proboscis below the eyes
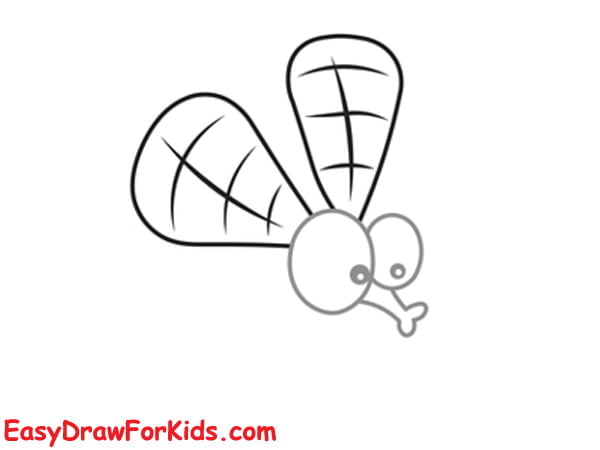
Step 4: Draw two wings extend out from the top of the eyes
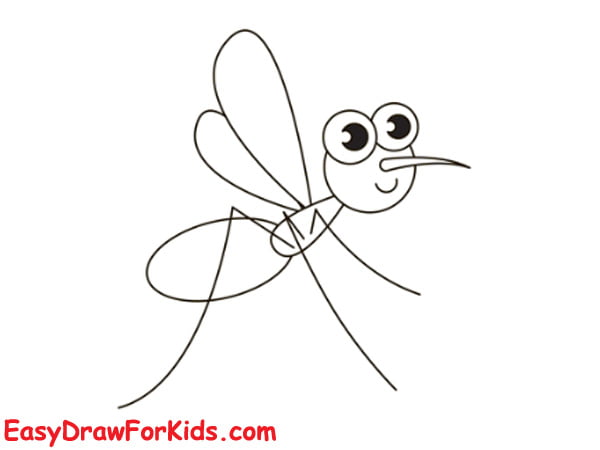
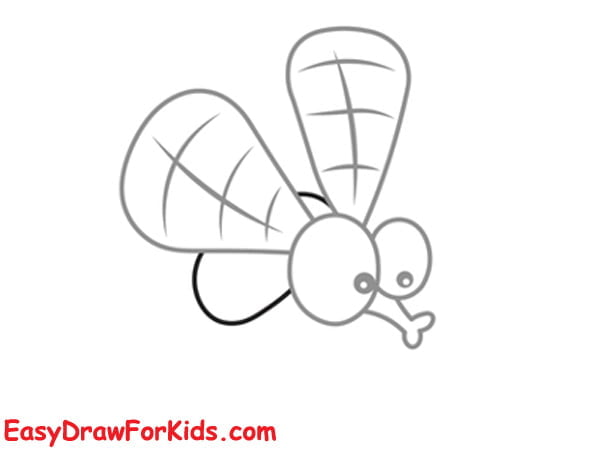
Step 5: Draw an oval shape below the wings for the body
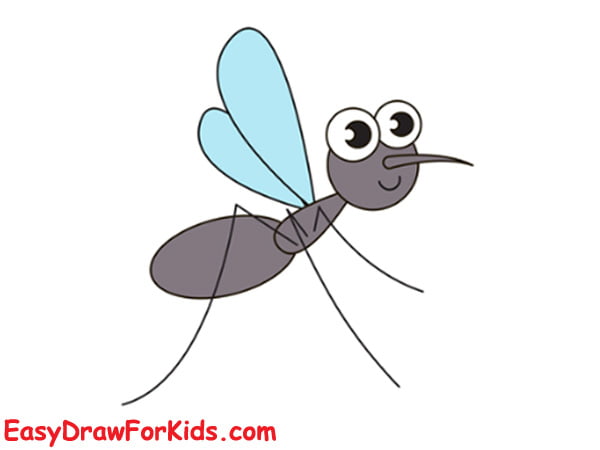
Step 6: Draw four legs extend out from the body
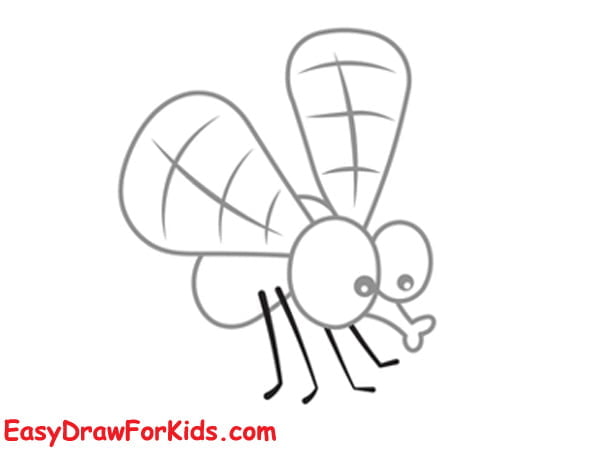
Well done! You have completed learned how to draw a mosquito.
By following this guide, you can draw a mosquito in no time.
Keep practicing, experimenting!


