In this guide, easydrawforkids.com will help you learn how to draw a seal so that you can create your own beautiful artwork.
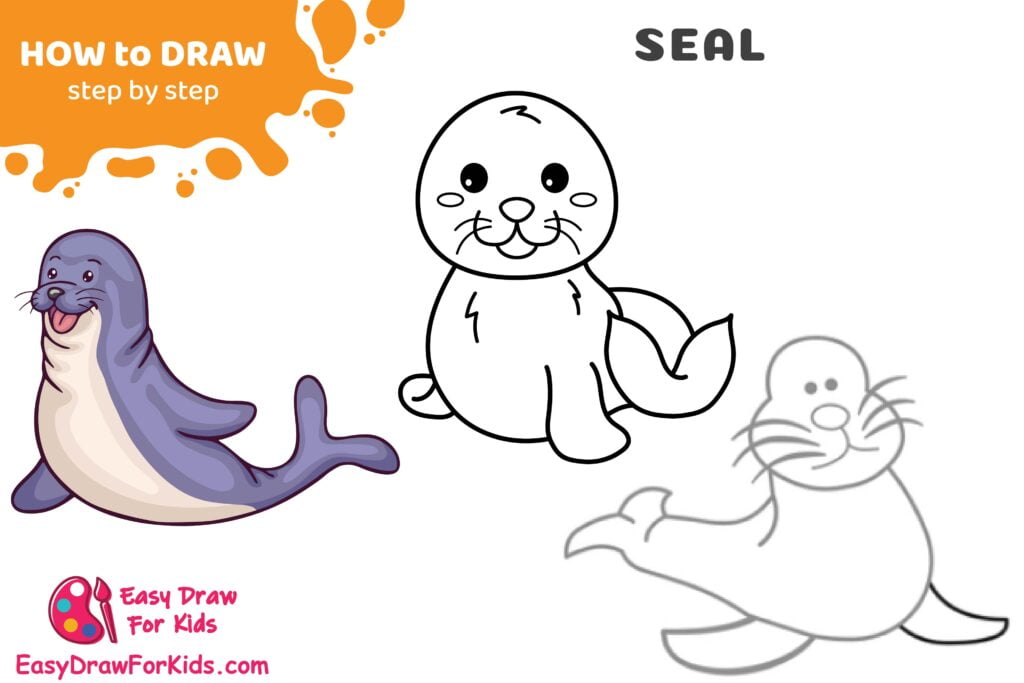
How To Draw A Seal – A Step By Step Guide
Here are three different styles you can try when you learn how to draw a seal step by step.
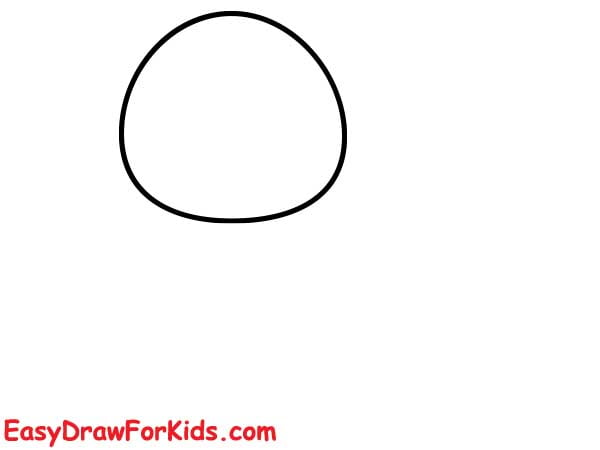
1. Easy Seal Drawing
Step 1: Draw a smaller circle for the seal’s head.

Step 2: Add two round shapes on either side of the head for the seal’s eyes. Draw a small, upturned nose shape between the eyes.

Step 3: Add details to the face, like small nostrils above the nose and slightly raised eyebrows.
Step 4: Draw a large oval shape for the seal’s body. Make it slightly wider at the bottom.
Draw the back flippers by adding a curved line extending from the lower part of the body.

Step 5: Create the seal’s front left flipper by drawing a curved line from the body’s upper part. Make the flippers rounded at the ends.

Step 6: Continue to draw a front right flipper to complete an easy seal drawing

2. Baby Seal Drawing
Step 1: Draw an oval shape for the baby seal head
Step 2: Add two small, round shapes near the top of the head for the seal’s eyes.
In between the eyes, draw a small, triangular nose shape, and a curved line below the nose for smiling mouth.

Step 3: Draw two curved lines below the head to form the thorax, and add a rounded shape for the first front flipper.

Step 4: Draw the back flippers by adding curved lines coming out from the lower body.

Step 5: Add a second front flipper to finish the basic shape.

Step 6: Draw small grooves along the body to form the fur texture

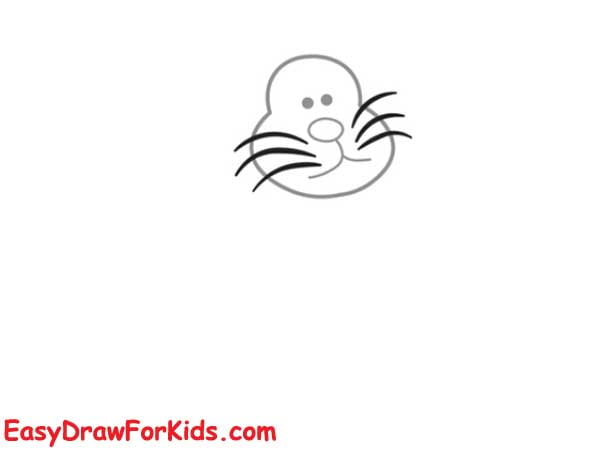
3. Cute Seal Drawing
In this article on how to draw a seal in 6 steps to help you drawing a cute seal with ease!
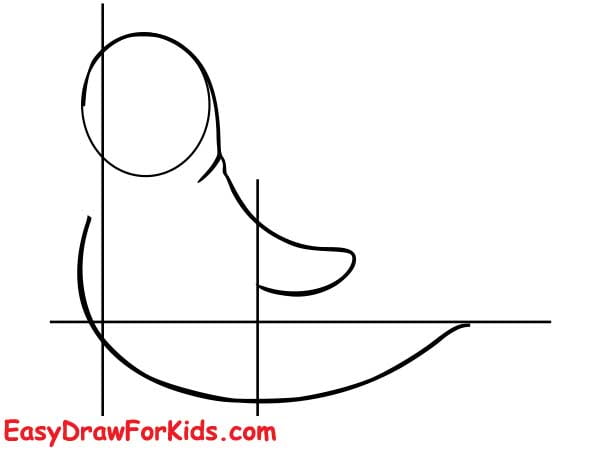
Step 1: Sketch the seal’s head, belly, and back, dividing the body into sections as shown.
Step 2: Adding front flipper and lower body.
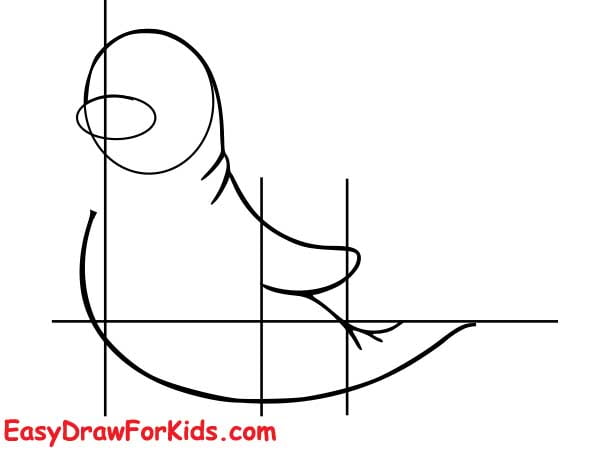
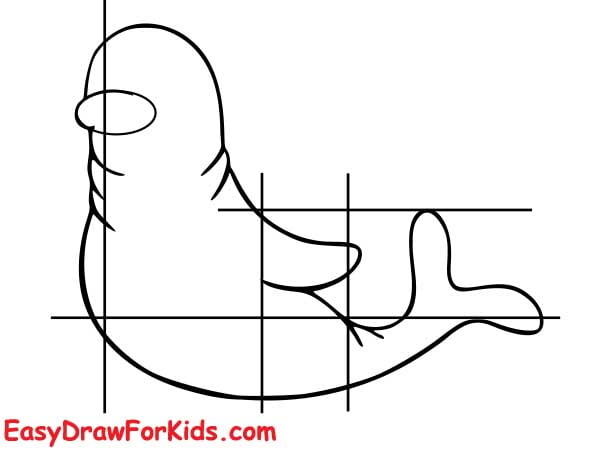
Step 3: Draw the back flippers extending from the lower body, larger than the front ones.
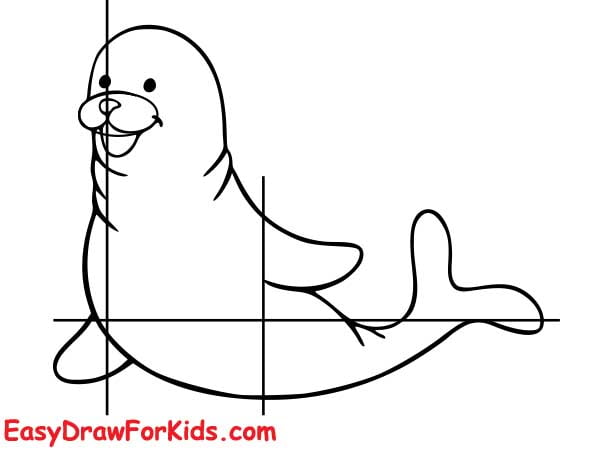
Step 4: Add two small, expressive eyes near the top of the head.
Draw eyebrows above the eyes to give the seal a friendly, curious expression.
In the center of the face, sketch a small, upturned nose shape.
Add wrinkles or creases around the eyes and mouth.
Step 5: Finally, use an eraser to clean up any unwanted marks.

Step 6: Color to complete your cute seal drawing.

With their plump bodies, expressive faces, and charming whiskers, seals make for fun subjects to sketch, color.
By following the steps in this guide how to draw a seals, practicing often, you will be on your way to drawing seals of all types.