If you’ve ever wondered how to draw a train, you’re in the right place.
In this tutorial, easydrawforkids.com will break down the process so you can create your locomotive masterpiece.
How To Draw A Train – A Step By Step Guide
1. Cartoon Train Drawing
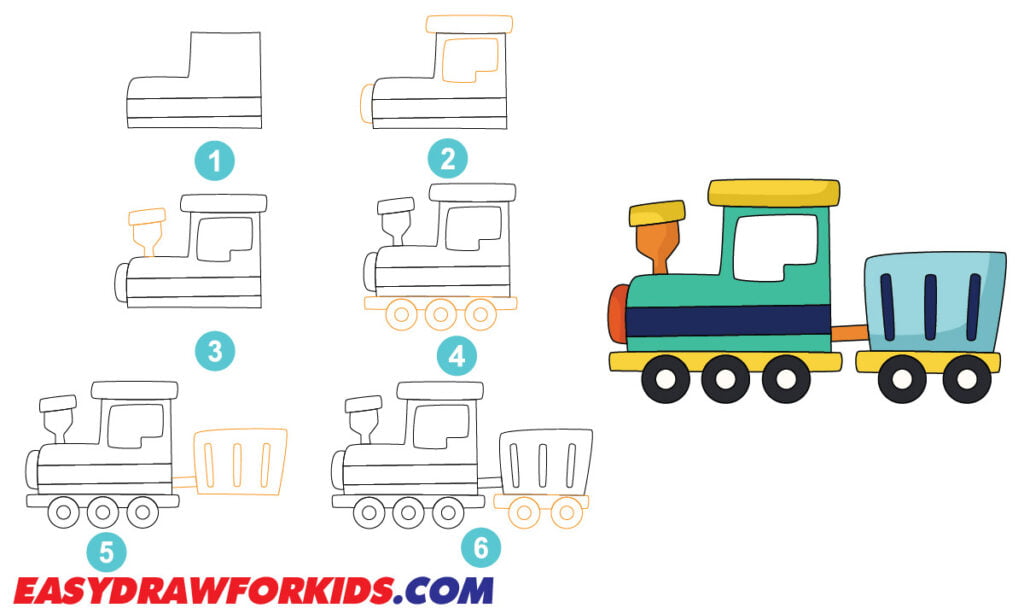
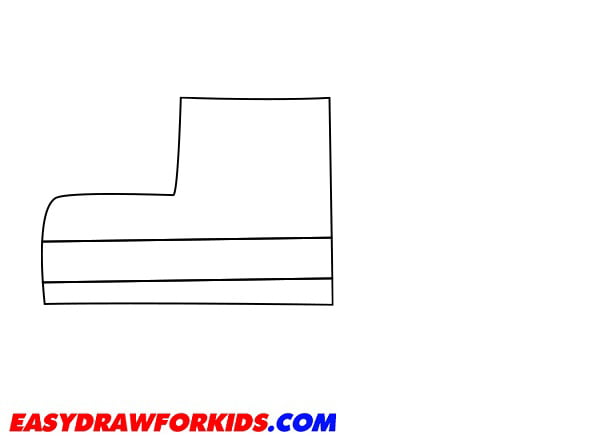
Step 1: Draw the Basic Shape
You will begin with the locomotive, which is often the train’s most detailed and complicated part.
Draw a long rectangle that will serve as the foundation for your locomotive.
Toward the back of the base, draw another rectangle at the top to represent the engineer’s cabin.
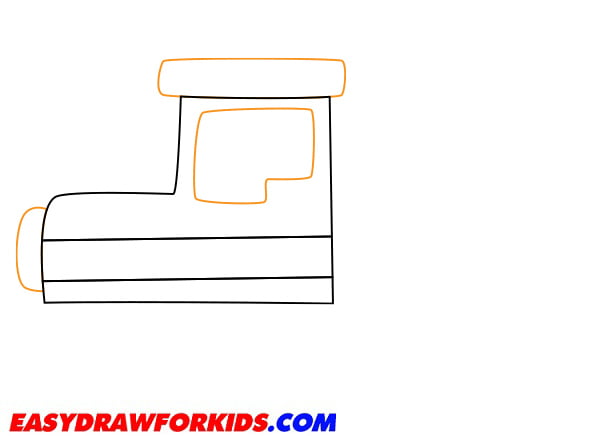
Step 2: Sketch the headlight, window
Add a small rectangle at the top of the engine to form the train’s headlight.
Add a window, door and roof using a rounded rectangle.
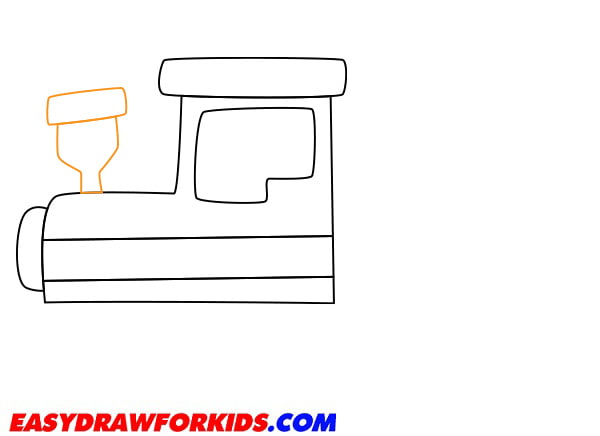
Step 3: Add smokestack on top of the engine compartment.
Step 4: Draw a long rectangle for the train foundation; add two large wheels on either side, with several smaller wheels between them.
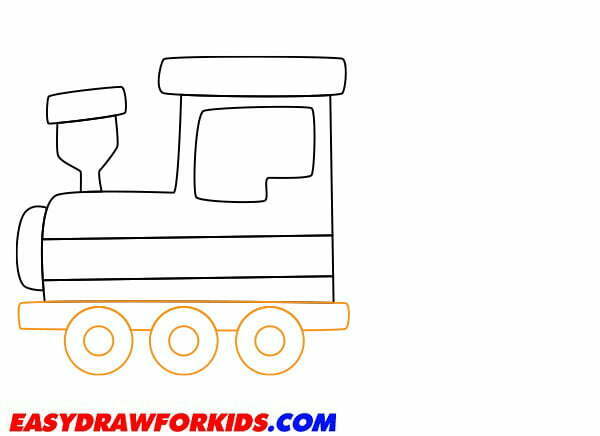
Step 5: Next, let’s move on to drawing the train car.
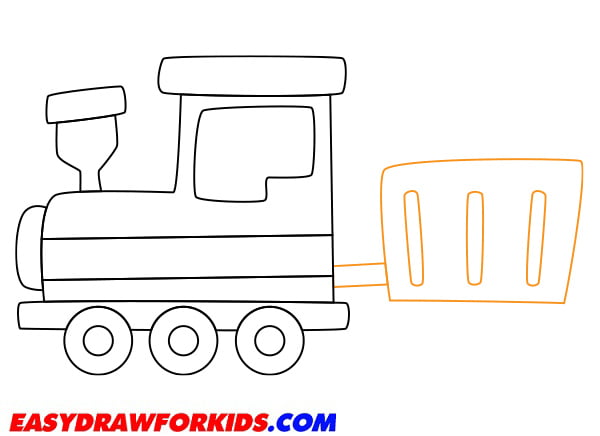
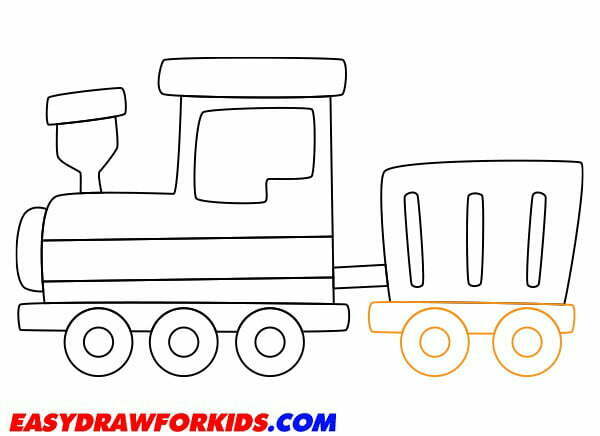
Step 6: Draw the wheels
Start by drawing a long rectangle for each train car’s foundation, like the locomotive.
Draw the appropriate number of wheels for each train car.
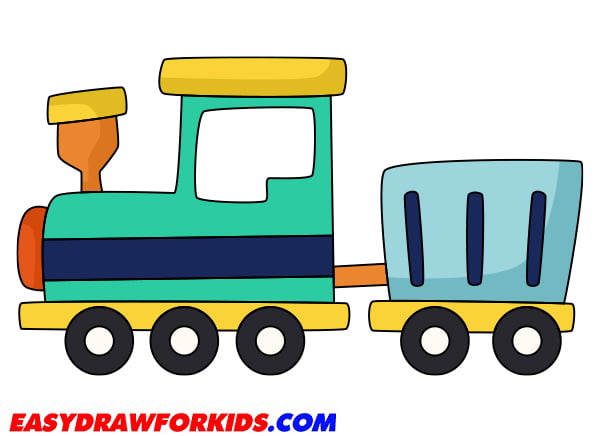
Step 7: Color the drawing
The last step of the lesson about how to draw a train is coloring your drawing.
Trains can be painted in various colors, so choose the colors you like.
2. Simple Train Drawing
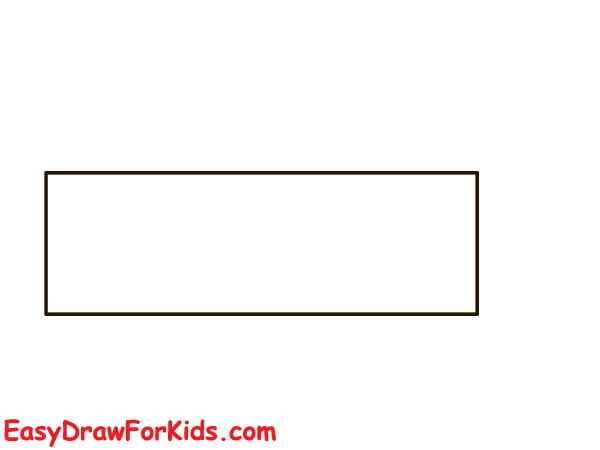
Step 1: Draw a horizontal rectangle for the main body of the train.
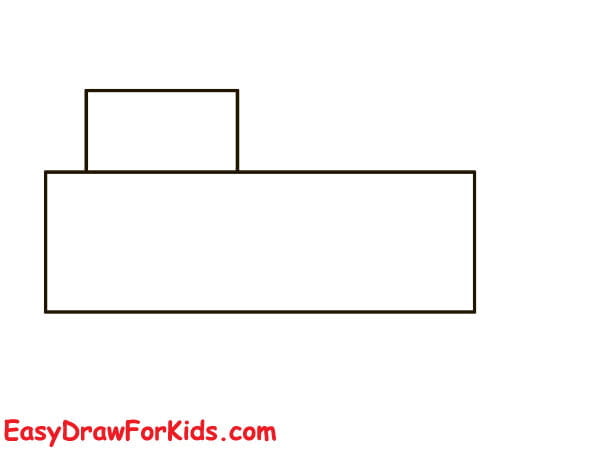
Step 2: At the front end of the train, draw a smaller rectangular shape to form the train’s cabin.
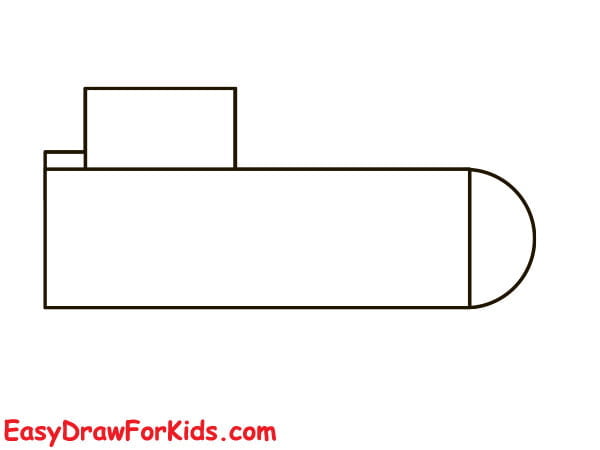
Step 3: Add a curved line in front of the train’s body for the train’s headlight.
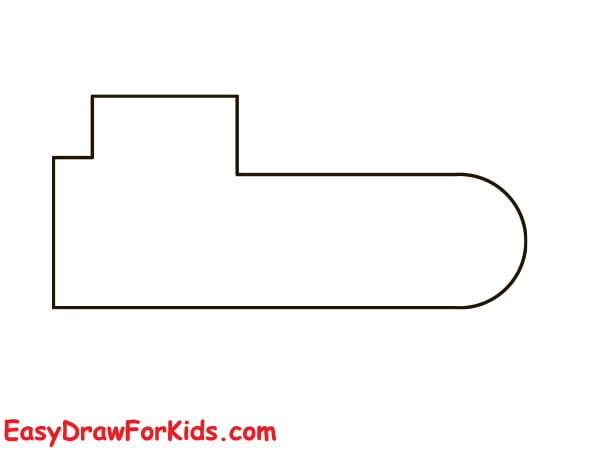
Step 4: Erase any unnecessary guidelines
Step 5: Draw two large wheels and windows
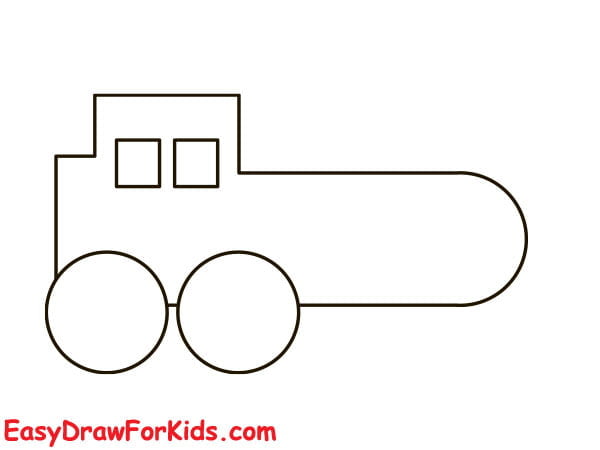
Step 6: Draw two small wheels
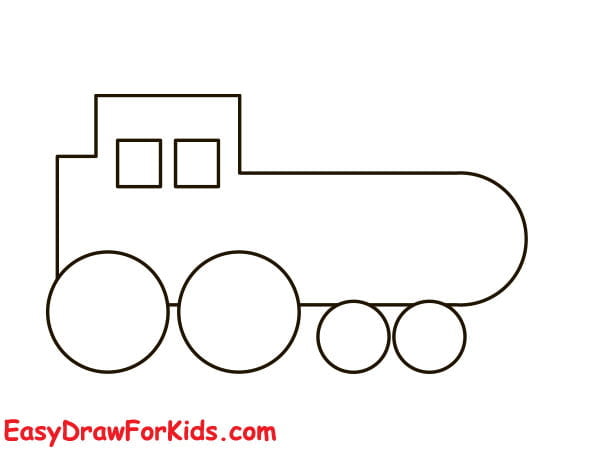
Step 7: Add a small rectangle on top of the cabin to represent the smokestack.
Add a curved line on top of the train’s body to outline the roof.
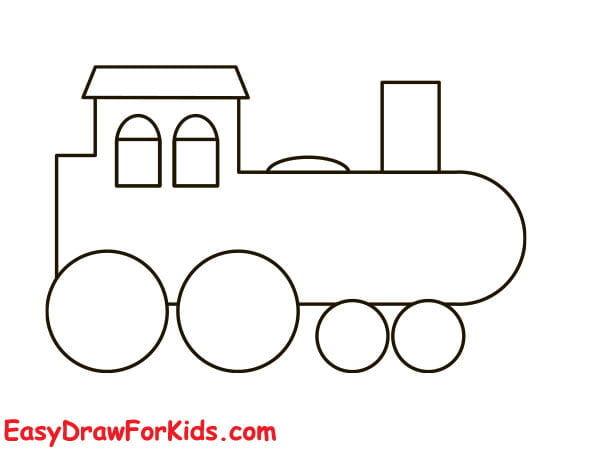
Step 8: Draw a rectangular shape on the front of the locomotive to form the cowcatcher.
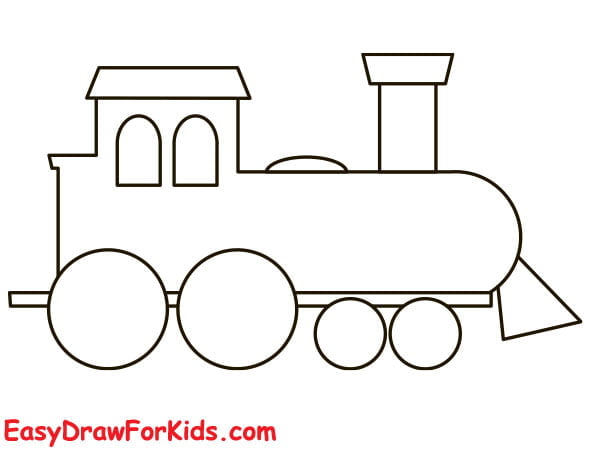
Step 9: Refine the cowcatcher.
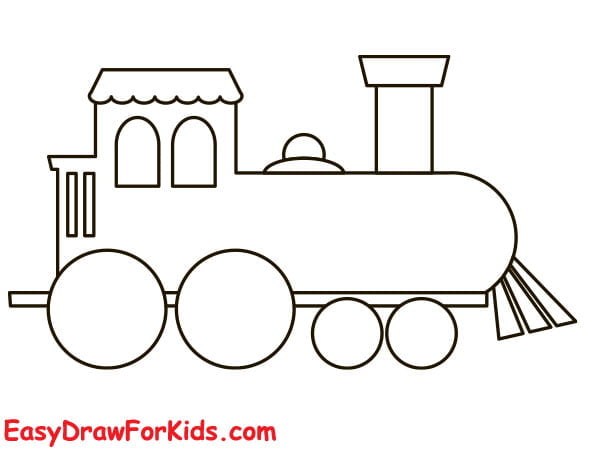
Step 10: Refine the shapes of the train’s body, wheels, and other details.
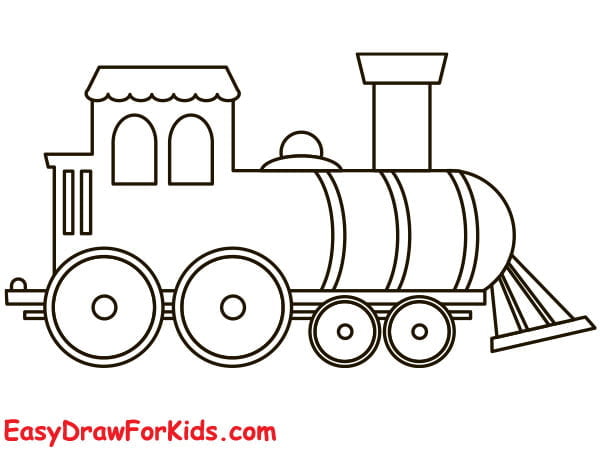
Step 11: Use bright, contrasting colors to make your train stand out.
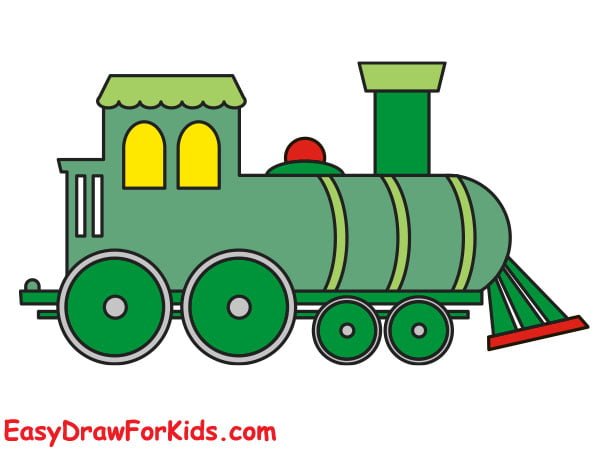
3. Classic Locomotive Drawing
Step 1: Draw a horizontal cylinder shape
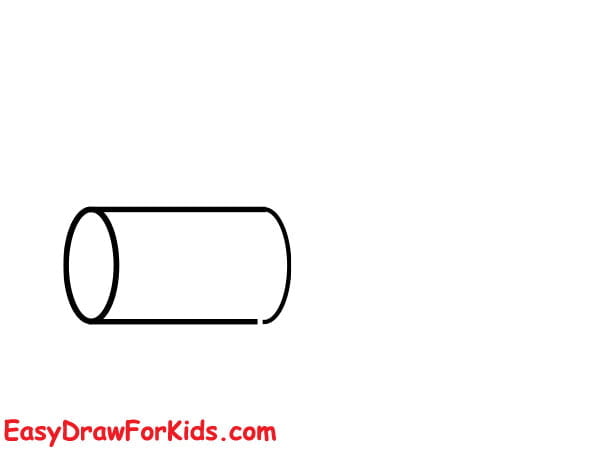
Step 2: Behind the cylinder, draw a horizontal rectangle to form the locomotive.
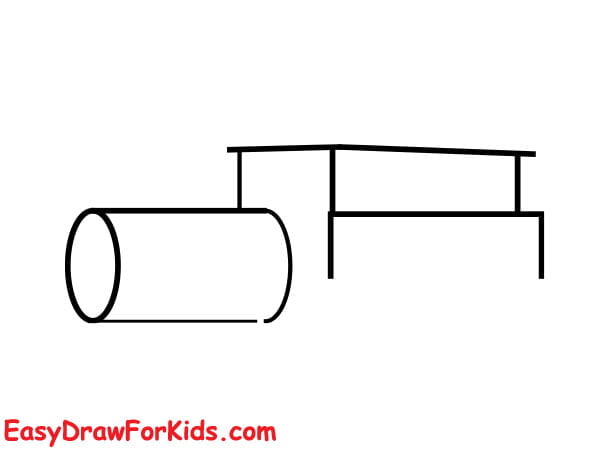
Step 3: Next, draw the cowcatcher in front of the locomotive.
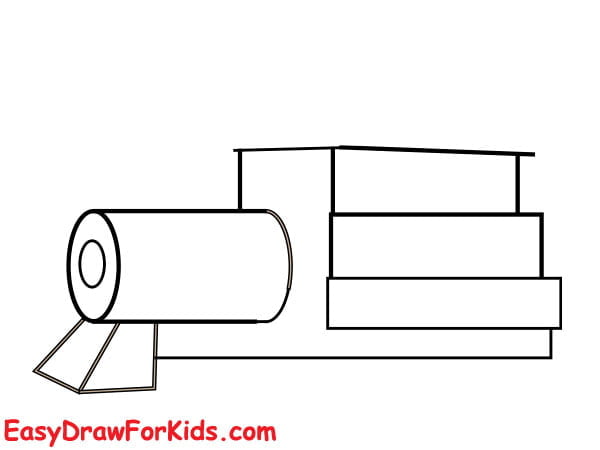
Step 4: Sketch the roof and window
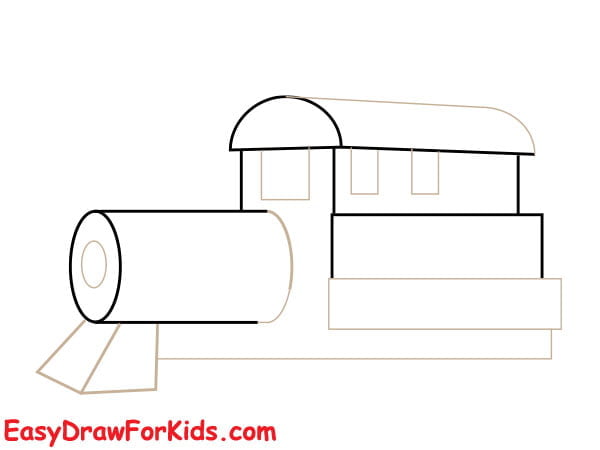
Step 5: Draw a smokestack on top of the cabin
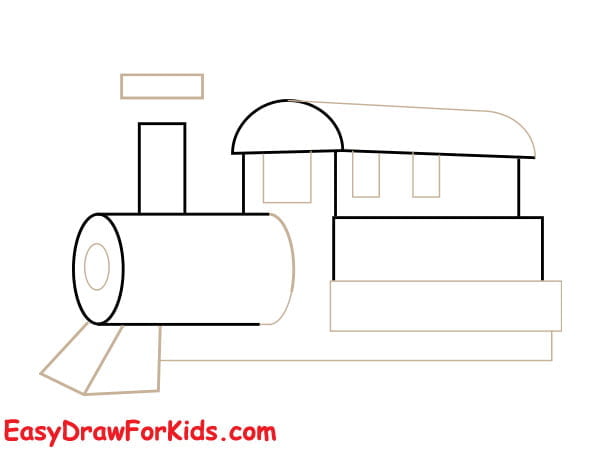
Step 6: Add four circles to create the wheels.
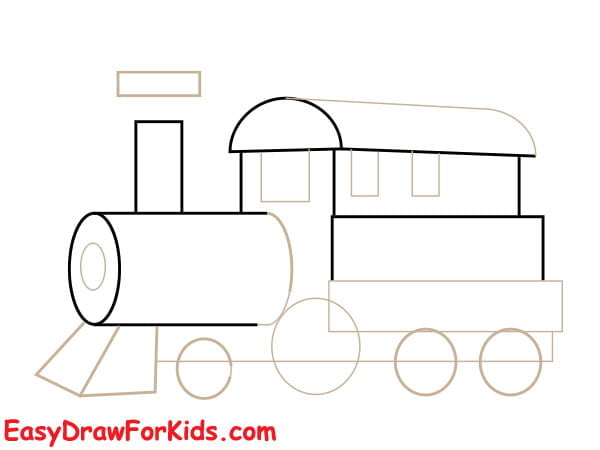
Step 7: Connect the wheels to the locomotive’s body with cylinder shapes to form the axles.
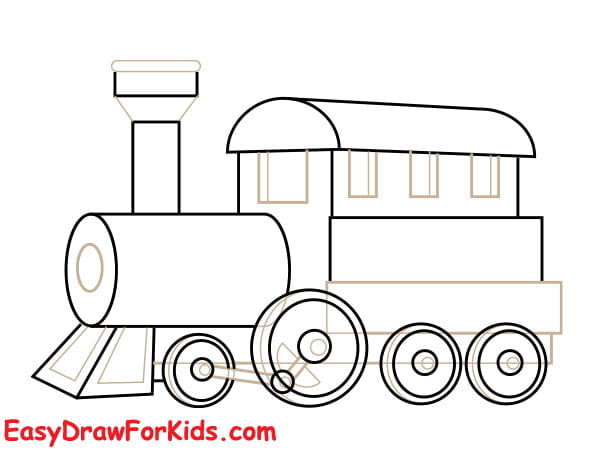
Step 8: Add flower on the side of the locomotive
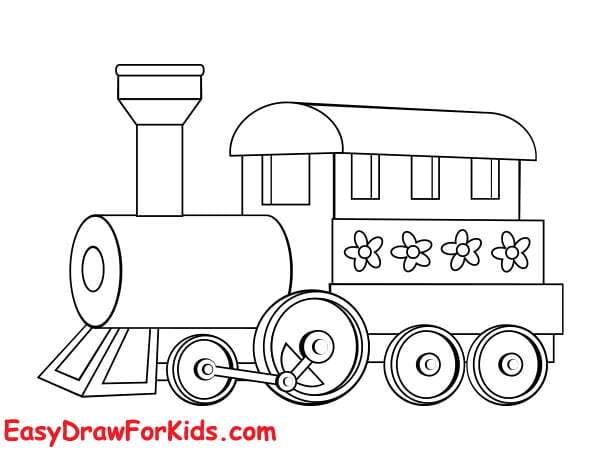
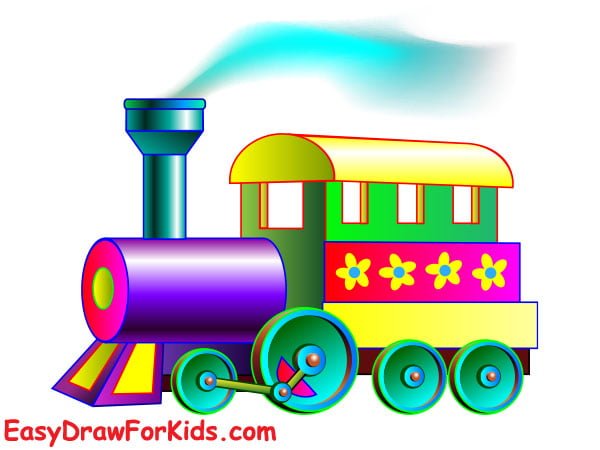
Step 9: Classic locomotives are often depicted in black or dark colors, but you can choose any color scheme you prefer.
4. Alternative Classic Train Drawing
This article on how to draw a train in 9 steps to help you quickly draw a classic train!
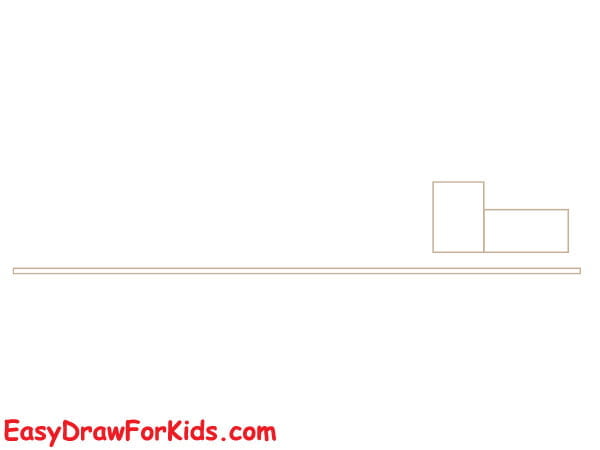
Step 1: Begin by drawing two parallel horizontal lines to form the railroad tracks.
Above the tracks, draw two rectangle to form the main body of the train.
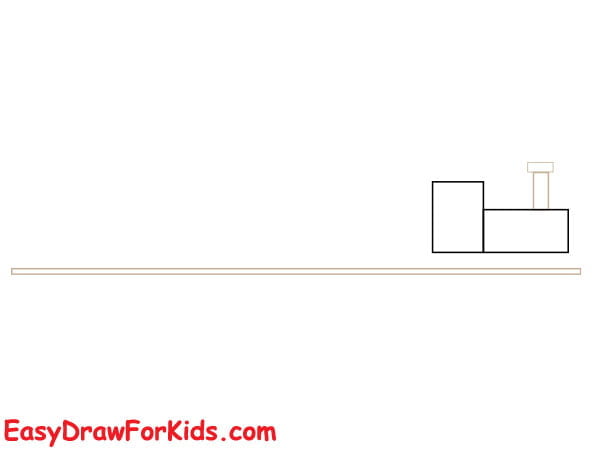
Step 2: Next, add a smokestack on the top of the cabin.
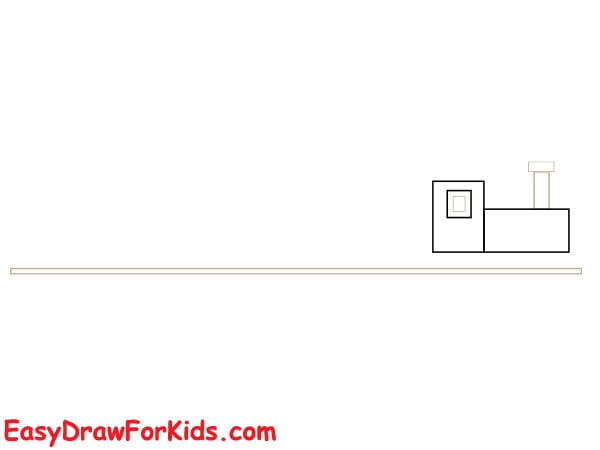
Step 3: Draw a small rectangle on the side of the cabin for the door
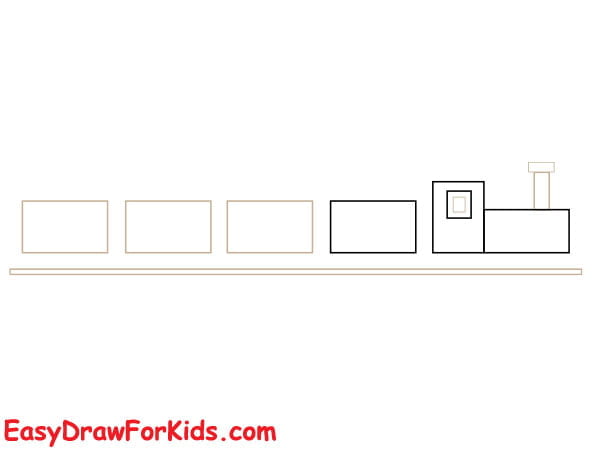
Step 4: Next, let’s move on to drawing a series of train cars.
Step 5: Next, draw a series circle to form the wheels.
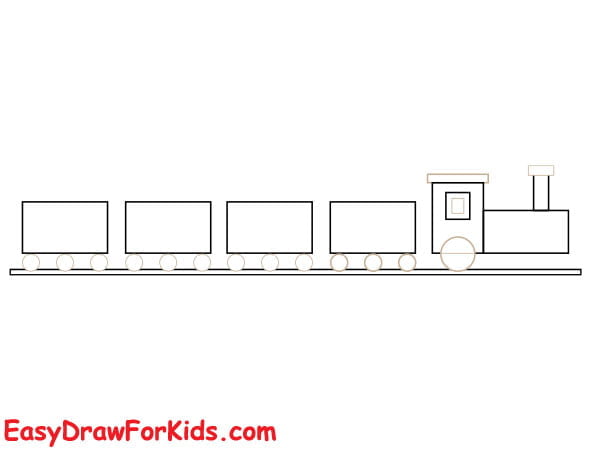
Step 6: Connect the wheels with rectangular shapes to form the axles.
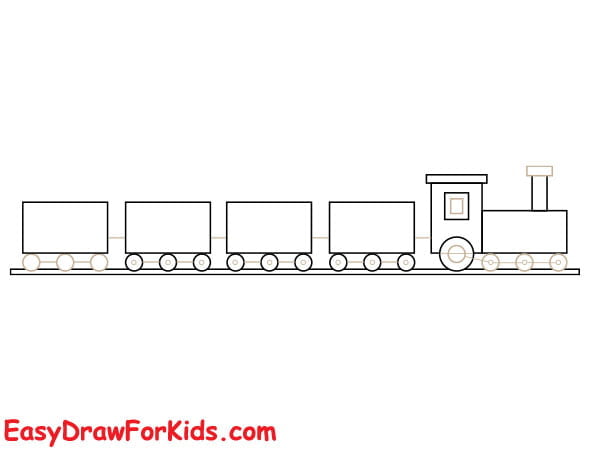
Step 7: Draw a series of rectangular below the railroad tracks.
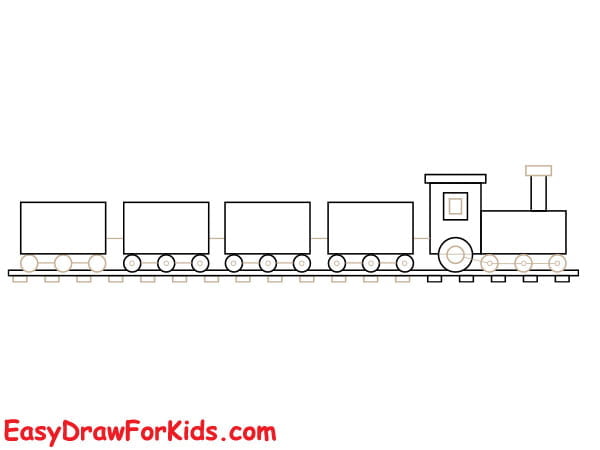
Step 8: Add more details to the train
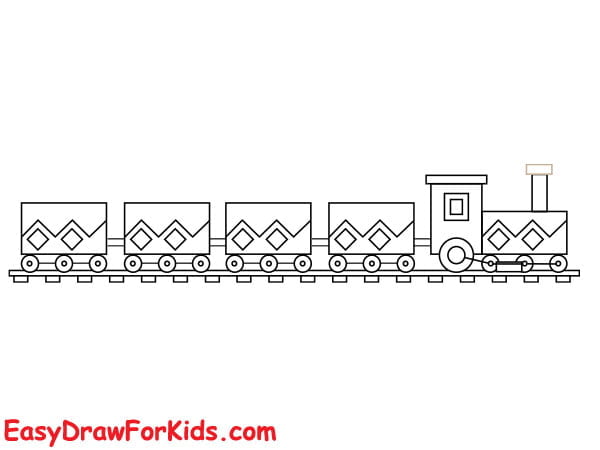
Step 9: Color your classic train drawing
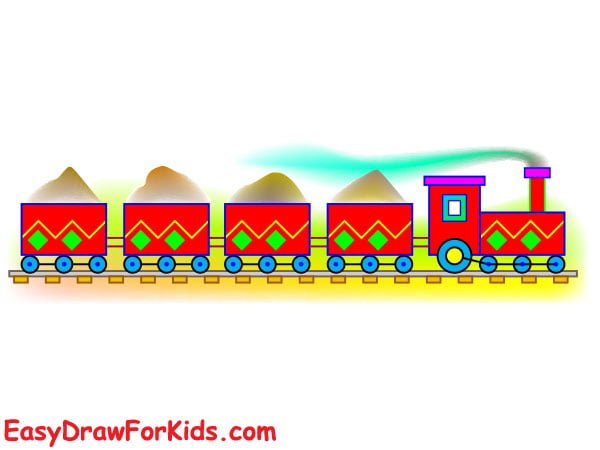
Drawing a train is a fun and rewarding activity that anyone can do.
By following this guide, you’ll master how to draw a train well.


