Have you ever wanted to create a picture of a turkey but didn’t know where to start?
Turkeys are not only symbols of Thanksgiving but also interesting and fun creatures to sketch.
In this tutorial, you’ll learn how to draw a turkey with a few simple instructions, you can bring a charming turkey to life on your paper.
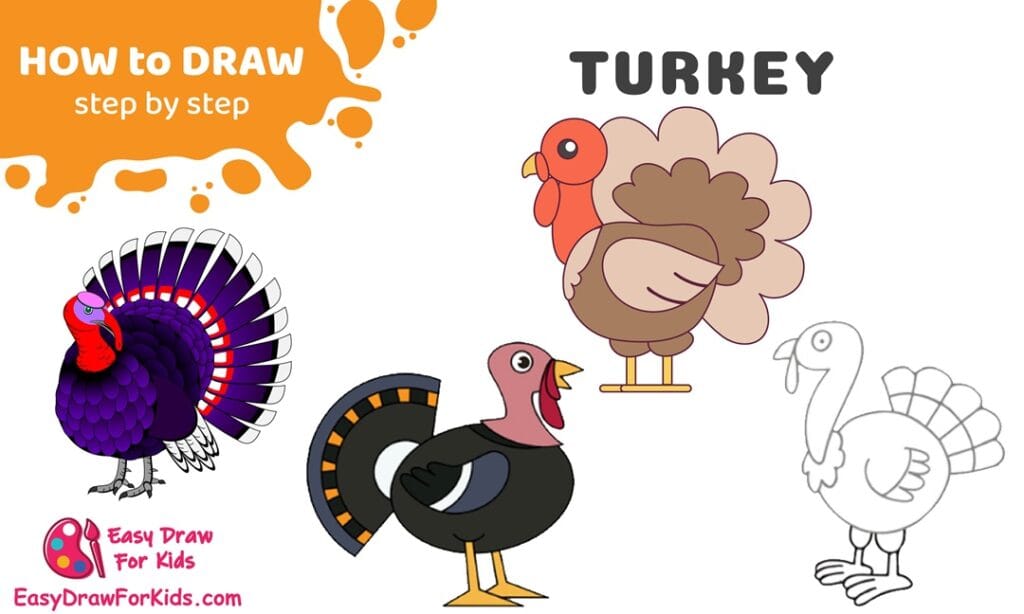
How To Draw A Turkey – A Step by Step Guide
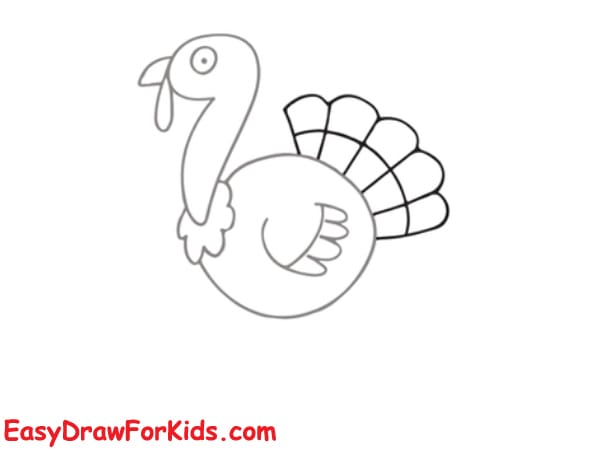
1. Simple Turkey Drawing
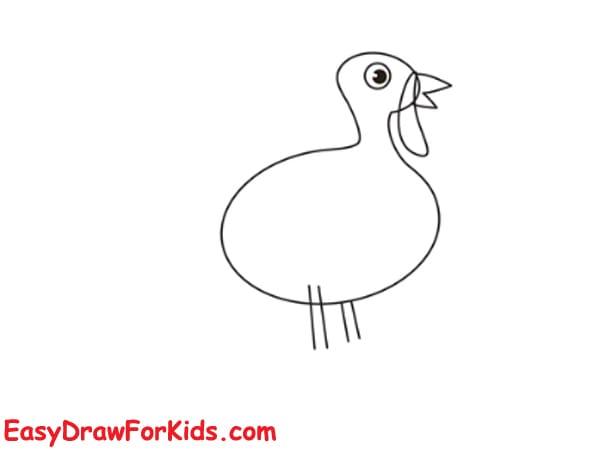
Step 1: Draw the Head and Body
Draw a small circle for the head, near the top of the paper.
Draw a large oval below it for the body. Make sure the body is much bigger than the head.

Step 2: Connect the Head and Body
Draw two short curved neck lines connecting the head to the body. This forms the neck of the turkey.

Step 3: Add the Legs and Beak
- Draw two thin vertical legs coming down from the bottom of the body.
- Draw feet at the end using small lines (like chicken feet).
- Add a triangular beak on the head pointing outward.
- Draw a small circle for the eye with a dot inside.
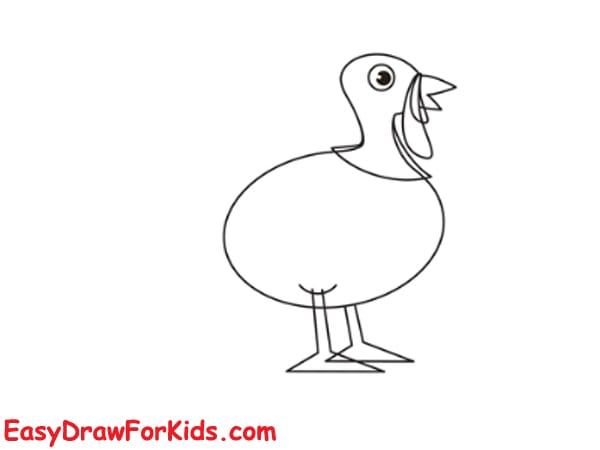
Step 4: Add the Face Details and Wattle
Draw a curved line above the eye for the eyebrow.
Add a drooping shape from the beak for the wattle (the red skin under the beak).
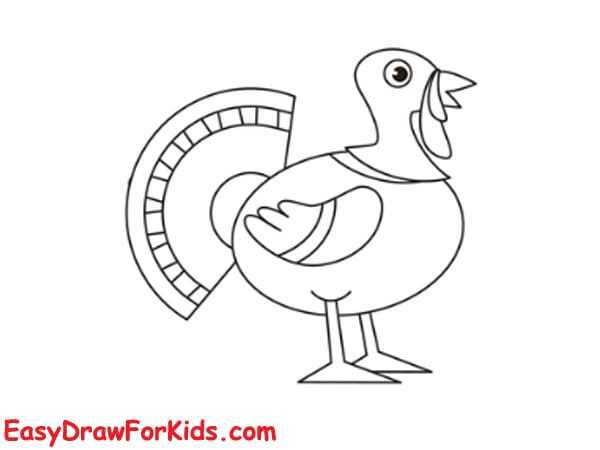
Step 5: Draw the Tail Feathers
Behind the body, draw a large fan shape (like half a circle) to create the tail.
Inside the fan, draw curved lines to divide the tail into feather sections.
Add semi-circles or lines for feather tips.
Step 6: Color the Turkey
Use brown or black for body and tail, red for the head and wattle
Orange for the beak and feet, white and yellow for tail feather patterns

2. Cute Turkey Drawing
Step 1: Start by drawing a rounded head at the top. Extend a long, curved neck downward in an S-shape.
At the bottom of the neck, draw a fluffy collar using short, wavy lines to resemble feathers.

Step 2: Add a large, round oval below the neck to represent the turkey’s body.
Make sure the bottom of the neck connects naturally to the body.

Step 3: Draw a large eye (a circle with a smaller black dot inside) on the head. Add a triangular beak on the front of the face.
Draw a wattle (the fleshy hanging part) extending downward from the beak using a curved shape.

Step 4: On the body, draw a curved wing shape that resembles a leaf or teardrop.
Inside the wing, add three short curved lines to show feathers.

Step 5: Behind the body, draw five large, rounded feathers like petals or bumps in a fan shape.
Start small near the body and gradually make them larger outward.
Step 6: In this step on how to draw a turkey. Draw two legs below the body using parallel lines.
At the bottom of each leg, draw three-pointed toes for the feet.
Finalize the drawing with clean outlines and add any missing details.

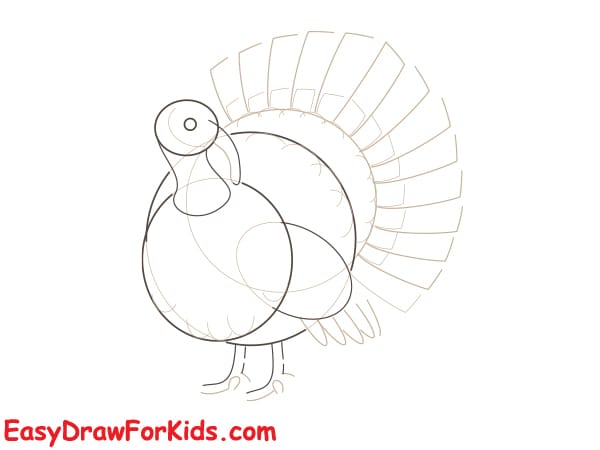
3. Cartoon Turkey Drawing
Step 1: Draw a small circle near the top-left side for the head. Draw a larger oval below it for the body.
Draw a vertical line through the center of the body and head. Draw a horizontal line across the middle of the body. These lines help with symmetry and feather placement.

Step 2: Draw two short curved neck lines connecting the head to the body.

Step 3: Behind the body, draw several large scalloped shapes (like cloud bumps) forming a fan shape for the tail feathers. They should curve around the top of the body.

Step 4: Inside the body oval, draw a curved wing shape starting near the middle going downward. The wing overlaps the body slightly.

Step 5: Draw two vertical rectangles under the body for legs, and add oval feet at the bottom.
Add a small triangle or teardrop shape from the head for the beak.
Don’t forget the wattle (dangling shape from the beak).

Step 6: Draw a small circle for the eye and shade in a black dot for the pupil.
Add a line on the wing to indicate feathers. Draw more feather detail in the tail if desired.
Erase any guide lines.

Step 7: Color the turkey by your style

Read more: How To Draw A Seagull – 2 Ways (With Pictures)
4. Realistic Turkey Drawing
Step 1: Draw three circles:
- A small one for the head (top left).
- A medium one for the chest (middle).
- A large one behind for the body (bottom right).
Lightly sketch a centerline to help with symmetry.

Step 2: Add Fan Tail Guidelines
Make sure they form a half-circle shape, evenly spaced.
From the back of the body, draw radiating straight lines outward like a fan.
These lines will guide the tail feathers.

Step 3: Use the guideline lines to draw individual rounded feathers.
Each feather should follow the curved fan shape.
Draw about 10–12 feathers in an arc, getting smaller toward the ends.
Step 4: Add a curved neck connecting the head to the body.
Add a small eye and beak on the head.
Sketch a wing on the body (a large oval or leaf shape overlapping the body).
Add the fluffy underside of the turkey with bumpy lines.
Inside the tail feathers, draw secondary feather shapes or lines to add detail and depth.
Add layered feather lines on the wing and body.
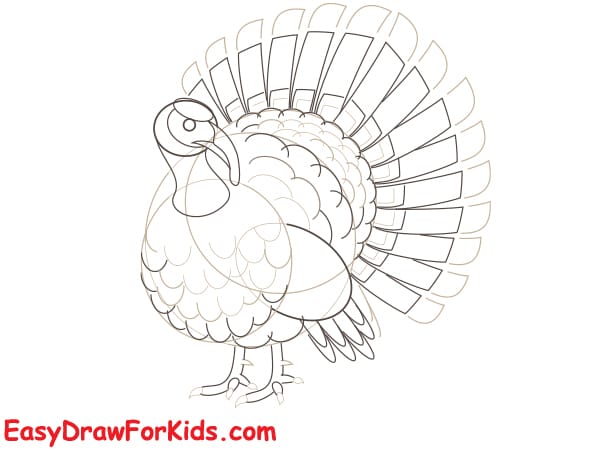
Step 5: Sketch two legs under the body.
Each leg ends in three sharp claws pointing forward and one backward for balance.
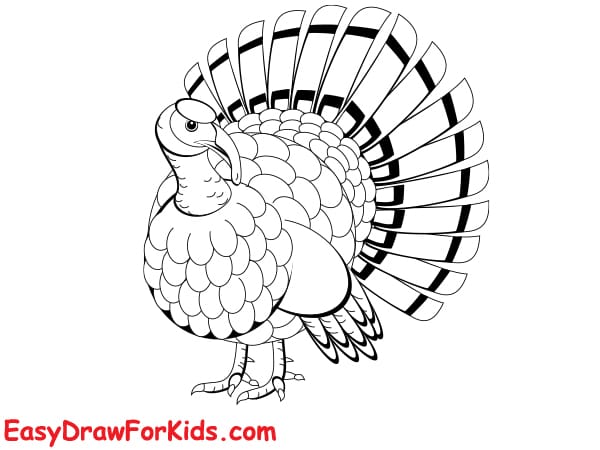
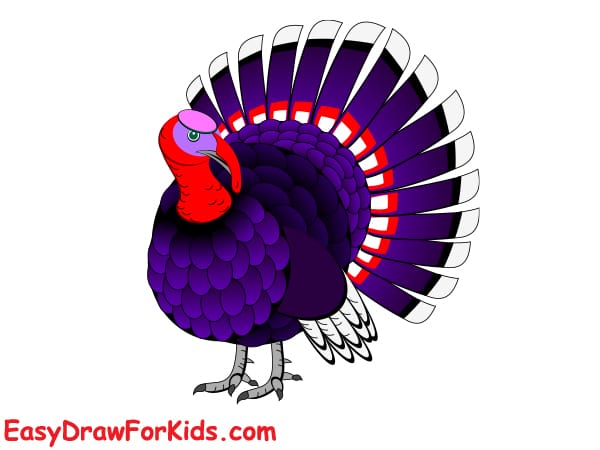
Step 6: Now, you complete this guide how to draw a turkey. You can ink the drawing and color it (dark purple body, red head, multicolored tail feathers).
Now that you’ve learned how to draw a turkey, you can add your own creative touches to make it uniquely yours.
Keep exploring different ideas and styles to develop your artistic talents even further.


