Watermelon, with vibrant colors and unique texture, makes for an interesting subject to draw.
In this tutorial, easydrawforkids.com will guide you on how to draw a watermelon with 5 easy ways to draw.

How To Draw A Watermelon – A Step By Step Guide
1. Easy Watermelon Drawing
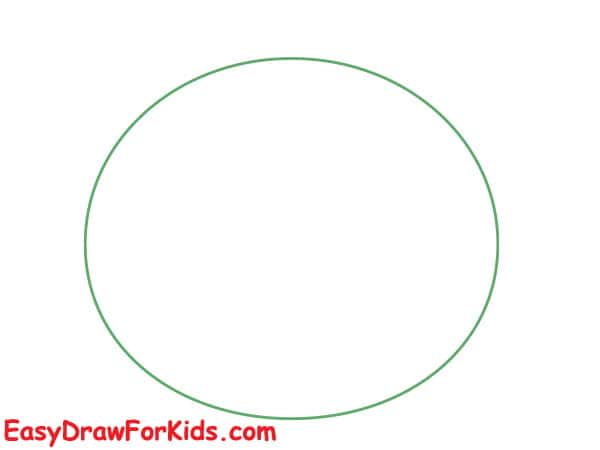
Step 1: Watermelons are oval-shaped, draw an oval shape that is slightly elongated horizontally to create the outline
Step 2: Draw a small curved line at the top of the watermelon for the stem.
Draw a curved line extending upwards from the attachment point.
At the top of the stem, draw a spiral shape to for the curled end of the stem.

Step 3: Watermelons have a distinctive rind pattern, draw a series of curved lines across the rind as shown the picture
These lines should be spaced evenly and should curve in different directions to create a natural-looking pattern.

Step 4: Coloring the Watermelon
Choose a deep green color for the rind.

2. Cartoon Watermelon Drawing
Step 1: Drawing a semicircle to represent the watermelon slice. Then, draw a triangle on the top of the semicircle, as shown in the picture.
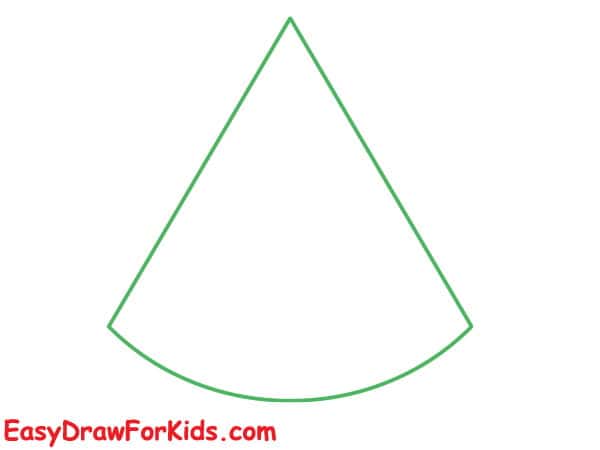
Step 2: In this step on guide how to draw a watermelon by draw a curved line at the top of the watermelon piece for a half-bitten piece of watermelon.
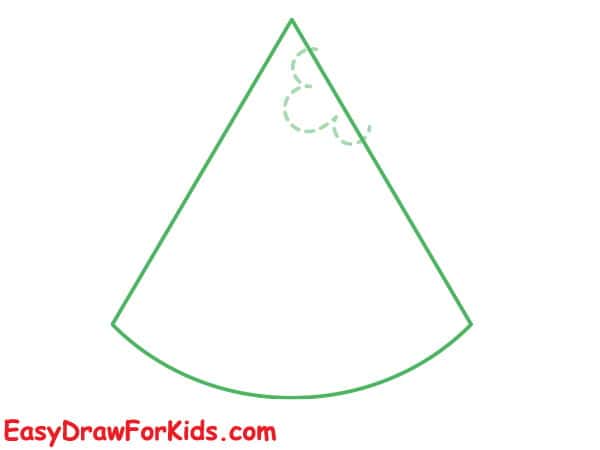
Step 3: Draw a curved line parallel at the bottom to create the rind of the watermelon.

Step 4: Draw two large circular shapes for the eyes, add smaller circles within the eyes for the pupils.
Draw a curved line for the mouth, you can add small dots or lines for teeth to give the mouth more expression.

Step 5: Draw small teardrop shapes scattered throughout the watermelon flesh.
Vary the size and placement of the seeds to create a more natural look.

Step 6: This is the most fun of all the steps in this guide on how to draw a watermelon.
Color watermelon flesh with a bright red and green for the rind.

3. Watermelon Slice Drawing
Step 1: Start with a curved line to represent the outer edge of the slice, then draw a line conect it as shown the picture.
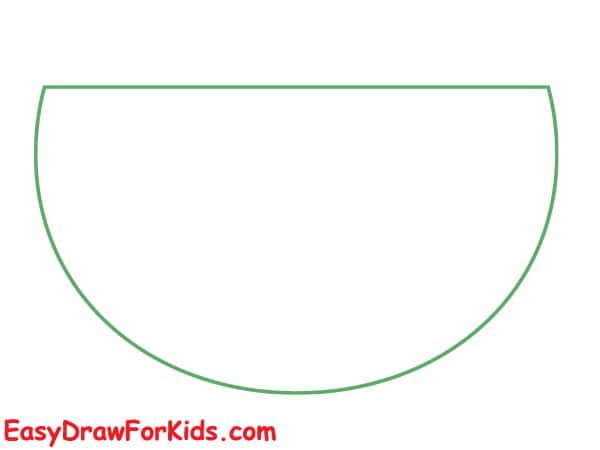
Step 2: Draw a slightly wavy line inside for the rind’s thickness.
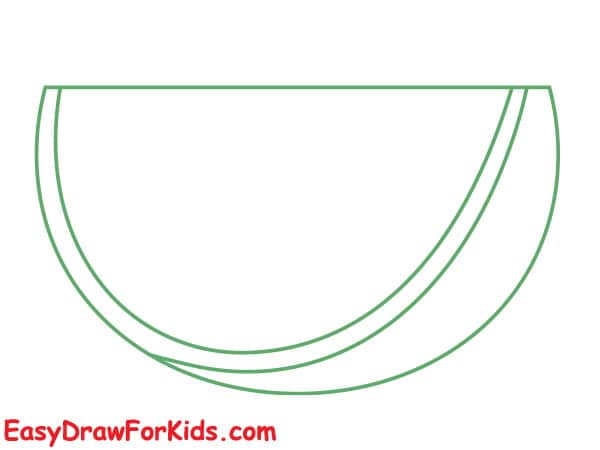
Step 3: The third step on guide how to draw a watermelon, draw the seeds with vary shapes and angles to create a natural.

Step 4: Begin with a green for the outer of the flesh, gradually transitioning to a deeper red or pink towards the center, black for seeds.

4. Cute Watermelon Drawing
Step 1: Draw an angle shape for the outer shape of the watermelon slice.

Step 2: From the top of the watermelon slice, draw a line extend downwards, creating the side of the watermelon slice.
Connect the bottom by a slightly curved horizontal.

Step 3: Draw small, curved shapes scattered across the inner rind.

Step 4: Start by filling the outer part with a light green color, red for the flesh.
Finally, color the seeds black or dark brown.

5. Slice Watermelon Drawing
Step 1: Drawing the outline of watermelon slice
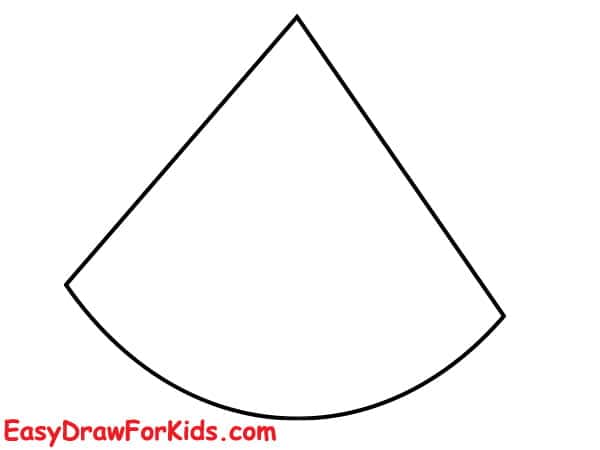
Step 2: Draw a slightly wavy line inside to indicate the rind’s thickness.
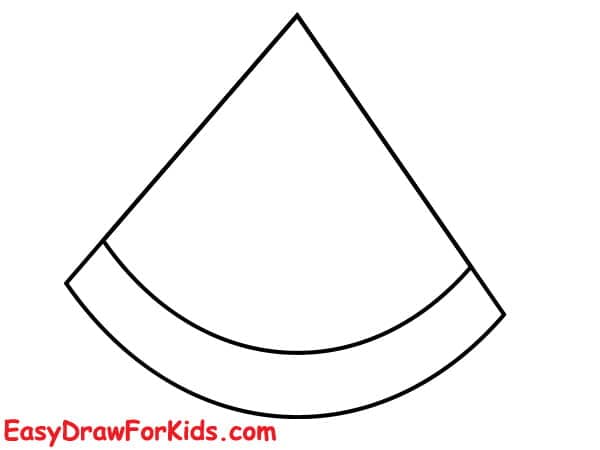
Step 3: Draw a short, curved lines along the inner edge of the slice for the white part of the rind.
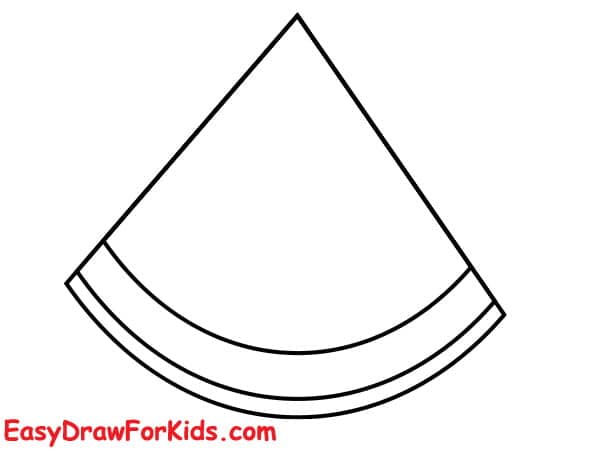
Step 4: Draw the seeds within the flesh.
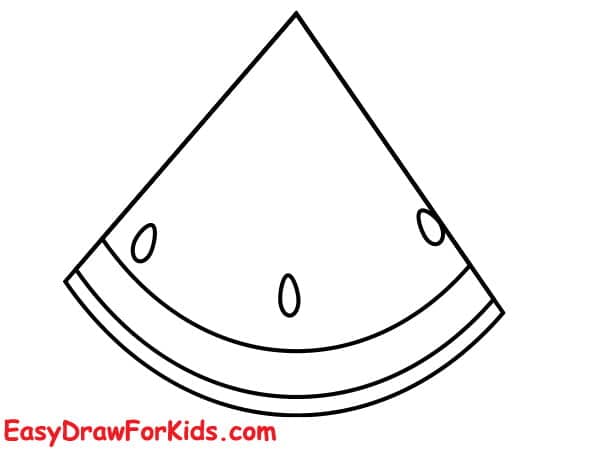
Step 5: Color your drawing with red, blue and black

Follow this tutorial how to draw a watermelon, you will create a beautiful watermelon drawing.


