Are you ready to put a contemporary twist on the traditional witch?
In this tutorial, easydrawforkids.com will help you learn how to draw a witch in 4 ways.
How To Draw A Witch – A Step by Step Guide
1. Simple Witch Drawing
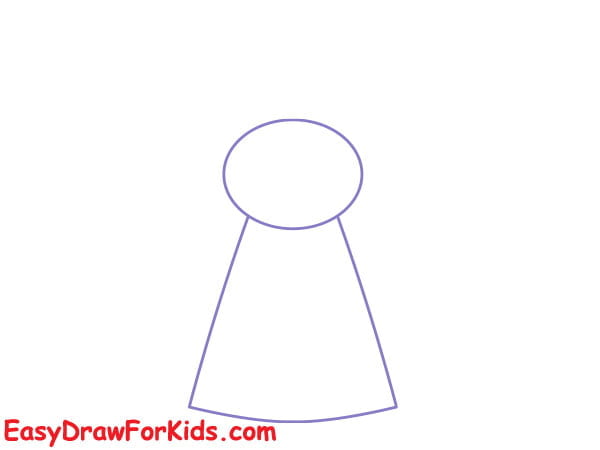
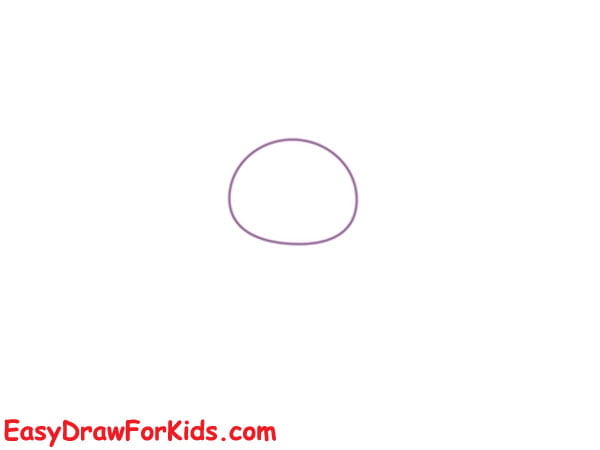
Step 1: Sketch the head and body
Draw a circle for the head, below the head, draw two curved lines that extend downward to create the outline of the witch’s body.
The lines should flare out slightly to represent the shoulders.
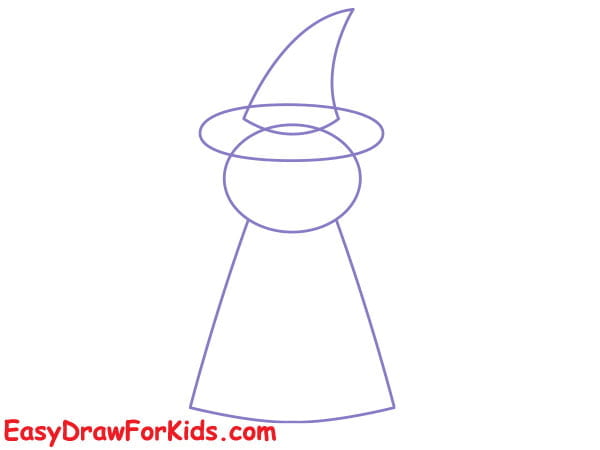
Step 2: Draw a witch hat on top of the head
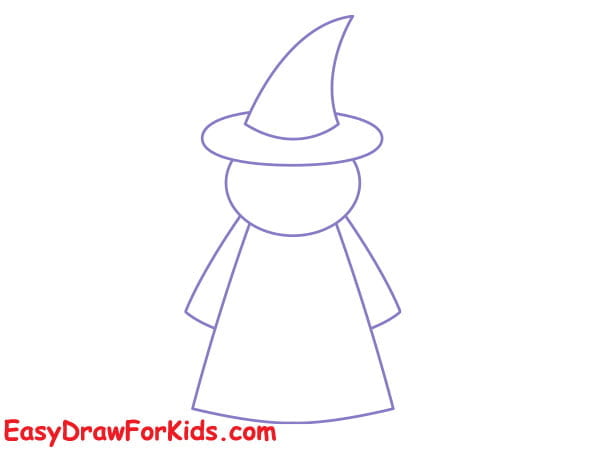
Step 3: Extend two lines outward from the shoulders to create the witch’s arms.
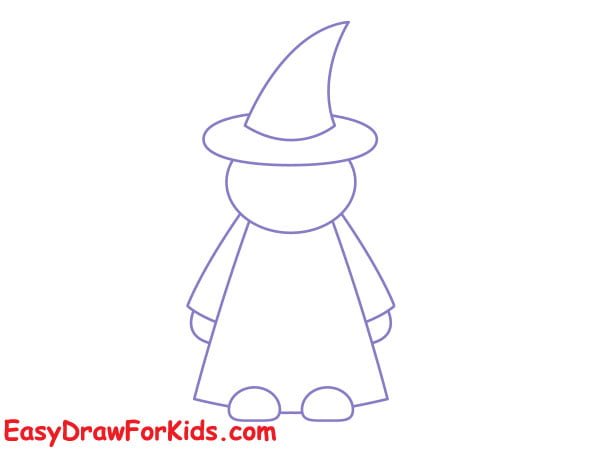
Step 4: Draw the hand and shoes for your witch drawing
Step 5: Draw more wave lines that extend out the head to form the hair
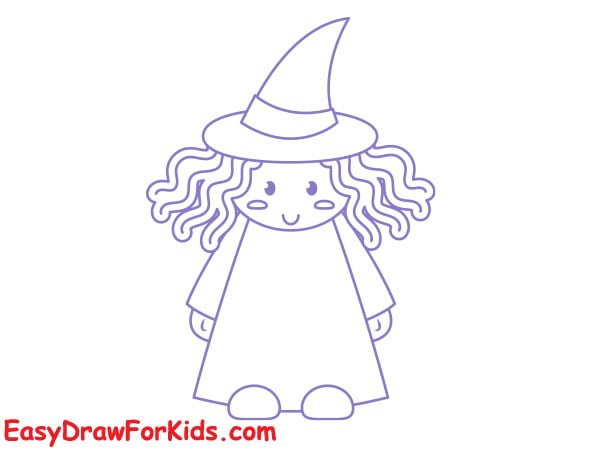
Step 6: Inside the face, draw two large, circular eyes. Add a curved line for the nose and a wide, smiling mouth beneath it.
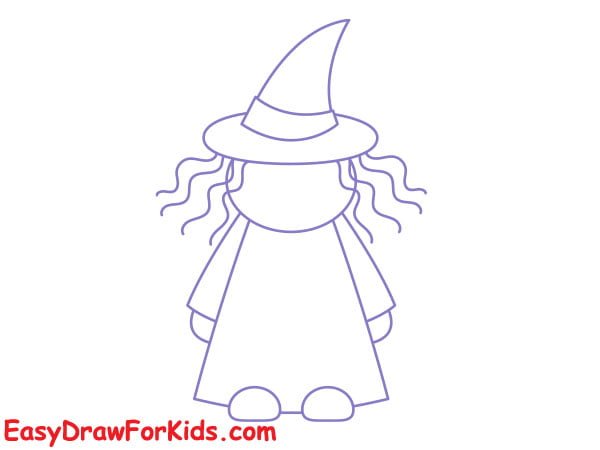
Step 7: Add details to the outfit of the witch
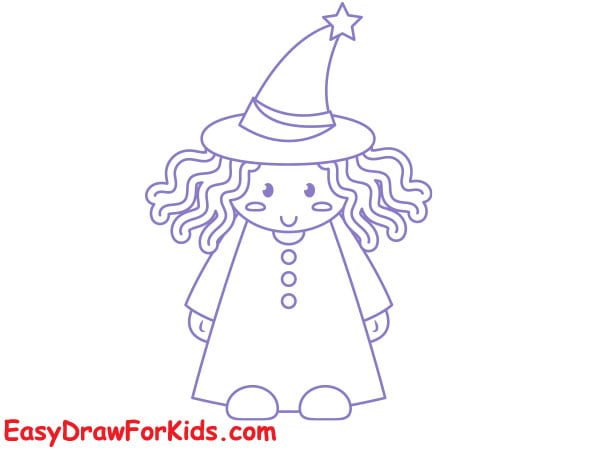
Step 8: Now it’s time to add color to your witch. Choose colors that suit your witch’s personality.

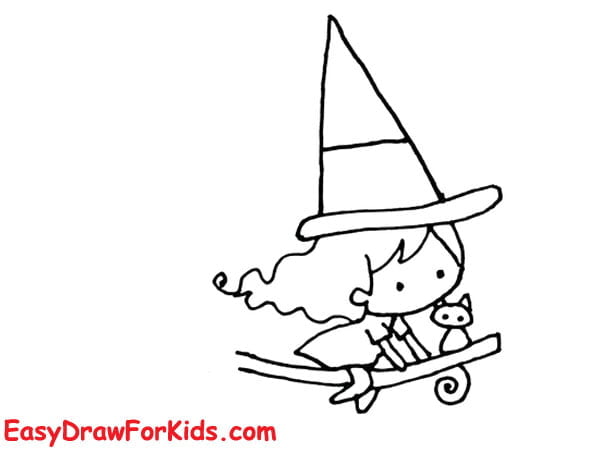
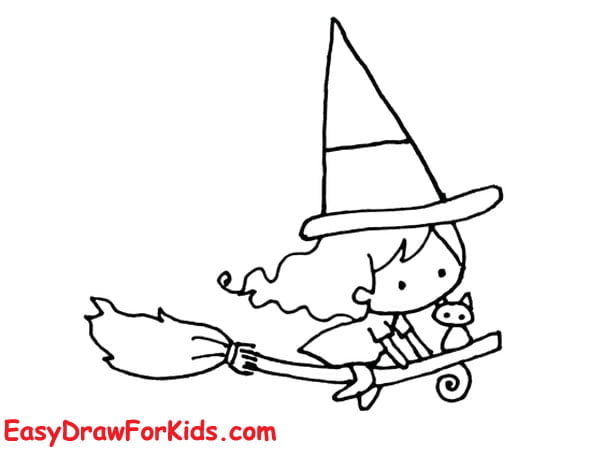
2. Witch Flying On A Broom Drawing
Step 1: Draw a circle for the head
Step 2: Draw curved lines as shown in the picture to form the hair
Step 3: Draw an oval shape on top of the head to form the curved brim.
Step 4: Add a pointed tip on the top for the witch’s hat.
Step 5: Draw the robe by extending the lines below the head downward.
Step 6: From the shoulders, extend two lines outward to create the witch’s arms. At the end of each forearm, draw the witch’s hands gripping the broomstick.
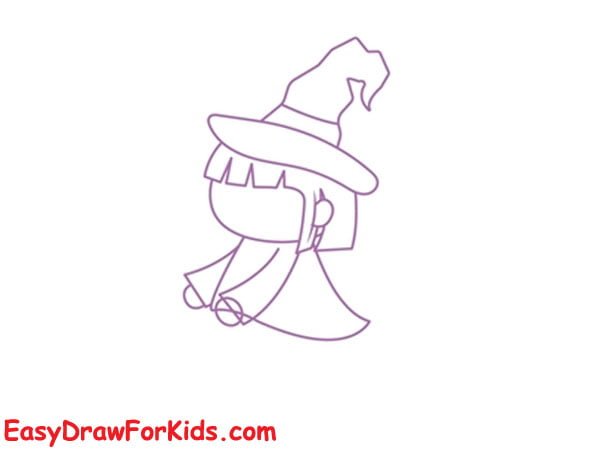
Step 7: Draw the broomstick from the the bottom of the witch body.
At the end of the broomstick, draw a series of short, curved lines extending outward to represent the bristles of the broom.

Step 8: Add Legs and Shoes
Extend two lines downward from the bottom of the robe to create the witch’s legs.
Finish off by drawing pointed shoes or boots at the end of each leg.
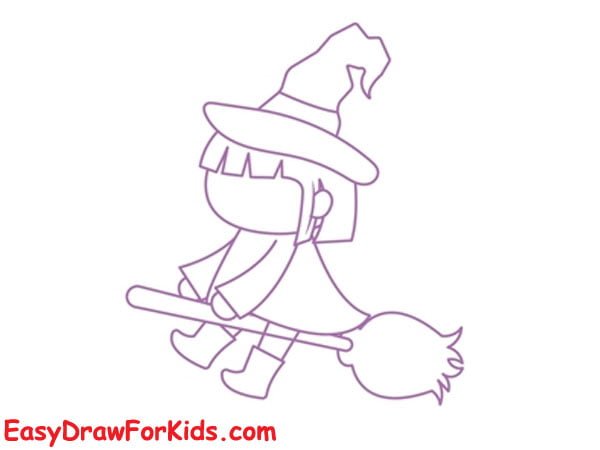
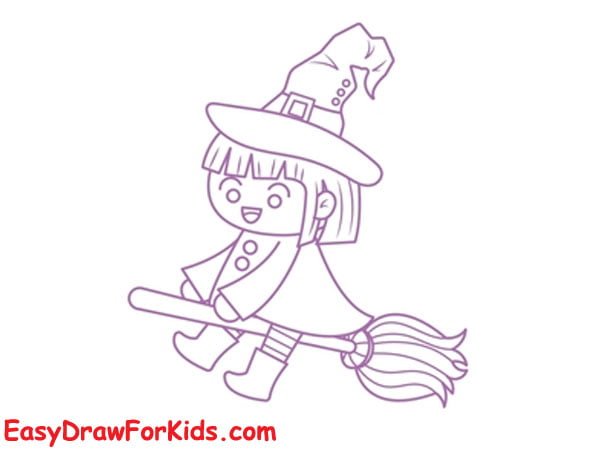
Step 9: Add facial features, details and accessories
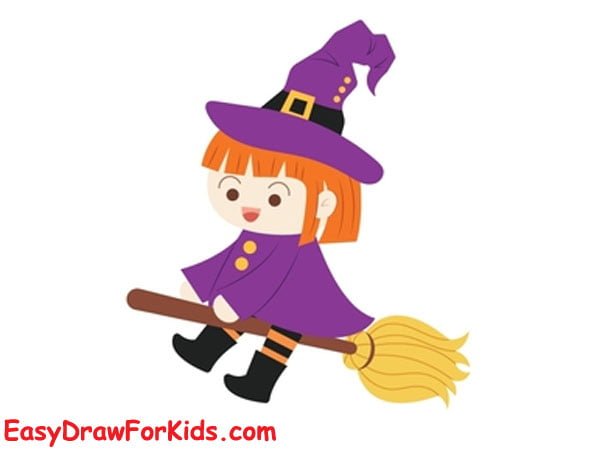
Step 10: Color your witch drawing
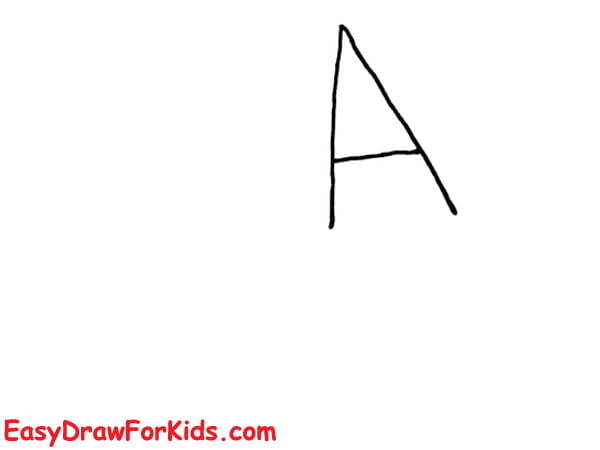
4. How To Draw A Witch From Letter A
Step 1: Draw a capital letter “A”
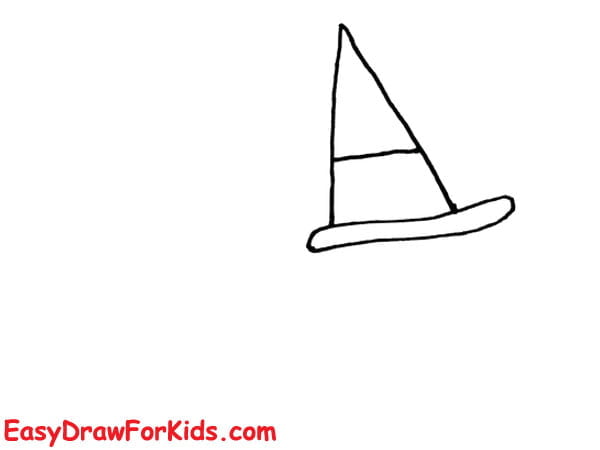
Step 2: Connect two lines with a curved line to create the brim of the witch’s hat.
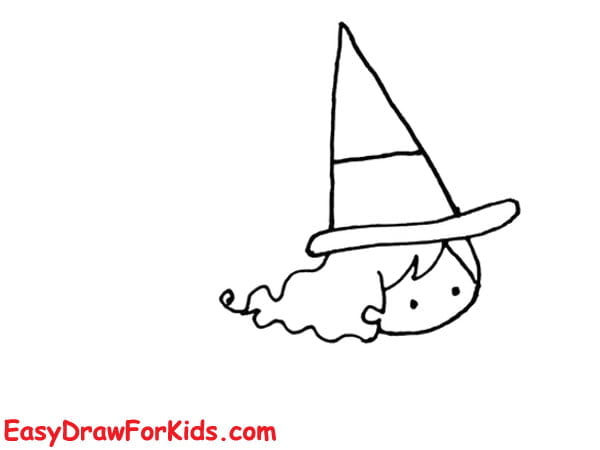
Step 3: Draw the face and hair below the witch hat
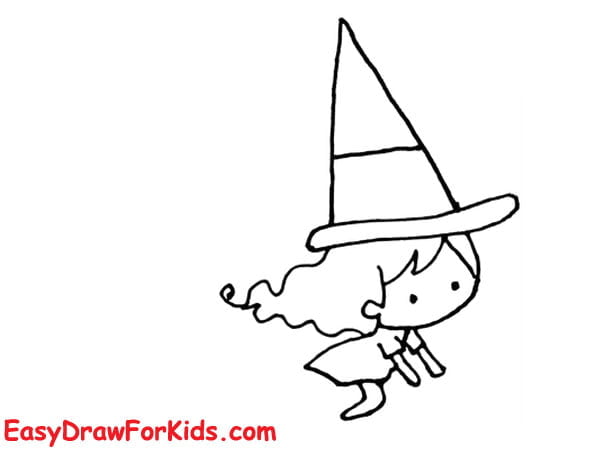
Step 4: Draw the body, arms and legs
Step 5: Starting from the bottom of the body, draw a long horizontal line for the broomstick.
Draw a small cat sit on the broomstick
Step 6: Draw the broom bristles at the end of the broom
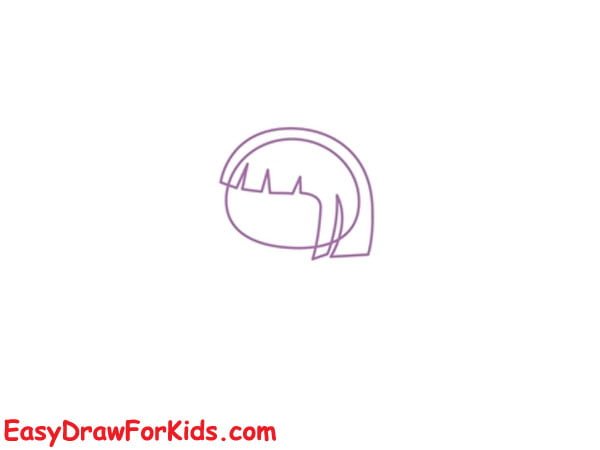
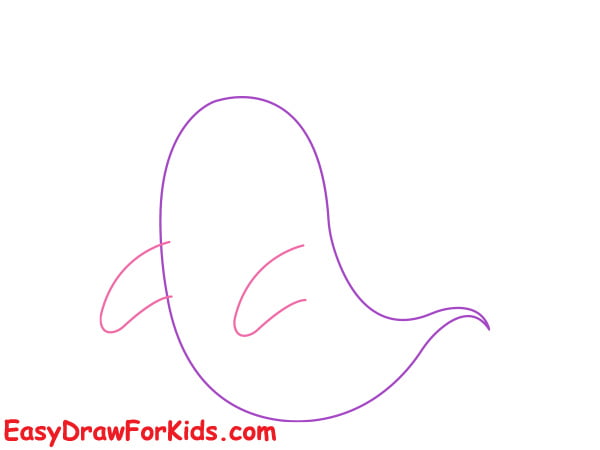
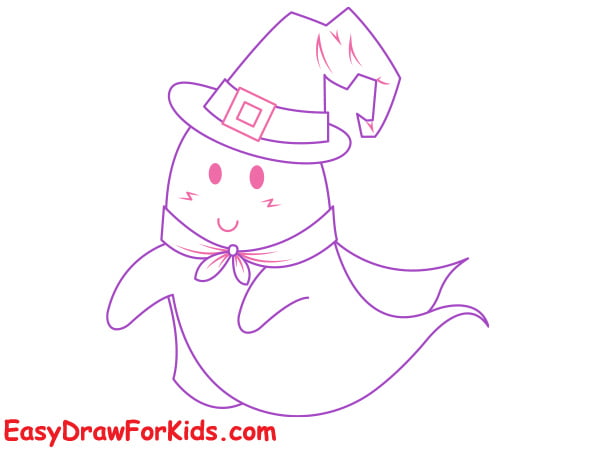
4. Witch Ghost Drawing
When learning how to draw a witch ghost, start with basic shapes and build up the form. Follow these steps:
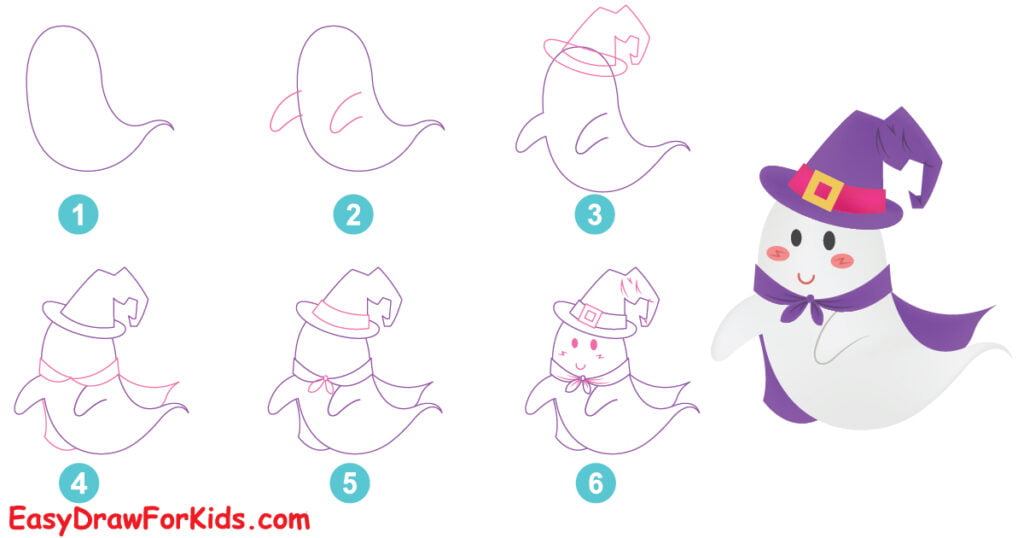
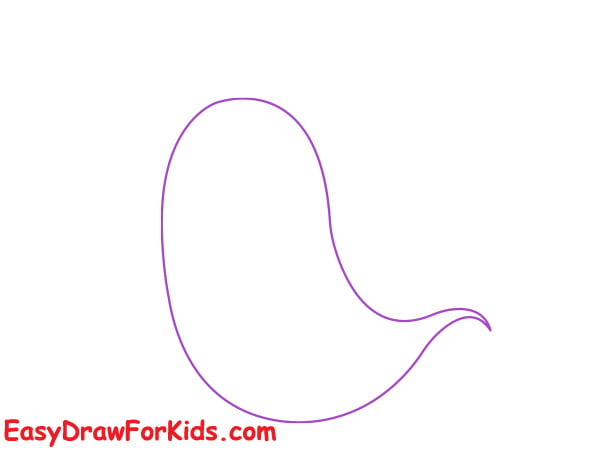
Step 1: Draw the ghost head and body
Start by drawing a large, slightly elongated oval shape.
Then, draw a curved line with a pointed bottom under the oval to form the witch ghost tail.
Step 2: Extend two long, wavy lines outward from the sides of the ghost’s body to create the ghostly arms.
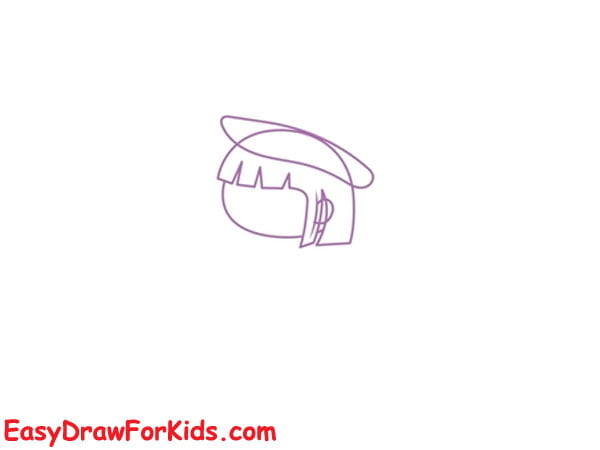
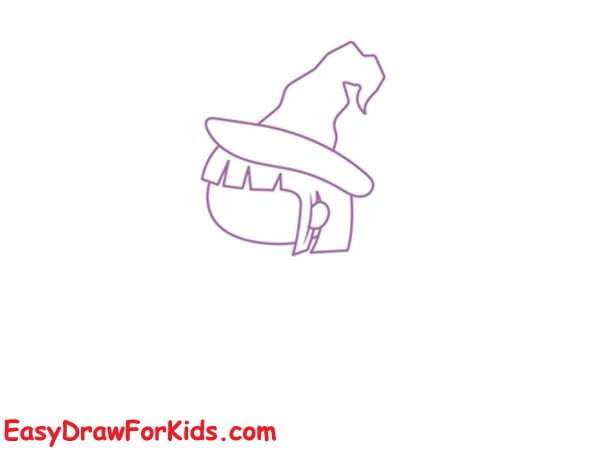
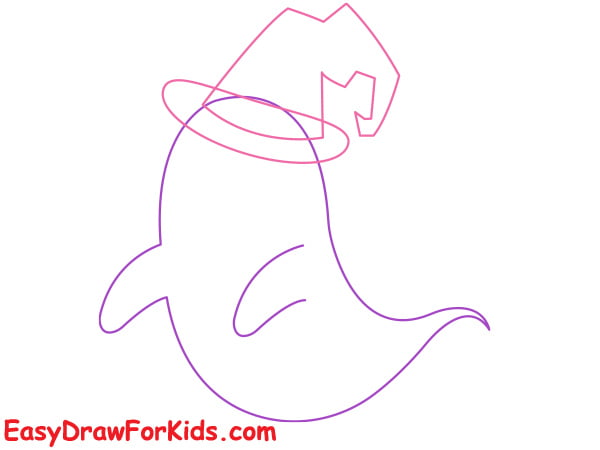
Step 3: Add the Witch’s Hat
On top of the witch ghost’s head, draw an elongated triangle shape for the witch hat, add a wide brim on the bottom of the hat.
Add a bumpy, uneven line across the hat for folds.
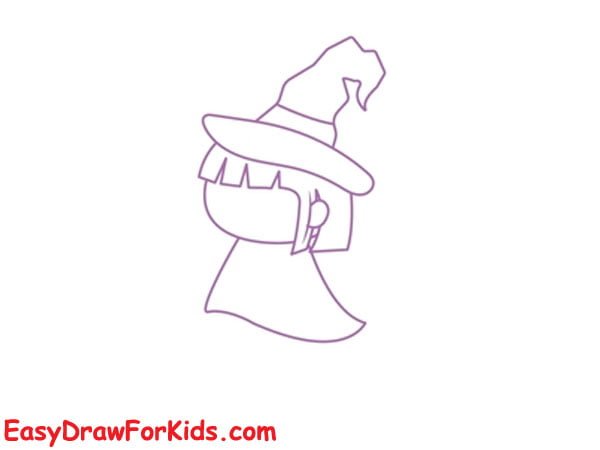
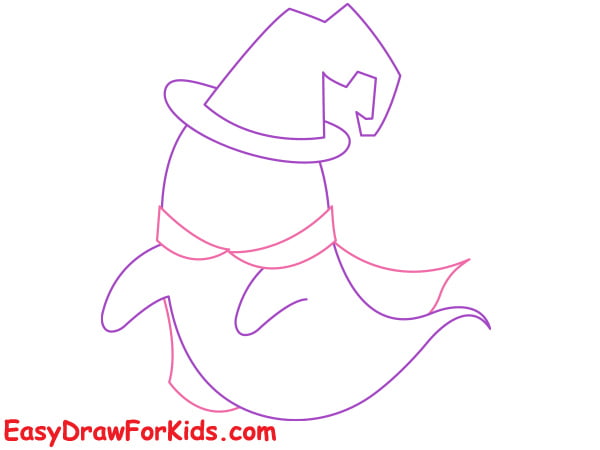
Step 4: Add the Robe
Draw irregular, ragged lines along the sides and bottom of the witch ghost to represent the cloak’s edges.
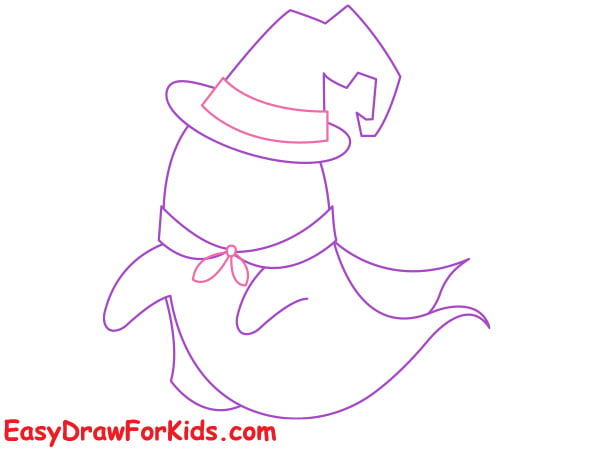
Step 5: Add the details to your witch ghost
Step 6: Add the Witch Ghost Face
Draw two large oval shapes inside the head for eyes
Add a curved, open-mouthed smile with pointed teeth showing
Add wavy, flowing lines on either side of the ghost’s body for a floating appearance
Step 7: For a more finished witch ghost drawing, adding color to your witch ghost drawing.

Drawing a witch requires attention to detail and a touch of imagination.
Remember to have fun, experiment with different styles, and let your creativity soar!


