If you’ve ever wondered how to draw a yak but didn’t know where to start, this guide will walk you through the process step by step.
From the fluffy coat to its sturdy frame, capturing the essence of a yak is simpler than you might think—let’s get started!
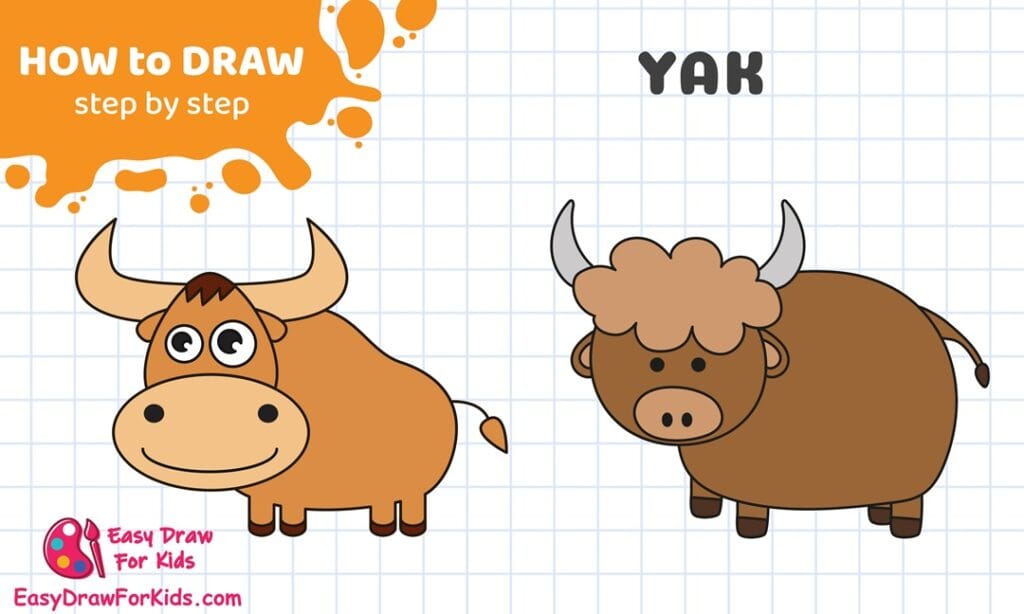
How To Draw A Yak – A Step by Step Guide
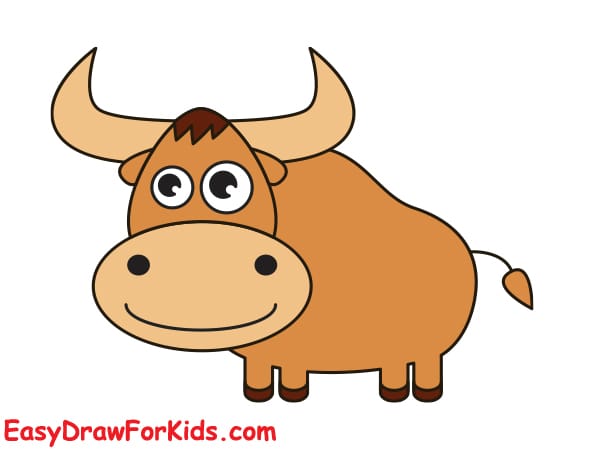
1. Simple Yak Drawing
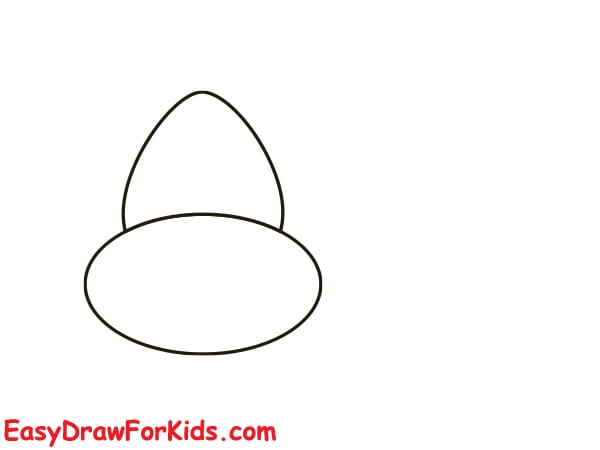
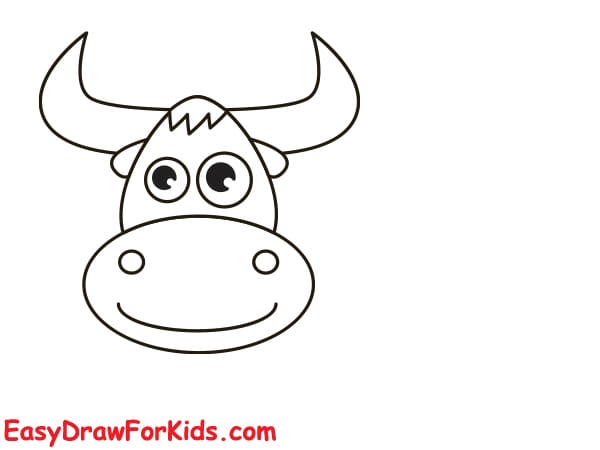
Step 1: Start with a large horizontal oval for the muzzle
Above it, draw a rounded triangular shape for the head.
The head should slightly overlap the top of the muzzle.
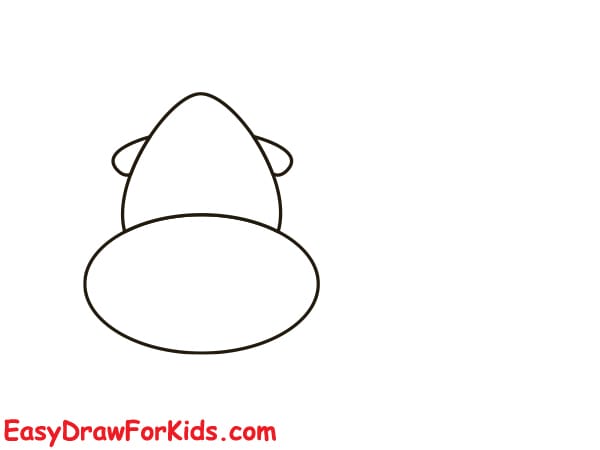
Step 2: Draw two small curved ears on each side of the head.
Position them symmetrically near the lower part of the head.
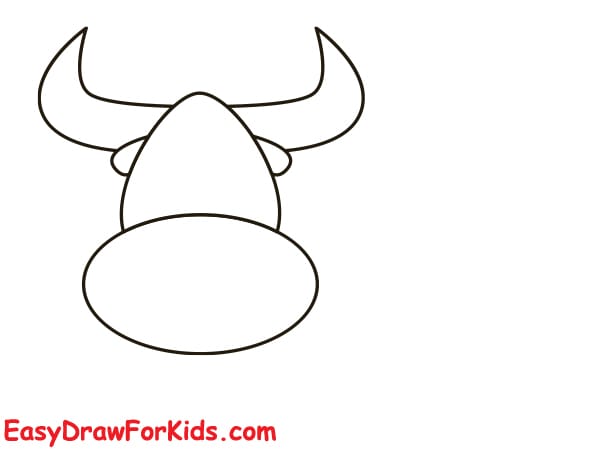
Step 3: From the top sides of the head, draw large curved horns.
Curve them upward and outward, making them symmetrical and horn-like.
Step 4: Draw two big circles near the top of the head for the eyes.
Inside each eye, draw a smaller black circle for the pupils.
On the muzzle, draw two small vertical ovals for the nostrils.
Below the nostrils, add a big smile to make it friendly.
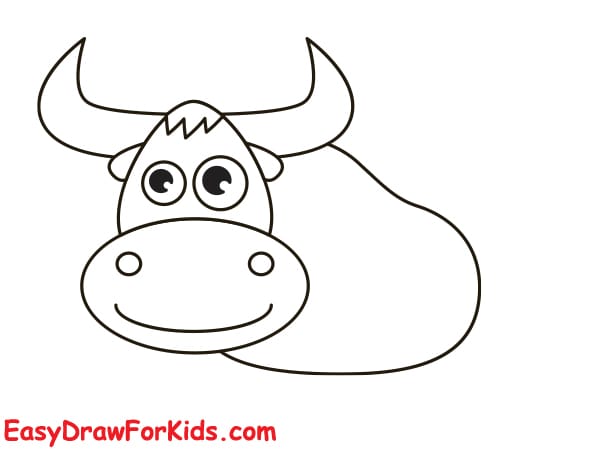
Step 5: From behind the head, draw a big rounded shape for the yak’s body.
Make it an oval-like hump, showing a strong back and shoulders.
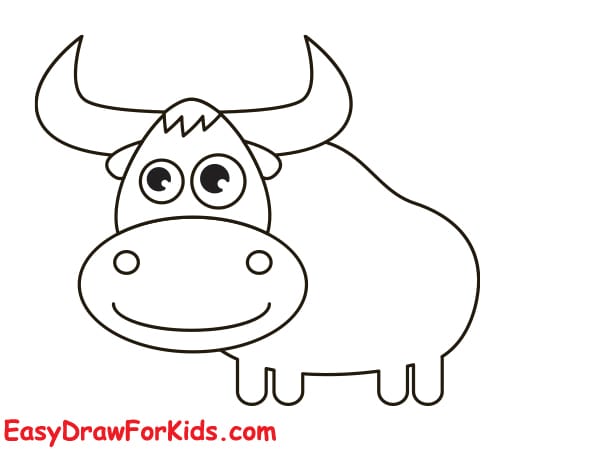
Step 6: Draw four short legs at the bottom of the body.
Each leg is a small vertical rectangle with rounded corners.
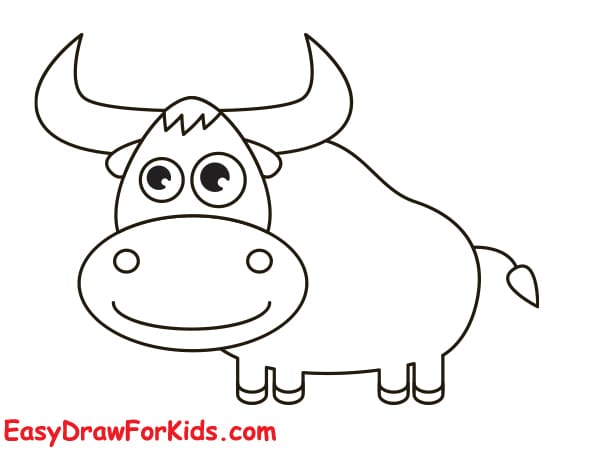
Step 7: Draw a curved tail coming from the back of the body.
Add a small leaf-shaped tuft at the tip of the tail.
Step 8: Color your yak drawing
- Brown for the body and head.
- Light brown for the muzzle.
- Black or dark brown for hooves and horns.
- White and black for eyes.
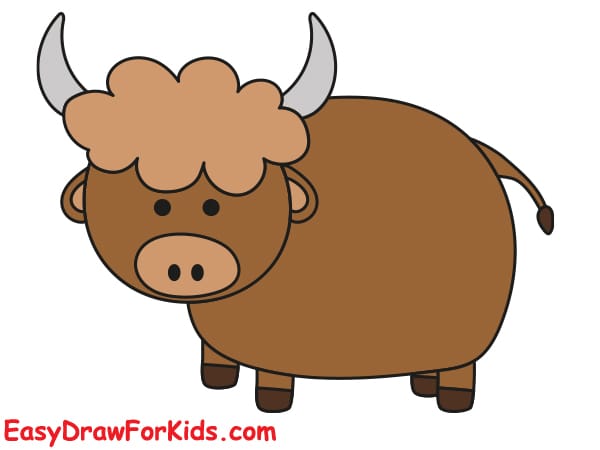
2. How To Draw A Cute Yak
Step 1: Draw the Head
Start by drawing a large circle or oval for the head.
Add two small black dots inside the circle for the eyes.
This gives the character a friendly base expression.

Step 2: Add the Hair and Snout
On top of the head, draw the curly hair using rounded cloud-like curves.
Then draw an oval snout at the bottom part of the face.
Add two dots inside the snout for the nostrils.
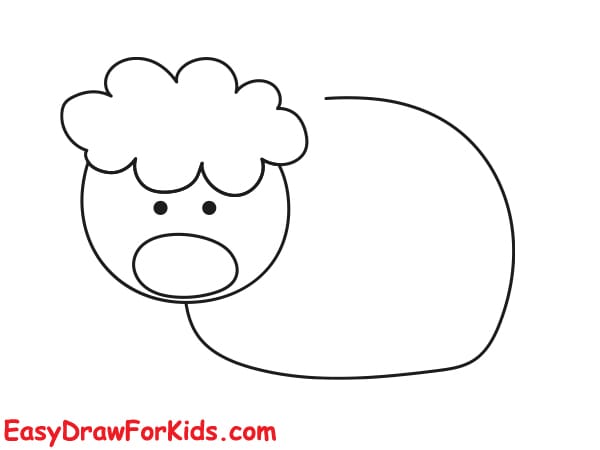
Step 3: Draw the Body
From the side of the head, draw a large oval or rounded rectangle for the yak’s big body.
Curve the bottom corners slightly to make it cute and soft.

Step 4: Add Horns and Ears
Draw two curved horns, one on each side of the head, pointing upward.
Below each horn, add a small curved ear close to the head.
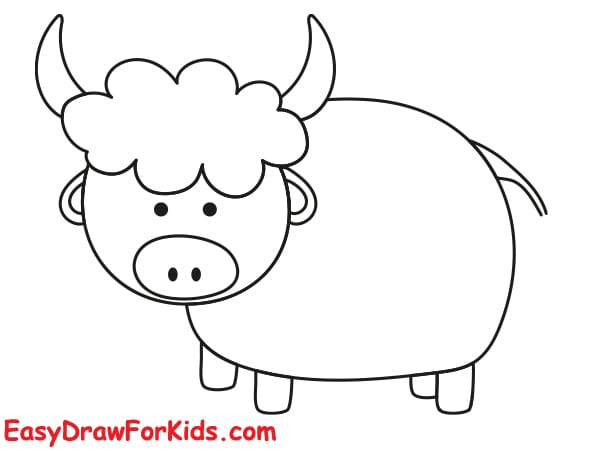
Step 5: Draw the Legs and Tail
Draw four small legs beneath the yak’s body. Use two rectangles in front and two behind with little flat hooves.
Add a curved tail sticking out from the back with a small tuft at the end.
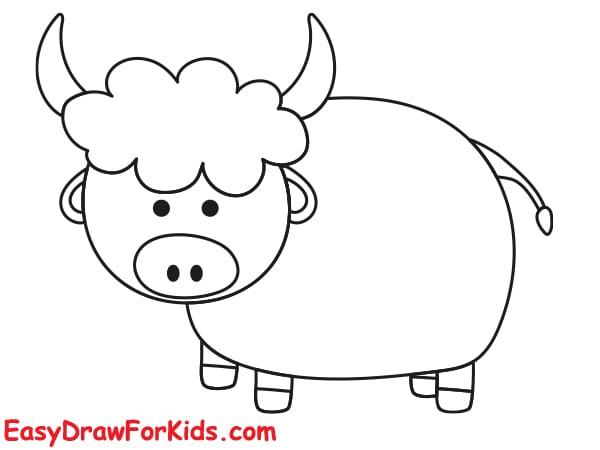
Step 6: Go over the outlines with a darker line and color your yak drawing
Learning how to draw a yak teaches you not only about artistic techniques but also about the details that make this animal distinctive.
Perfecting how to draw a yak takes time. The more you practice, the more natural your artwork will feel.
Let’s get started on bringing this incredible animal to life through your artwork.


