Have you ever wanted to capture the beauty of a zebra on paper?
Today, we’re diving into the wild world of African wildlife as we learn how to draw a zebra.
In this lesson, we’ll use a simplified, beginner-friendly approach to draw a zebra that looks both realistic and fun.
It’s easier than you think — and we’ll guide you every step of the way!
Ready to get started? Let’s go!
How To Draw A Zebra – A Step by Step Guide
1. Easy Zebra Drawing
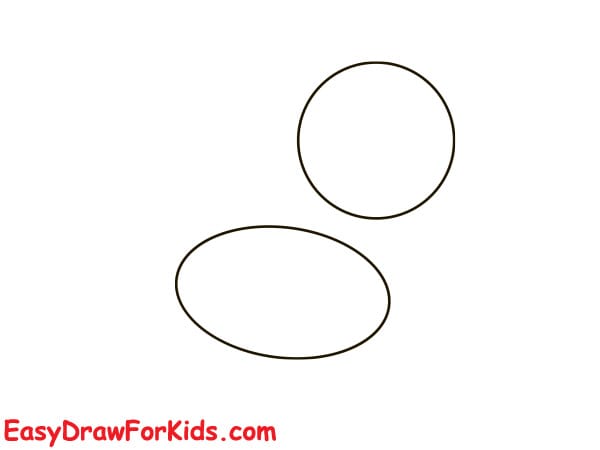
Step 1: Draw Two Base Circles
Draw an oval for the body positioned slightly diagonally.
On top, draw a smaller circle for the head, slightly overlapping the body oval.
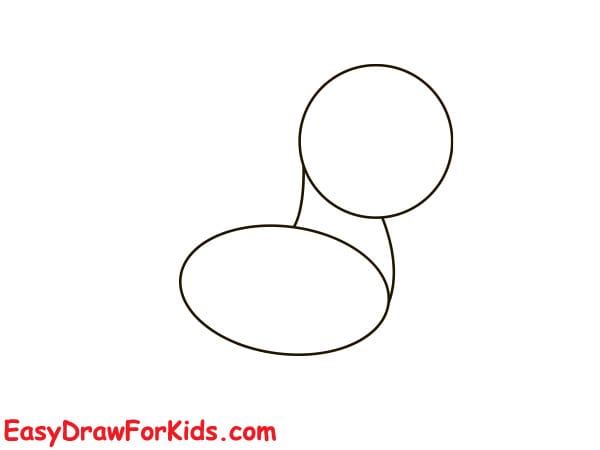
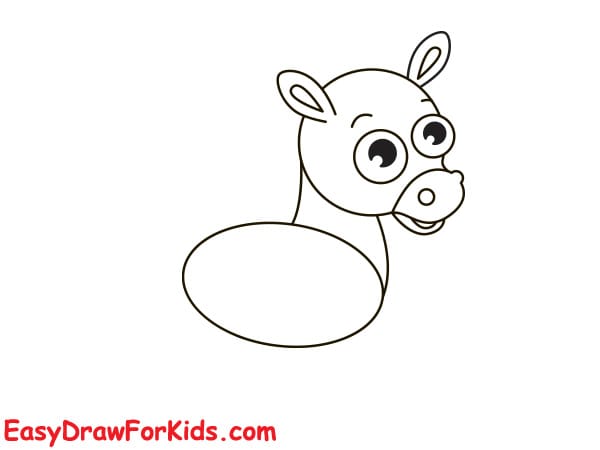
Step 2: Connect the Head and Body
Add a curved neck line connecting the head to the body.
This forms the basic structure of the zebra’s torso and neck.
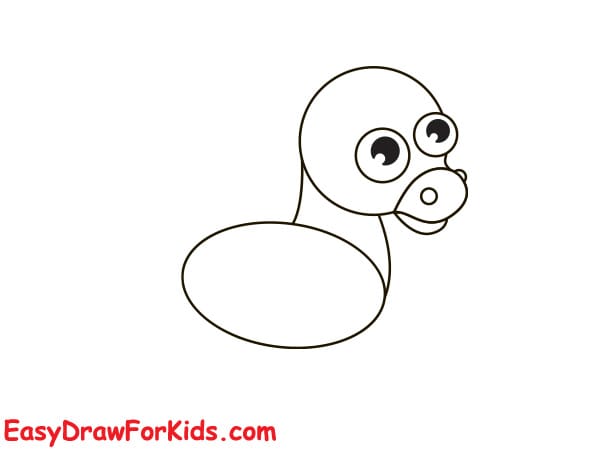
Step 3: Add Facial Guidelines
Inside the head circle, draw:
- Two large oval eyes with small black pupils.
- A rounded snout shape (like a bean or peanut) at the lower front of the face.
Step 4: Draw Ears and Nose Details
Draw two small pointed ears on top of the head.
Add nostrils on the snout and refine the mouth line.
Start refining the jaw and cheeks for a cuter shape.
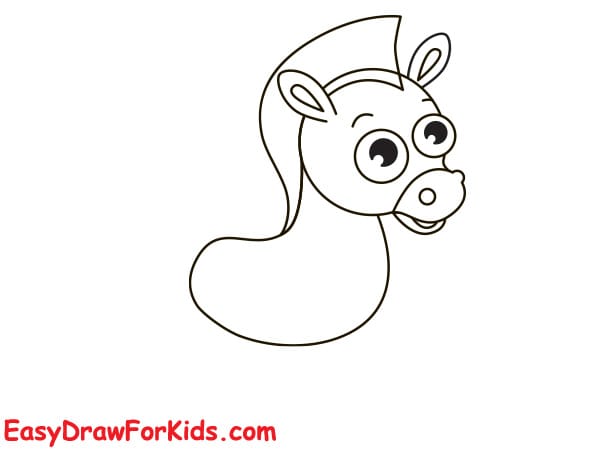
Step 5: Outline the Mane and Neck
Add a curvy outline from the top of the head to the neck and down to the back.
Begin sketching the mane, adding a wavy edge for a playful, stylized look.
Step 6: Draw the Front Legs
Draw two curved front legs that appear slightly bent.
Don’t forget to add hooves at the bottom.
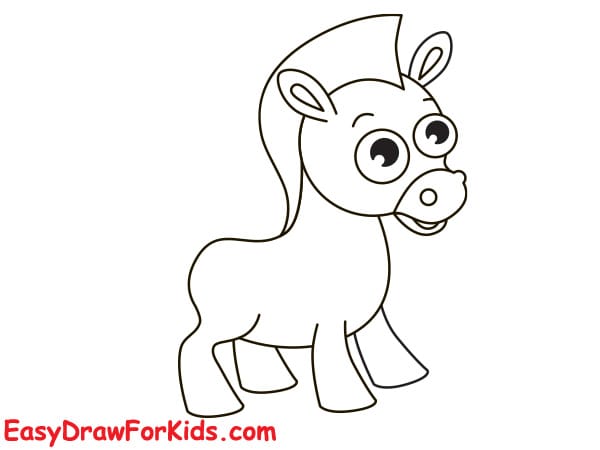
Step 7: Draw the Hind Legs and Tail
Add the back legs and buttocks structure.
Draw a short tail with a little flick at the end.
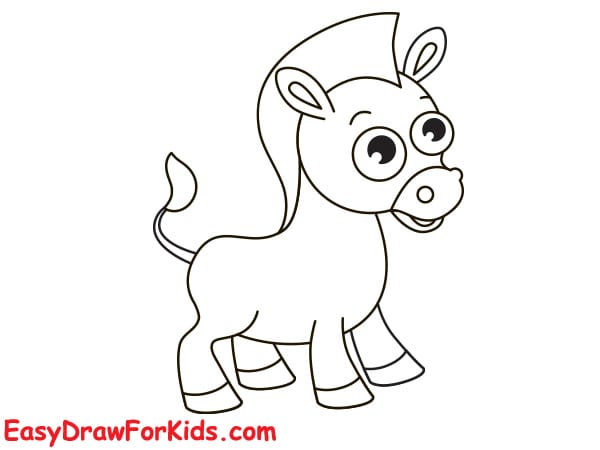
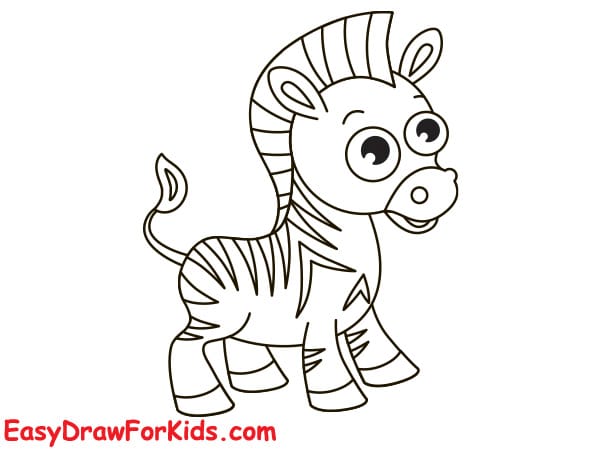
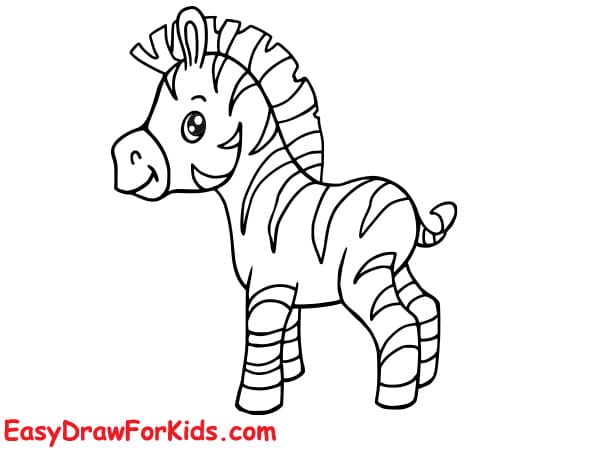
Step 8: Add Stripes and Facial Expression
Add zebra stripes, finalize facial details: adjust eyes, eyebrows, smile, and snout.
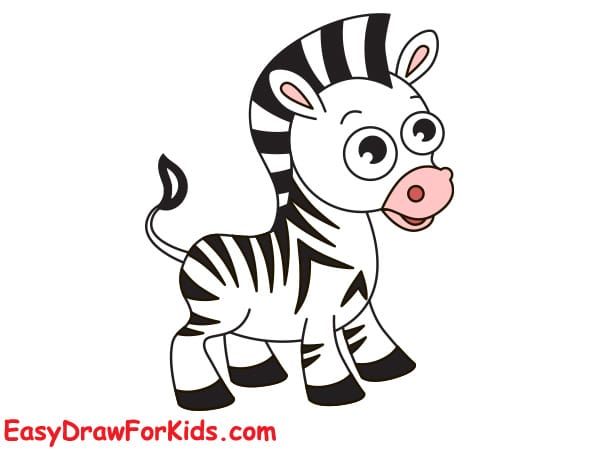
Step 9: Color the Drawing
Use:
- White for the main body.
- Black or dark gray for the stripes, mane, hooves, and tail tip.
- A hint of pink for the snout and inner ears.
- Clean up lines and make sure the final drawing is bold and clear.
>>>Read more: How To Draw A Yak – 2 Ways (With Pictures)
2. Cute Zebra Drawing
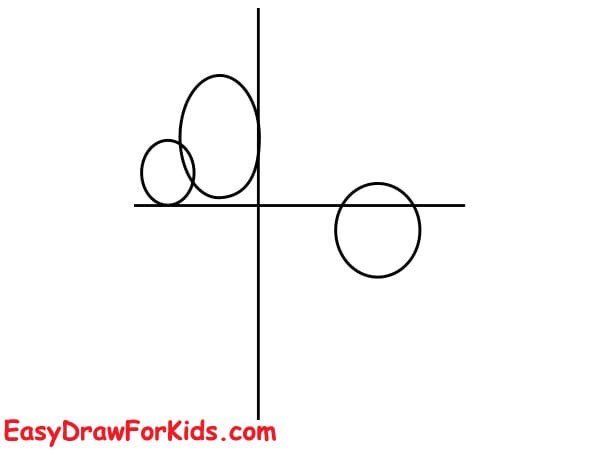
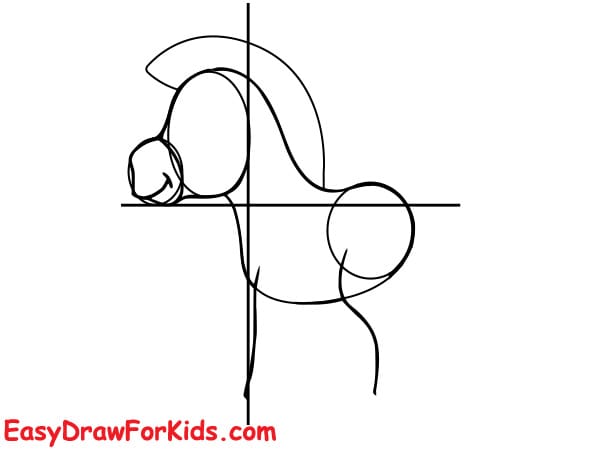
Step 1: Draw a vertical and horizontal guideline to help with proportion.
Add three circles:
- A small one for the nose/muzzle on the left.
- A larger one above it for the head.
- One to the right for the hindquarters.
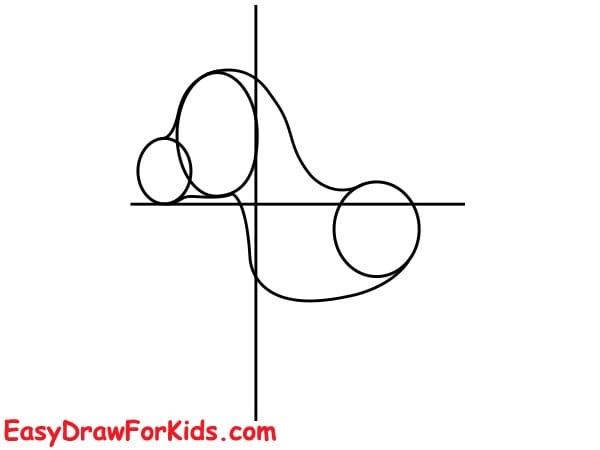
Step 2: Connect the head to the hindquarters with curved lines to form the neck and back.
Add a small ear shape on top of the head. Begin drawing the lower body/leg position under the hind circle.
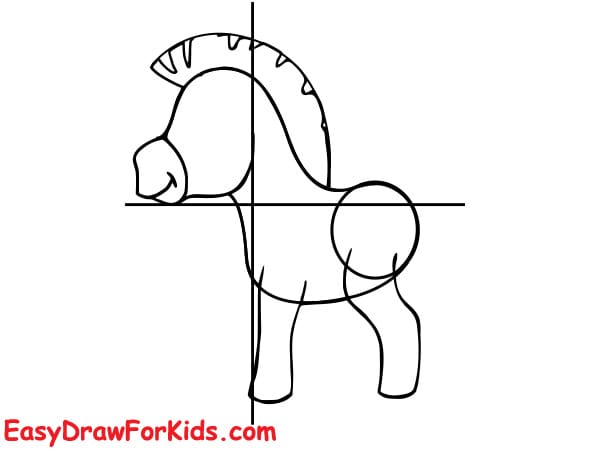
Step 3: Add a mane shape on top of the head using small curved spikes.
Draw the jaw and snout, connecting from the top of the head down to the muzzle. Begin sketching the front legs and chest line.
Step 4: Refine the shapes of the front and back legs.
Add the tail base near the rear. Begin cleaning up overlapping lines using the guidelines.
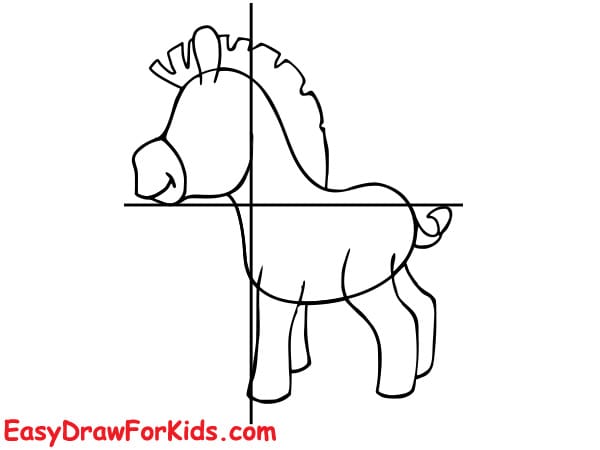
Step 5: Finalize all four legs, the tail, and ear.
Draw a more detailed mane using sharper points. Add the hooves at the bottom of each leg.
Step 6: Add a smiling eye, nostril, and cheek blush to give it a cute look. Begin drawing zebra stripes.
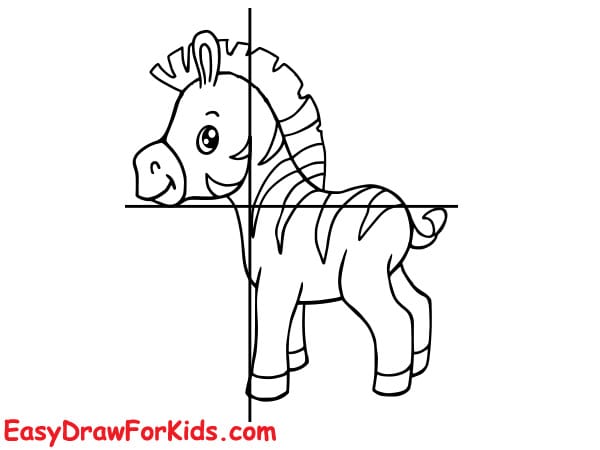
Step 7: Trace over the entire drawing with clean, confident lines.
Erase all guidelines and sketch marks.
Ensure the zebra stripes are balanced across the body.
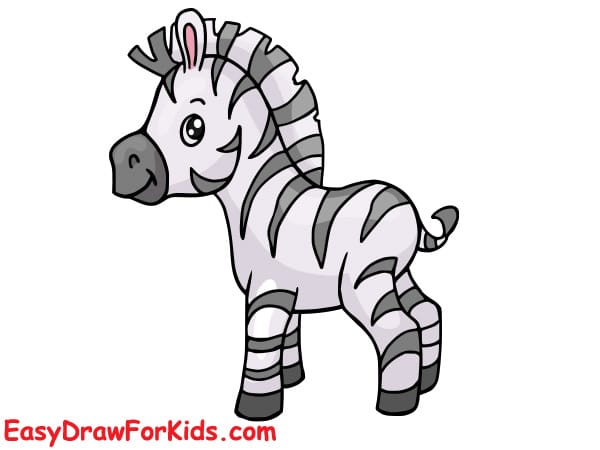
Step 8: Color the Drawing
Fill in:
- White base for the body.
- Black or dark grey for the stripes, mane, hooves, and nose.
- Add a bit of pink for the cheek.
>>>Read more: How To Draw A Swan – 3 Ways (With Pictures)
And there you have it — You’ve finished your zebra drawing with confidence and creativity.
From rough sketches to bold stripes, you’ve brought this beautiful animal to life.
Keep drawing and exploring more animals to expand your creative journey.
Remember, the more you practice, the better you’ll get.