The ambulance is a critical vehicle that provides urgent medical care and transport for patients in emergency situations, such as accidents, injuries, or sudden illnesses. These specialized cars are equipped with the necessary equipment and staff to administer life-saving assistance on the scene and quickly get the patient to a proper healthcare facility.
Here is a simple and straightforward guide on how to draw an ambulance, suitable even for novice artists
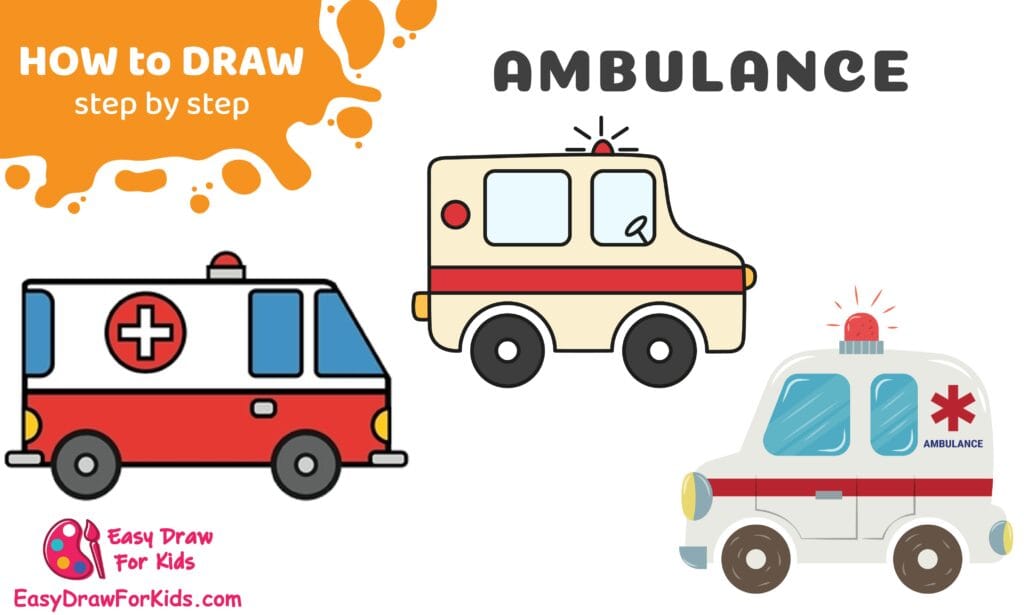
How To Draw An Ambulance – A Step by Step Guide
1. Easy Ambulance Drawing
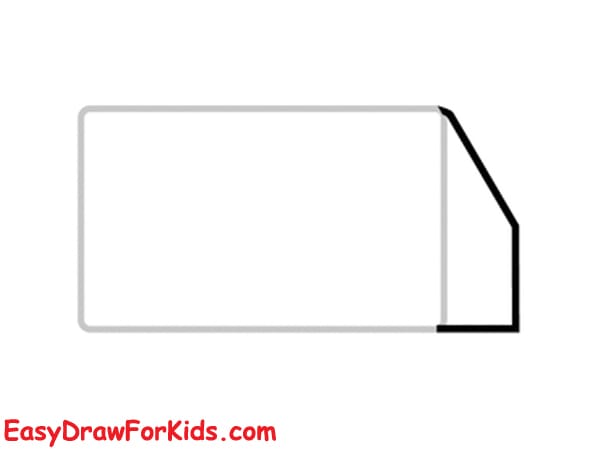
Step 1: Draw the Base Rectangle
Draw a large horizontal rectangle. This will be the main body of the ambulance.
Make sure the corners are slightly rounded for a softer cartoon look.

Step 2: Create the Front Cabin
On the right side, draw a diagonal line sloping downward to the right from the top corner.
Connect it to the bottom right corner with a vertical line. This makes the angled front of the vehicle.
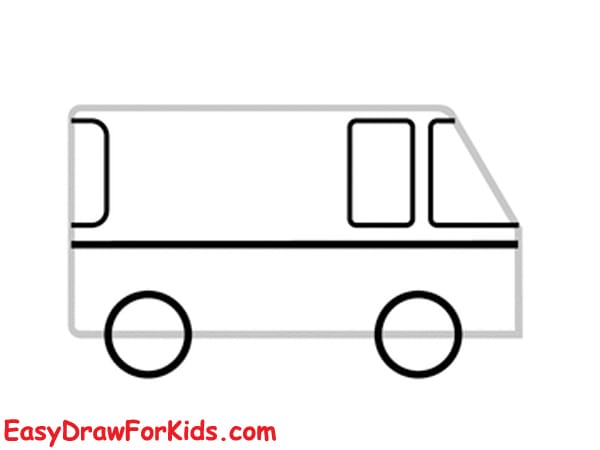
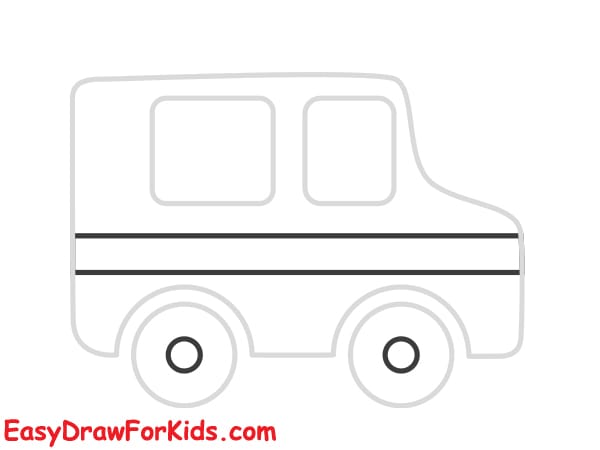
Step 3: Add Basic Features (Windows, Stripe, Wheels)
Draw two rectangles:
- One large vertical rectangle on the left (side window).
- One smaller rectangle on the slanted front (front window).
Draw a horizontal line across the lower part of the body for the color stripe.
Add two large circles below the body for the wheels.
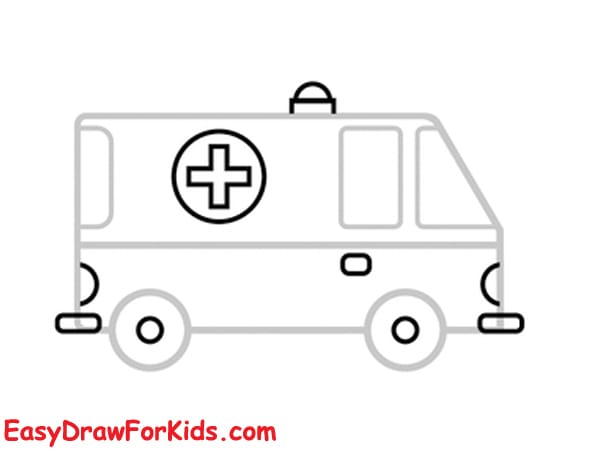
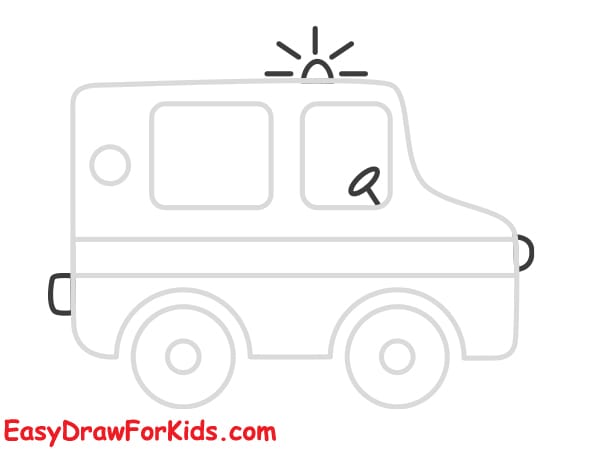
Step 4: Add Medical Details and More Shapes
Draw a large circle on the side of the van (left), then draw a plus sign inside it — this is the red cross symbol.
Add more detail:
- A small circle between the wheels (door handle or light).
- A half-circle with a base on the roof (emergency light).
- Side mirrors on both ends (rectangles sticking out).
- A small bumper line on both the front and rear bottom edge.
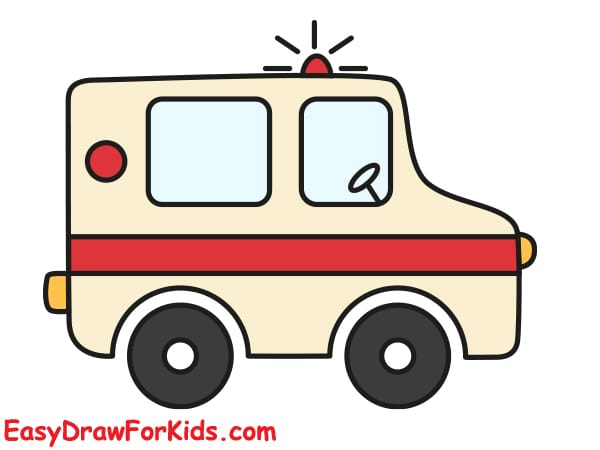
Step 5: Final Line Work
Go over all shapes with a black outline.
Clean up any unnecessary overlapping or sketch lines.
Ensure all lines are neat and connected properly.

Step 6: Color your ambulance by your style
2. Cartoon Ambulance Drawing
Step 1: Draw the Base and Wheels
- Start with the two wheels:
- Draw two large circles near the bottom for the tires.
- Inside each circle, draw a smaller circle for the hubcaps.
Step 2: Draw the body of the ambulance:
Start from above the front wheel.
Draw a line upward, then curve around to form the roof, then continue downward to the back.
Connect the ends with a horizontal line across the bottom above the wheels.
Step 3: Add the Windows
Draw two rectangles for the side windows on the upper body.
These should have rounded corners to match the cartoon style.
Leave some space between the windows.
Step 4: Add a Side Stripe
Draw a horizontal line across the vehicle’s body to form a design stripe.
This line separates the upper and lower part of the ambulance body.
Step 5: Add Emergency Light and Rear Details
Draw a rounded rectangle on top of the ambulance for the emergency light.
Add two short lines on each side of the light to show it flashing.
Draw a circle and a small handle for the rear door or panel.
Step 6: Final Touches
Add a red cross or dot symbol to indicate it’s an ambulance.
Add a mirror, door handle, or more lights if you like.
Now you complete this guide how to draw an ambulance, it’s time to color the ambulance
3. Ambulance Drawing For Kids
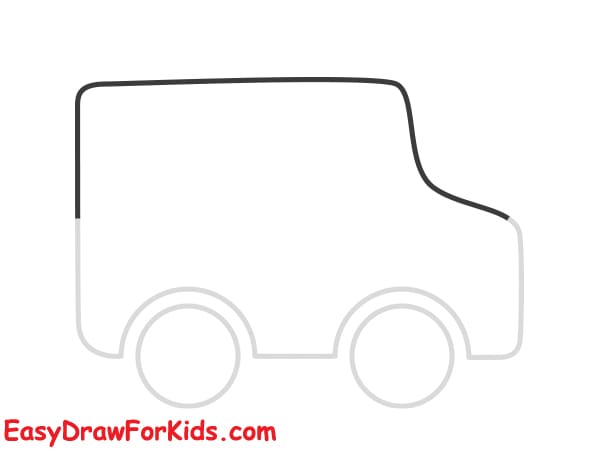
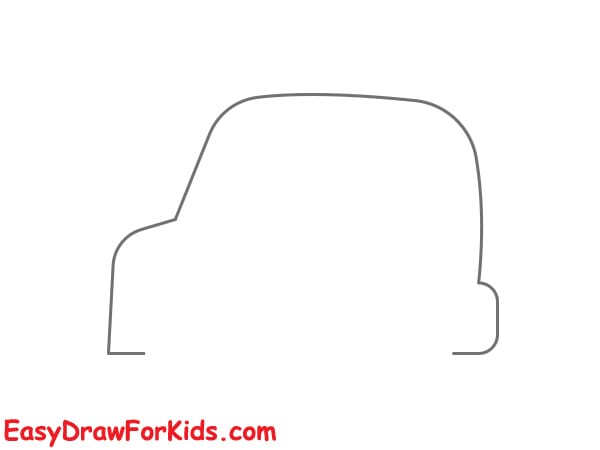
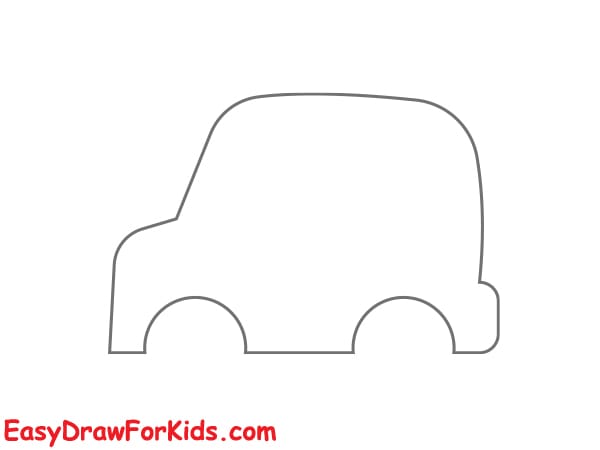
Step 1: Draw the Body Shape
Start with a single curved line from the top left to the top right to form the roof of the car.
Extend it downward on both ends to make the sides.
Curve the bottom edges slightly and add a small bump on the right for the rear bumper.
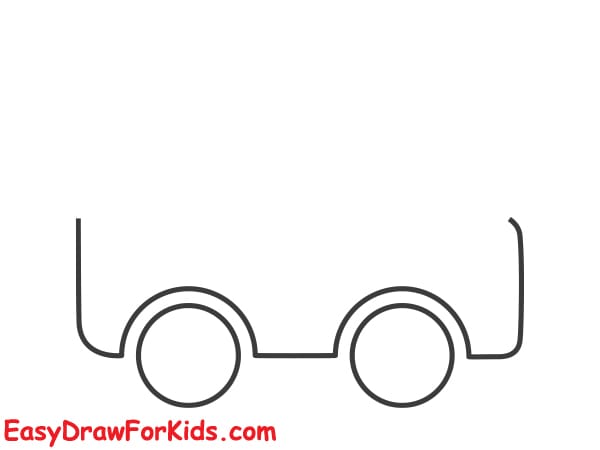
Step 2: Add the Wheel Arches
Draw two half-circle shapes at the bottom where the wheels will go.
These should be evenly spaced and placed under the body of the vehicle.
Keep the arches rounded for a cute, cartoon style.
Step 3: Add the Roof Light and Side Mirror
On top of the roof, draw a small rectangular siren light.
On the front left side, draw a tiny rectangle sticking out for the side mirror.
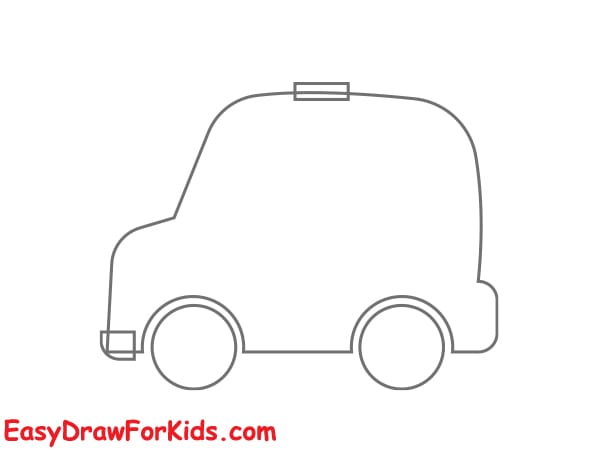
Step 4: Draw the Wheels
Draw two full circles inside the wheel arches for the wheels.
Inside each wheel, draw a smaller circle to form the hubcaps.
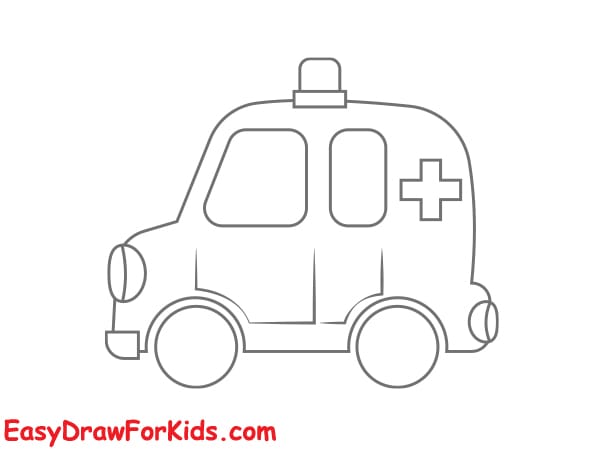
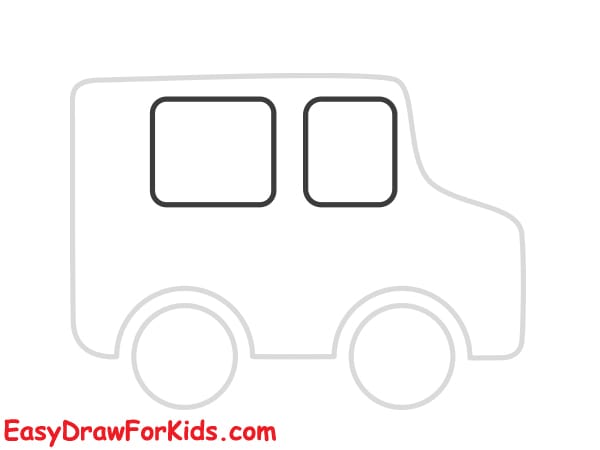
Step 5: Add Windows and Cross Symbol
On the body, draw:
- One large curved rectangle for the front window.
- One vertical rectangle and one rounded rectangle for the rear windows.
On the right side of the ambulance, draw a medical cross symbol (a “+” or star of life) near the back.
Optionally, add the word “AMBULANCE” near the rear window.
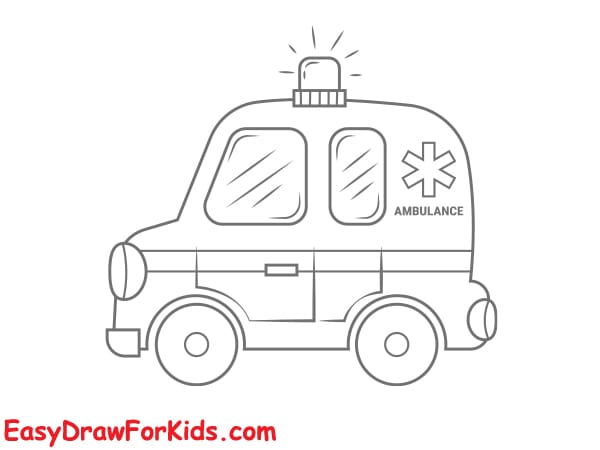
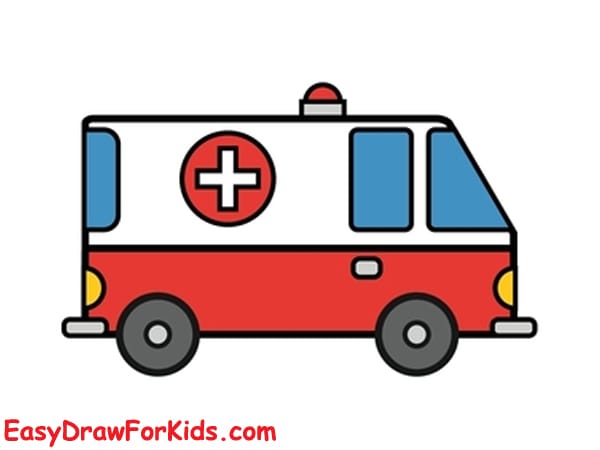
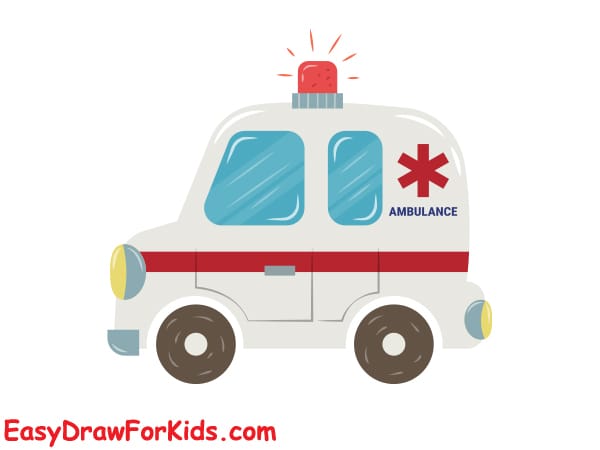
Step 6: Final Touches – Color the Ambulance
Use:
- White for the main body
- Red for the stripe, light, and cross symbol
- Gray or black for the wheels and bumpers
- Yellow or blue for the headlights and windows
And there you have it – a complete tutorial on how to draw an ambulance, from start to finish!
I’m glad this step-by-step guide from EasyDrawForKids was helpful in walking you through the process of rendering this vital emergency response vehicle.
The ambulance is such an important part of any community’s healthcare infrastructure, rushing to aid those in dire need. Being able to capture its unique design and purpose through drawing is a rewarding creative exercise.
Now that you’ve mastered the basics, you can start to apply these fundamental techniques to invent all kinds of ambulances straight from your imagination. Play around with different colors, styles, and details to create your own unique interpretations of this lifesaving mode of transportation.


