Hello!
Have you ever wanted to draw a cute ant?
Today, easydrawforkids.com will guide you on how to draw an ant in no time!
How To Draw An Ant – A Step By Step Guide
1. Cute Ant Drawing
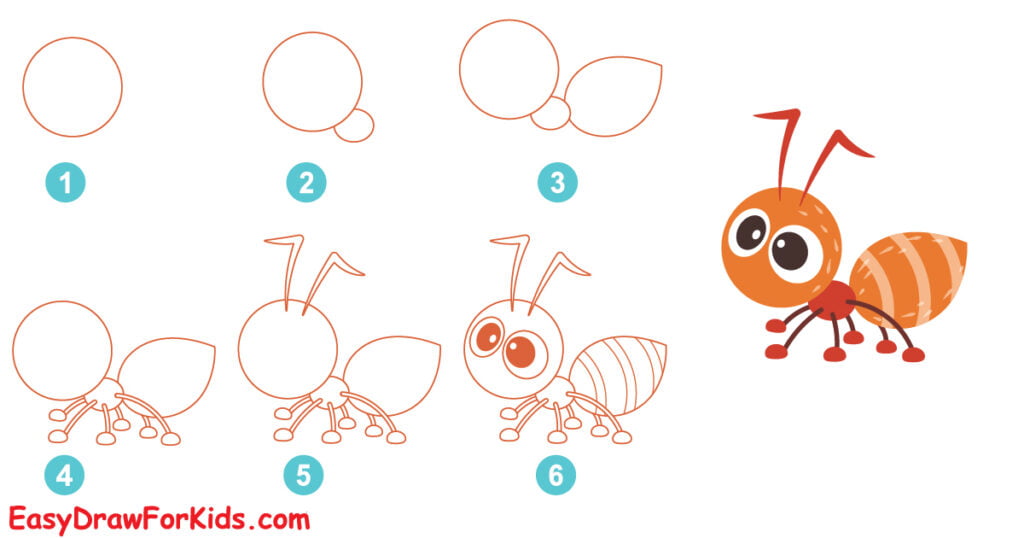
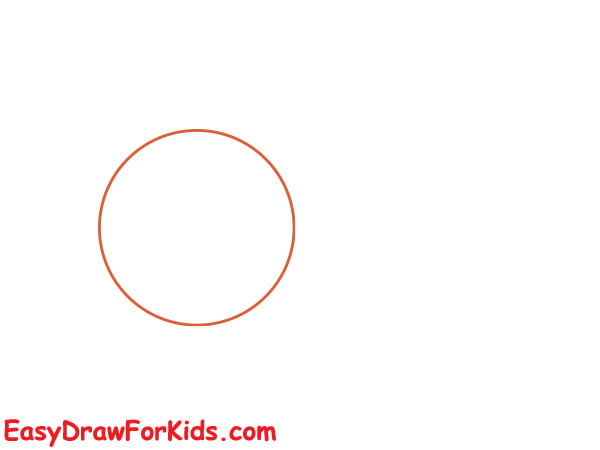
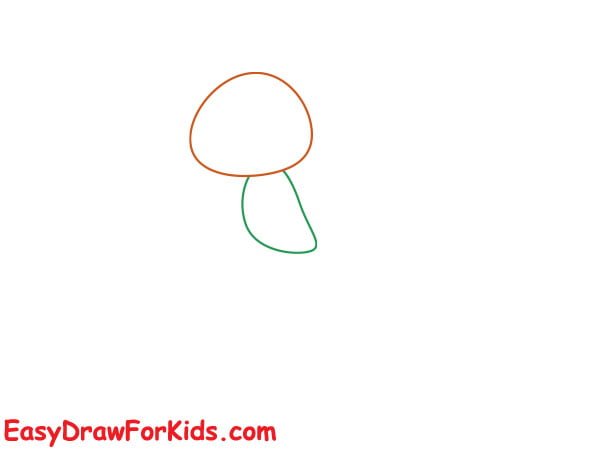
Step 1: Start by drawing circle for the ant’s head.
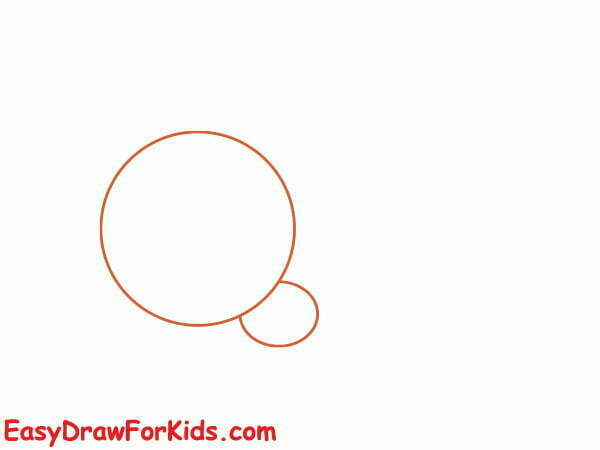
Step 2: Now draw an oval shape below the ant’s head to represent the ant’s thorax.
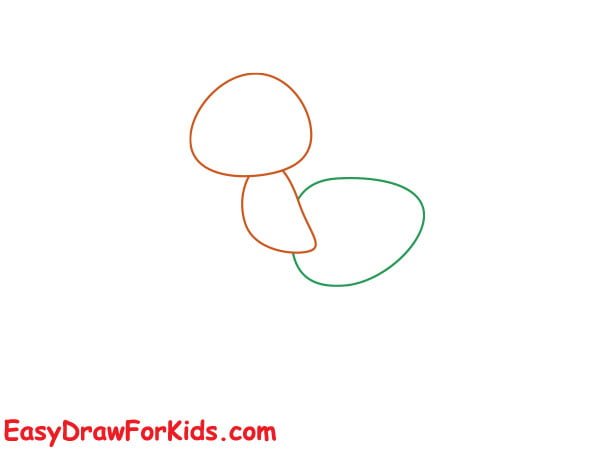
Step 3: Sketch a larger oval shape for the ant’s abdomen under the thorax.

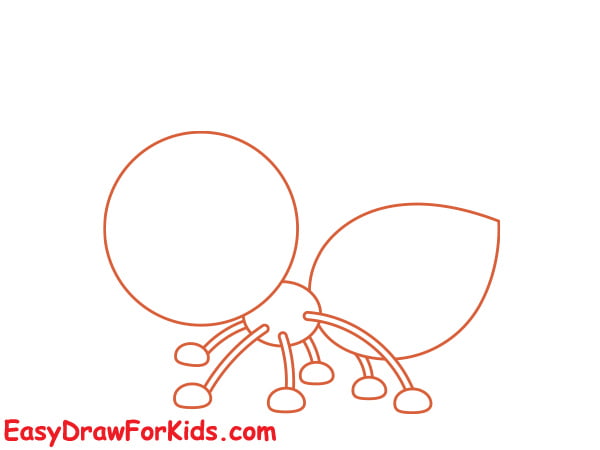
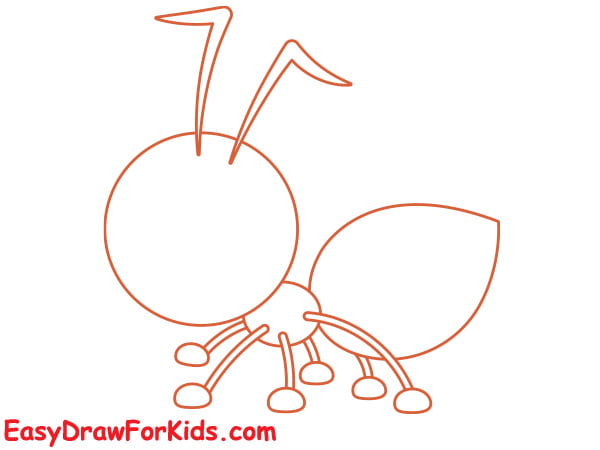
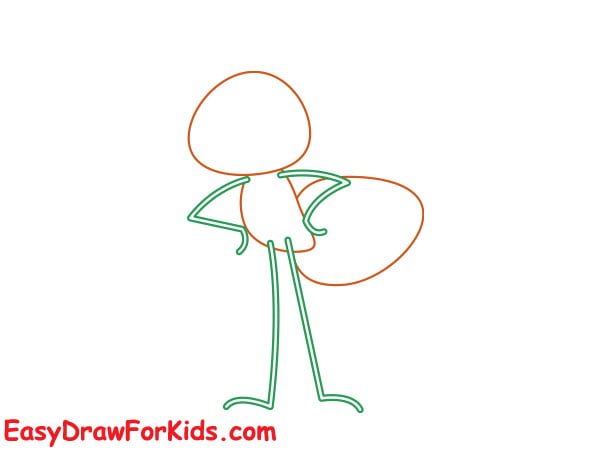
Step 4: The fourth step of this guide on how to draw an ant will focus on the six legs of your ant.
Now, sketch lines for each leg, extending them from the thorax.
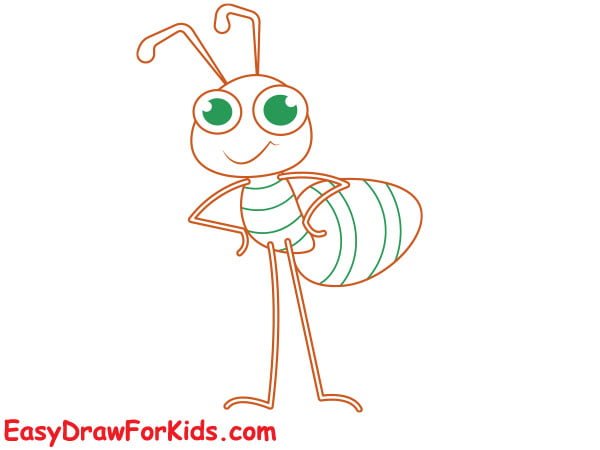
Step 5: On the top of the head, you draw two lines extending upwards that curve slightly outwards to represent the antennae.
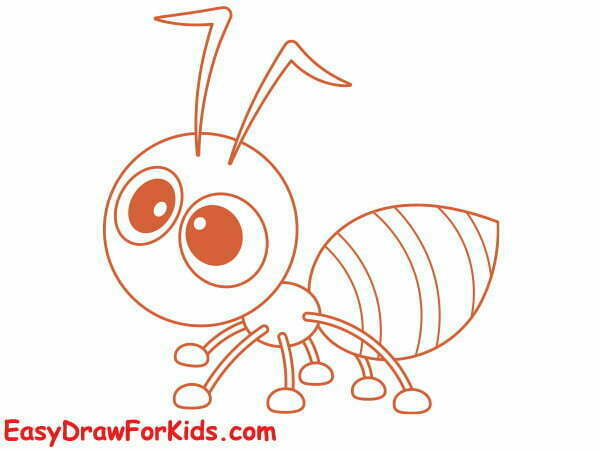
Step 6: Now, you draw two horizontal ovals side-by-side to form the ant’s large compound eyes.
Draw segmented lines on the antennae, thorax, and legs.
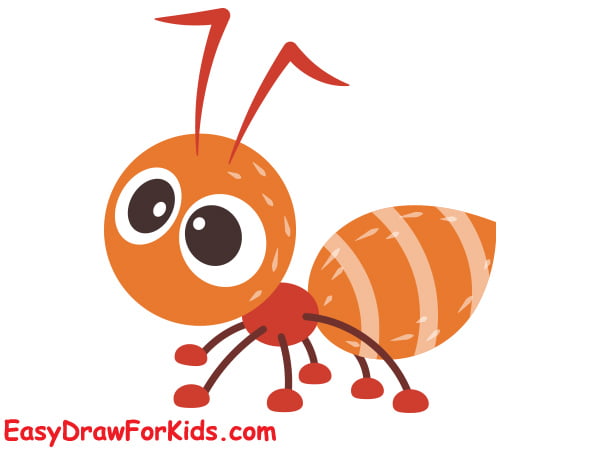
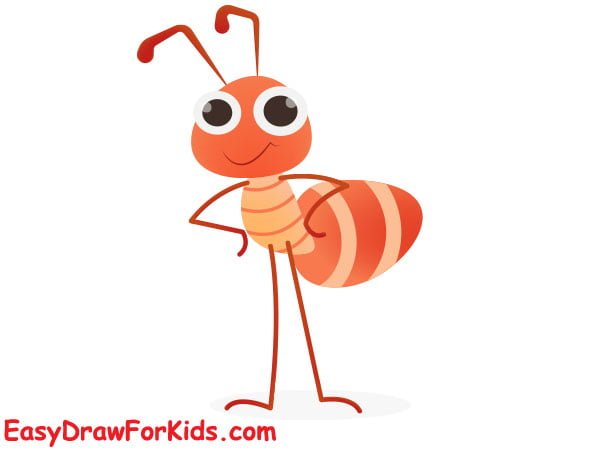
Step 7: Now that you successfully this guide on how to draw an ant, it’s time to colour out a cute ant.
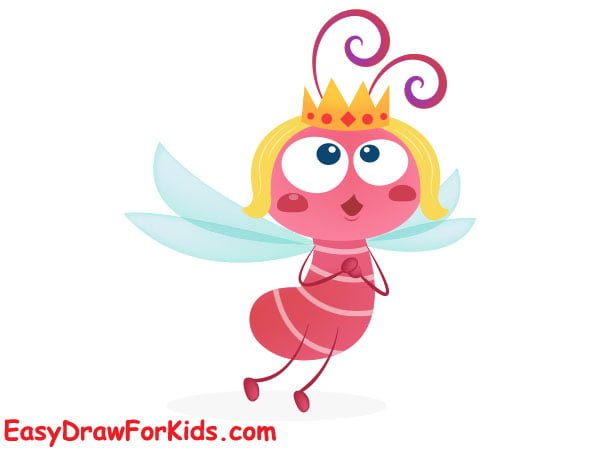
2. Queen Ant Drawing
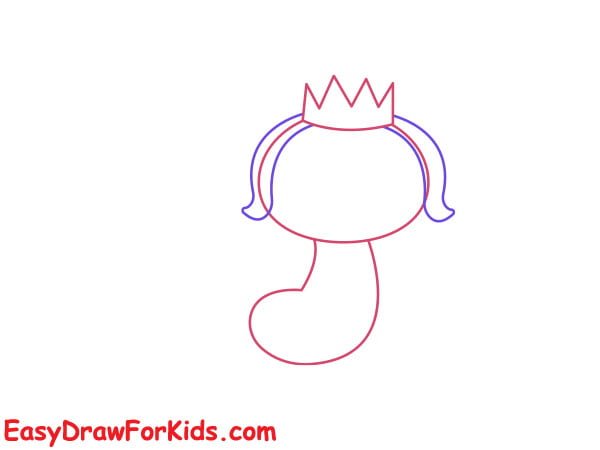
Step 1: First, draw an oval shape for the head

Step 2: Next, add a smaller oval shape for the abdomen.
Step 3: Next, draw a crown on the head of your queen ant.

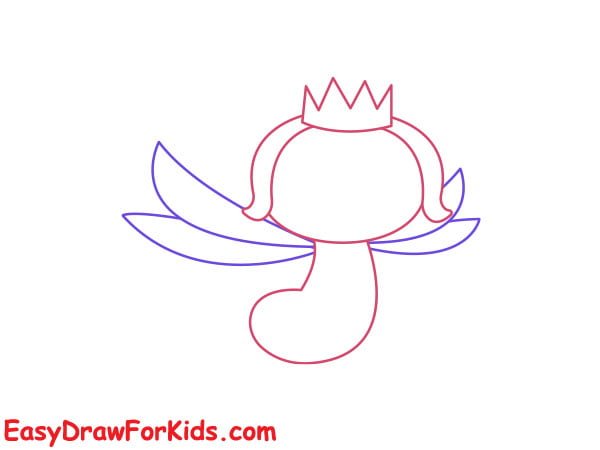
Step 4: Draw two oval shape beside the crown for the hair
Step 5: On the thorax, draw a pair of small, triangular wings.
Step 6: You add two short, curved lines on either side of the head to represent the queen ant’s antennae.
Then, add the legs for your queen ant.
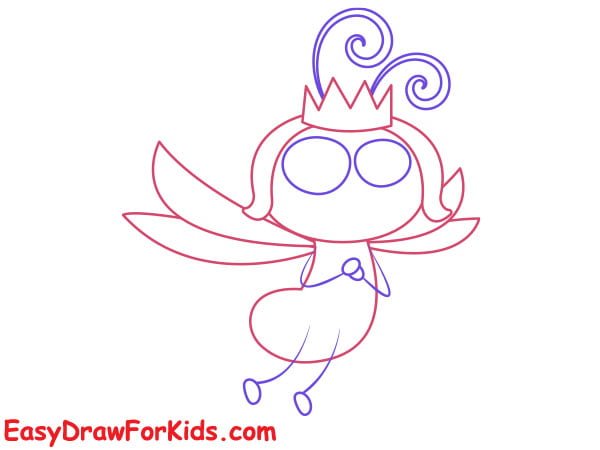
Step 7: Now, draw two small circles for the queen ant’s eyes.
Next, draw a small triangle shape for the queen ant’s mandibles.
Then, add details to the queen ant’s body by drawing curved lines along the abdomen to represent the segments.
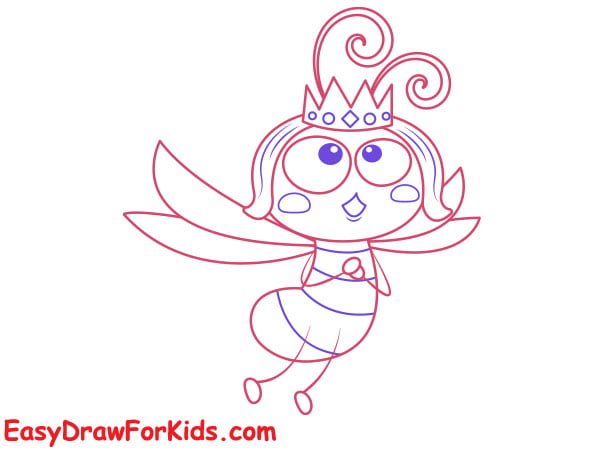
Step 8: When colouring your queen ant drawing, refer to images of the insect’s natural colours.
3. Ant Carrying Orange Drawing
Step 1

Step 2
Step 3: Now it’s time to draw the orange fruit that the cute ant is carrying.
Step 4: Draw the legs holding orange fruit, as shown in the picture

Step 5: You can also add antennae by drawing two thin lines on top of the head.
Step 6: In this step on guide how to draw an ant, focus on adding more details to the ant
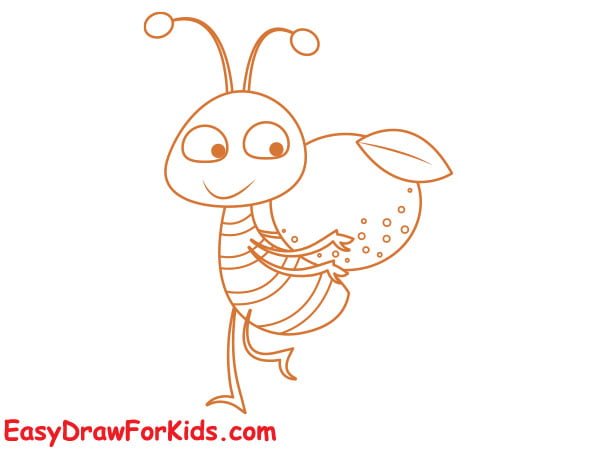
Step 7: Now that you have all the details drawn, it’s time to add colour to your cute ant.

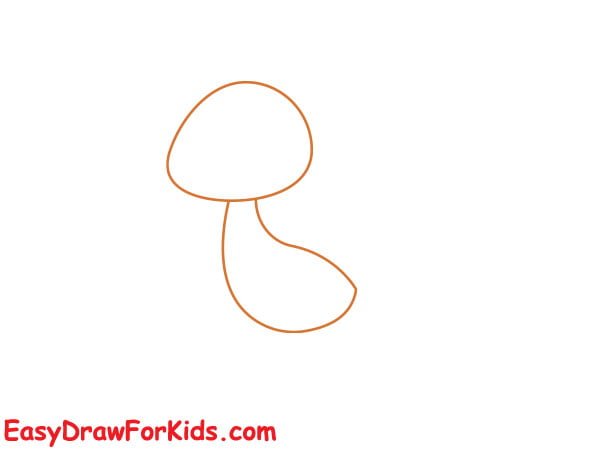
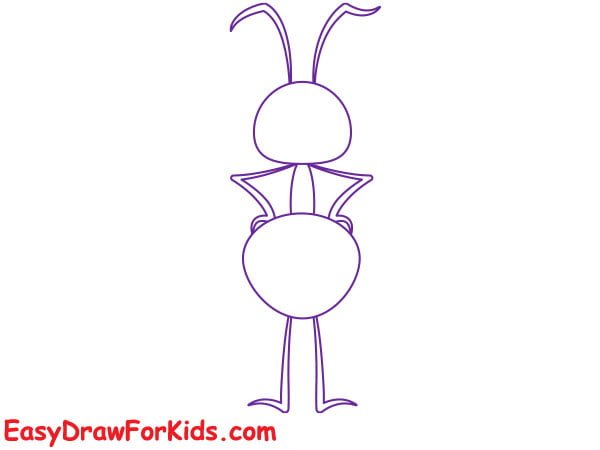
4. Back Side Of Ant Drawing
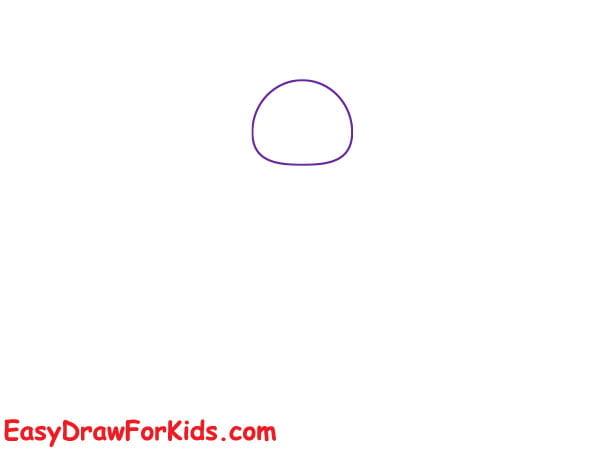
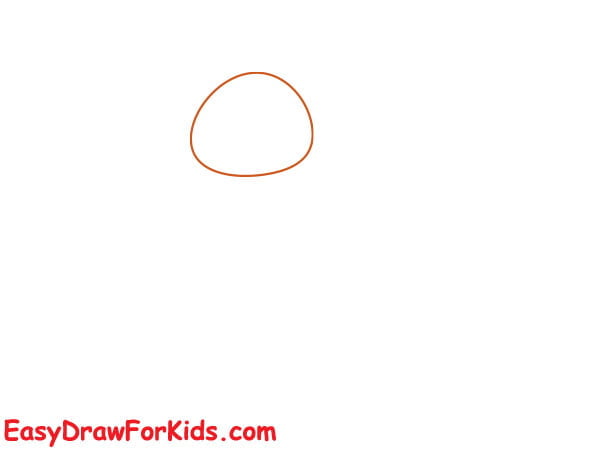
Step 1: Firstly, you draw an oval shape
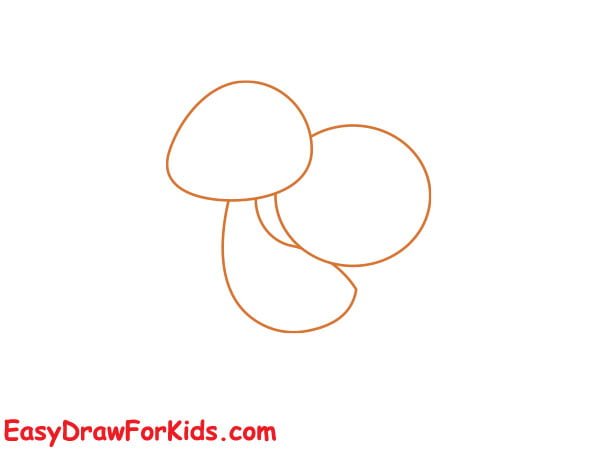
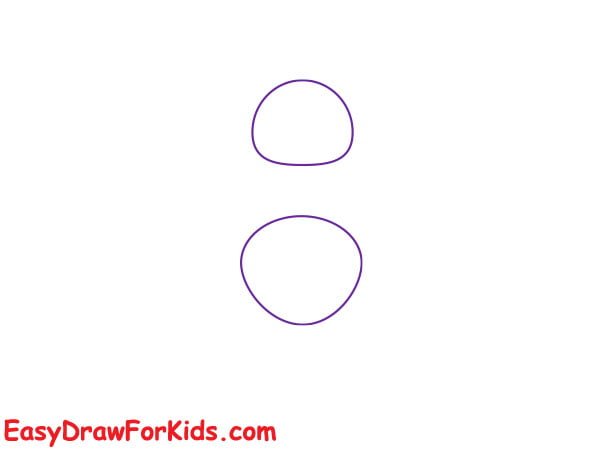
Step 2: Next, draw a larger oval shape below it
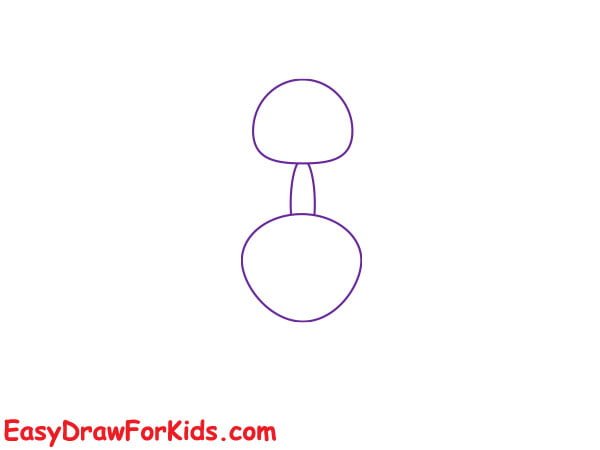
Step 3: Now, connect two oval shapes to complete the shape of the ant
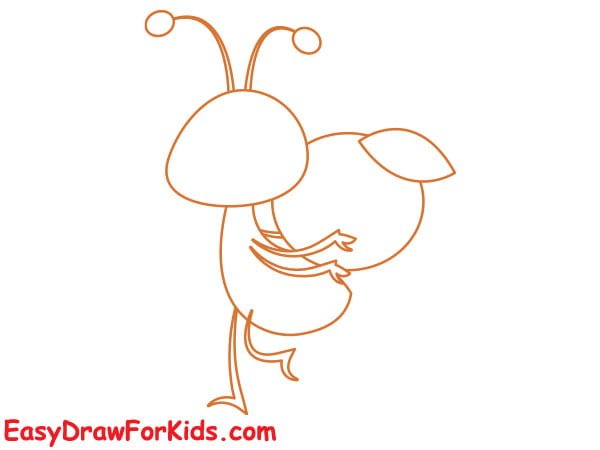
Step 4: Next, sketch the legs and antenna.
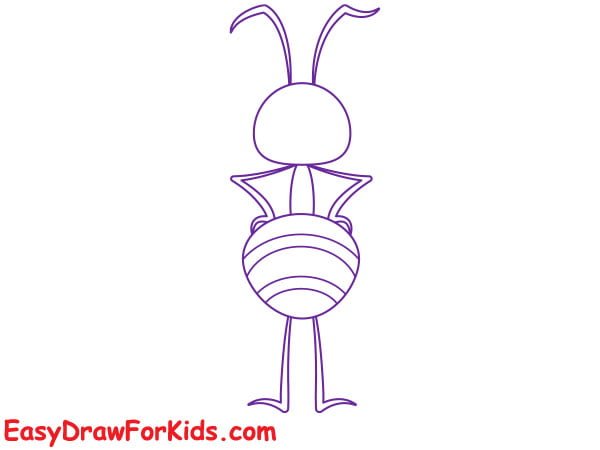
Step 5: Draw curved lines along the abdomen to represent the segments.
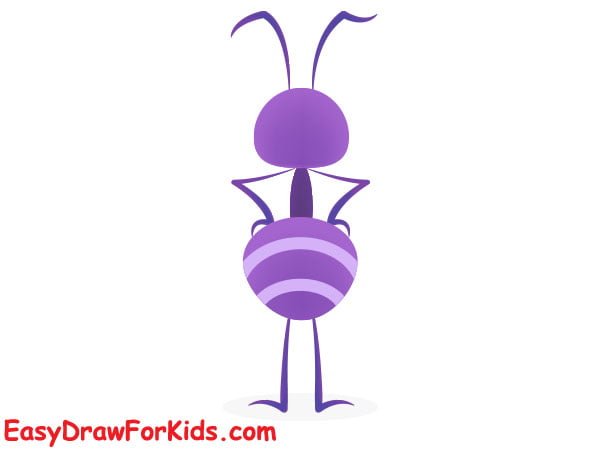
Step 6: Add color to your drawing by your style
5. Cartoon Ant Drawing
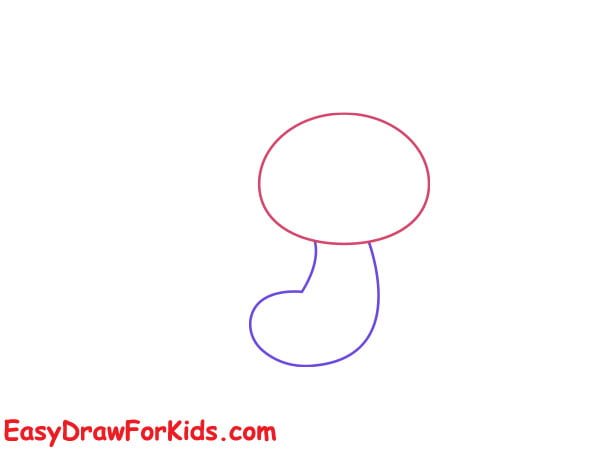
Step 1: Start by drawing a slight oval shape for the head.
Step 2: Now you draw the ant’s thorax by creating a rounded shape just below the head.
Step 3: You add a larger oval shape below the thorax to form the ant’s abdomen.
Step 4: Add curved lines on each side of the ant’s body to create the legs.
Step 5: Now, you draw two small, circular shapes on the head for the ant’s eyes.
Draw a small, elongated shape below the eyes for the ant’s mouth.
Add two short, curved lines on the head for the ant’s antennae.

Step 6: Draw small, oval-shaped patterns on the thorax and abdomen
Step 7: Coloring
Now, you complete this guide on how to draw an ant!
I hope this blog post has helped you in your journey towards becoming a better artist.


